Aqara camera setup tutorial/explanation (for dummies). Part 2, "Function Settings" (Video Settings, Sound Settings, Privacy and Security) Hello!
Let’s continue the tutorial/explanation using the G5 camera as an example—specifically for users who have purchased an Aqara camera for the first time and often find the settings confusing. As always, I’ve included plenty of images to illustrate the lesson.
We will look at the “Function Settings” section (Cloud Storage, Local Storage, NAS Storage).
These sections deal with storing data on various storage platforms.
Fig. 1.
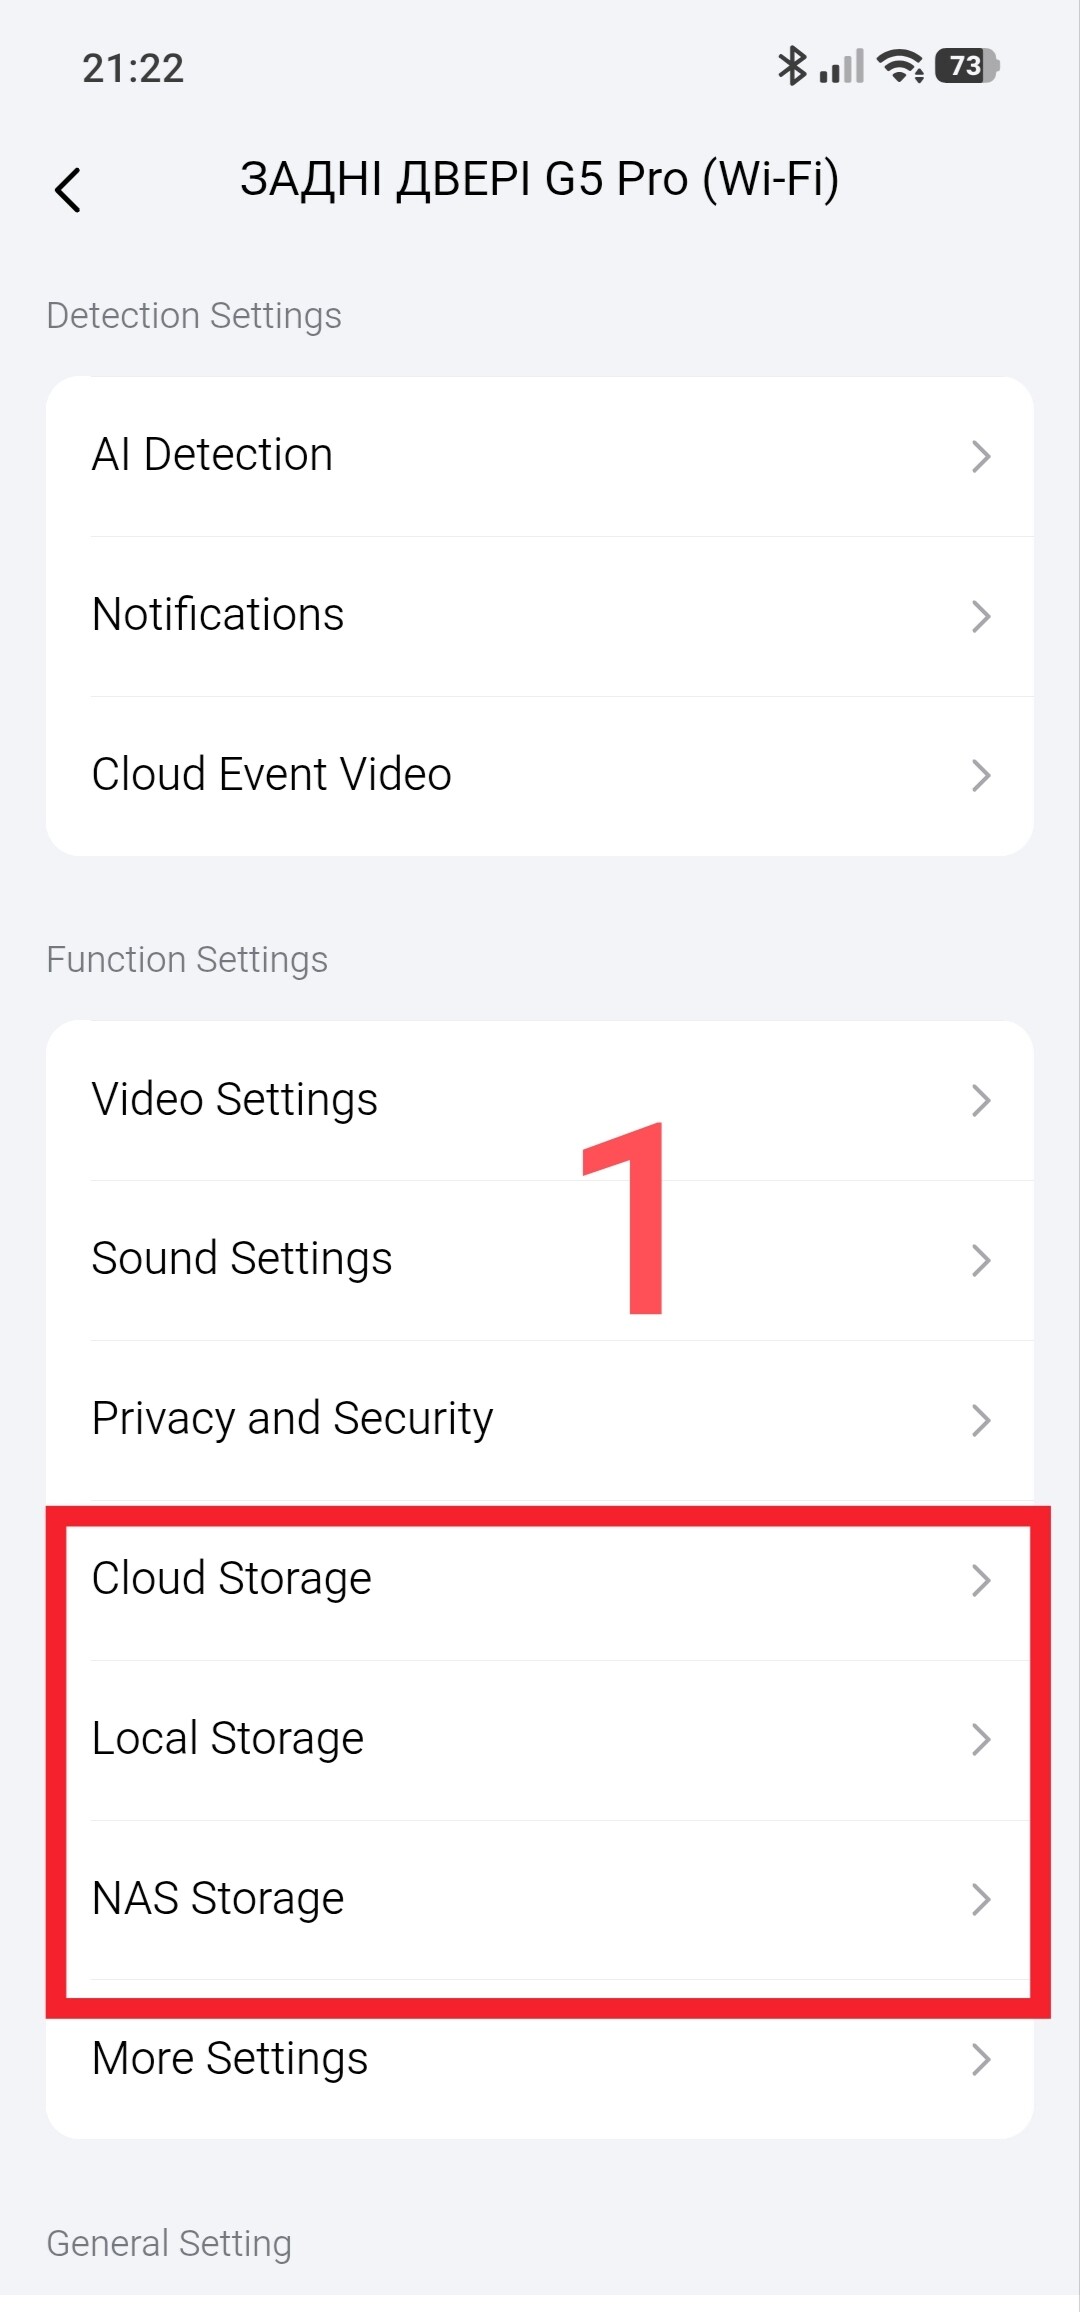
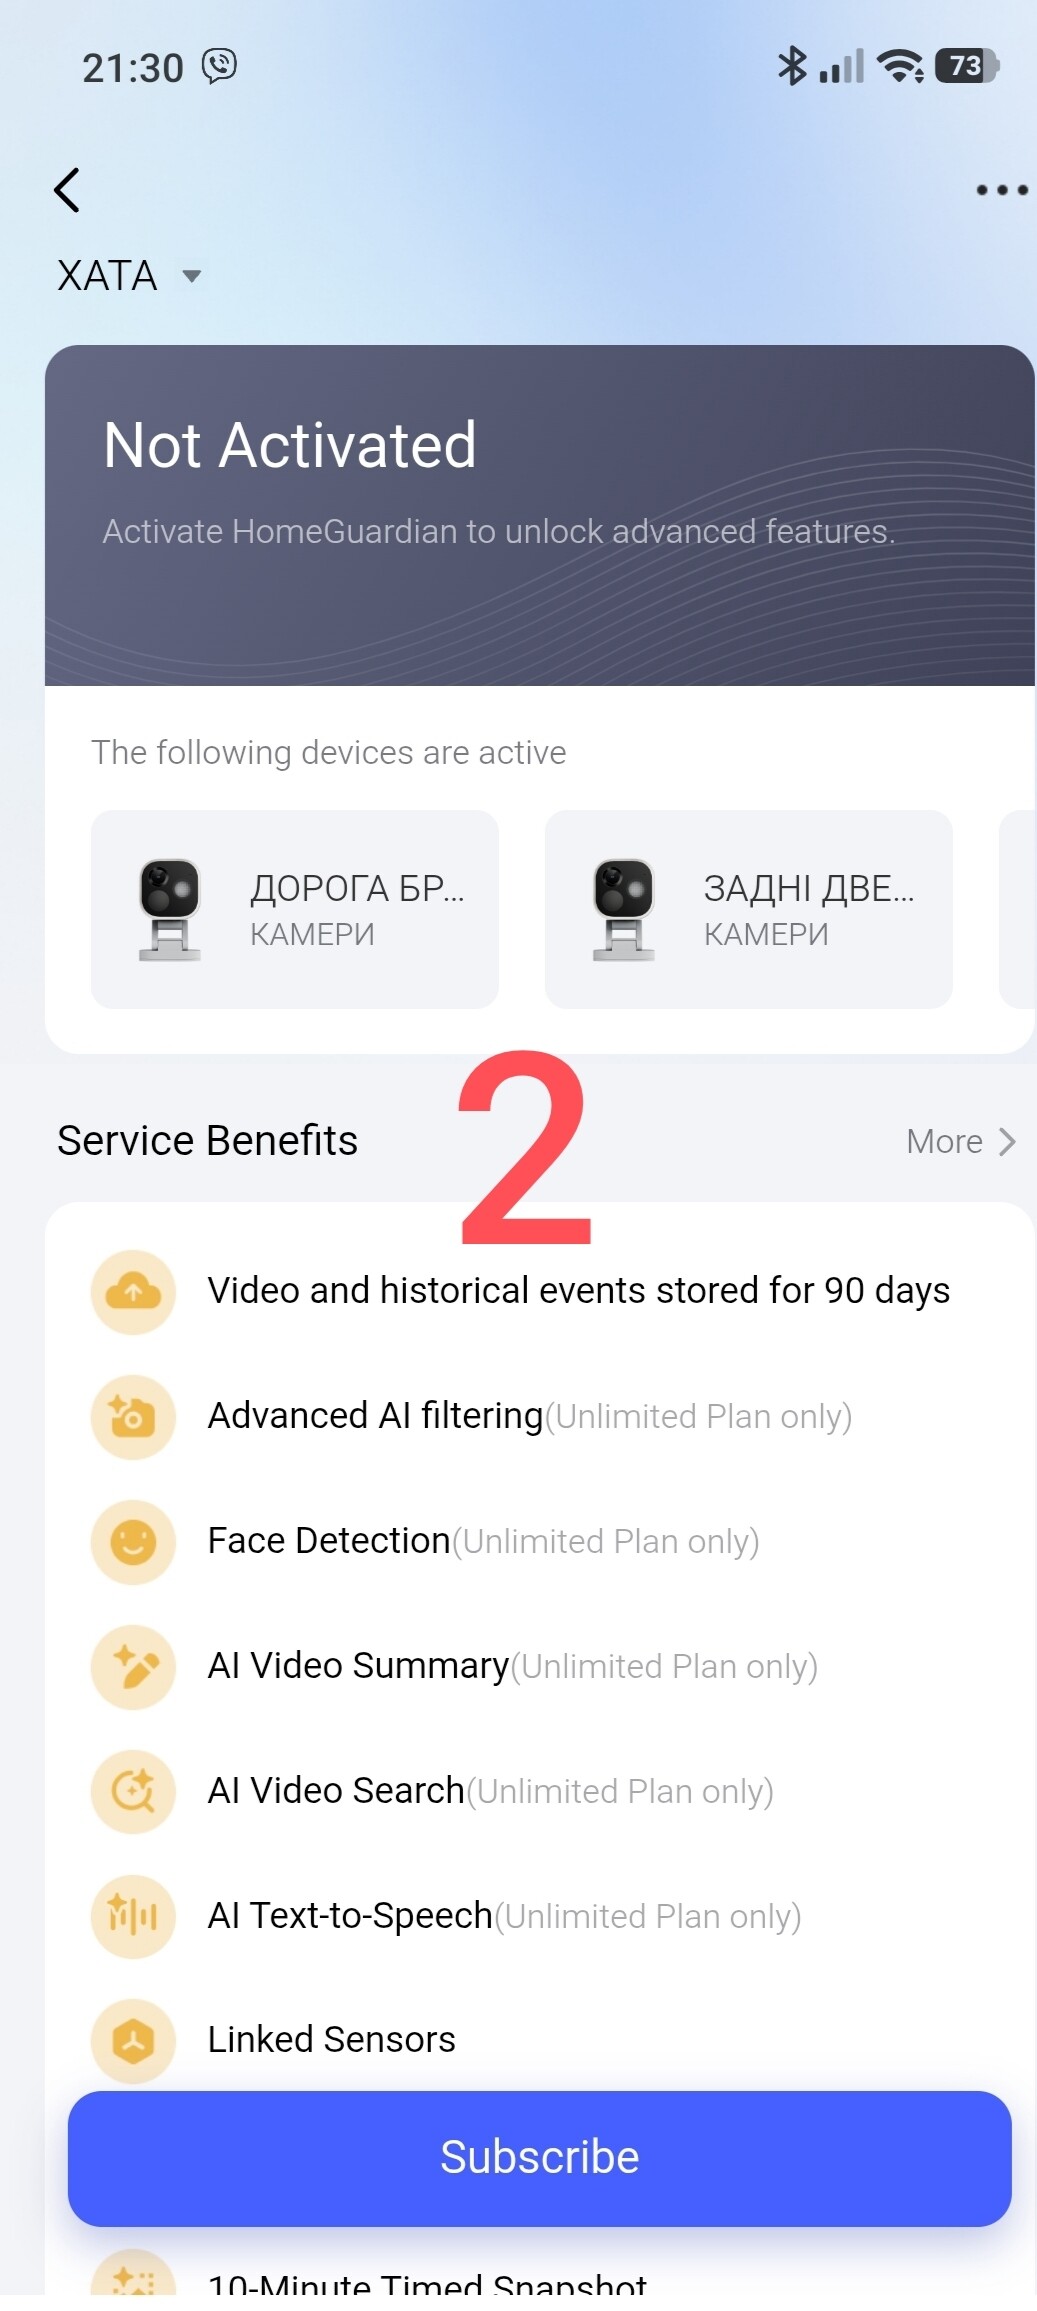
The “Cloud Storage” section covers saving data to Aqara’s cloud storage. This is a paid feature that ensures data is stored for 90 days. You can view other benefits of the paid service in this section. You can also use the “Subscribe” button to activate this service for a single camera or a group of cameras; the paid options offer considerable flexibility.
NOTE! For cameras without the paid service, cloud video storage is provided for a 24-hour period.
Fig. 2.
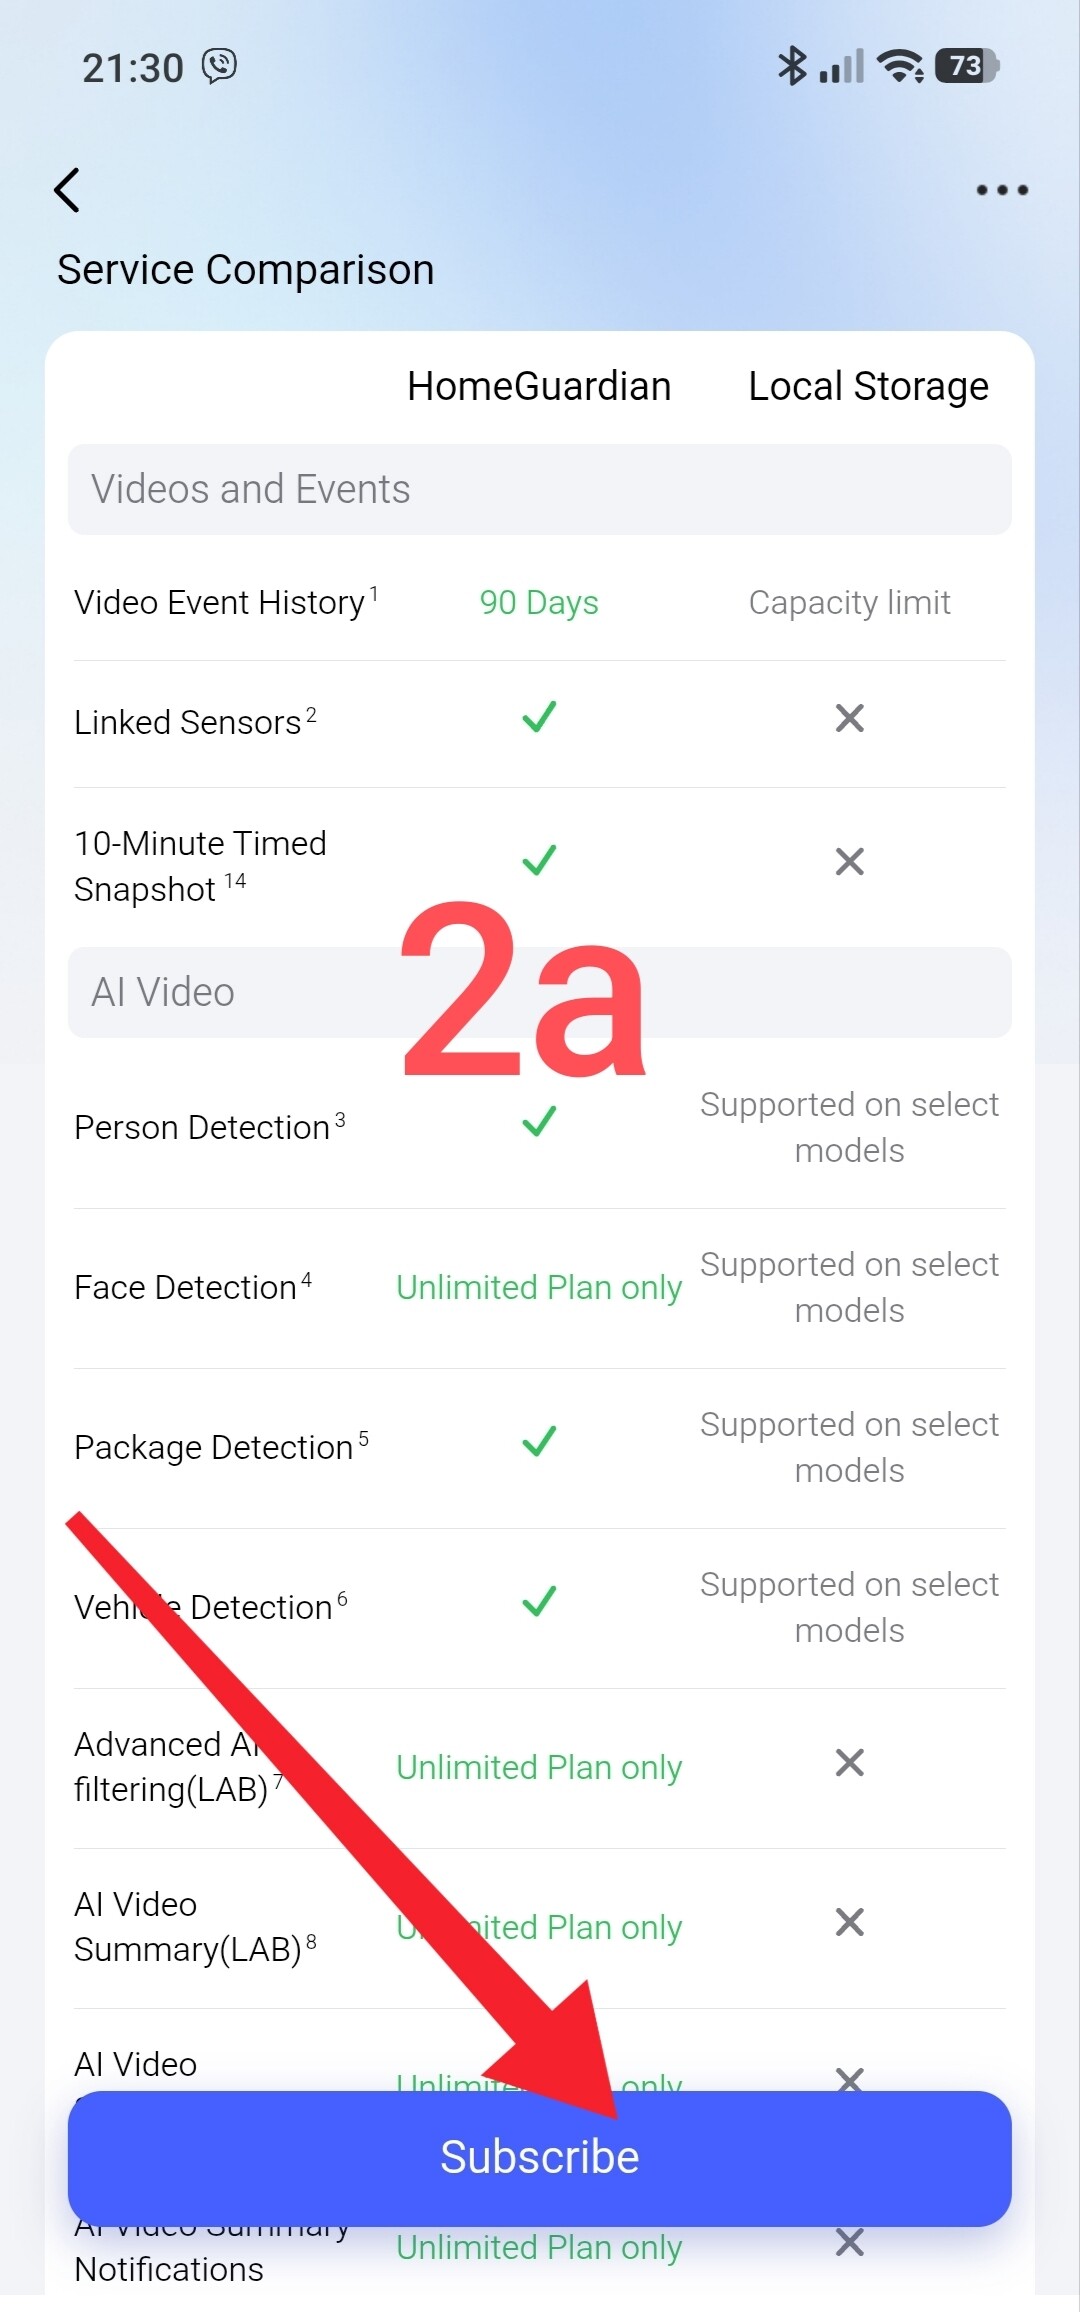

The “Local Storage” section covers saving video data to the G5 camera’s internal memory. Note that the G5 camera comes with built-in memory. Due to the limited internal storage capacity, the G5 camera offers two options under “Recording Mode”: “Event video” and “Stop Recording.”
I also want to point out that other Aqara camera models feature a microSD card slot. That is why they include an additional “Continuous Recording” option.
Fig. 3.


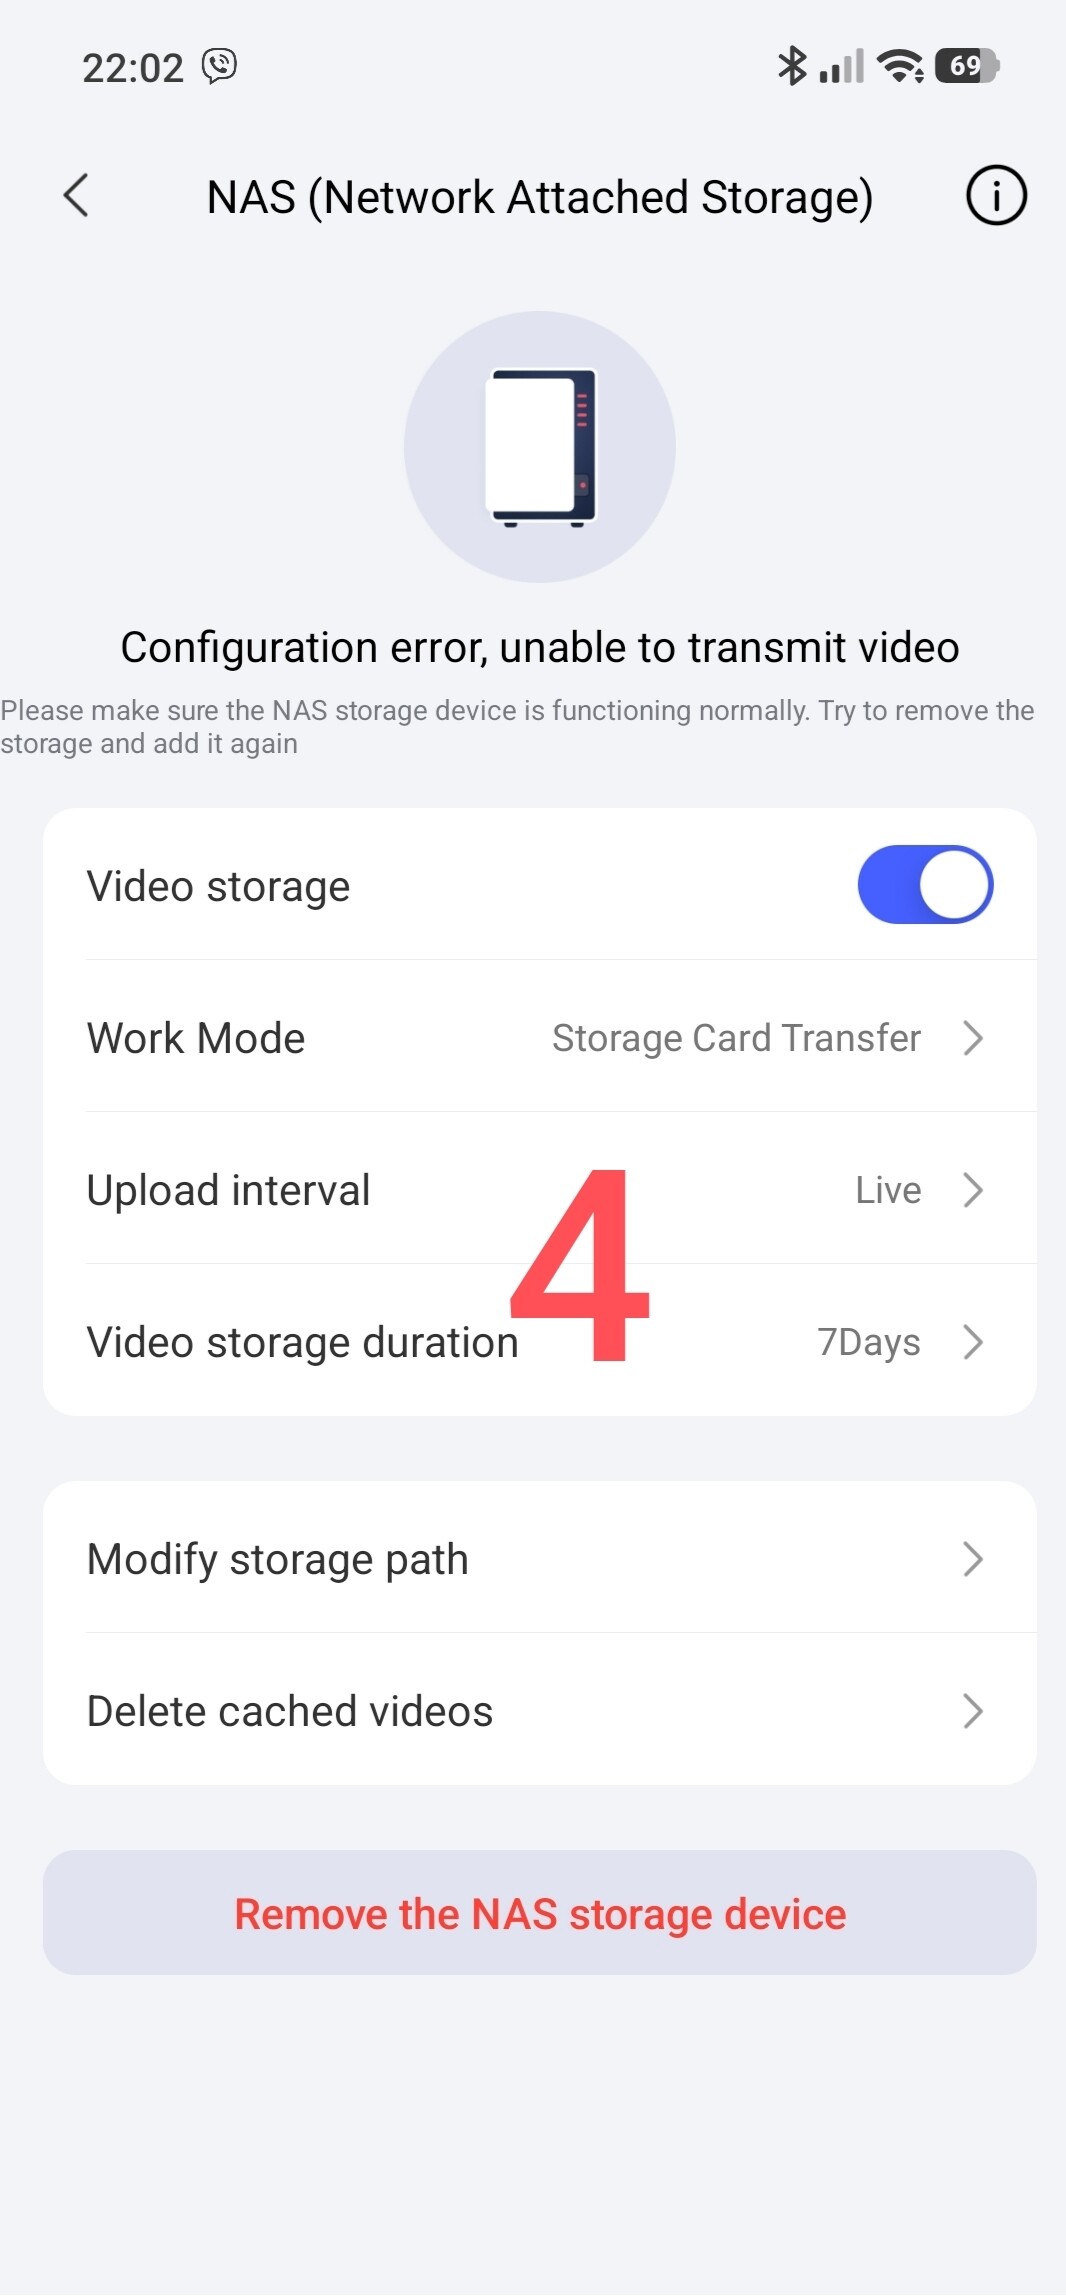
The “NAS Storage” section handles specific video storage requirements.
To put it simply for beginners: a NAS is a box containing hard drives, located at home or in the office and connected to a router. It stores all files in one place, making them accessible from any device via Wi-Fi.
Quick setup steps:
- Insert the SD card into the camera and ensure it is ready for use;
- Ensure the camera and the NAS are on the same local area network;
- Start the NAS’s SAMBA service;
- Configure shared folders on the NAS;
- Select the NAS in the app;
- Enter the NAS username and password;
- Select the NAS shared folder as the destination for video transfers from the camera’s SD card;
- Enable the camera’s “video storage” function in the app.
The settings in this section are self-explanatory; simply take a look at them.
Fig. 4.
That concludes this lesson/explanation.
In the next lesson, we will cover “More Settings” and the method for storing video files from the camera.
Thank you for reading.__Aqara camera setup tutorial/explanation (for beginners). PART 4: "More Settings" (Turn off the Indicator Light, 10-Minute Timed Snapshot, RTSP LAN Preview, Integrated Events, Self-Healing Mode, Unlock via Automations, Restart the Device)