Getting the Aqara FP2 into Home Assistant
Using ha-aqara-devices + aqara-rocketmq-bridge
Background
I am running Homekit/HomeBridge in my Smart Home. I recently began dabbling with Home Assistant. It is a very powerful tool that exposes way more than HomeKit. That being said, it can also be very overwhelming. The problem the led me to write this post was that although I have started to use Home Assistant, HomeKit/HomeBridge is still my main ecosystem. My priority is to have everything in HomeKit. Then and only then, will I also want my devices in Home Assistant as I continue to play with it and learn. The issue I ran into was that I had my Aqara FP2 Sensor in HomeKit and as long as it was connected to HomeKit I could not add it to Home Assistant. I believe, I had the option of deleting it from HomeKit, adding it to Home Assistant, and then exposing the device’s entities to HomeKit via the HomeKit Bridge. In my case, I did not want to lose all my settings, automations, scenes, etc. associated with my FP2 just to be able to add the FP2 to both ecosystems. The solution is the community-built ha-aqara-devices custom integration paired with the aqara-rocketmq-bridge, which use Aqara’s Open API v3 to deliver live presence updates to Home Assistant. You should also note that this would also apply to the FP300, Hub M3, and the Hub G3.
Useful Links
• Official Setup Guide: Setup Guide | Aqara RocketMQ Bridge
• Bridge Repository: GitHub - Darkdragon14/aqara-rocketmq-bridge: Aqara RocketMQ bridge for Home Assistant · GitHub
• HA Integration Repository: GitHub - Darkdragon14/ha-aqara-devices: Custom Home Assistant integration for Aqara devices. Supports Hub G3, Hub M3, FP2 and FP300 via Aqara Cloud with advanced controls, presence telemetry and extended features beyond the official integration. · GitHub
• Aqara Developer Console: https://developer.aqara.com/
How It Works
Aqara RocketMQ → aqara-rocketmq-bridge → SSE → ha_aqara_devices → Home Assistant
The bridge consumes Aqara Message Push events via RocketMQ and exposes them to Home Assistant over Server-Sent Events (SSE). The integration manages authentication, token refresh, and entity creation.
Step 1 — Aqara Developer Account

Go to https://developer.aqara.com/ and sign up using the same email or phone number as your Aqara Home app account. This is important — your FP2 must be in the same account tied to the developer project.
Tip: When you sign up, you are automatically given access to a Demo Project. This is sufficient for personal/home use and does not require any special approval.
From the Demo Project, collect these three values:
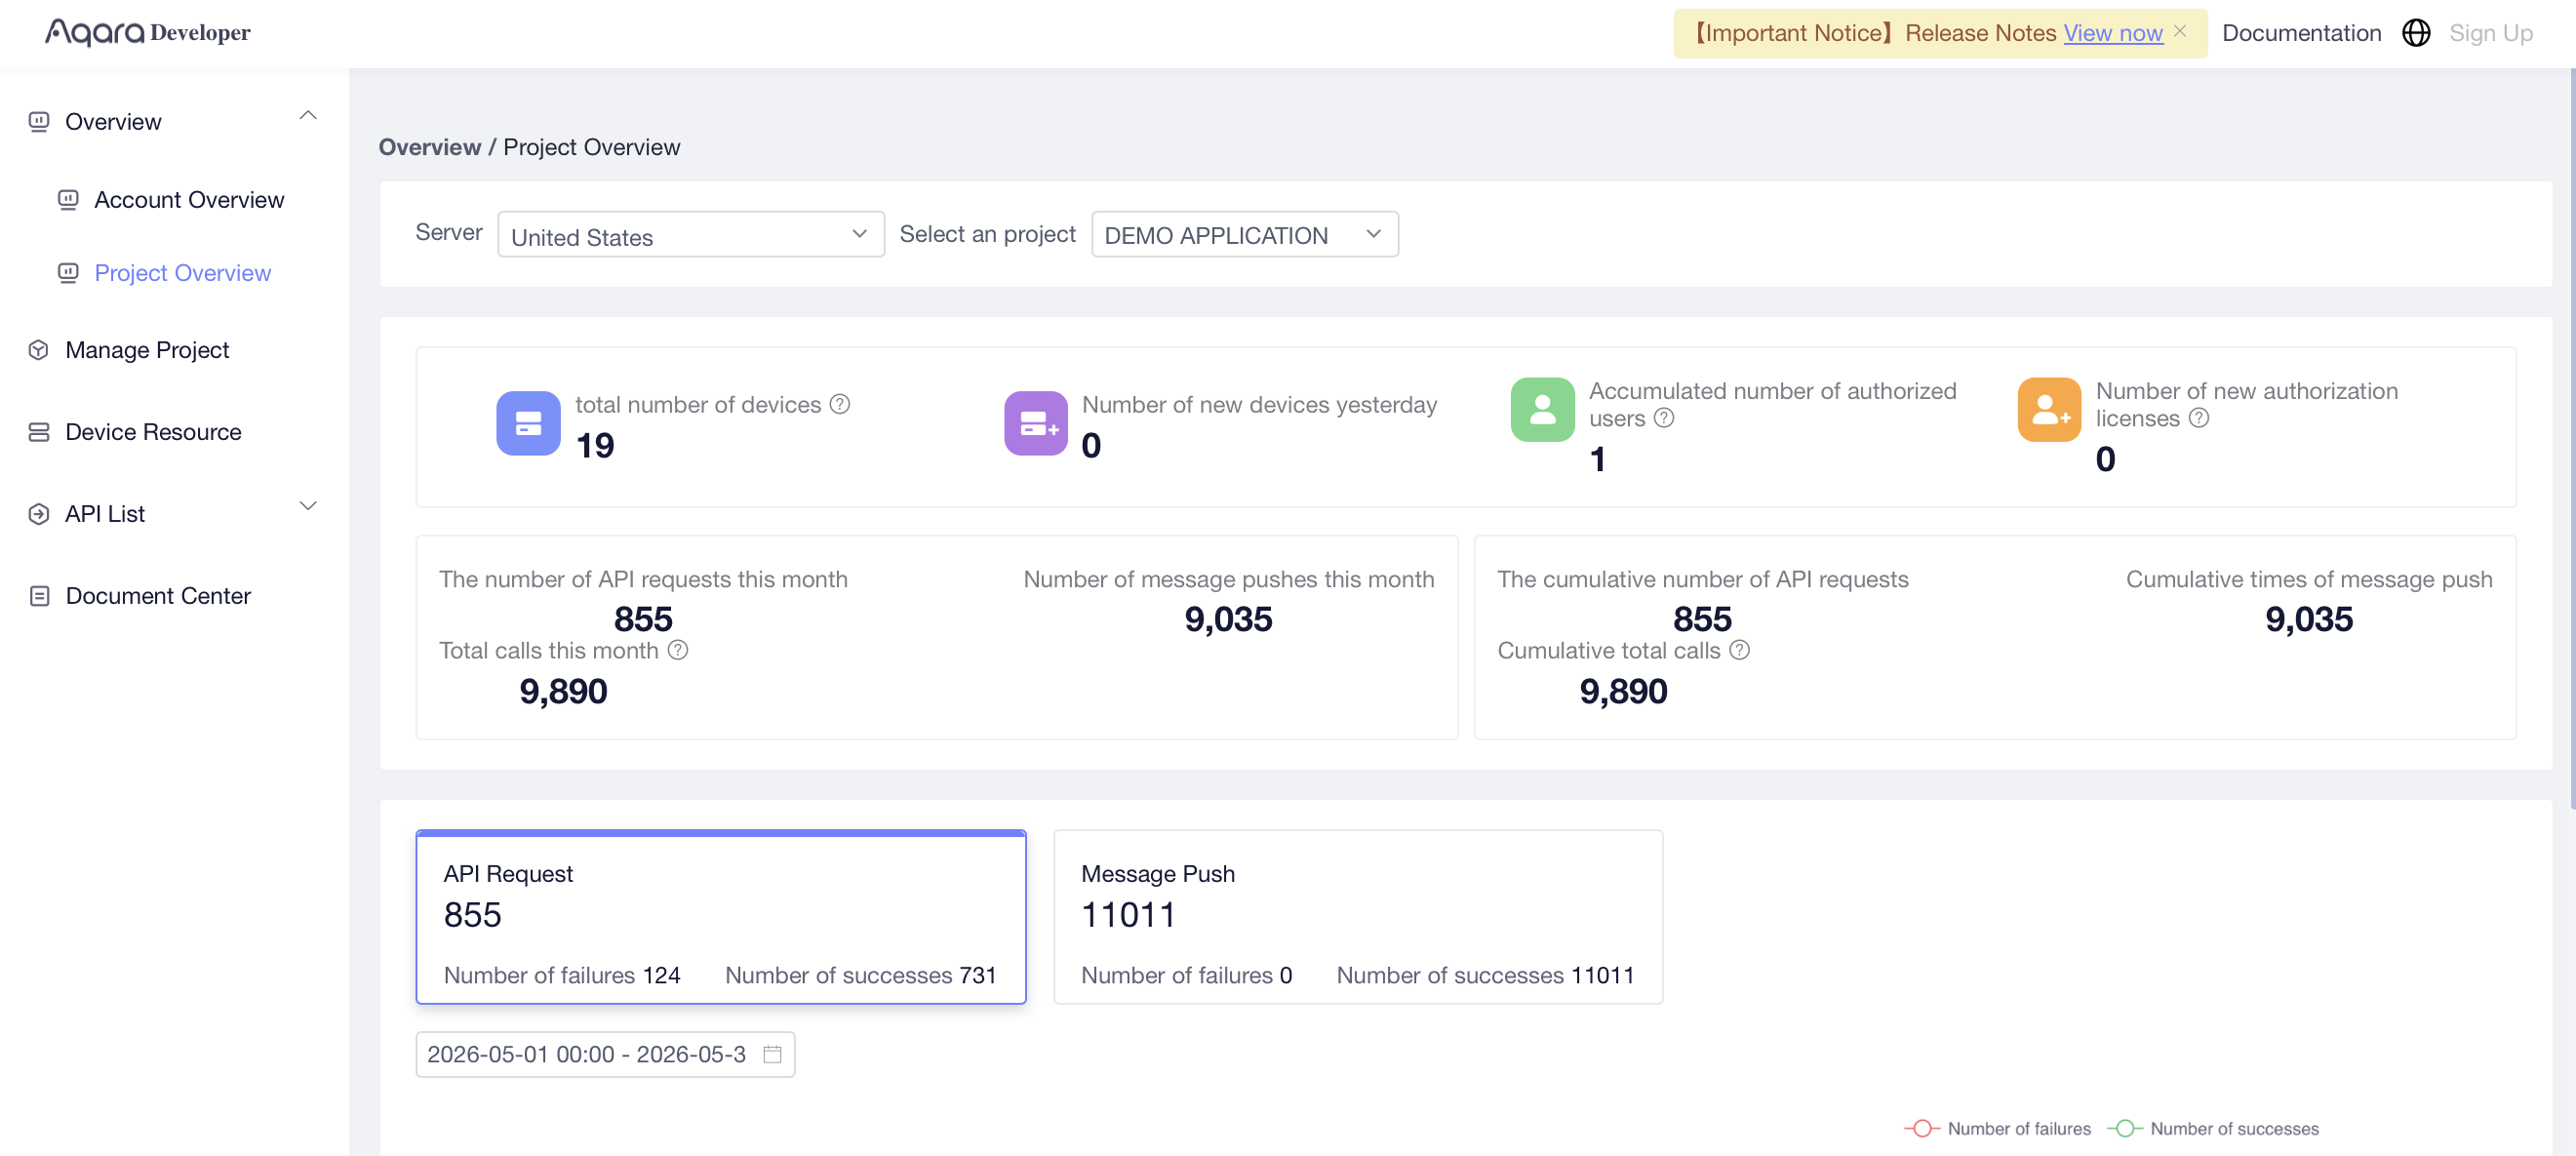
| Value | Where to Find It |
|---|---|
| APP_ID | Project overview / dashboard page |
| KEY_ID | Key Management section |
| APP_KEY | Key Management section |
Step 2 — Configure Aqara Message Push
Inside your project, go to Message Push and configure the following:
• Select Get messages based on message queue
• Select your Key ID
• Enable push
• Set subscription mode to All receiving mode (Resource) — see important note below
• Copy the MQ message subscription address — this is your MQ_NAMESRV_ADDR
Note: The official docs recommend User-defined subscription mode, but this requires calling config.resource.subscribe, which is blocked on Demo accounts and returns a 403 error. Use All receiving mode (Resource) instead. This bypasses the subscribe call and allows live updates to flow without any additional API permissions.
The Message Push values map to bridge environment variables as follows:
| Aqara Message Push Field | Bridge Variable |
|---|---|
| MQ message subscription address | MQ_NAMESRV_ADDR |
| topic | APP_ID |
| accessKey | KEY_ID |
| secretKey | APP_KEY |
Do not use the example nameserver address shown in Aqara’s documentation. Always copy the exact MQ_NAMESRV_ADDR from your own Message Push page.
Step 3 — Choose a Bridge Token
The BRIDGE_TOKEN is not provided by Aqara — you create it yourself. It is a strong password that secures communication between Home Assistant and the bridge. You will enter the same value in both the bridge container and the HA integration config flow.
Step 4 — Run the RocketMQ Bridge
In my case, the bridge runs as a Docker container and I access my Home Assistant via DuckDNS. Add the bridge to your compose.yml under services:
aqara-rocketmq-bridge:

  image: ghcr.io/darkdragon14/aqara-rocketmq-bridge:main

  container_name: aqara-rocketmq-bridge

  restart: unless-stopped

  ports:

    - "8081:8080" # Use 8081 if port 8080 is already occupied environment:

    APP_ID: your-app-id

    KEY_ID: your-key-id

    APP_KEY: your-app-key

    BRIDGE_TOKEN: your-chosen-token

    MQ_NAMESRV_ADDR: your-mq-address-from-aqara-console

    BRIDGE_PUBLIC_URL: https://your-domain.duckdns.org
Start the bridge:
docker compose -f ~/compose.yml up -d aqara-rocketmq-bridge
Verify it is healthy:
curl http://localhost:8080/health
Tip: A healthy response looks like: {“status”:“up”,“rocketmqEnabled”:true,“rocketmqStarted”:true,…}. Once messages flow from Aqara, lastMessageAt will show a timestamp.
Choosing the Right Bridge URL for HA
The Bridge URL is what Home Assistant uses to reach the bridge. The correct value depends on your HA network configuration:
| HA Setup | Bridge URL to Use |
|---|---|
| HA Container with network_mode: host | http://YOUR_IP:8080 (e.g. http://192.168.1.XXX:8080) |
| HA Container on shared Docker network | http://aqara-rocketmq-bridge:8080 (integration default) |
| Home Assistant OS add-on | http://YOUR_HA_IP:8080 |
Note: If your HA container uses network_mode: host, it cannot resolve Docker container hostnames. The default http://aqara-rocketmq-bridge:8080 shown in the HA form will NOT work. Use your host machine’s local IP and the mapped port instead.
Step 5 — Install ha-aqara-devices via HACS
• HACS (Home Assistant Community Store) is a community-built add-on for Home Assistant that lets you easily browse, install, and update third-party integrations, themes, and plugins that aren’t part of the official Home Assistant release — think of it as an app store for your smart home.
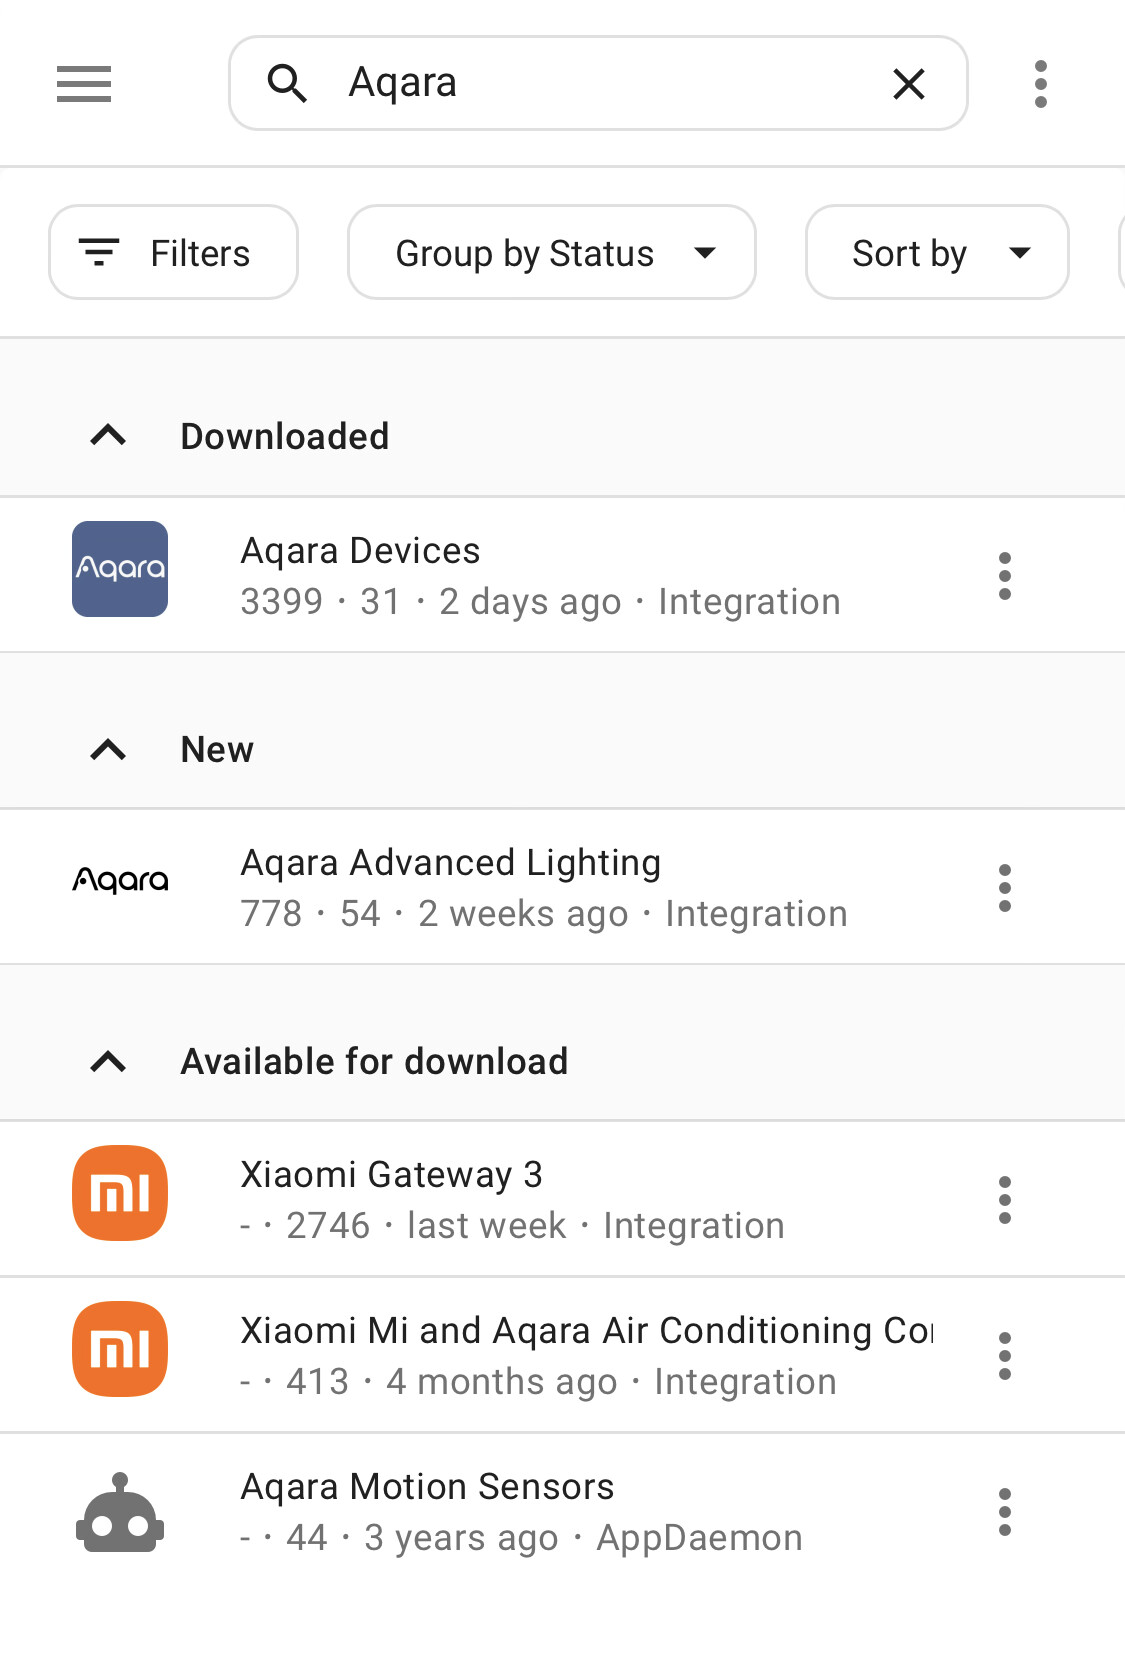
• In HACS, go to the three-dot menu and select Custom repositories
• Search for Aqara Devices and install it
• Restart Home Assistant
Step 6 — Configure the Integration
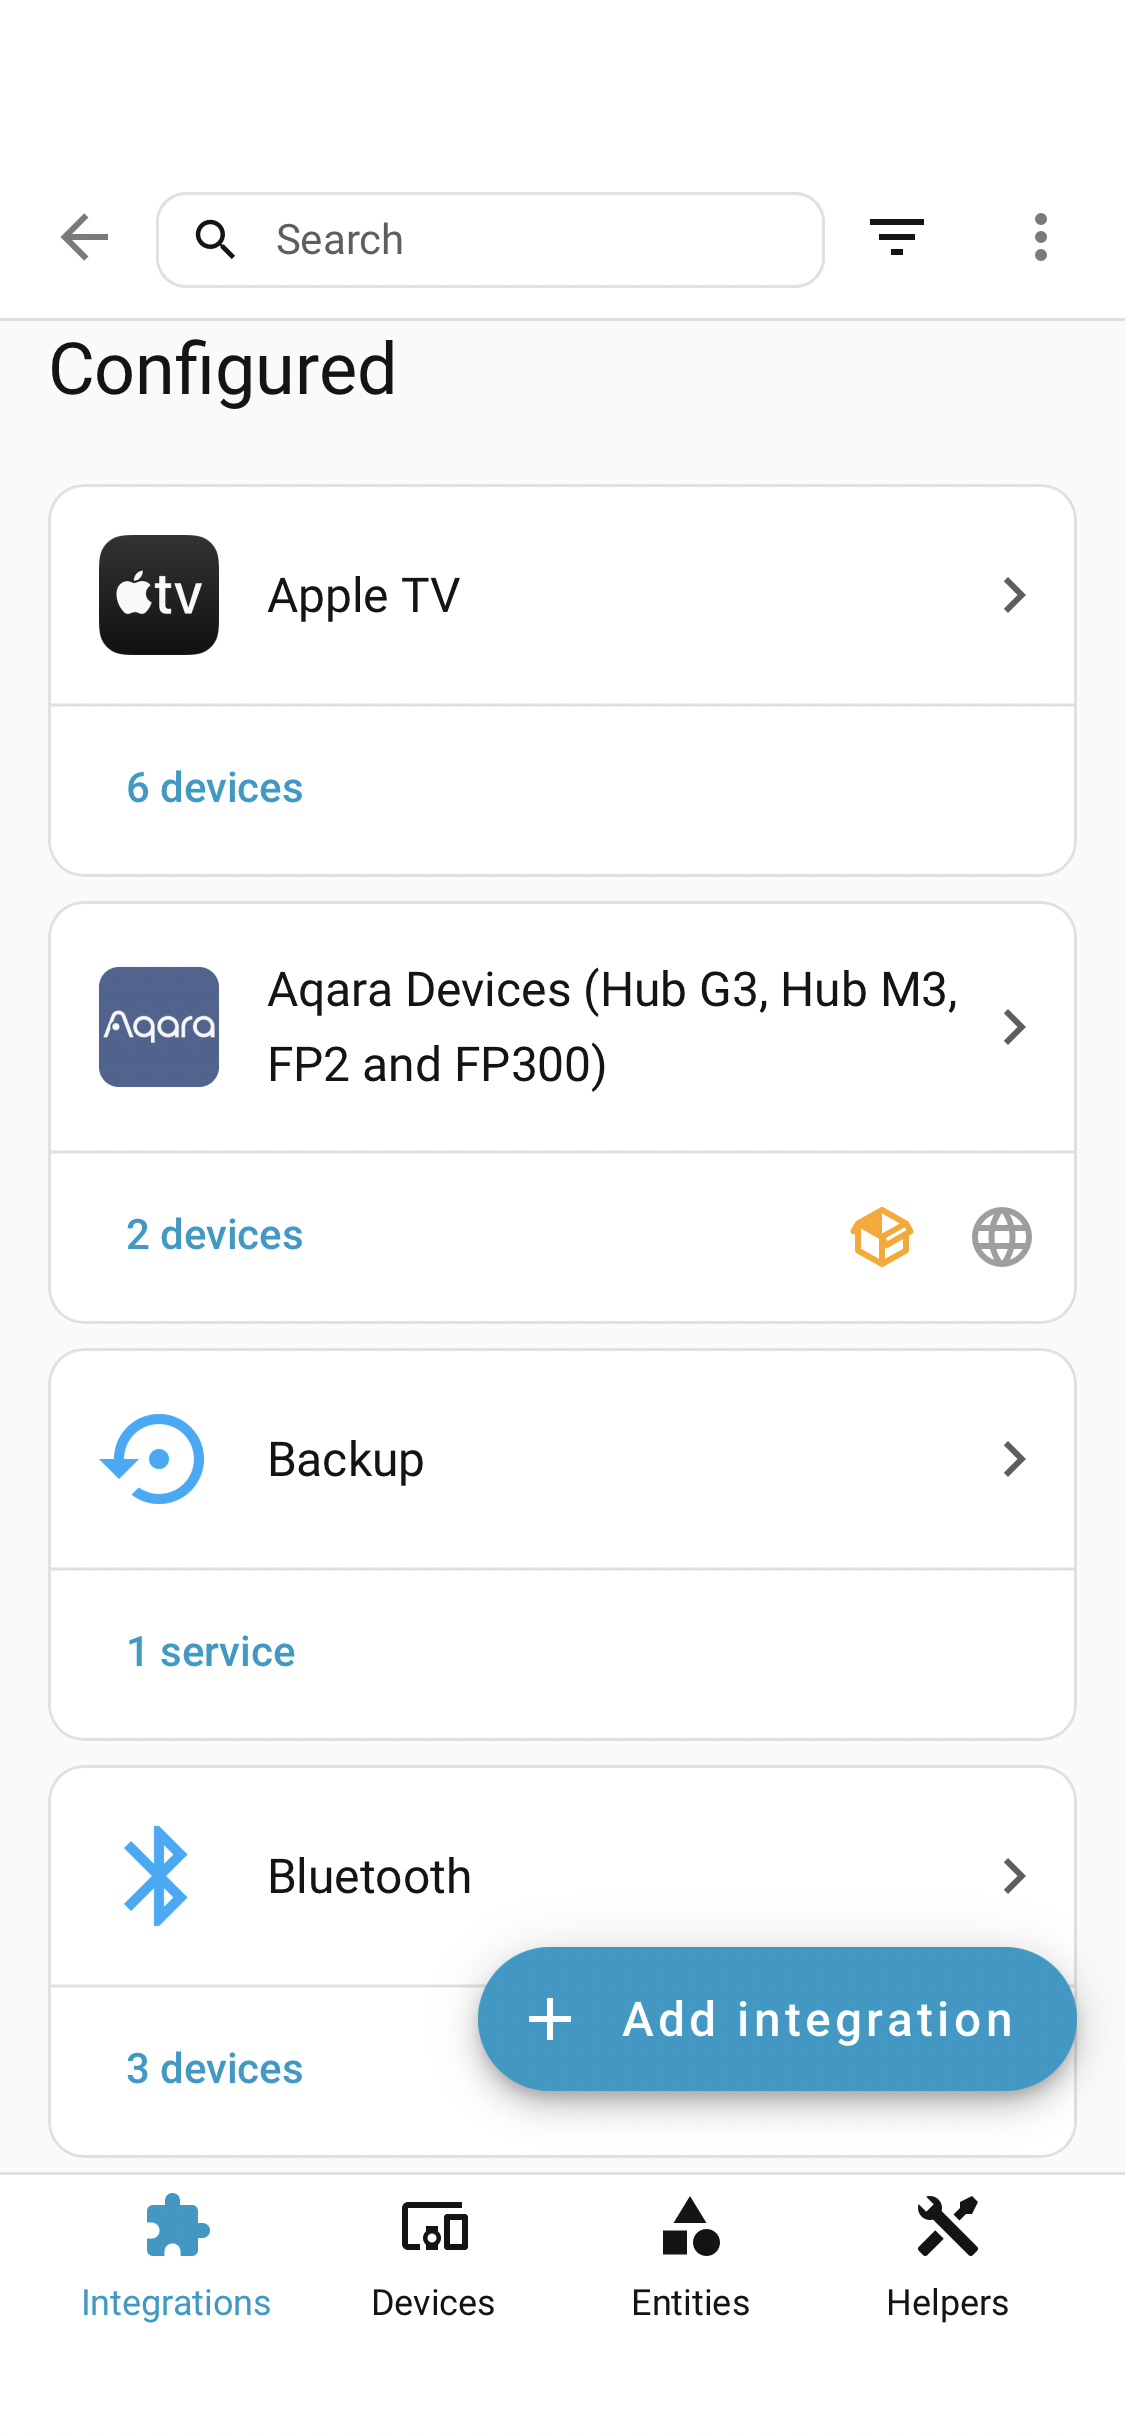
Go to Settings > Devices & Services > Add Integration > Aqara Devices and fill in:
| Field | Value |
|---|---|
| Aqara account | Your Aqara email or phone number |
| Region | Match your Aqara Home app region (e.g. US) |
| Bridge URL | http://YOUR_PI_IP:8081 (see Step 4) |
| Bridge token | Your chosen BRIDGE_TOKEN from Step 3 |
| App ID | From Demo Project |
| App key | From Demo Project / Key Management |
| Key ID | From Demo Project / Key Management |
After submitting, Aqara sends a verification code to your email or phone. Enter it on the next screen to complete setup. The code expires in 10 minutes.
API Quota
The Demo account allows 100,000 API calls per month. Estimated usage per device:
| Device | Est. API Calls / Month |
|---|---|
| FP2 | ~43,200 |
| FP300 | ~25,920 |
| Hub M3 | ~8,640 |
| Hub G3 | ~17,280 |
One FP2 + one M3 = ~51,840/month, well within the free quota. Two FP2s would approach the cap.
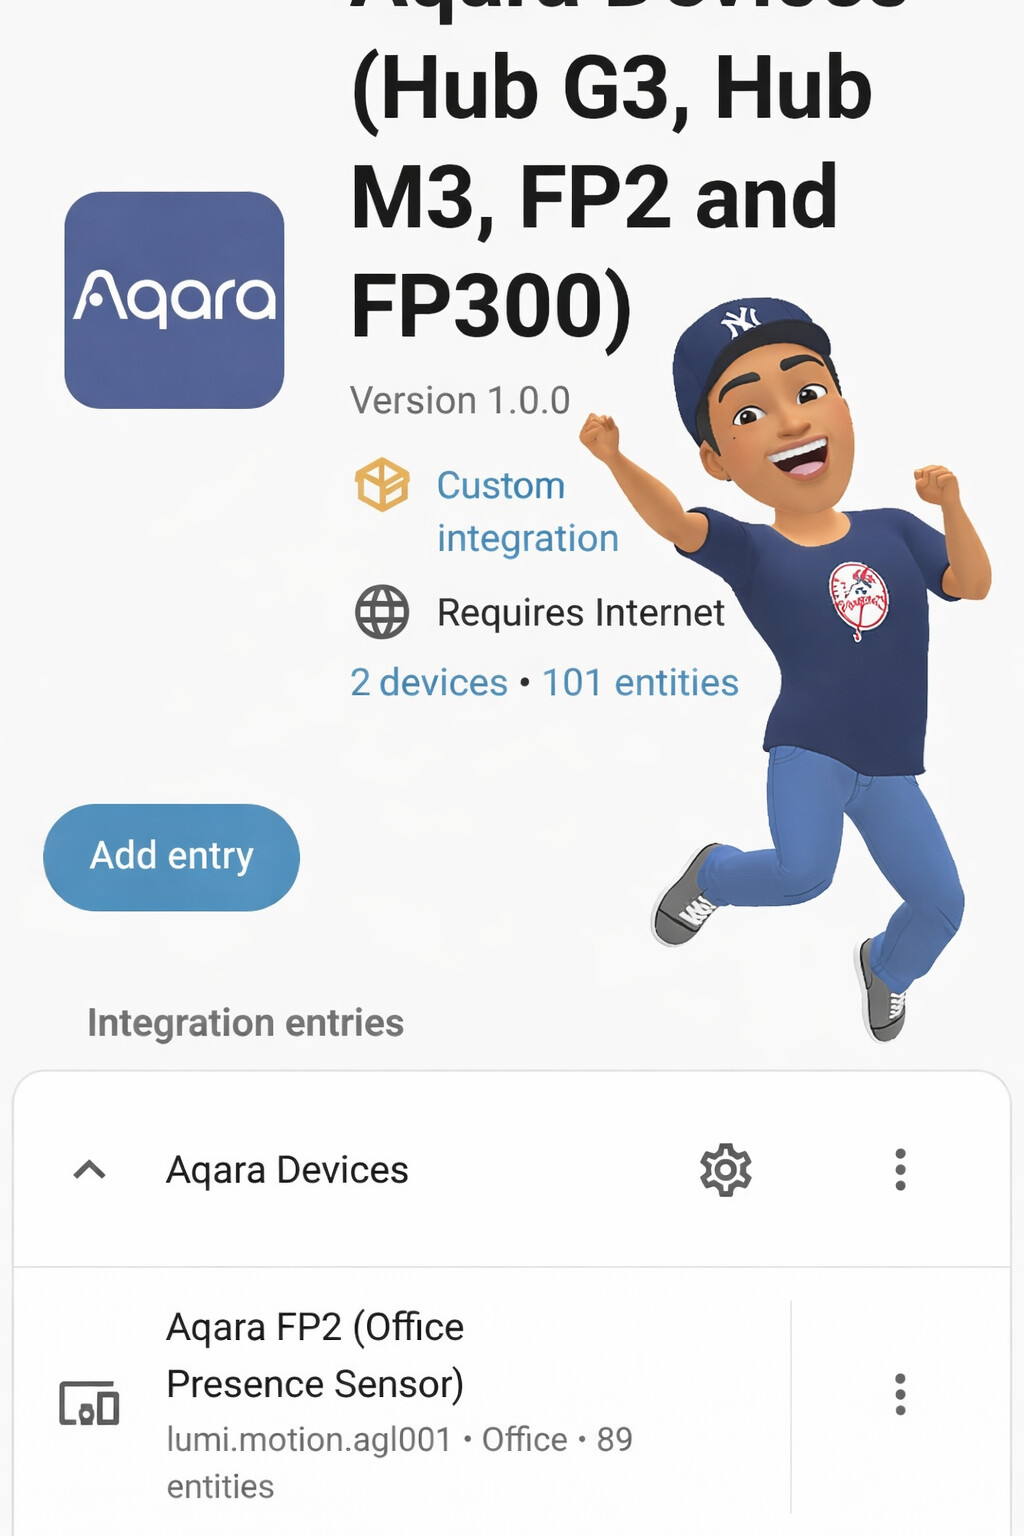
FP2 Entities Available in Home Assistant
| Platform | Entities |
|---|---|
| binary_sensor | Presence, Connectivity, Detection Area 1-30 |
| sensor | People Counting, People Counting (per min), Whole Area People Count (10s), Zone 1-30 People Count (10s), Zone 1-7 People Count (per min), Illuminance, Heart Rate, Respiration Rate, Body Movement, Sleep State, Operating Mode, View Zoom, Mounting Position, Installation Angle, Attitude Status, Presence Sensitivity, Proximity Distance, Fall Detection Sensitivity, AI Person Detection, Anti-light Pollution Mode |
Troubleshooting
403 error on config.resource.subscribe — entities unavailable
The Demo account cannot call the subscribe API in User-defined mode. Fix: in the Aqara developer console, change Message Push subscription mode to All receiving mode (Resource), then delete and re-add the HA integration.
Authentication failed — no verification code screen appears
Check that APP_ID, APP_KEY, and KEY_ID are all from the same project. Try your phone number instead of email (format: +1XXXXXXXXXX). Confirm your region matches your Aqara Home app account region.
/health returns ‘starting’ instead of ‘up’
Verify Message Push is enabled in Aqara, the Key ID in Message Push matches your bridge KEY_ID, and MQ_NAMESRV_ADDR is the exact value from your own Message Push page, not the example from documentation.
Bridge unreachable from HA (host network mode)
If HA uses network_mode: host, Docker container hostnames are not resolvable. Use your host machine’s local IP and mapped port as the Bridge URL (e.g. http://192.168.1.XXX:8080).
Access Token errors after re-adding the integration
Each time you re-add the integration a fresh authorization is required. Go to the Aqara developer console, generate a new authorization code, and enter it when prompted. Codes expire in 10 minutes.
Guide based on real-world setup experience. For the official bridge documentation visit: