Over the past few months, I’ve been working on my version of the smart home of the future. It currently includes around 850 IoT devices, roughly 600 of them from Aqara. Yes, I may have taken “just one more sensor” a little too far. 
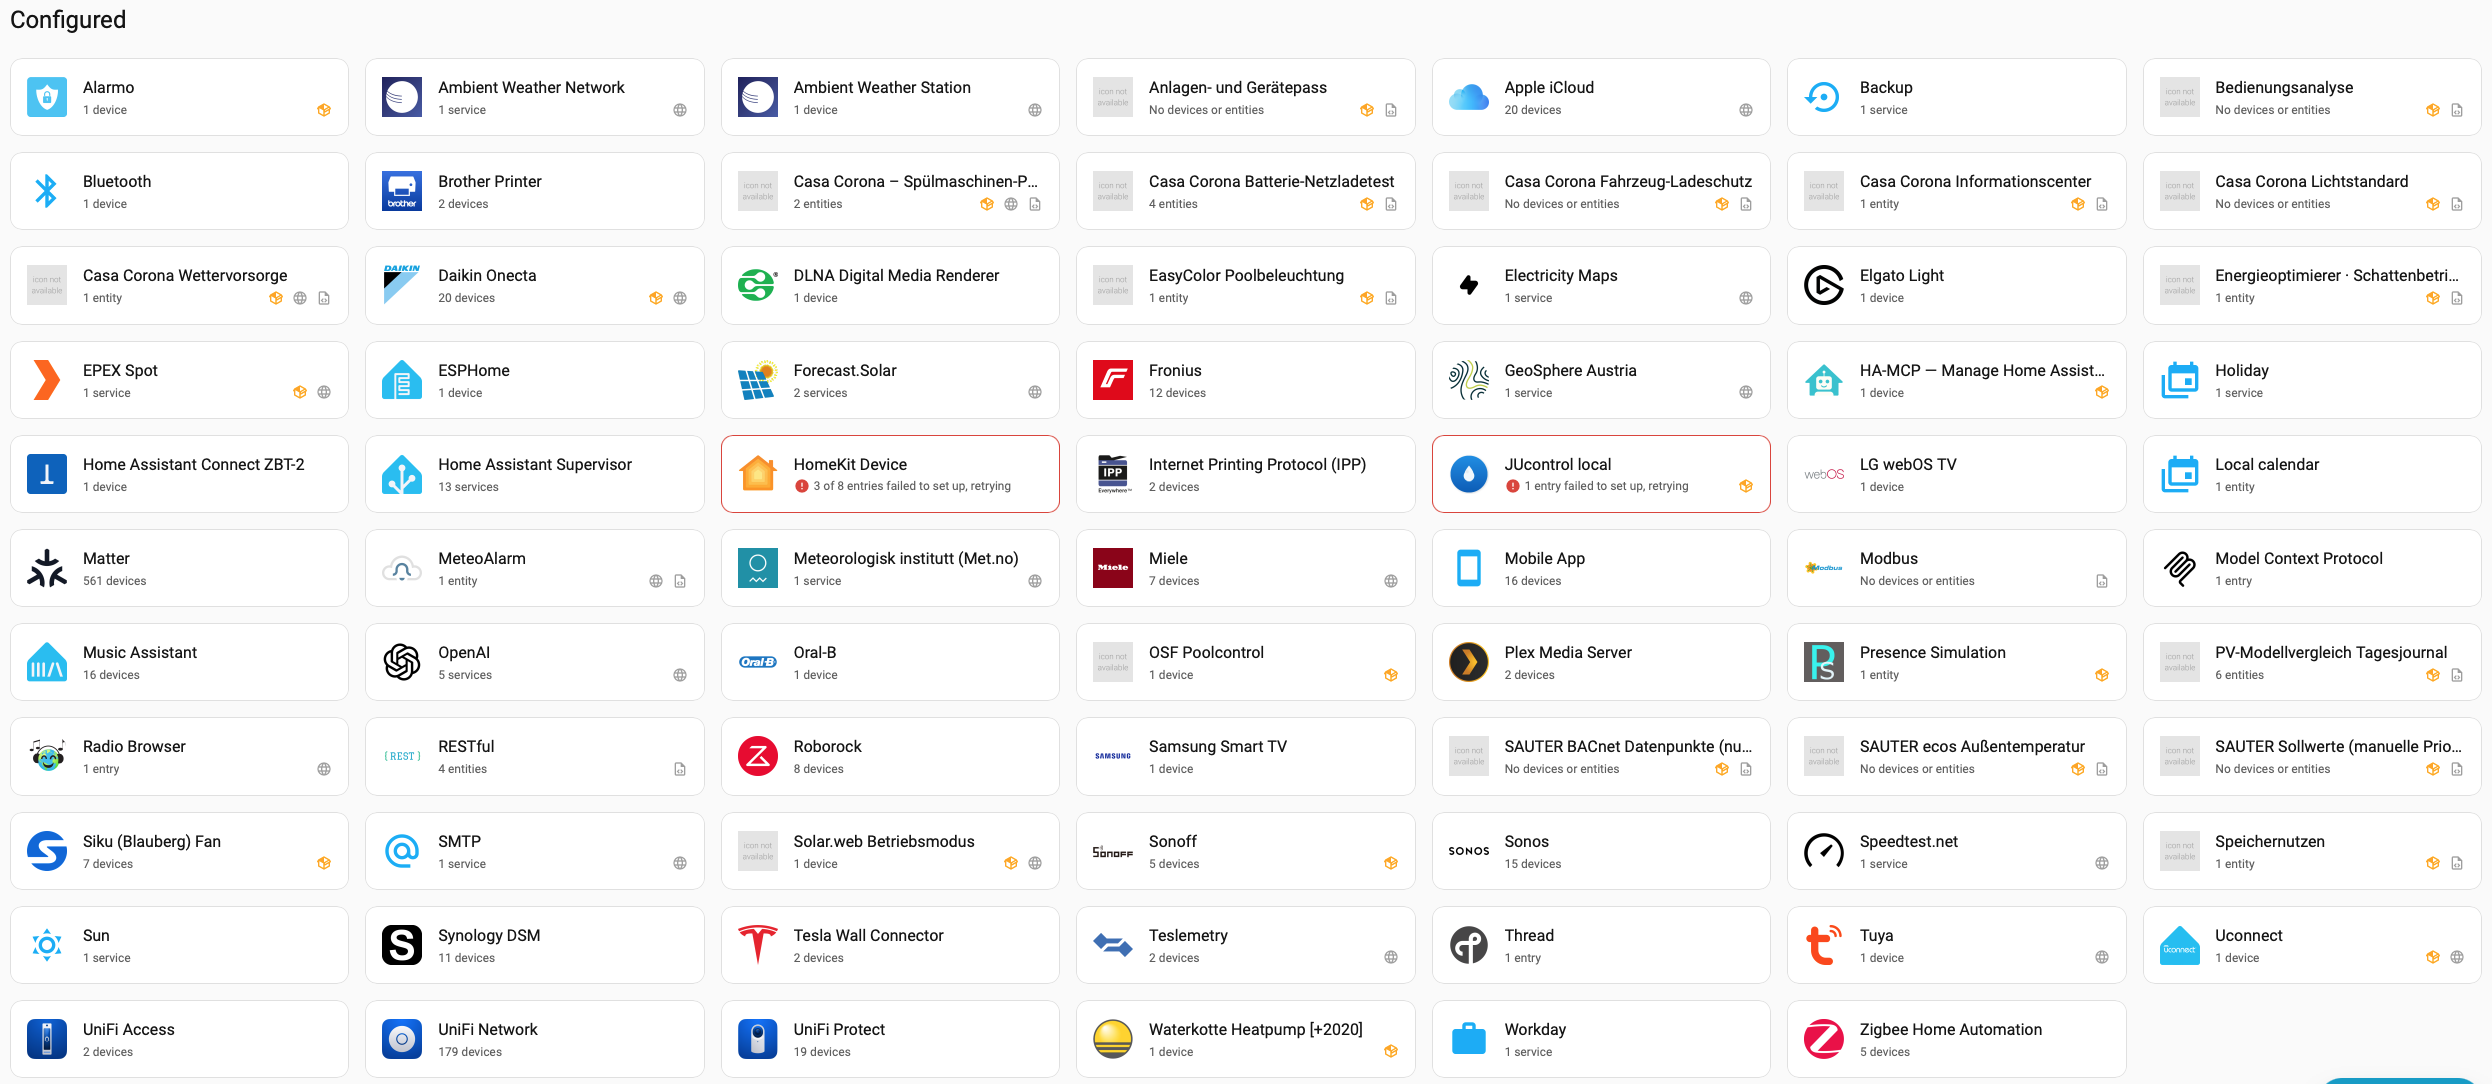
But the device count isn’t the interesting part. It’s how everything works together through Home Assistant, and how I use ChatGPT Pro to help build, manage and improve the system.
For anyone curious about trying this, I’ve put together a short guide based on my experience. There’s plenty more to learn, but this should give you a practical starting point. And if you have questions, feel free to ask!
The real benefit of AI is not simply asking it to turn on a light. It is being able to describe how you want your home to behave, investigate why something does not work, and gradually build more sophisticated automations without having to write everything yourself.
My advice: start small, let the AI understand your setup, and stay in control of every change.
1. Give your home a clear structure
Before connecting AI, make sure devices and entities have meaningful names and are assigned to the right rooms. A name like Bedroom Ceiling Light is much easier to work with than Light 17 .
You do not need a perfect setup before you start. AI can help you identify confusing names, unavailable devices and overlapping automations. But clear naming makes everything that follows more reliable.
For more ideas on naming, please check this post: Best Practices for Naming Your Smart Home Devices – Learned the Hard Way
2. Connect your AI assistant to Home Assistant
Your setup has three parts: Home Assistant, your AI assistant, and a connection that lets the assistant access selected Home Assistant tools.
One way to establish that connection is MCP , the Model Context Protocol. Home Assistant offers an official MCP server integration. Depending on the client and tool sets you use, it can expose selected Home Assistant capabilities to an AI assistant.
There are also community projects such as ha-mcp with additional capabilities for more advanced administration. They are an option, not a requirement for your first experiment.
Check which tools your AI client can actually use. Installing an MCP server does not automatically mean that every assistant can access it or perform every action.
3. Start with a read-only assessment
Before asking the AI to change anything, ask it to understand your setup. For example:
Inspect my Home Assistant setup without making any changes. Explain the devices, entities and automations in the entrance area. Identify unavailable devices, confusing names and overlapping automations. Separate confirmed findings from assumptions.
Where your connection supports it, enforce read-only access technically. A prompt saying “do not change anything” is helpful, but it is not a substitute for access controls.
4. Create a safety net
Make a backup before allowing changes, keep a copy outside the Home Assistant machine, and make sure you know how to restore it. If the backup is encrypted, keep the recovery information somewhere accessible even if Home Assistant fails. See the Home Assistant backup guide.
For individual changes, ask the AI to preserve the original configuration and record what it changed, why, and how to reverse it. Keep passwords and access tokens out of prompts and shared documents.
5. Describe the behaviour, not the code
Start with one low-risk use case, such as lighting in one room. Be specific about what should happen and what should not happen:
When someone enters the room, turn on the three lights. When nobody is present for 30 seconds, turn them off. If someone stays for more than one minute, turn on the fan and leave it running for three minutes after they leave. Preserve manual control. First inspect the existing setup, explain your proposed changes and wait for my approval.
Also ask what happens if a sensor is unavailable, someone manually controls a light, or a device does not respond. These details are often where real-world automations become complicated.
6. Use a clear change process
The process I recommend is:
Inspect → propose → approve → implement → test → document.
Before making changes, the AI should explain which devices and automations are affected, the intended behaviour, possible side effects and the rollback plan. Only after you approve should it implement the change.
Then test the complete sequence: the trigger, every affected device, the timeout and any manual override. A successful command does not prove that every physical device responded. Home Assistant’s automation traces can help investigate what happened.
7. Keep your home usable without AI
AI can help design and troubleshoot the system, but ordinary Home Assistant automations should handle predictable everyday behaviour. A light should not need a new AI decision every time someone walks into a room.
Keep manual controls and sensible fallbacks. Start with lighting before considering more sensitive systems such as locks, alarms or heating.
8. Expand gradually
Once one room works reliably, apply the same approach elsewhere. Over time, maintain a simple description of your naming conventions, preferred behaviour, manual overrides, safeguards and known limitations.
9. Let AI document your smart home
You can also ask the AI to create detailed documentation of your setup, either in separate documents or directly within your Home Assistant dashboards.
In my case, I have added some of this information directly to my admin dashboards , which my family rarely or never uses. That way, the technical details are available where I need them without making the everyday dashboards more complicated for everyone else.
For example, you could ask:
Document how the entrance lighting works, including the devices and automations involved, timing, manual overrides, known limitations and what to check if something goes wrong. Add a concise explanation to my admin dashboard and keep a more detailed version in a separate document. Show me the proposed changes before applying them.
Documentation is especially useful as your setup grows: it helps you understand not just what your home does, but why it behaves that way. Review and update it when the configuration changes.
The best first goal is not to automate everything. It is to understand one part of your home, improve it safely, and verify that it works.
Always remember: “If your car is smarter than your home… you’re driving into the future while living in the past” 
