When we talk about bridging Zigbee devices to Matter, the Aqara Hub M3 is often cited as the gold standard ;-). It offers a seamless, official way to expose Zigbee devices to the new standard. However, it comes with a significant limitation: it natively supports only Aqara Zigbee devices.
In previous post ( From Zigbee to Matter: How to Upgrade Your Smart Home Setup ), I explained how to bypass limitations using Zigbee2Mqtt combined with Matterbridge on Home Assistant or Homey Pro. While effective, there is a more direct and universal method within Home Assistant that does not rely specifically on the Zigbee2Mqtt bridge connector.
This solution involves the Matter Bridge add-on and its HASS connector. By using this method, any device currently in Home Assistant—whether it is Z-Wave, an old Xiaomi Zigbee sensor, or even a Bluetooth Low Energy (BLE) device—can be exposed as a standard Matter device.
The “Fun” Factor: Hacking the Ecosystem
The true beauty of this technology lies in the cross-compatibility it unlocks. By exposing a non-Aqara device (like a generic Zigbee or Z-Wave switch) from Home Assistant as a Matter device, you can then add it into your Aqara Hub M3 using Matter. This effectively allows you to add third-party devices into the Aqara ecosystem, something that was previously impossible.
Here is how to set up this powerful bridge.
Understanding the Role of the Matter Bridge
It is crucial to distinguish between two concepts in the Home Assistant universe:
- Matter Controller (Official): Allows Home Assistant to control Matter devices (bulbs, plugs).
- Matter Bridge (The subject of this post): Allows Home Assistant to behave like a Matter device, exposing its own entities to other controllers.
The “Matter Bridge” add-on acts as a software gateway. It translates Home Assistant entities into virtual accessories that can be understood by any Matter controller, including the Aqara Hub M3, Apple Home, or Google Home.
Technical Prerequisites
Before proceeding with the installation, ensure you have the following:
- An up-to-date Home Assistant instance (OS or Supervised).
- A third-party Matter controller (Aqara Hub M3, Apple HomePod, Google Nest Hub, etc.) to receive the exposed devices.
- Access to community Add-ons.
Installing the Matter Bridge Add-on
The module is generally based on the open-source project matter-bridge by Luligu. Here is the standard procedure to integrate it:
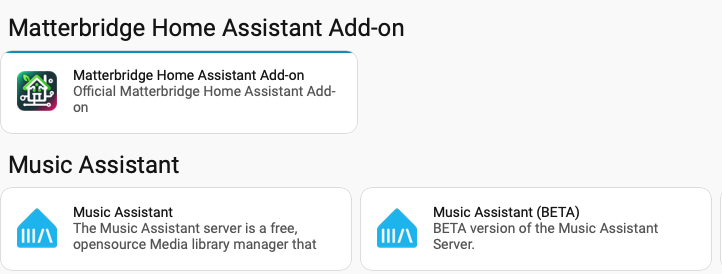
- Adding the Repository: In the Add-on Store, you need to add the repository corresponding to the project.

- Installation: Search for “Matter Bridge” in the list of add-ons and start the installation.
- Startup: Enable the “Watchdog” option to ensure automatic restart in case of a crash and others options.
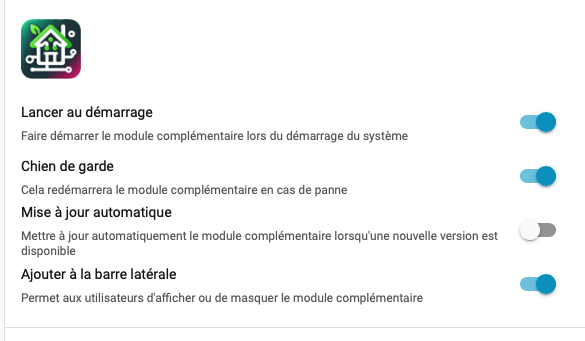
.
Configuring the HASS Connector (Home Assistant Plugin)
The “matter bridge-hass” is the software plugin within the module that ensures the link with the Home Assistant API. Unlike the Zigbee2Mqtt approach, this connector looks at your entire Home Assistant registry.
1. Creating a Long-Lived Access Token
The connector must not use your user password, but a dedicated token.
- Access your user profile in Home Assistant (bottom left of the sidebar).
- Scroll down to the Long-Lived Access Tokens section in the Security Tab
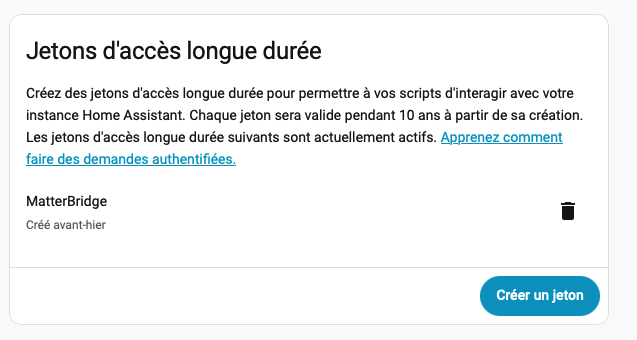
.
- Click on Create Token, name it “Matter Bridge”, and copy the generated character string. Note: This string will only be visible once.
2. Setting up the Plugin
In the configuration interface of the Matter Bridge add-on (or via its dedicated web interface once launched):
-
Host: Indicate the IP address of your Home Assistant (e.g.,
http://192.168.1.X:8123). -
Token: Paste the token generated previously.
-
Entity Filtering: This is the most critical step. The connector allows you to select which entities should be exposed. You can filter by domain (e.g.,
light,switch,sensor) or by specific entity IDs.

Pairing and Usage
Once the module is configured and restarted:
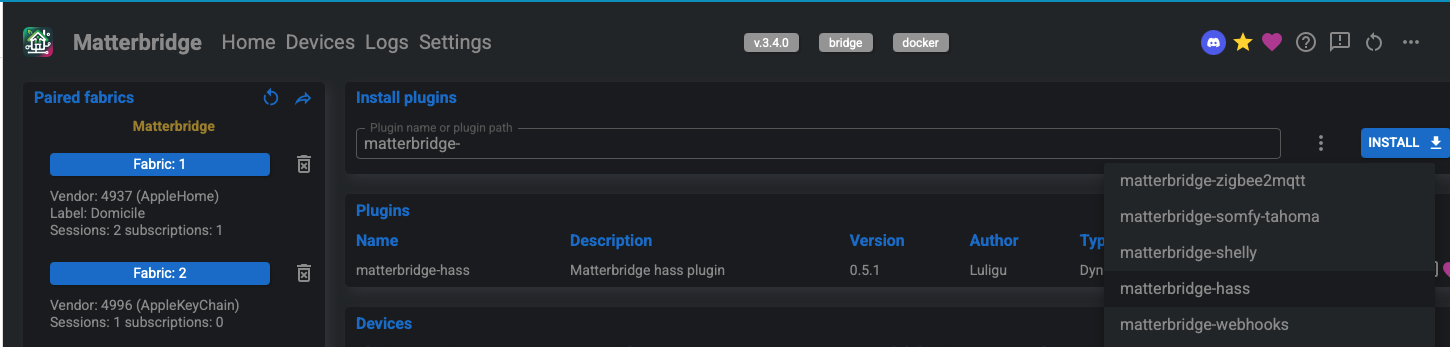
- Retrieving the QR Code: Consult the add-on logs or its web interface to find the QR Code of the generated “Bridge” device.
- Inclusion: Open the application of your target ecosystem (e.g., Aqara Home app for the M3 Hub, or Apple Home), choose “Add Accessory”, and scan the QR Code.
- Verification: The Home Assistant devices configured in the connector should appear instantly in the third-party application.
- Check that all devices are listed by default in Matter Bridge.
Tips : I created a label “matterbridge”, this label is apply to any device I want to share as Matter. To make sure this label is use by Matter bridge, in the setting of the Connect to add a “filterBylabel”, and add your label.
Doing so, You’ll be able to add automatically all device as matter.

Conclusion
Using the Matter Bridge add-on with the HASS connector constitutes a significant step forward for opening up Home Assistant. It allows you to keep the power of Home Assistant automations while offering a simplified control interface to other members of the household via mainstream ecosystems like Aqara or Apple Home.
Hope this helps you !