As the successor to the popular FP2, the new Aqara FP400 promises exciting advancements in mmWave presence detection. Here are the initial test results and practical impressions.
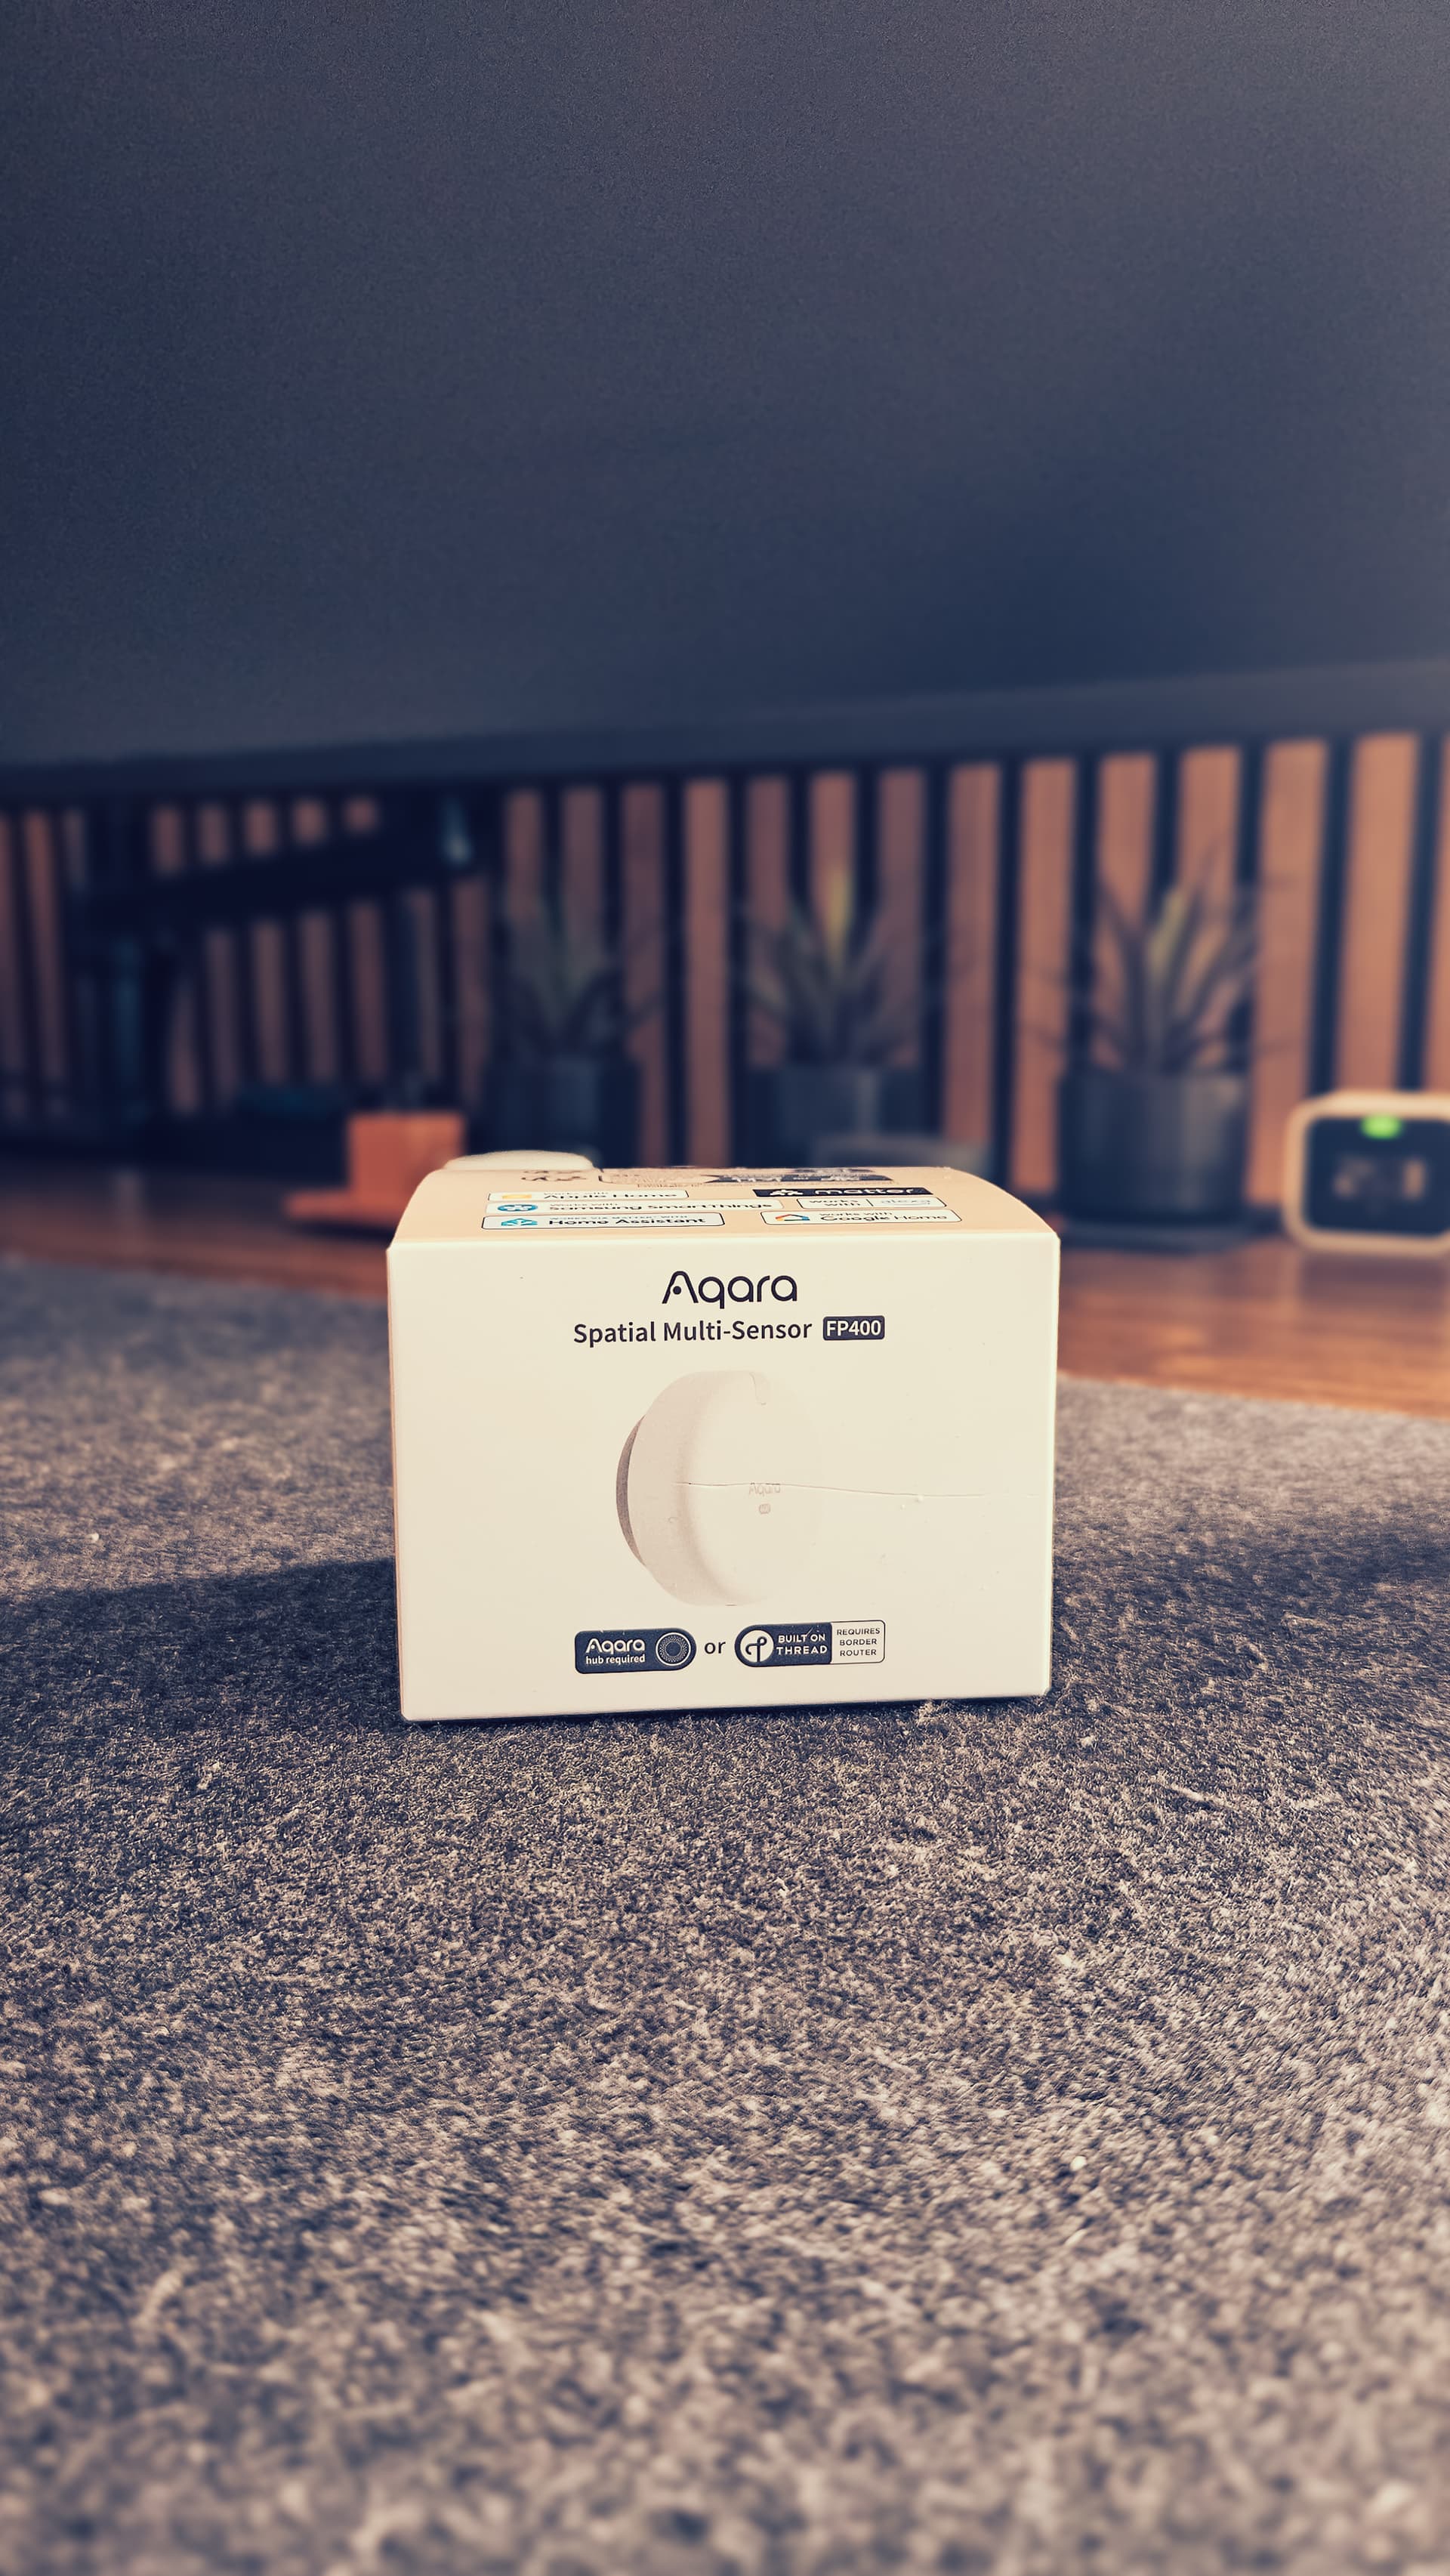
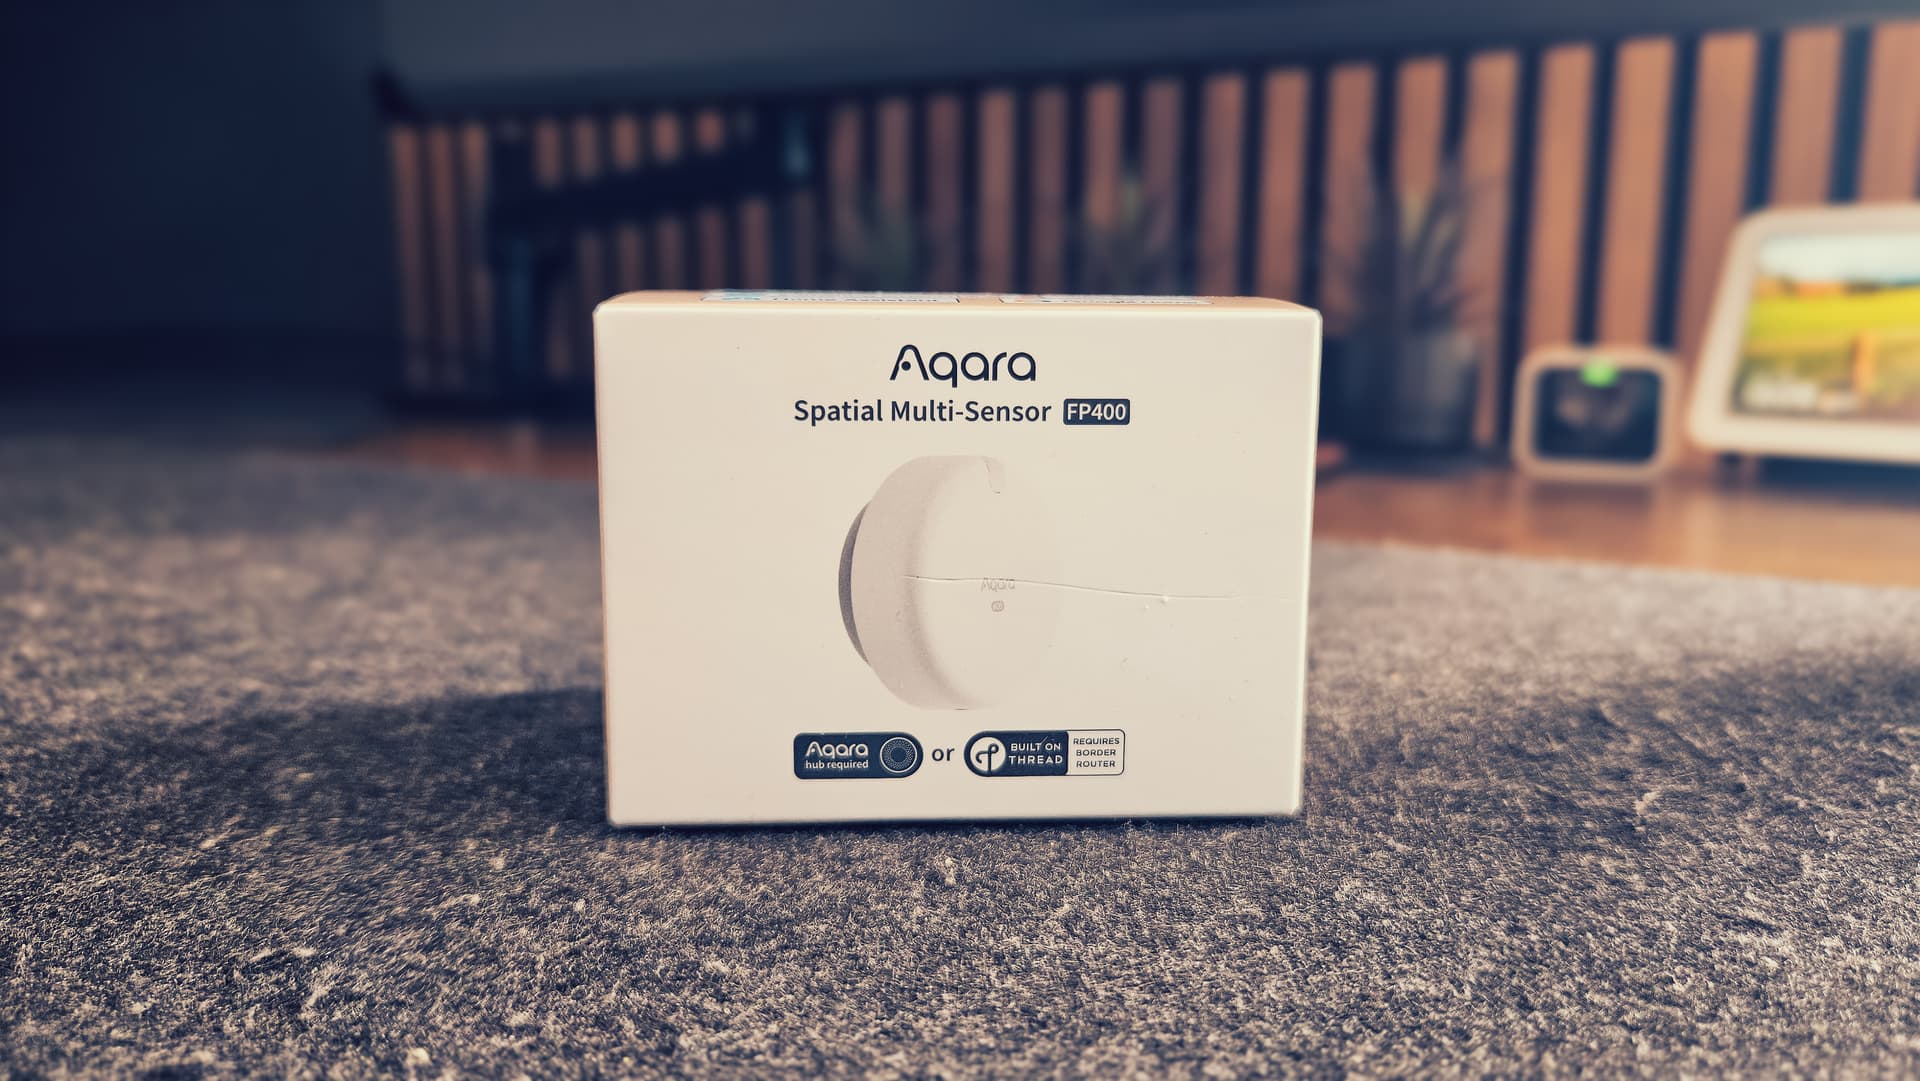
Design & Scope of Delivery
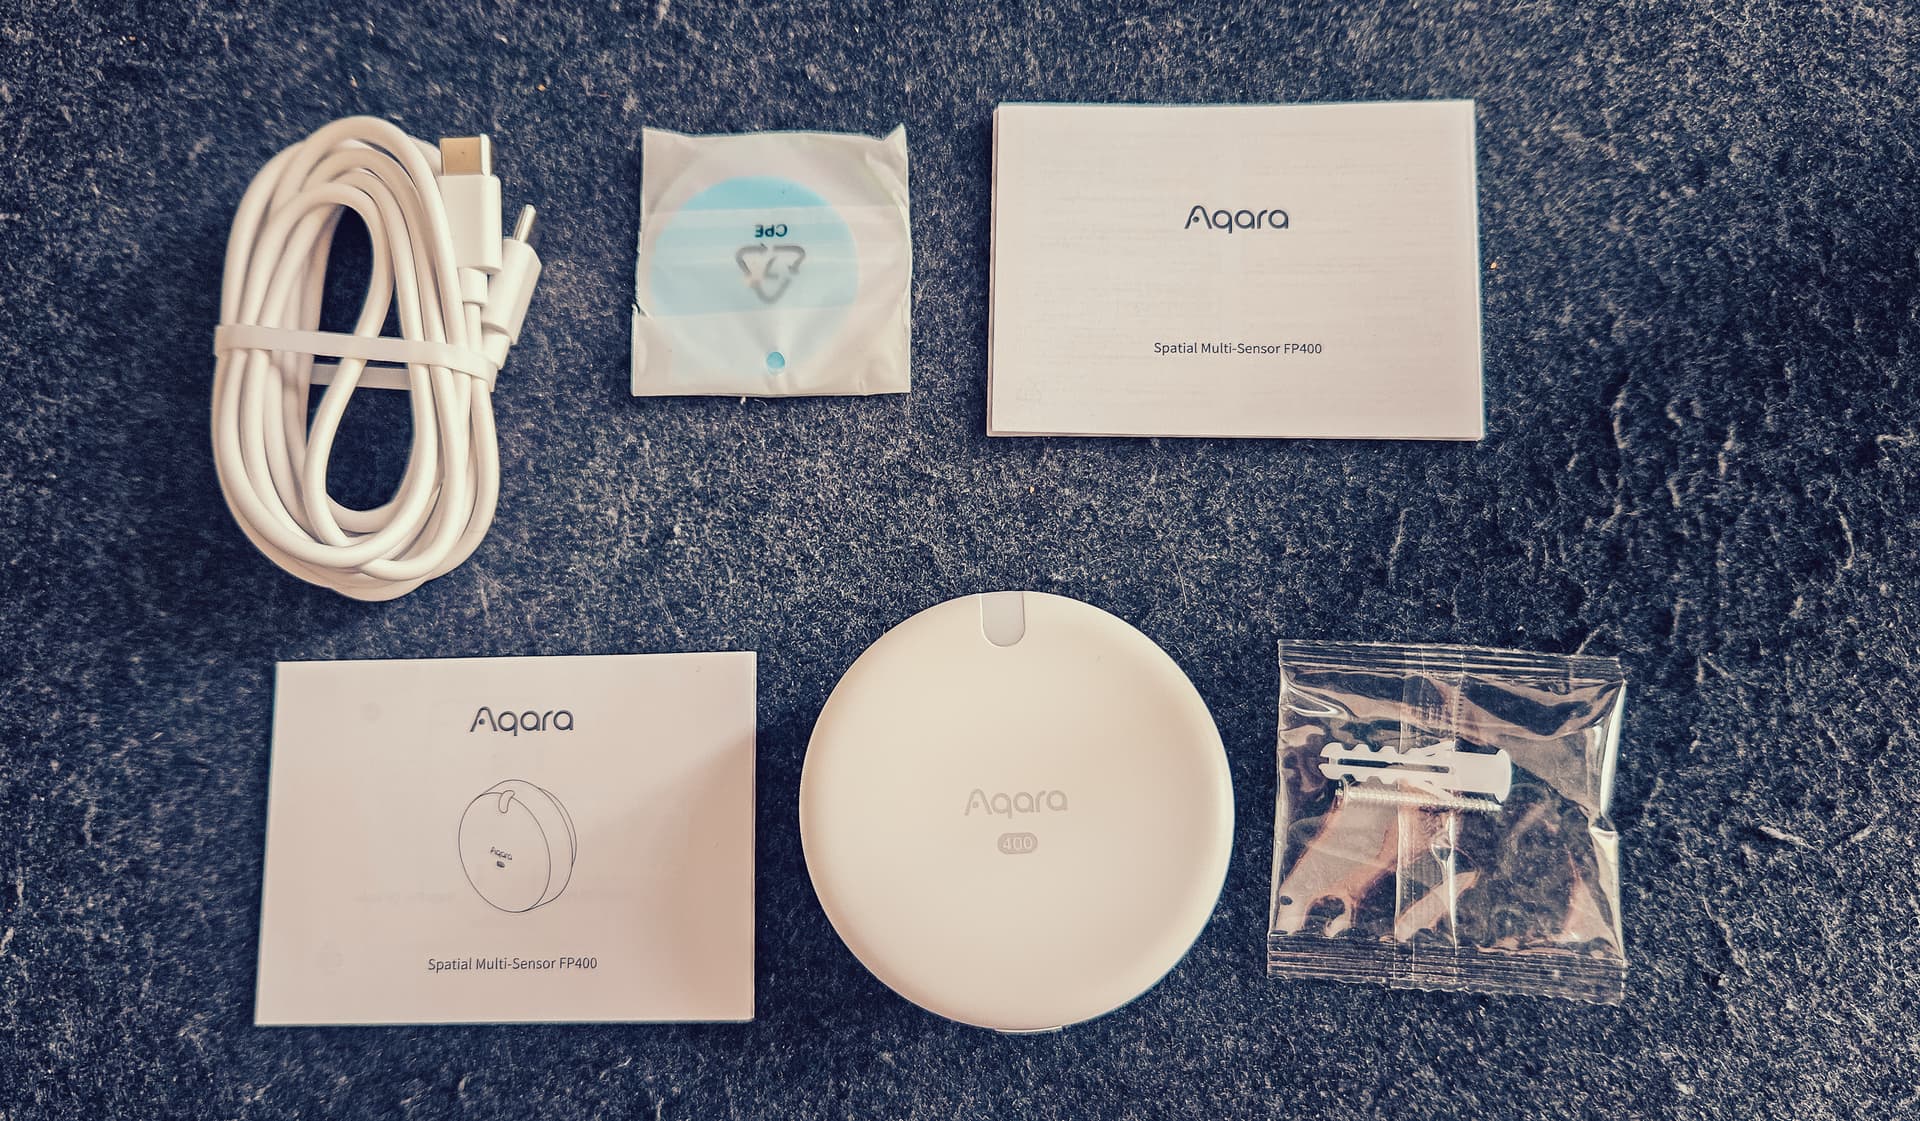
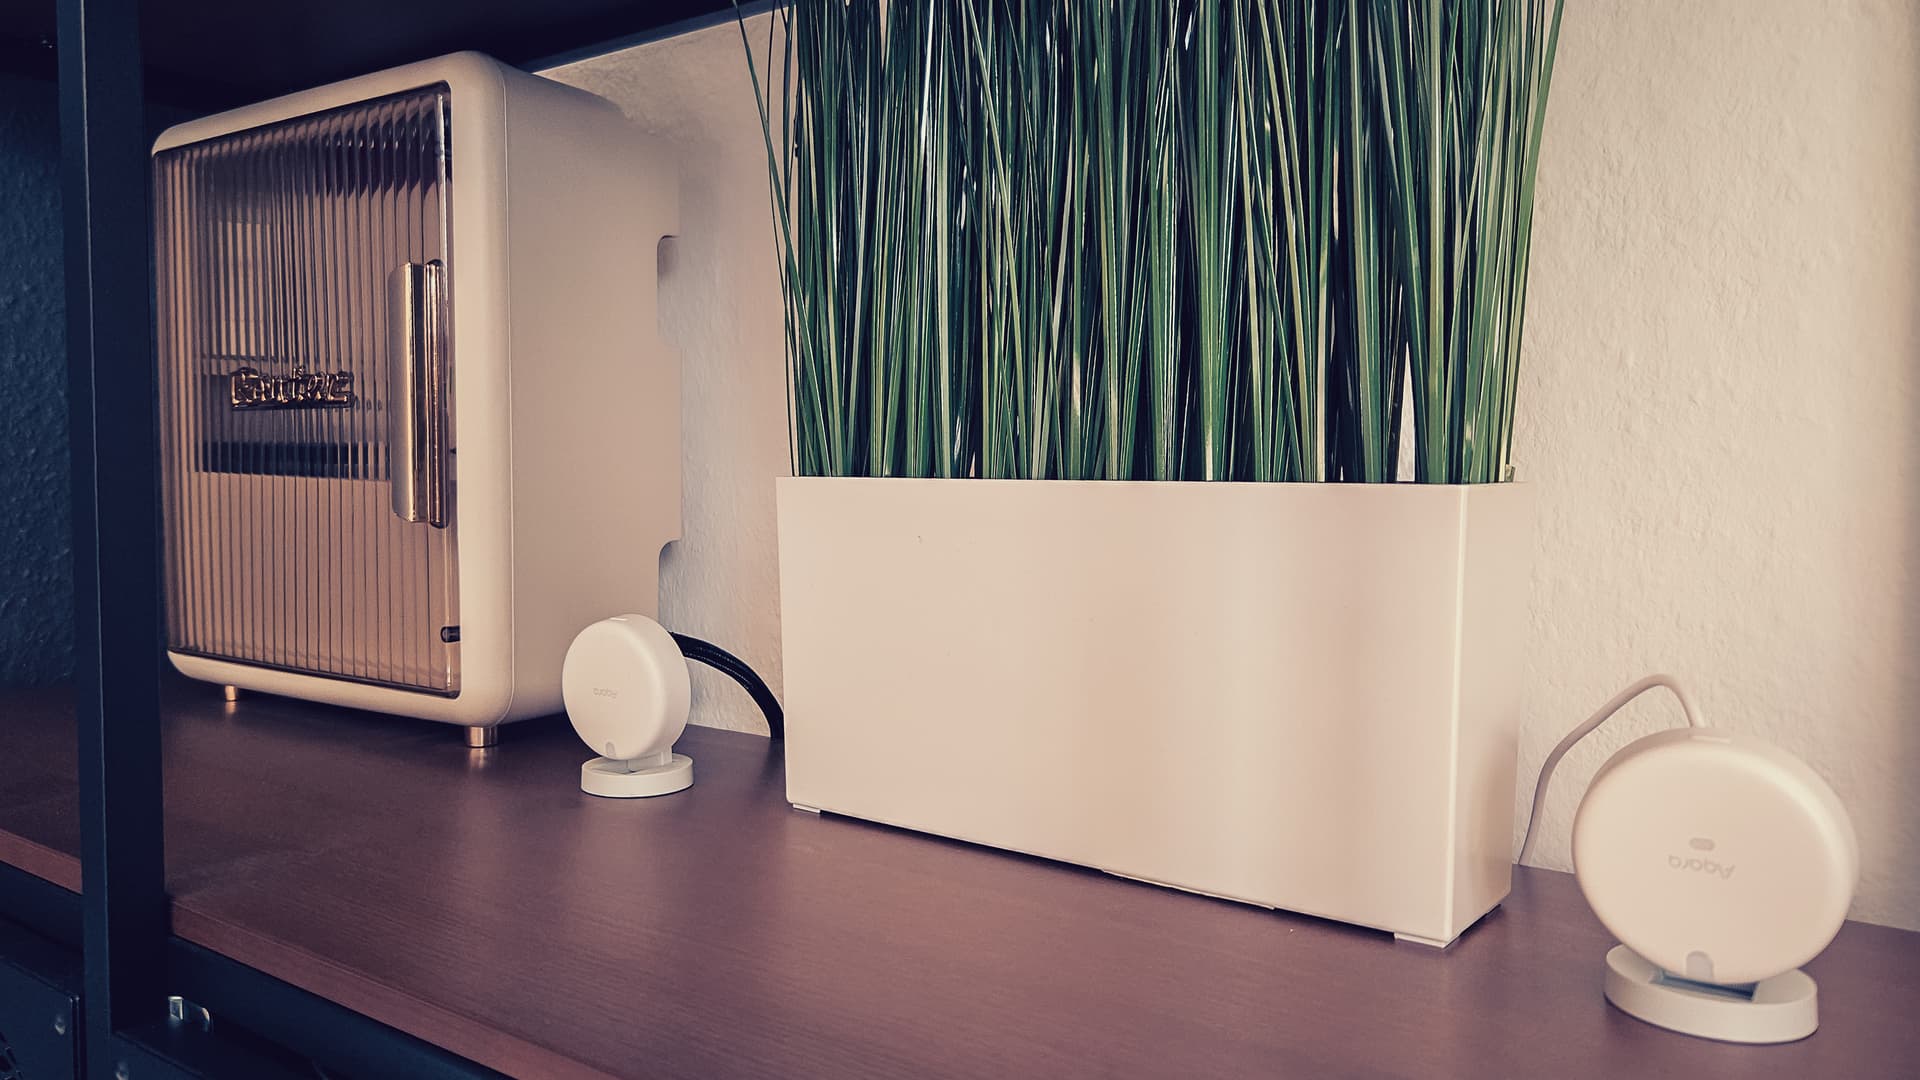
- Appearance: Visually, the FP400 looks largely identical to its predecessor, the FP2—with one small detail difference: while the FP2 only had “Aqara” printed on the front, the FP400 features both “Aqara” and the model designation “FP400” on the front panel.
- Scope of Delivery: In addition to the sensor itself, the package includes an adhesive pad, a magnetic metal plate, wall plugs, screws, and a USB-C to USB-C cable (the predecessor came with a USB-C to USB-A cable).
Initial Setup & Configuration
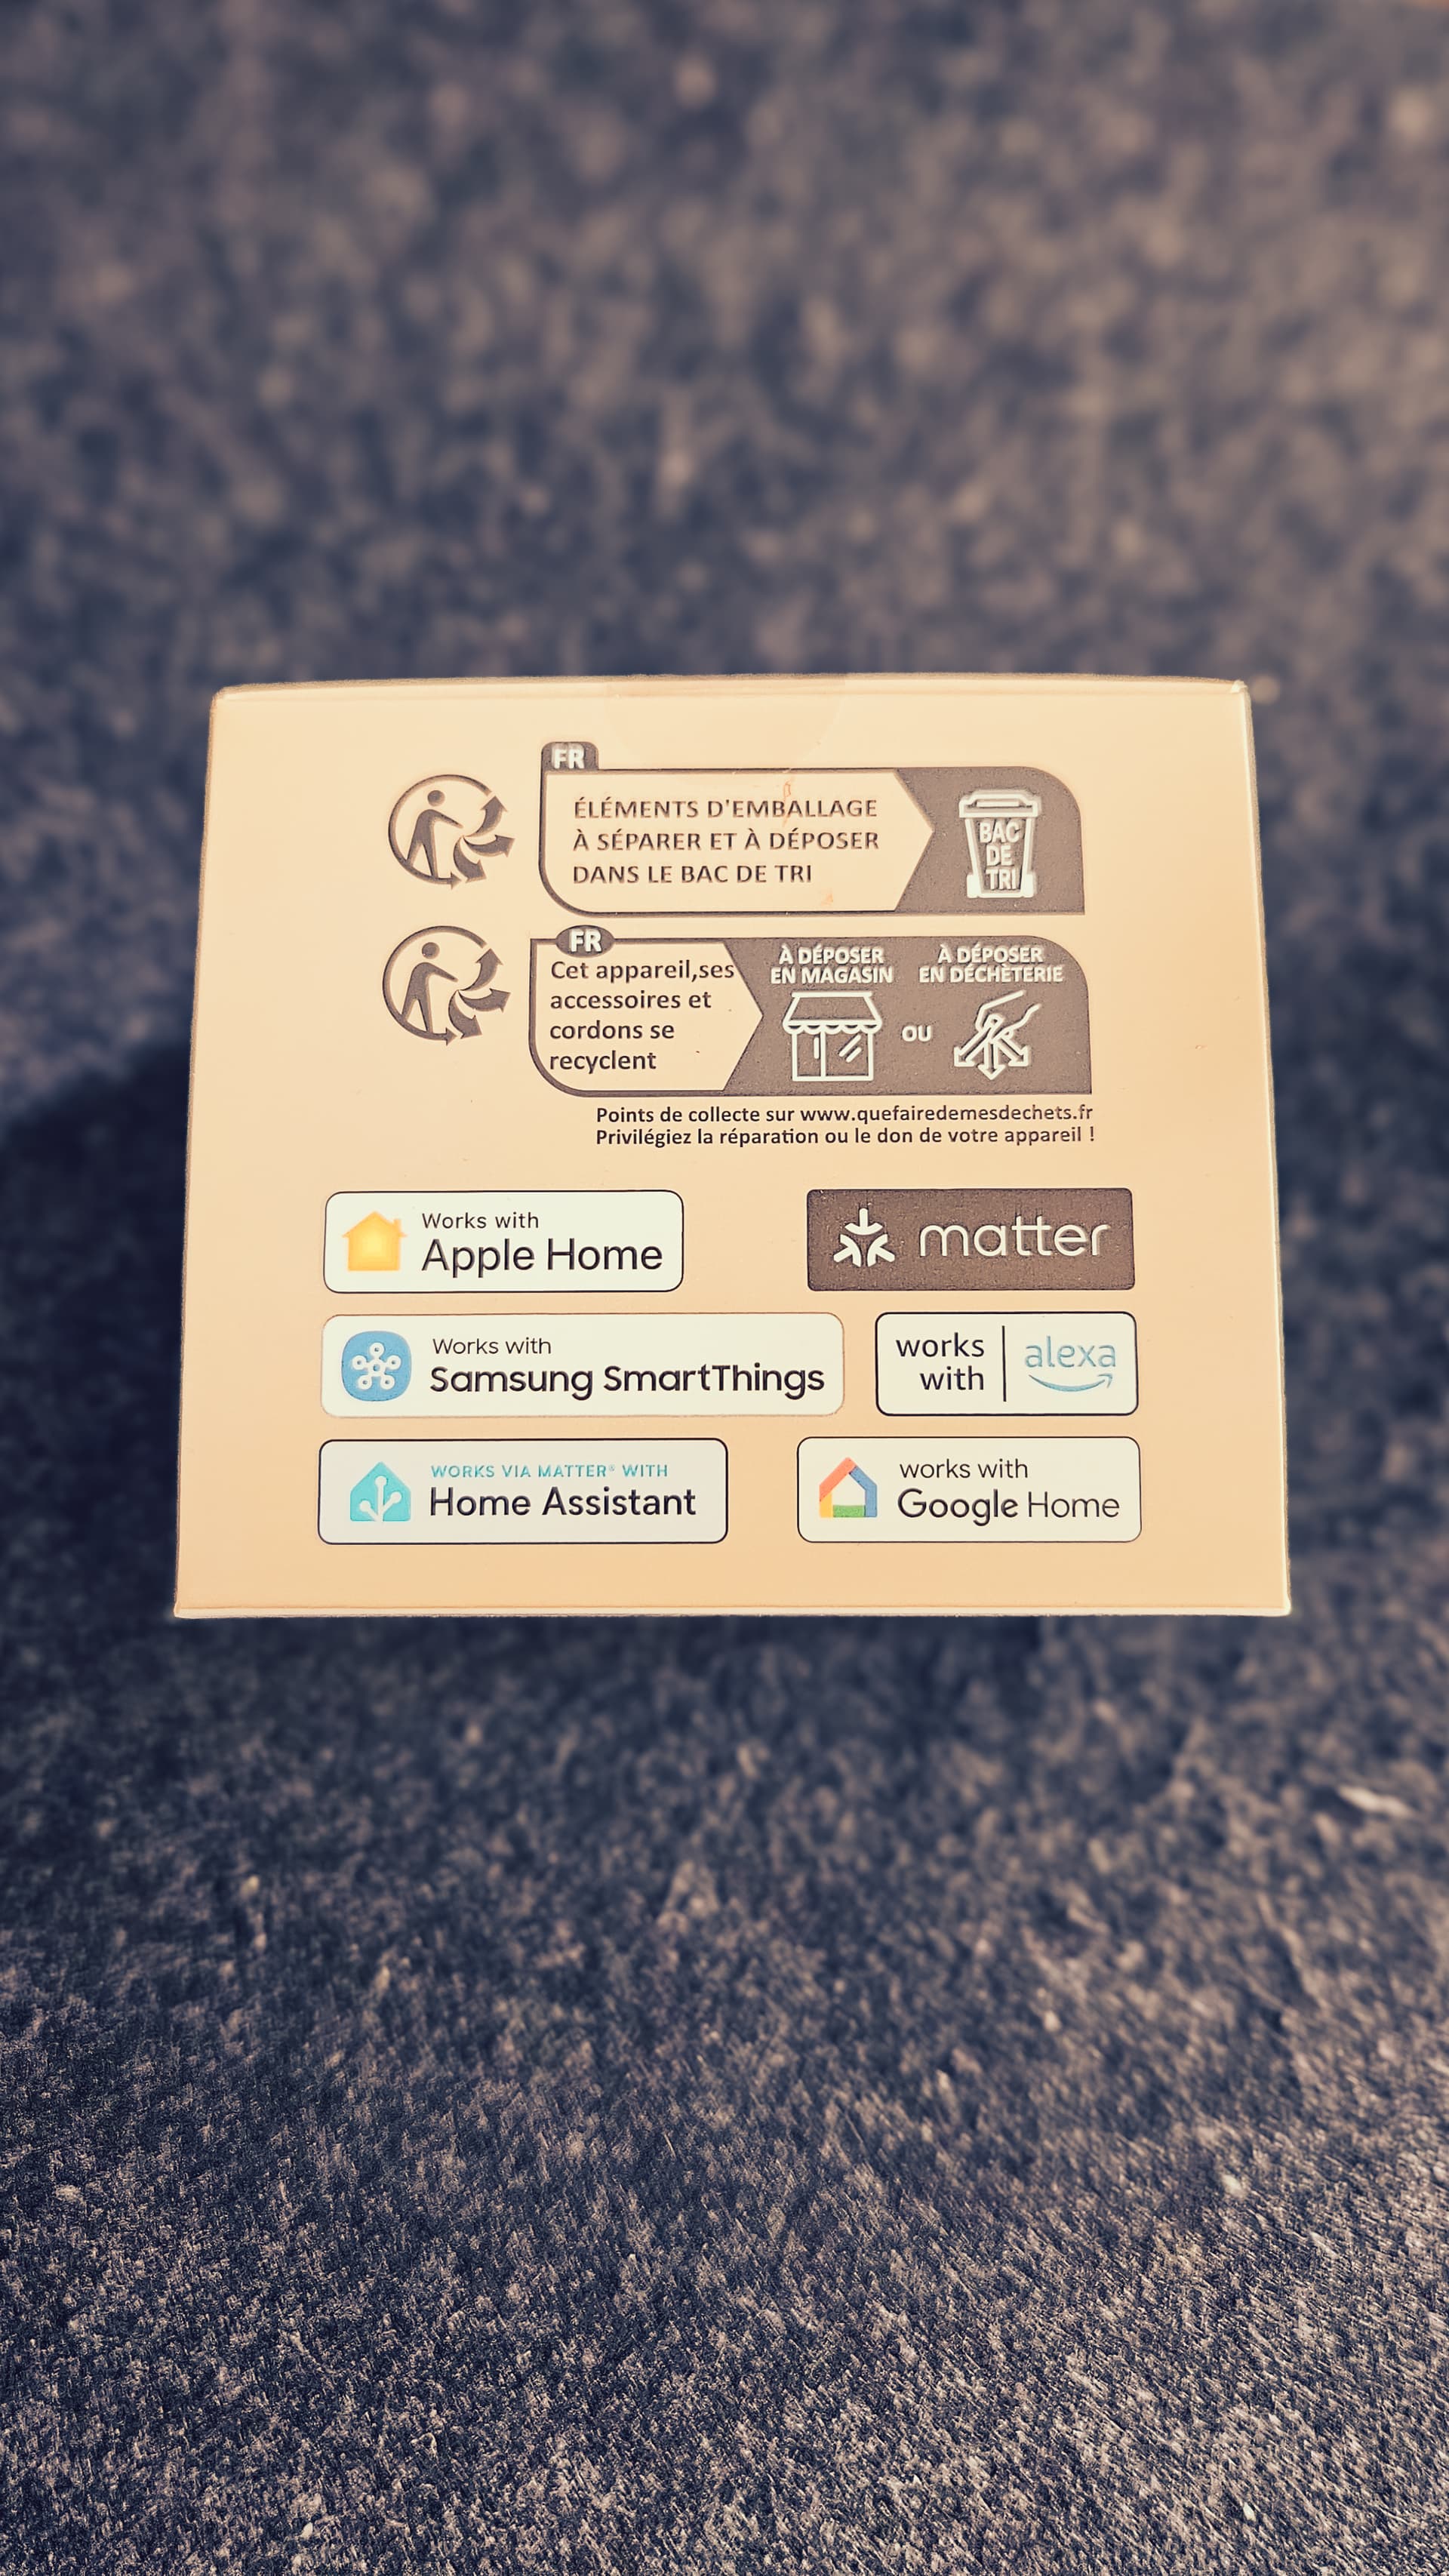
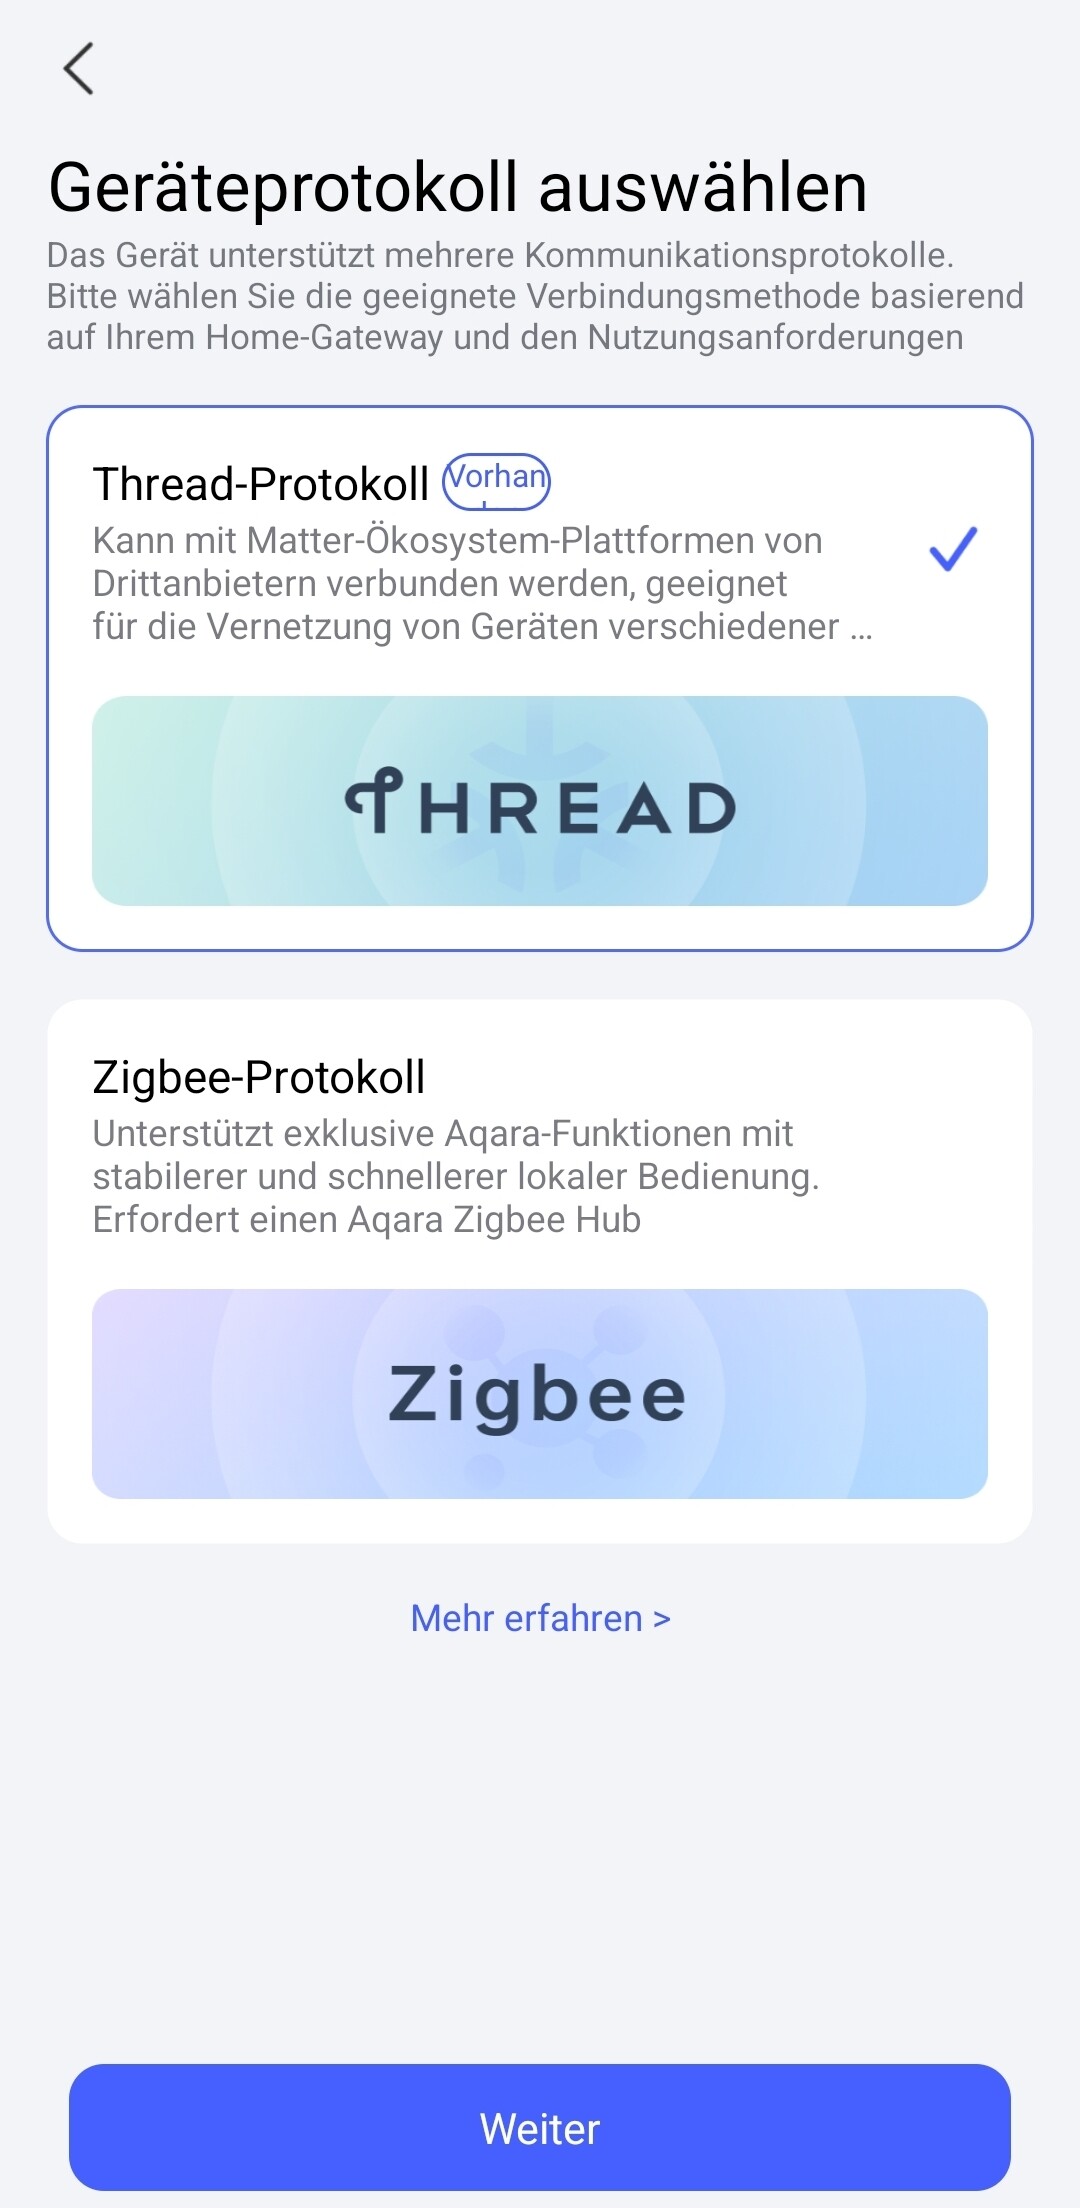
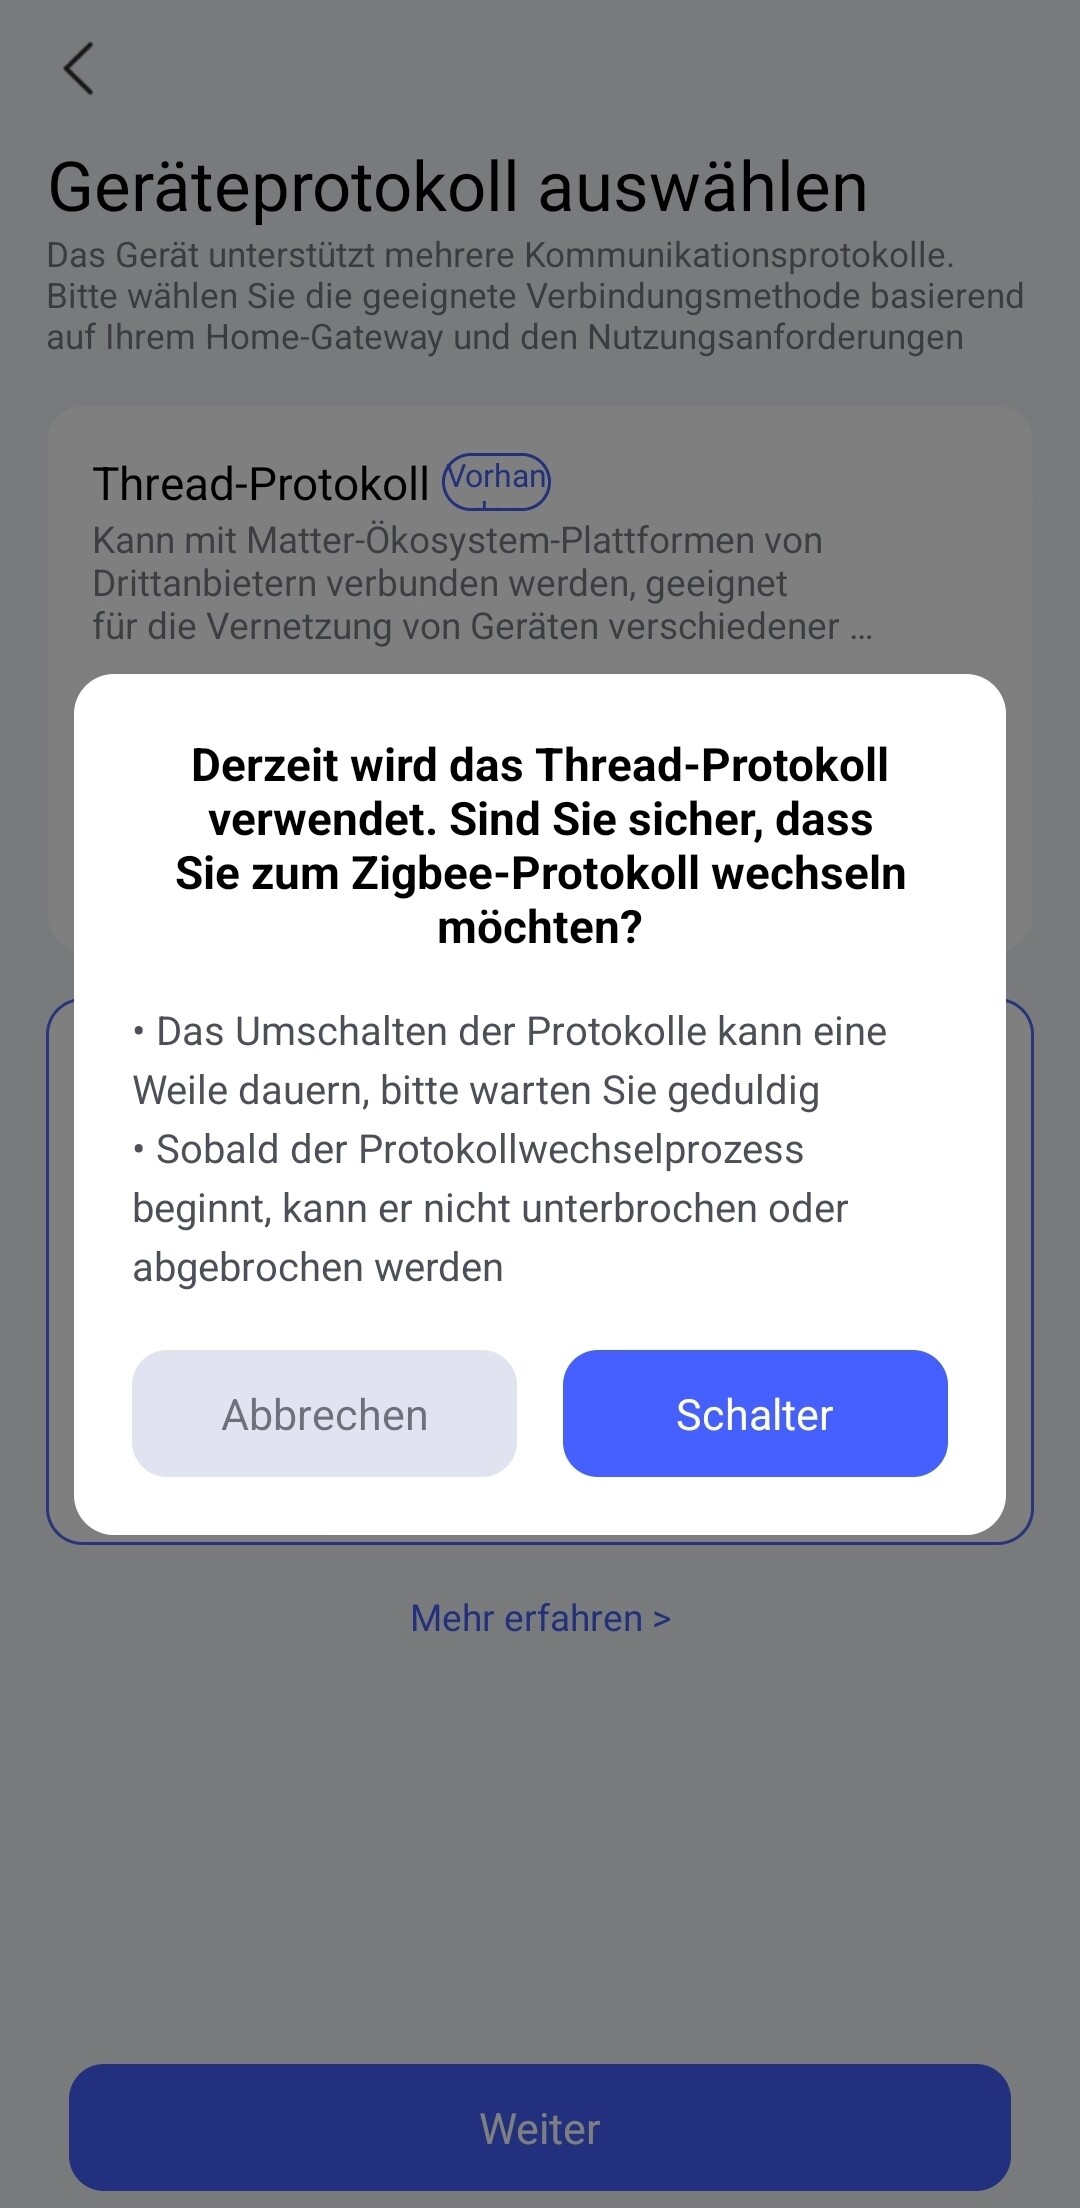
- Default Connection: Out of the box, the sensor is set to Thread by default.
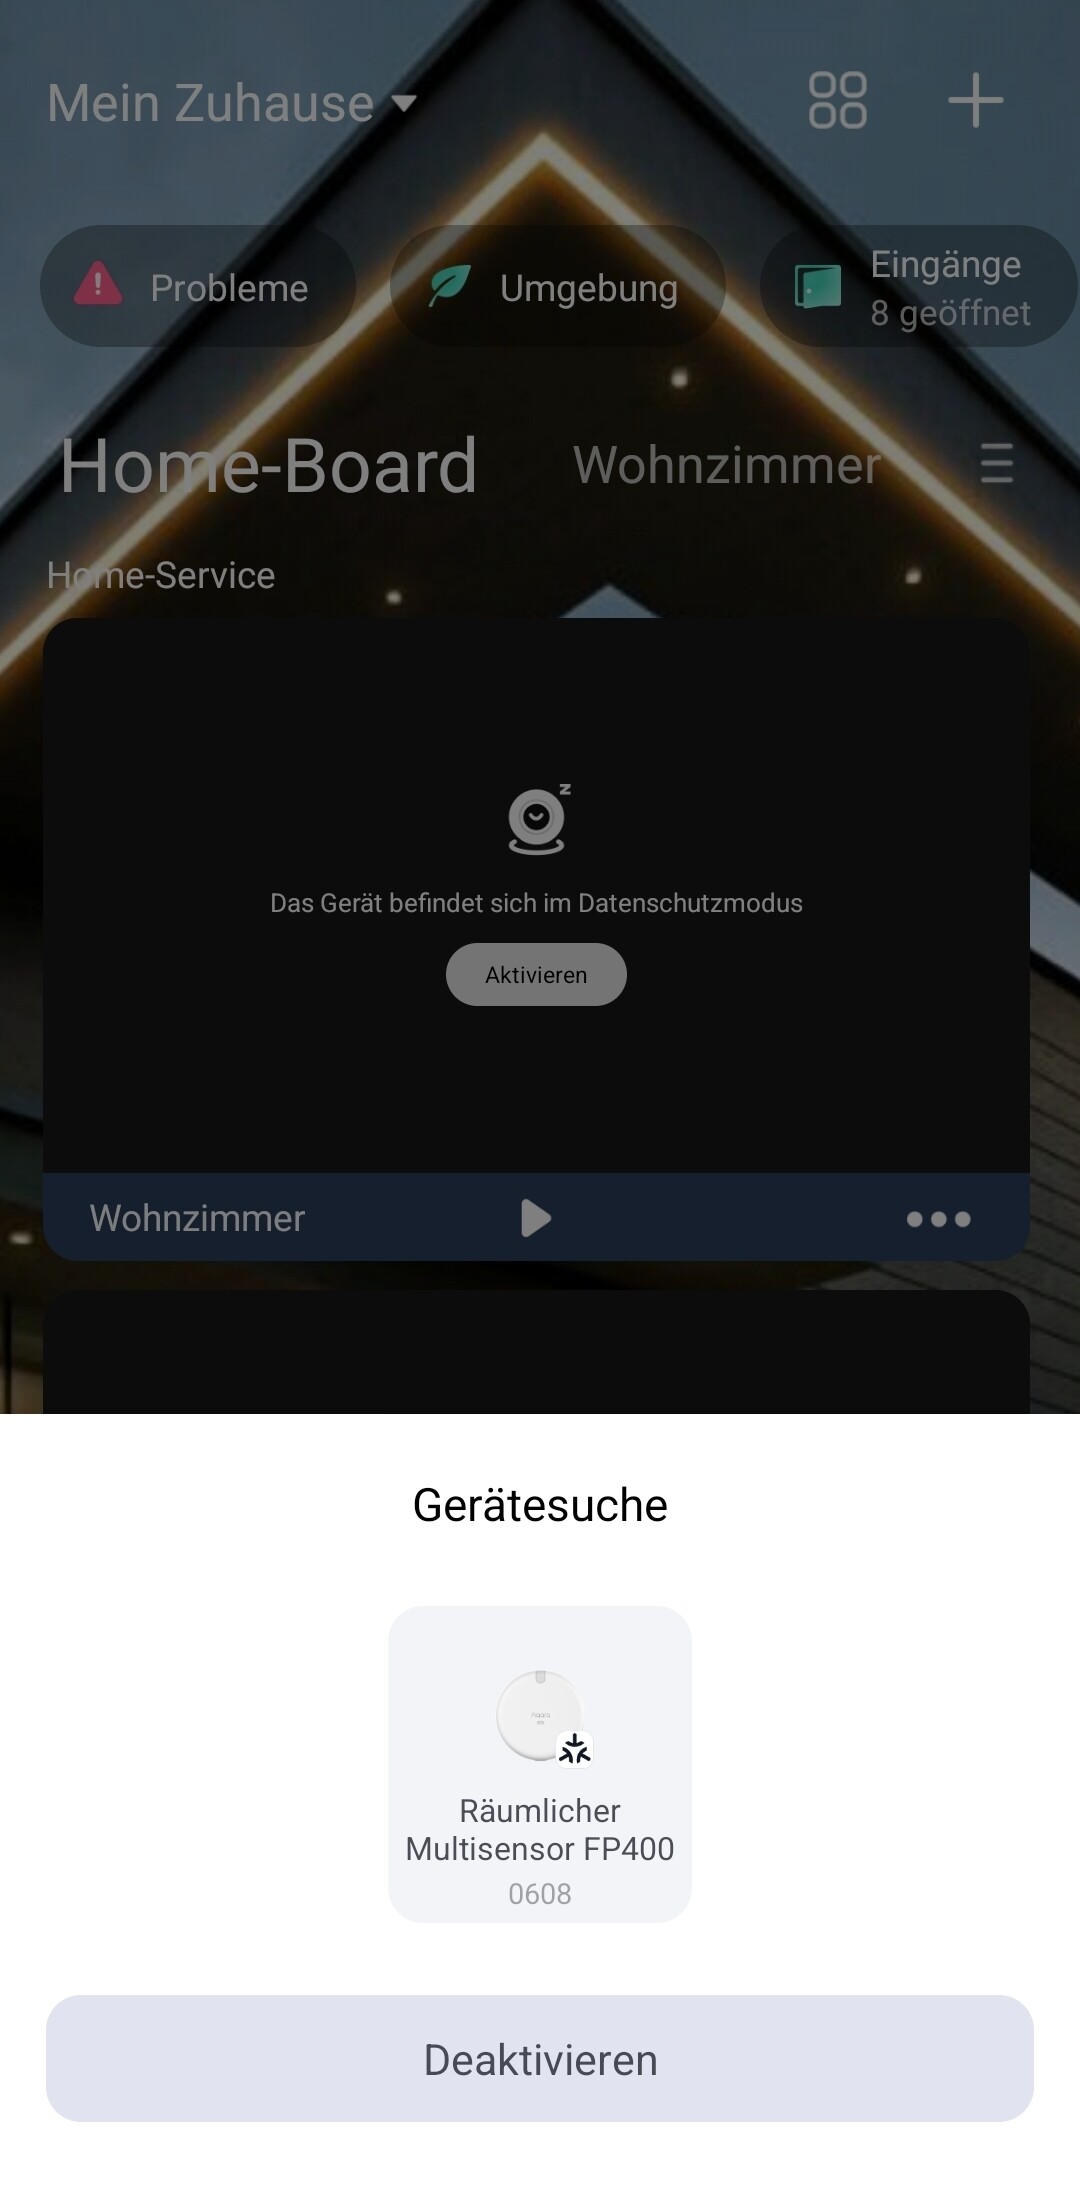
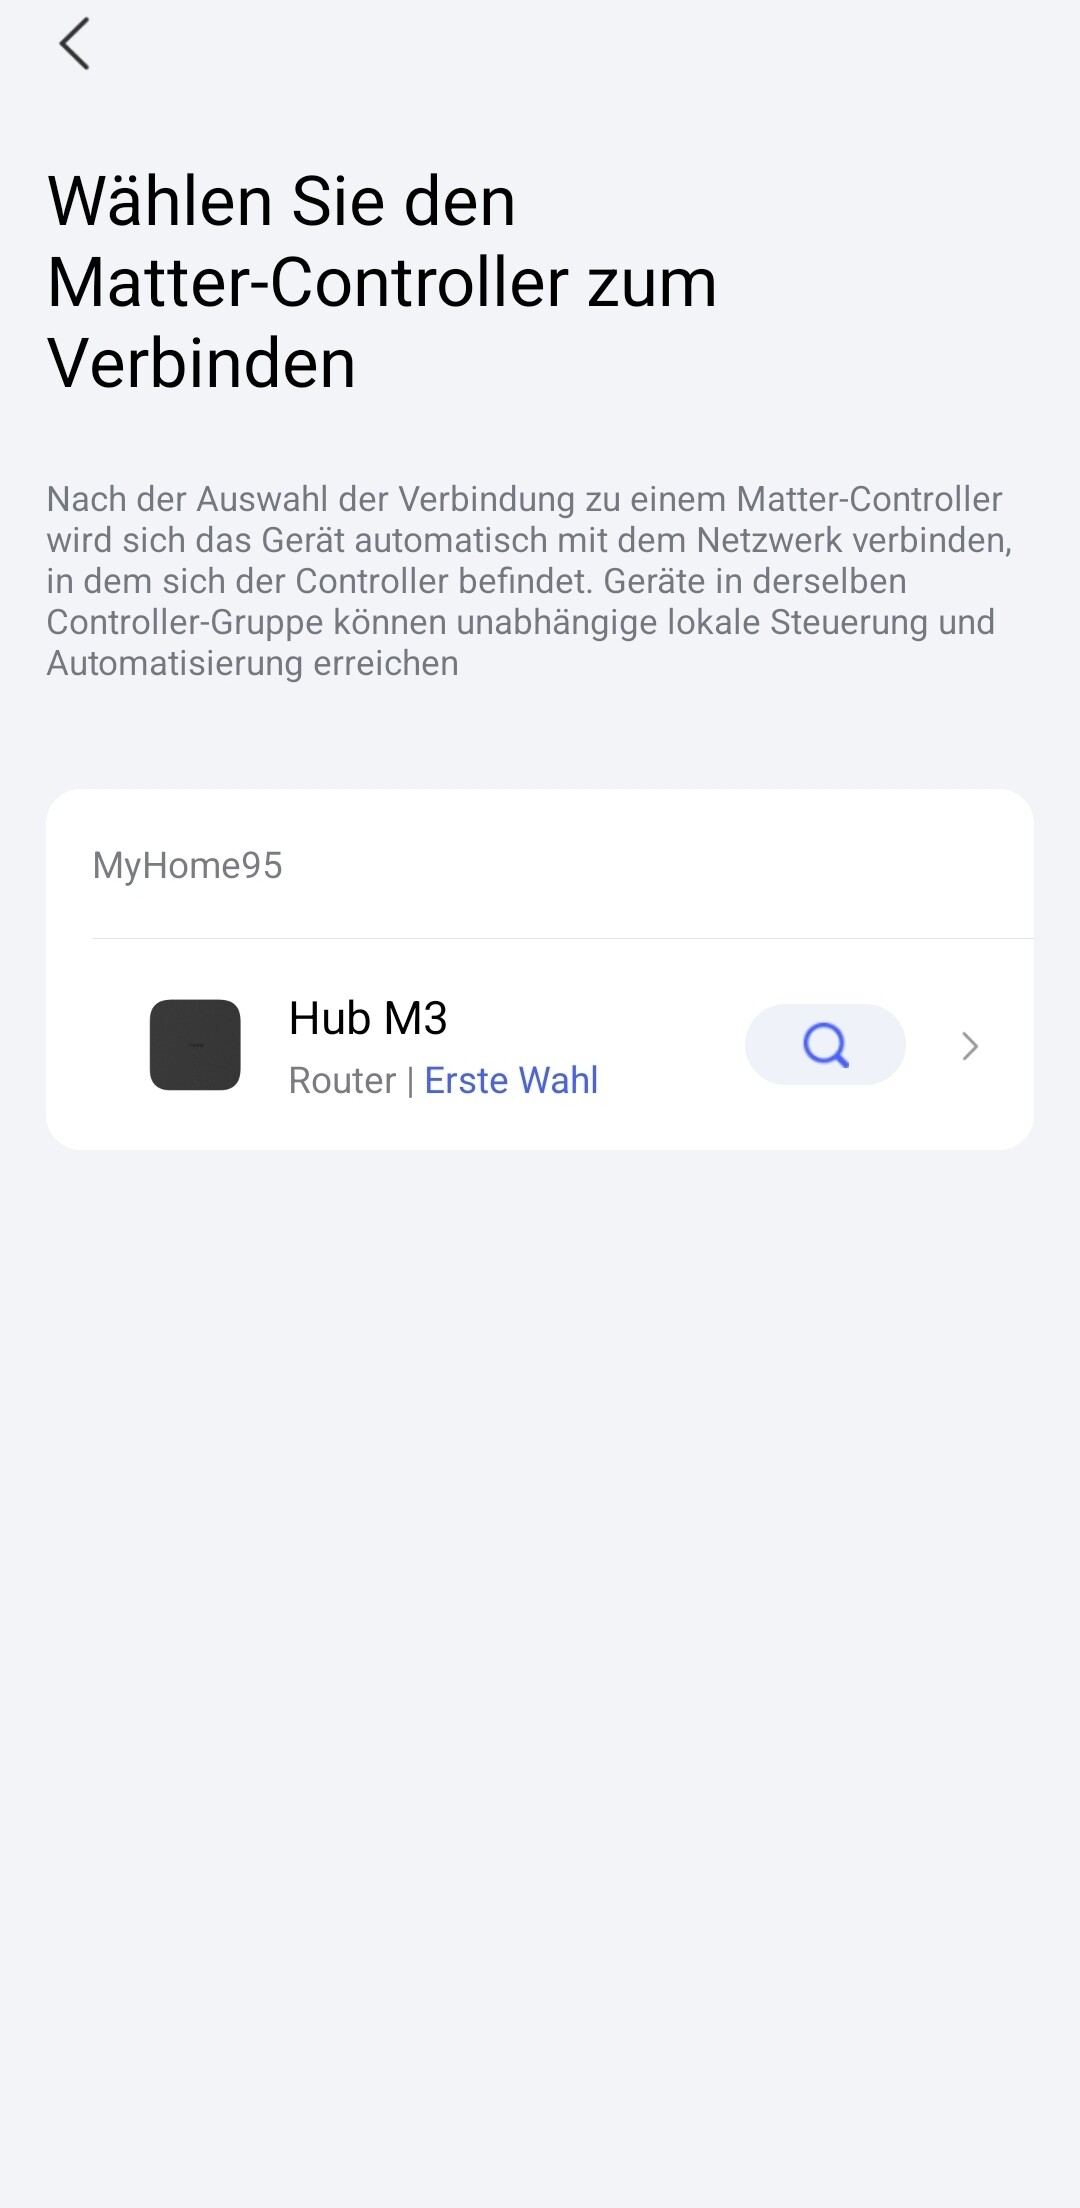
- Setup Process: Initial setup should be done via the official Aqara App, as all fundamental configurations must be performed there. The FP400 is the first Aqara product that does not require an Aqara border router for setup (see YouTube Video https://youtu.be/6cvEowFILCQ?si=hTj4MWbkrhsBK5fj )
- Since I own the M3 Hub, I unfortunately wasn’t able to test this aspect, even though an Apple HomePod mini is also present in my setup. I also cannot rule out that I might have done something wrong here.
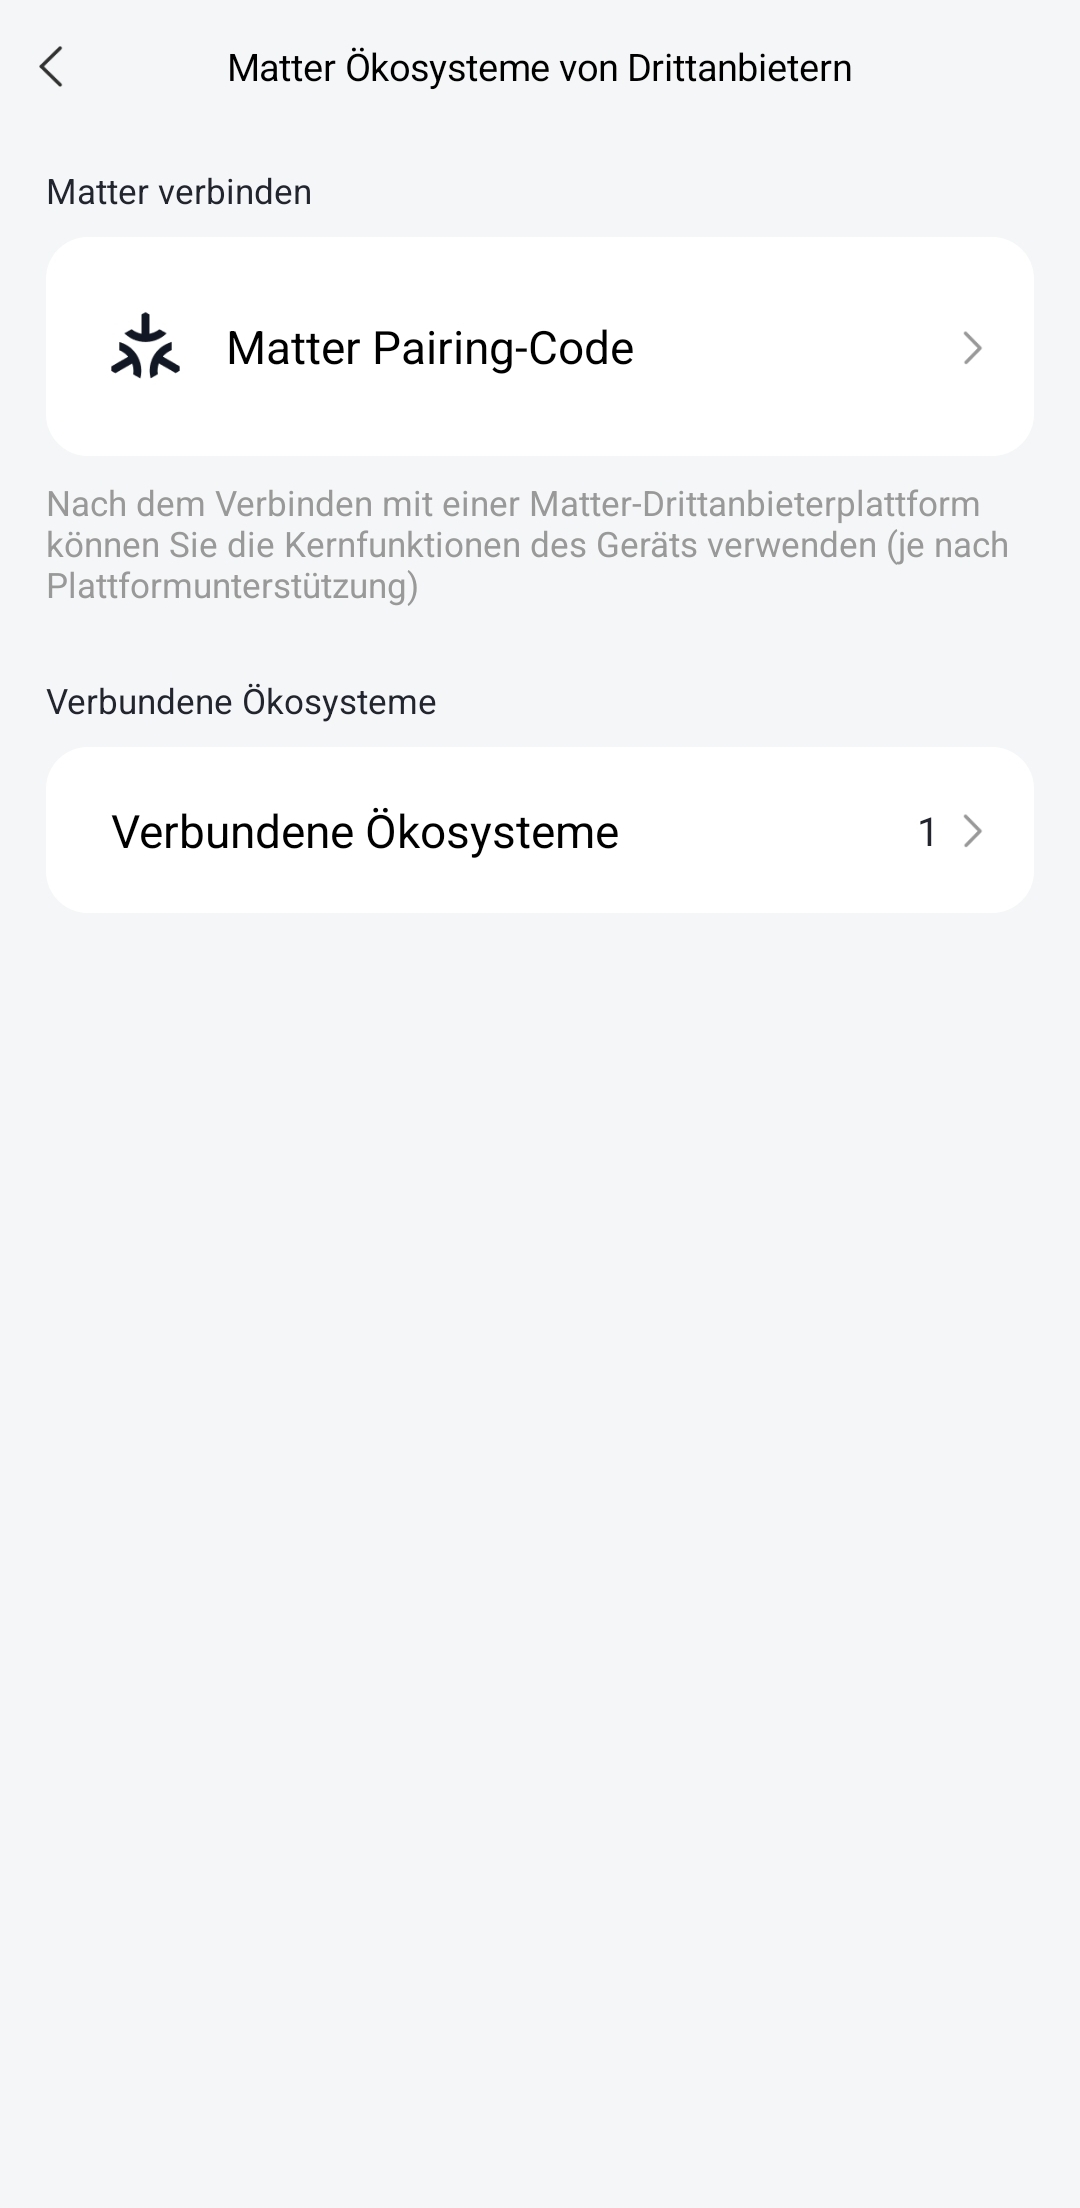
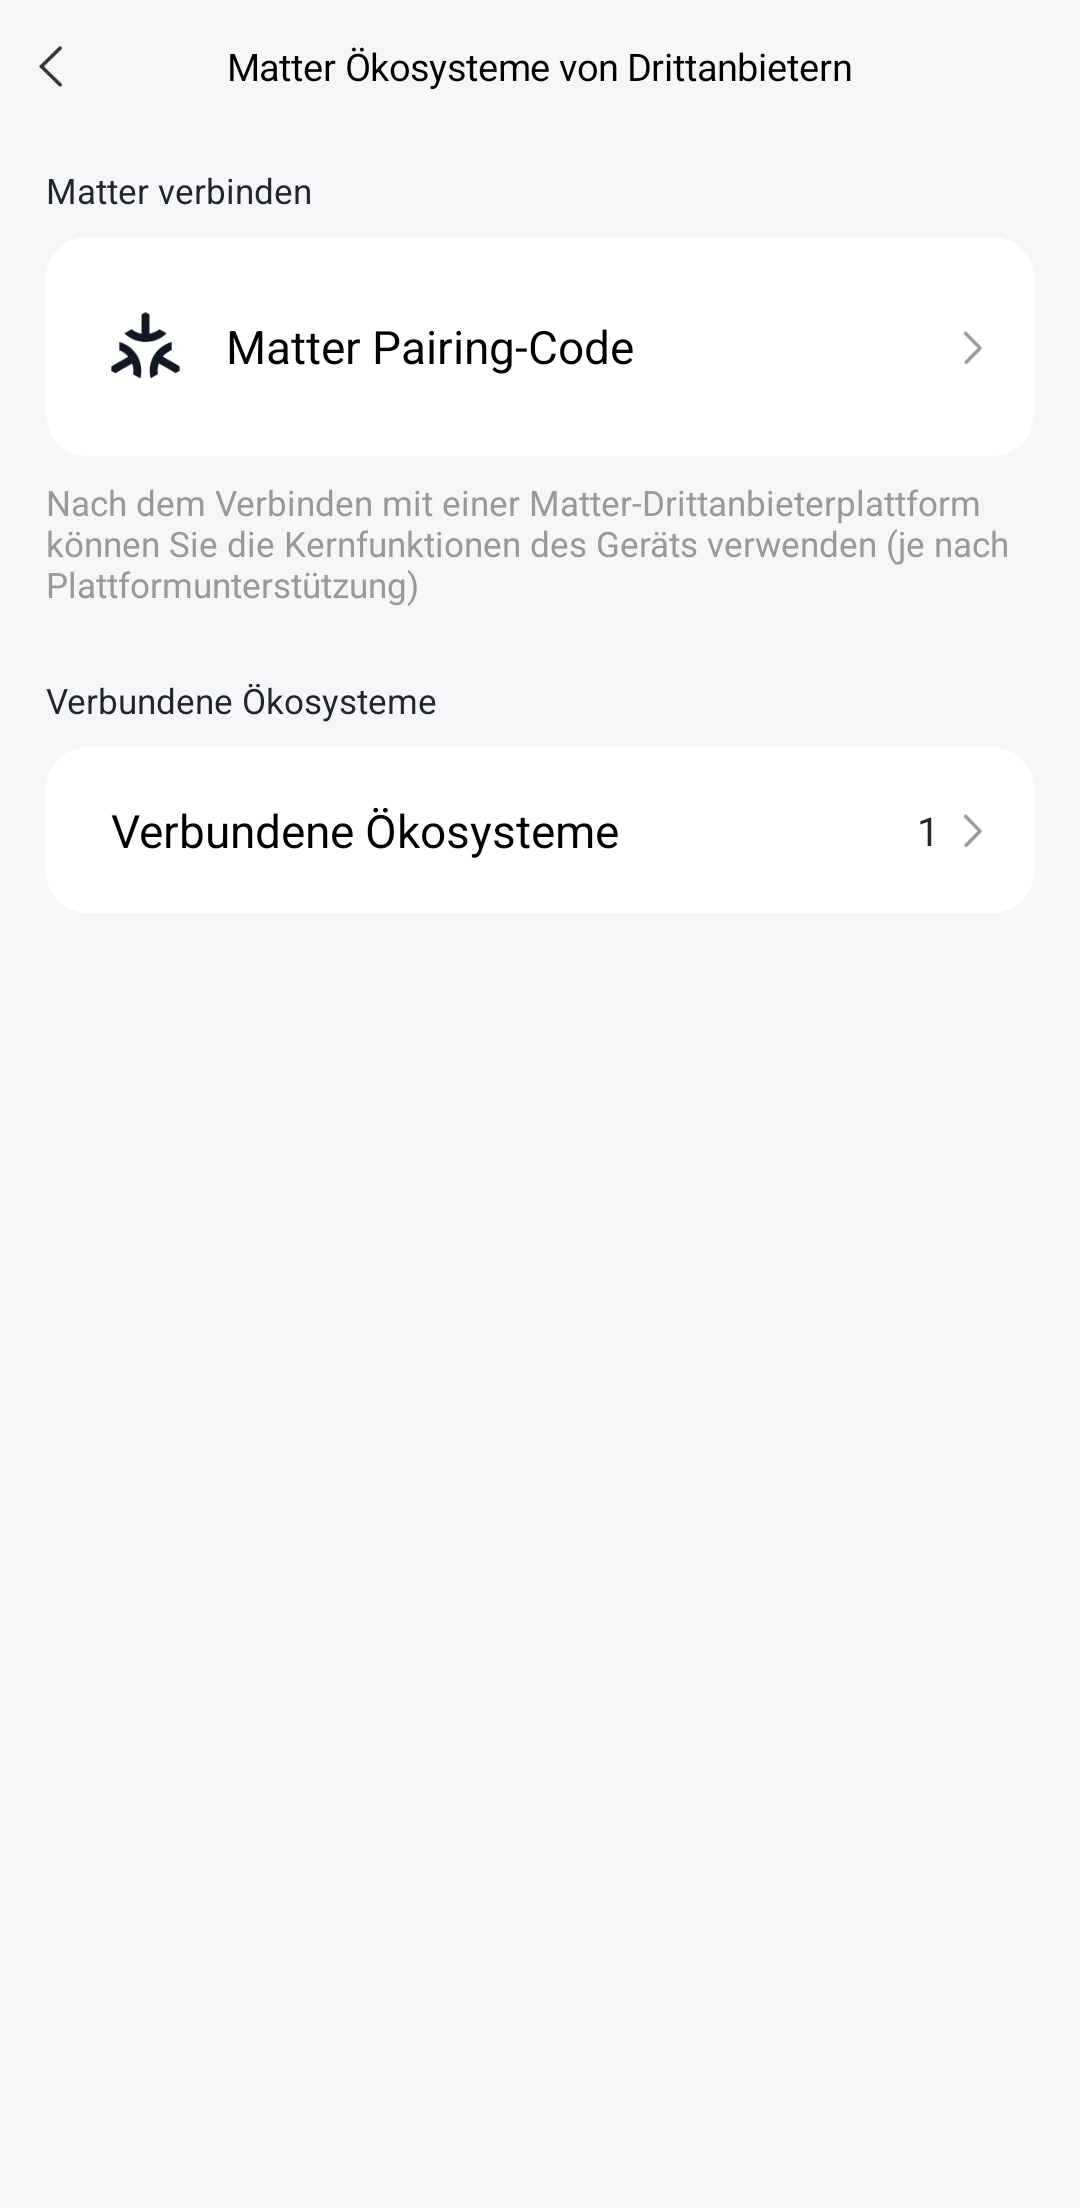
- Matter Integration: Because the printed Matter code is already used when integrating it into the Aqara system, a new pairing code must be generated within the Aqara App to pass the sensor over to the Apple ecosystem or the Ecosystem of your choice. Integration using this generated code works immediately afterward.
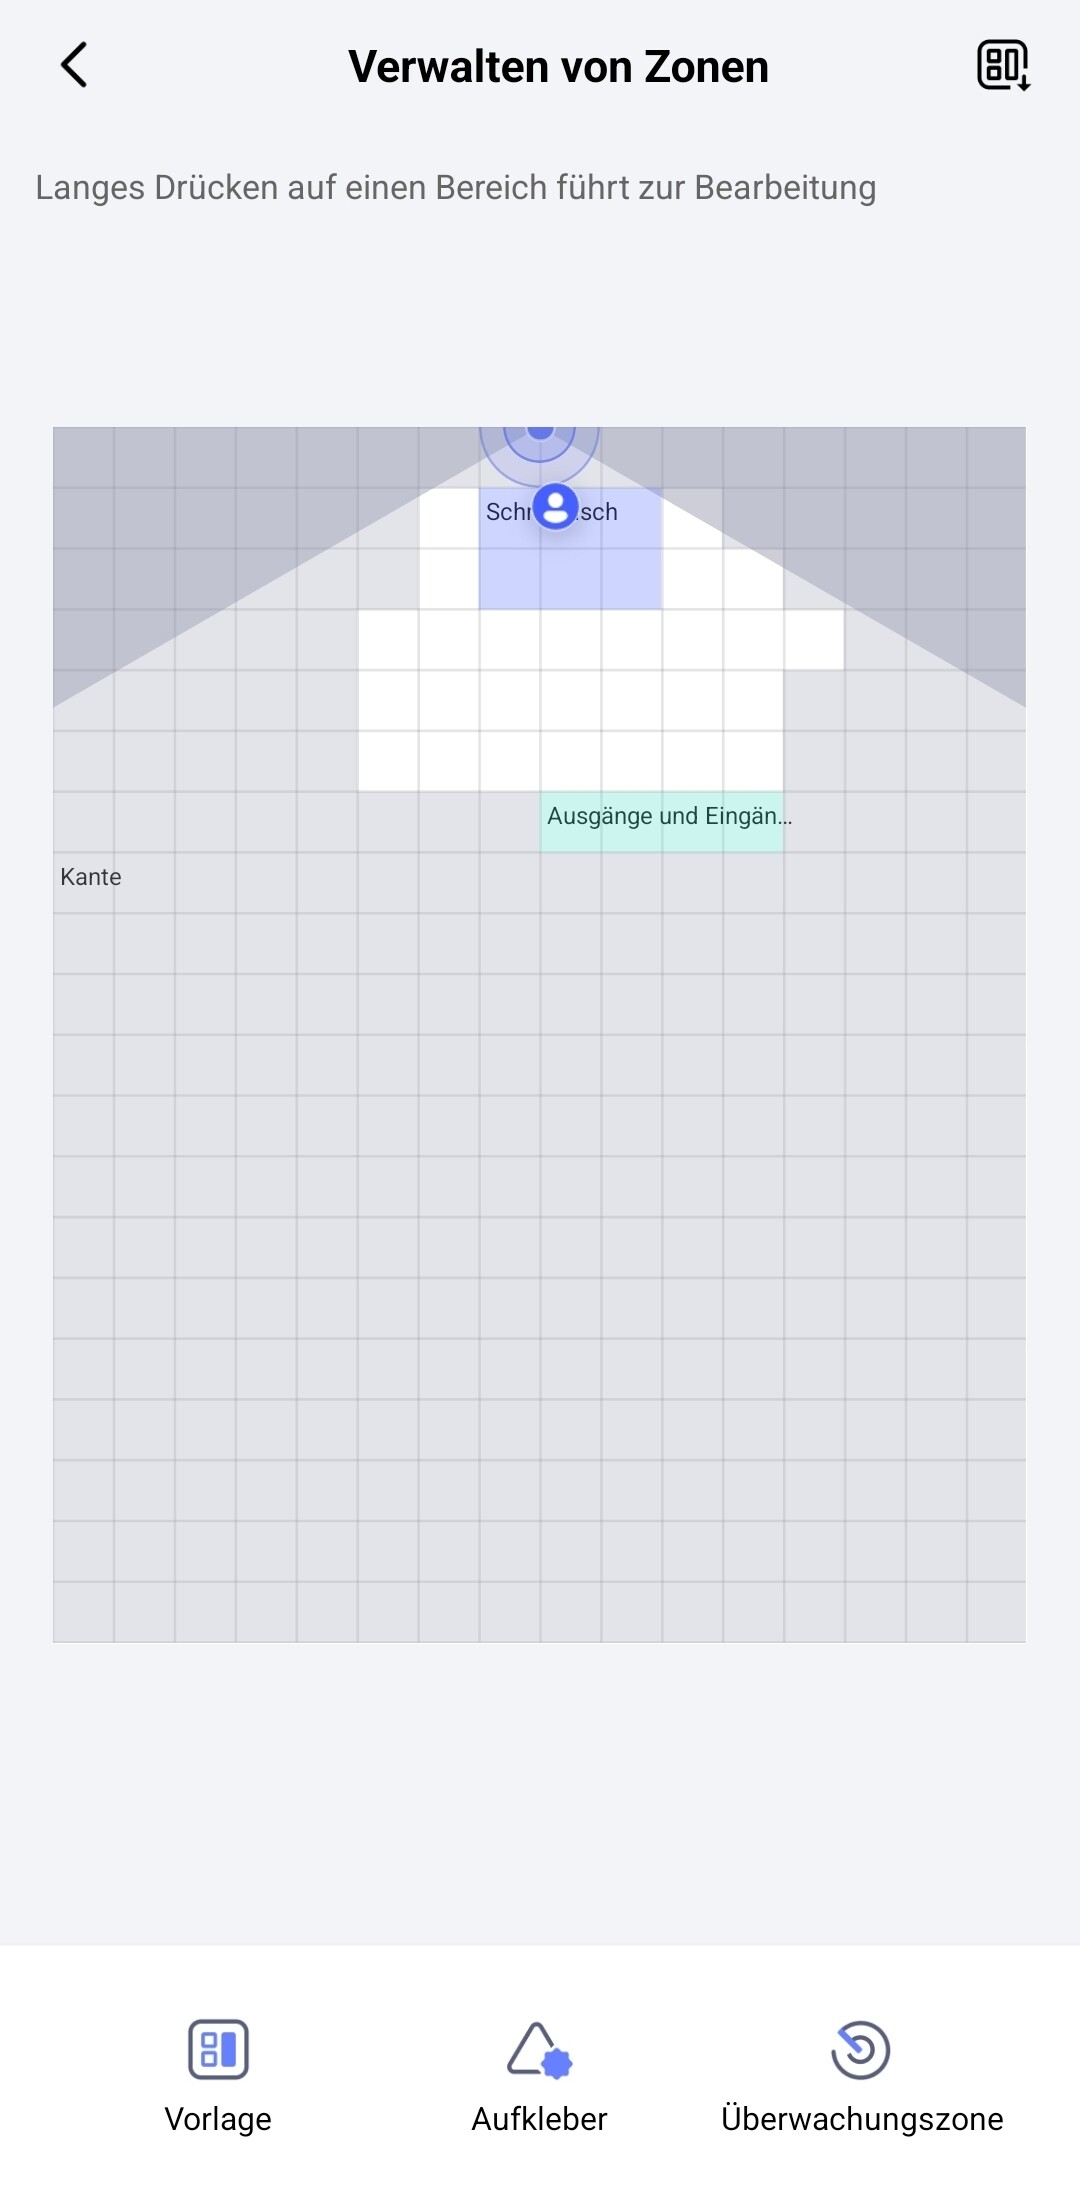
- Zone Transfer: Zones created in the Aqara App are transferred to the target ecosystem, but the assigned names are not carried over.
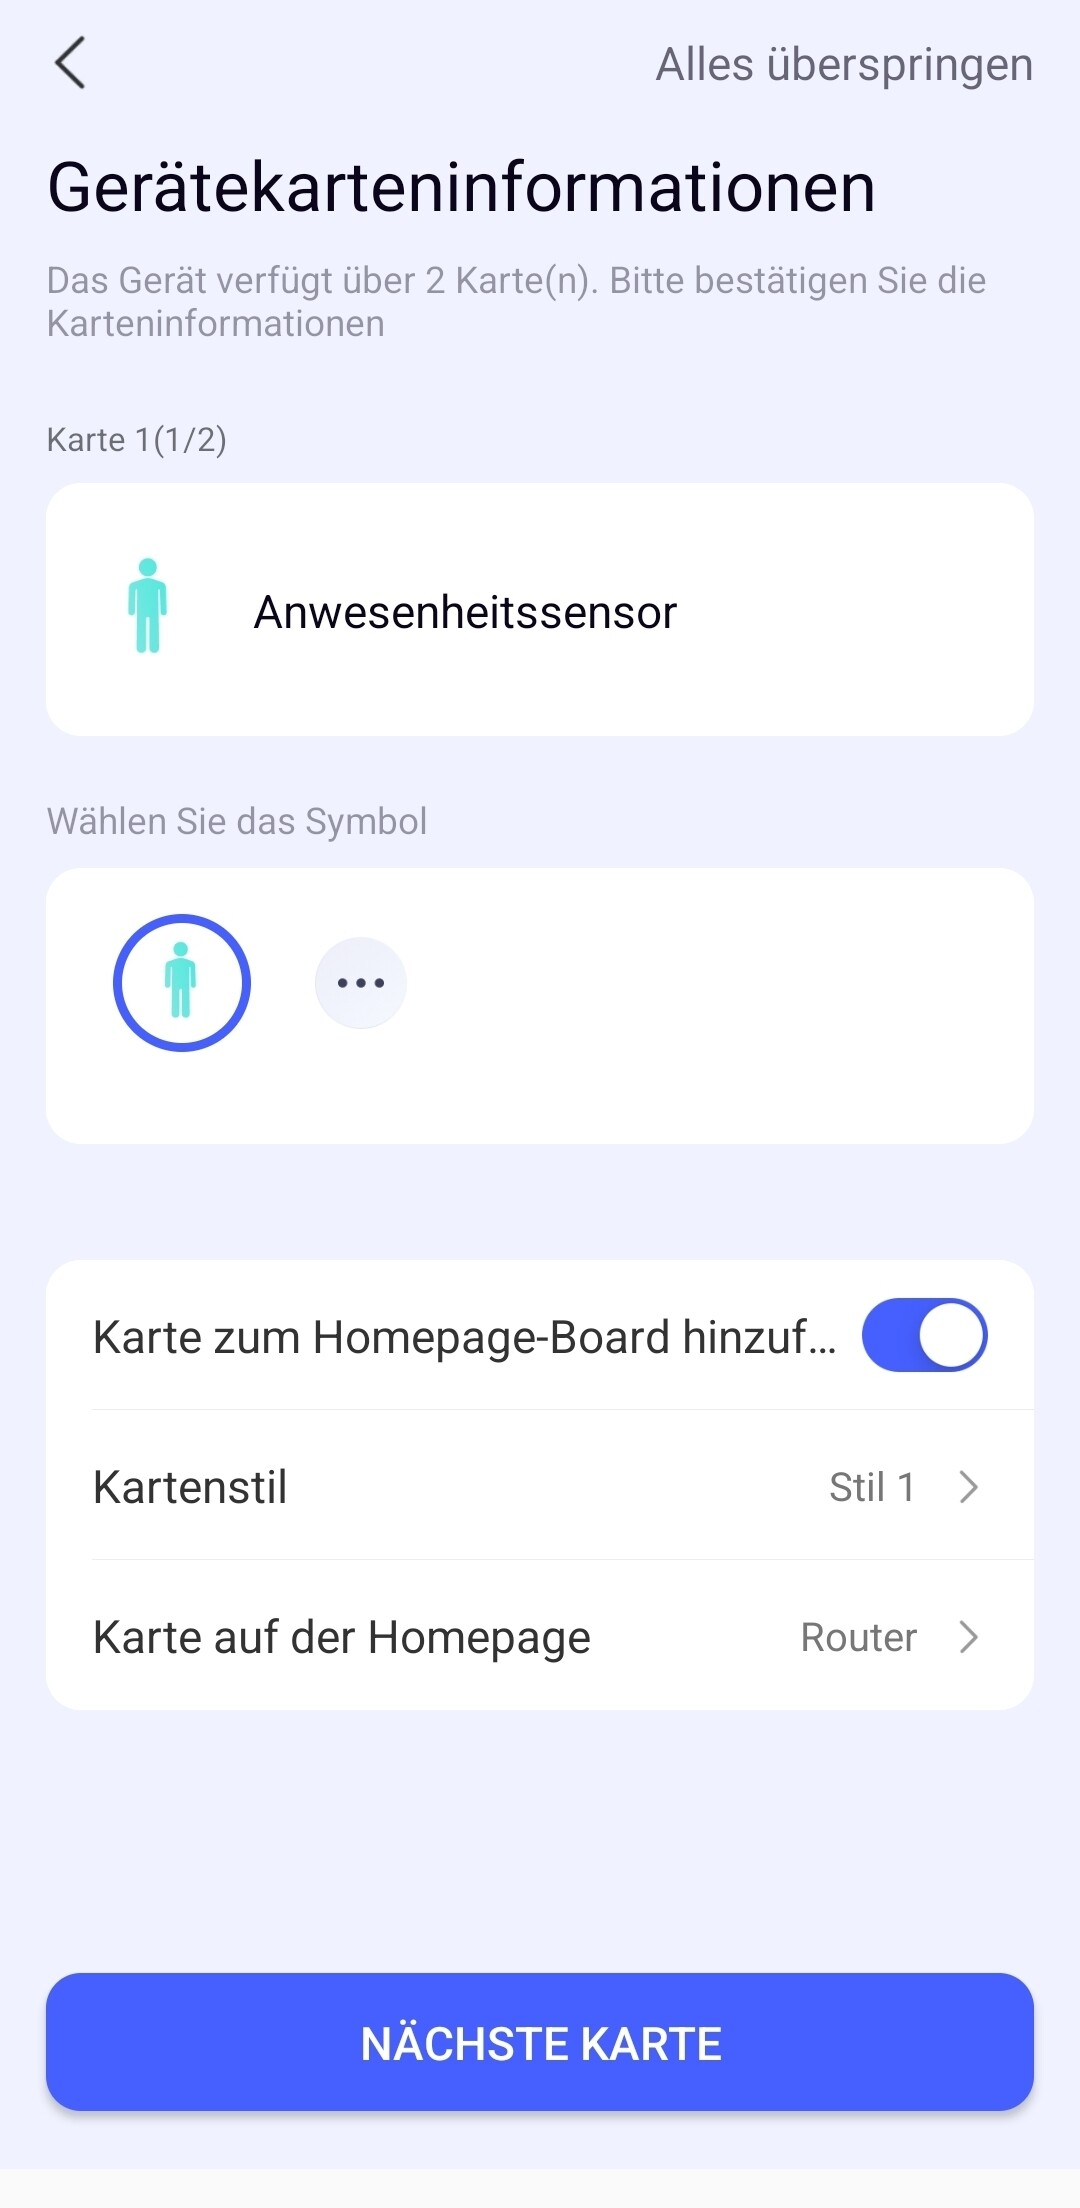
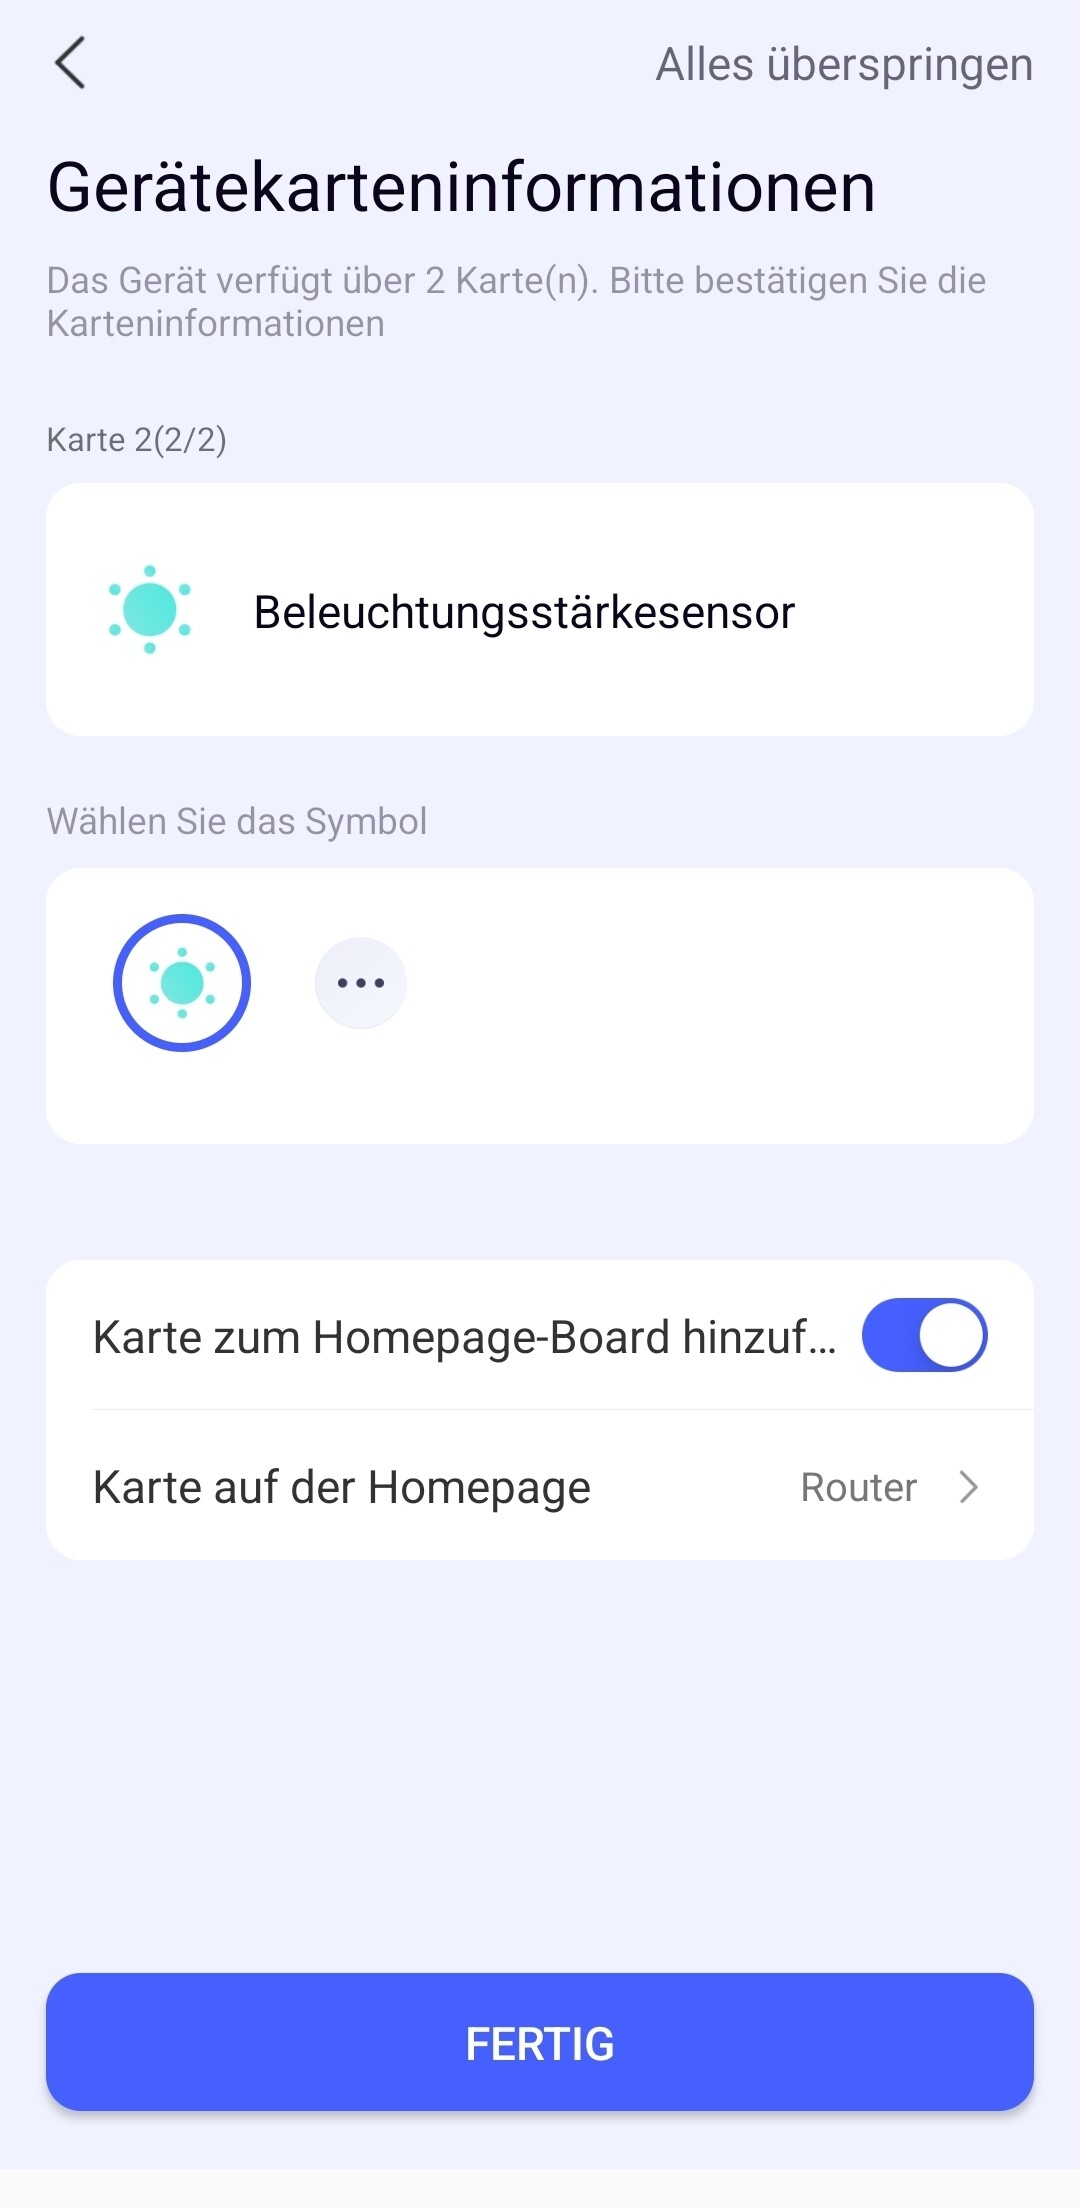
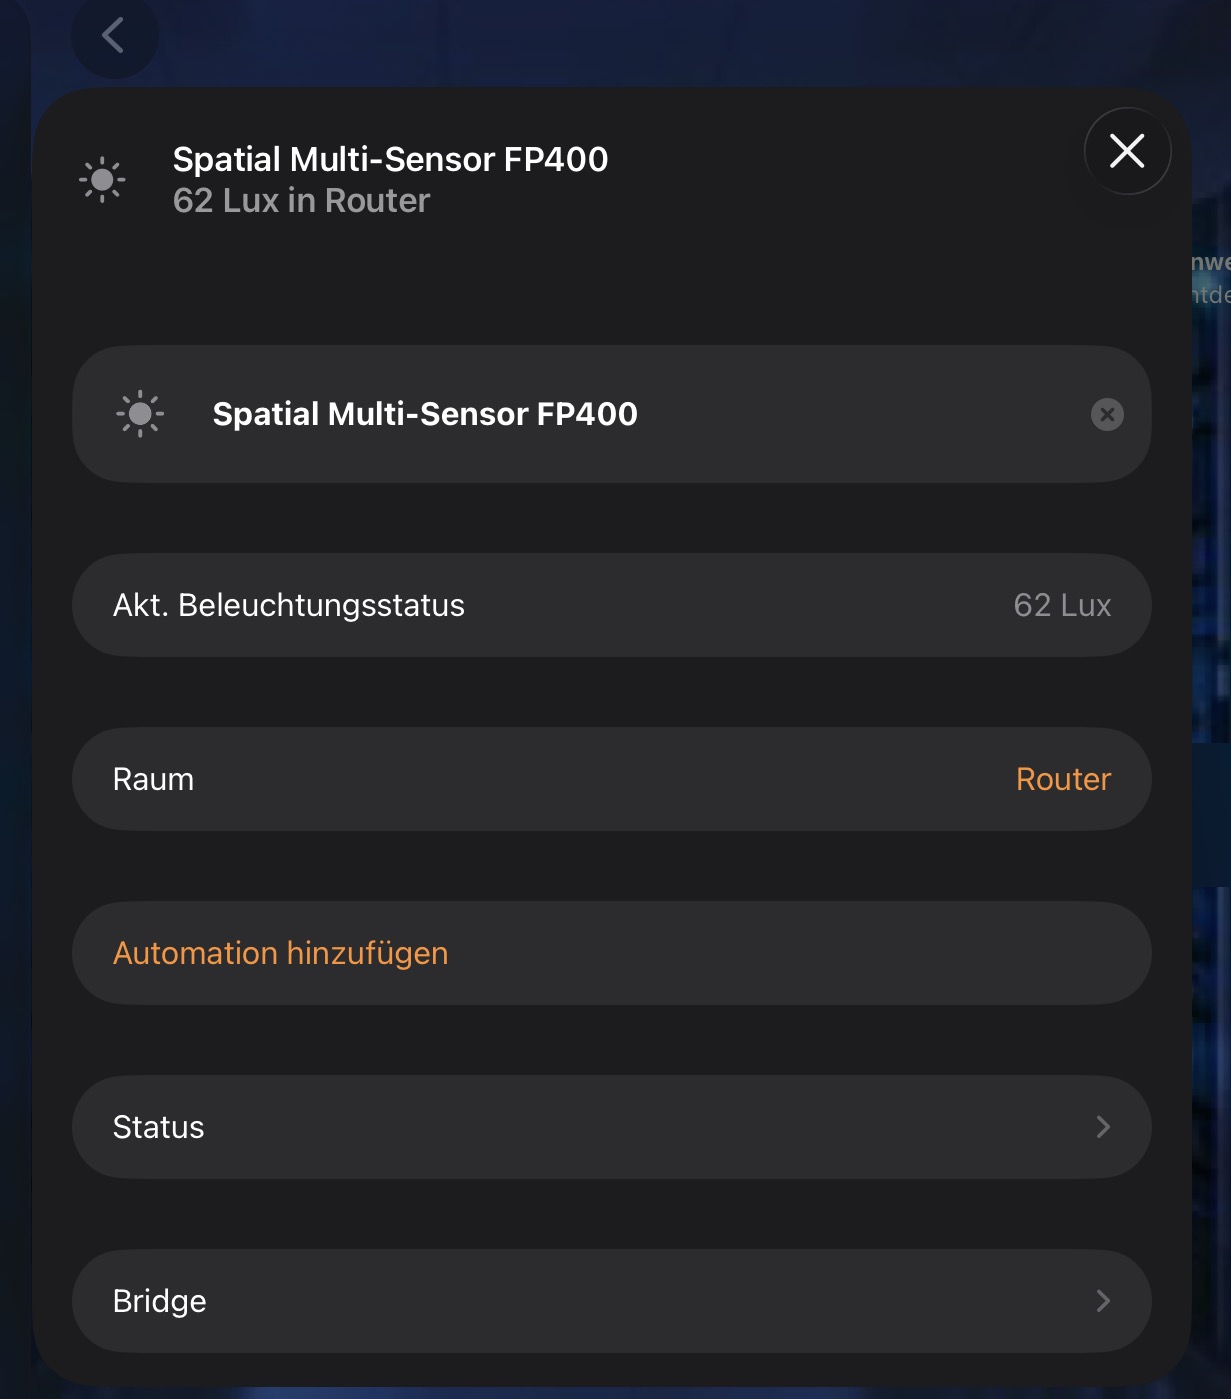
- Light Sensor: Just like with the FP2, the illuminance (light) sensor is exposed to Apple Home.
New Features & Improvements
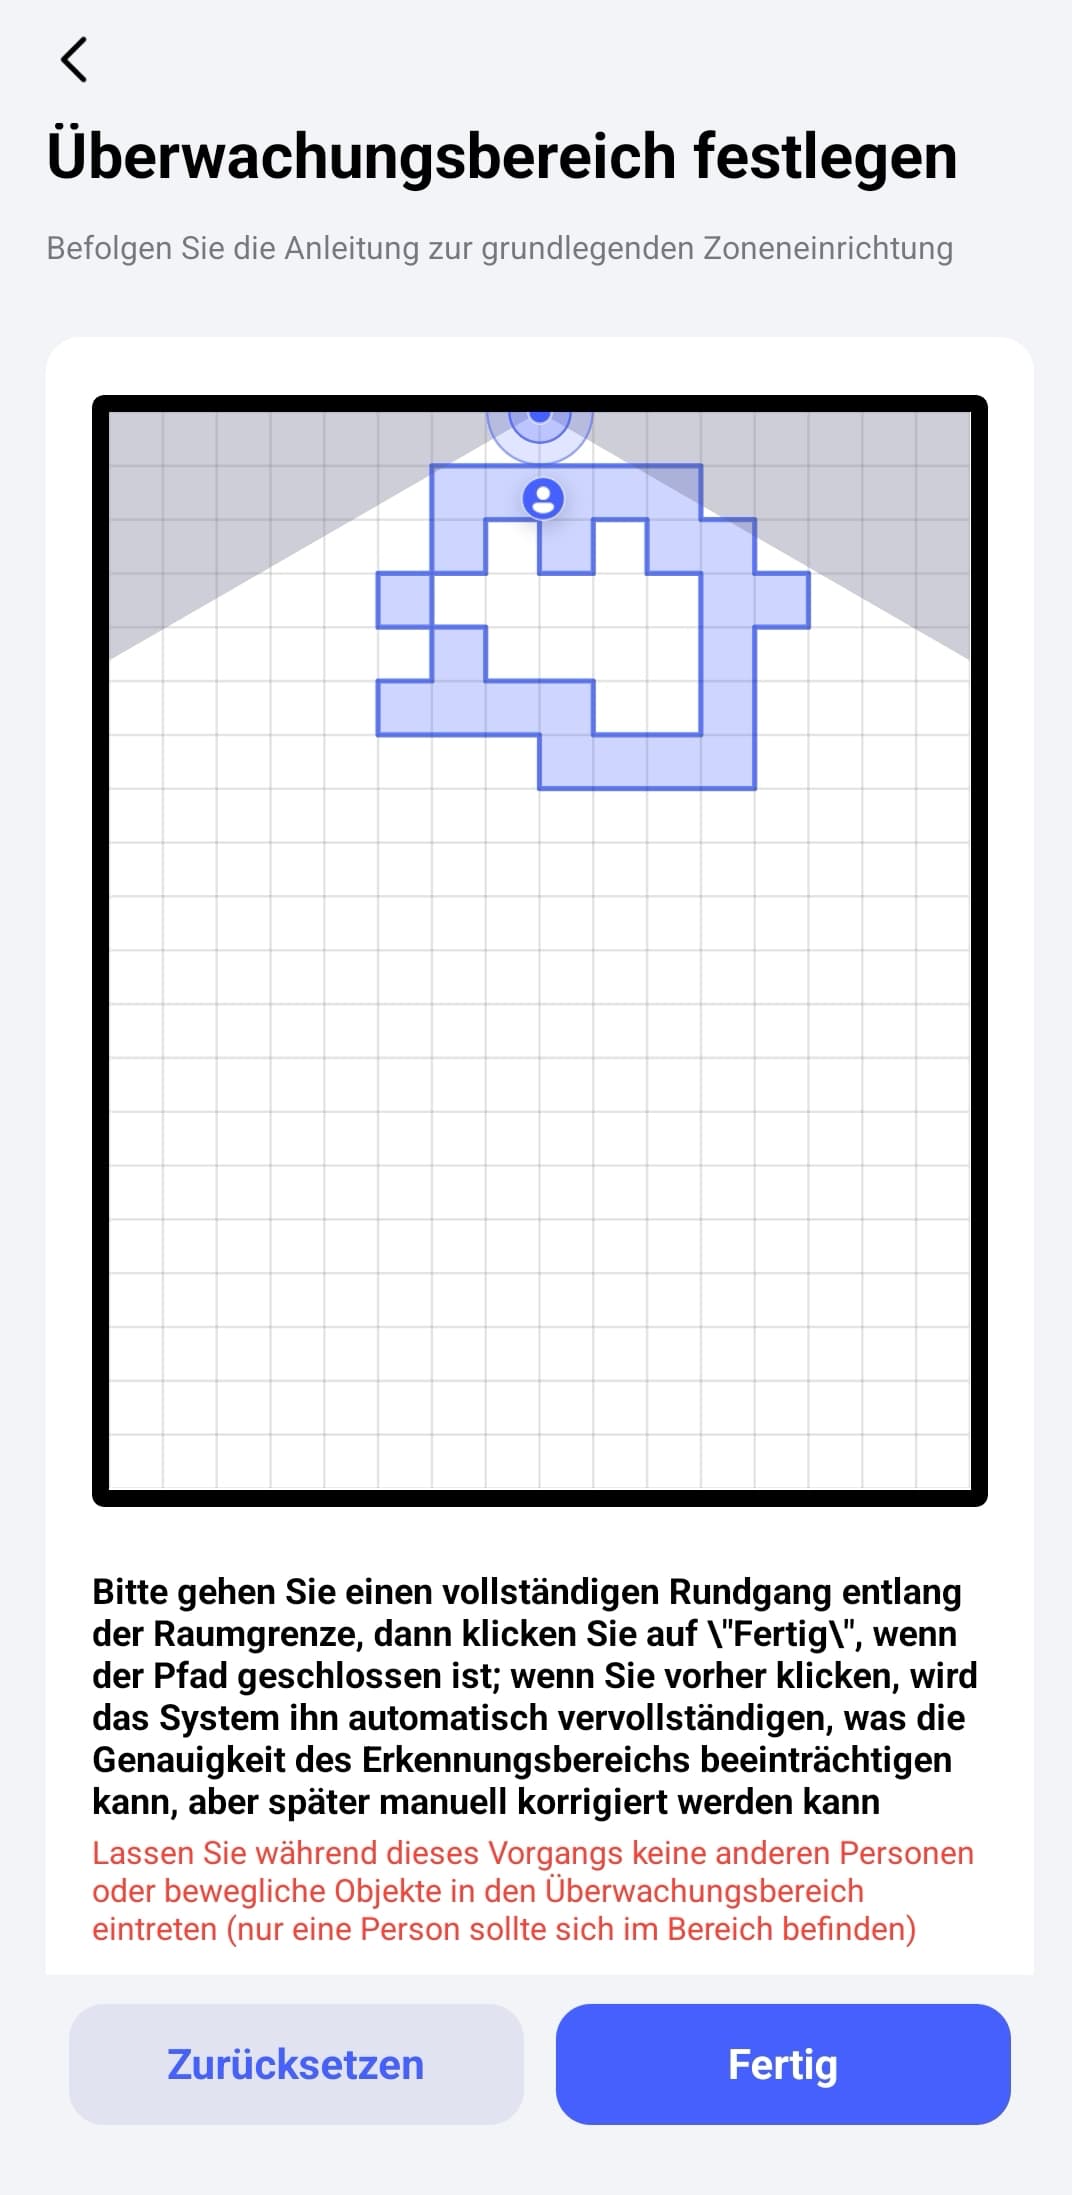
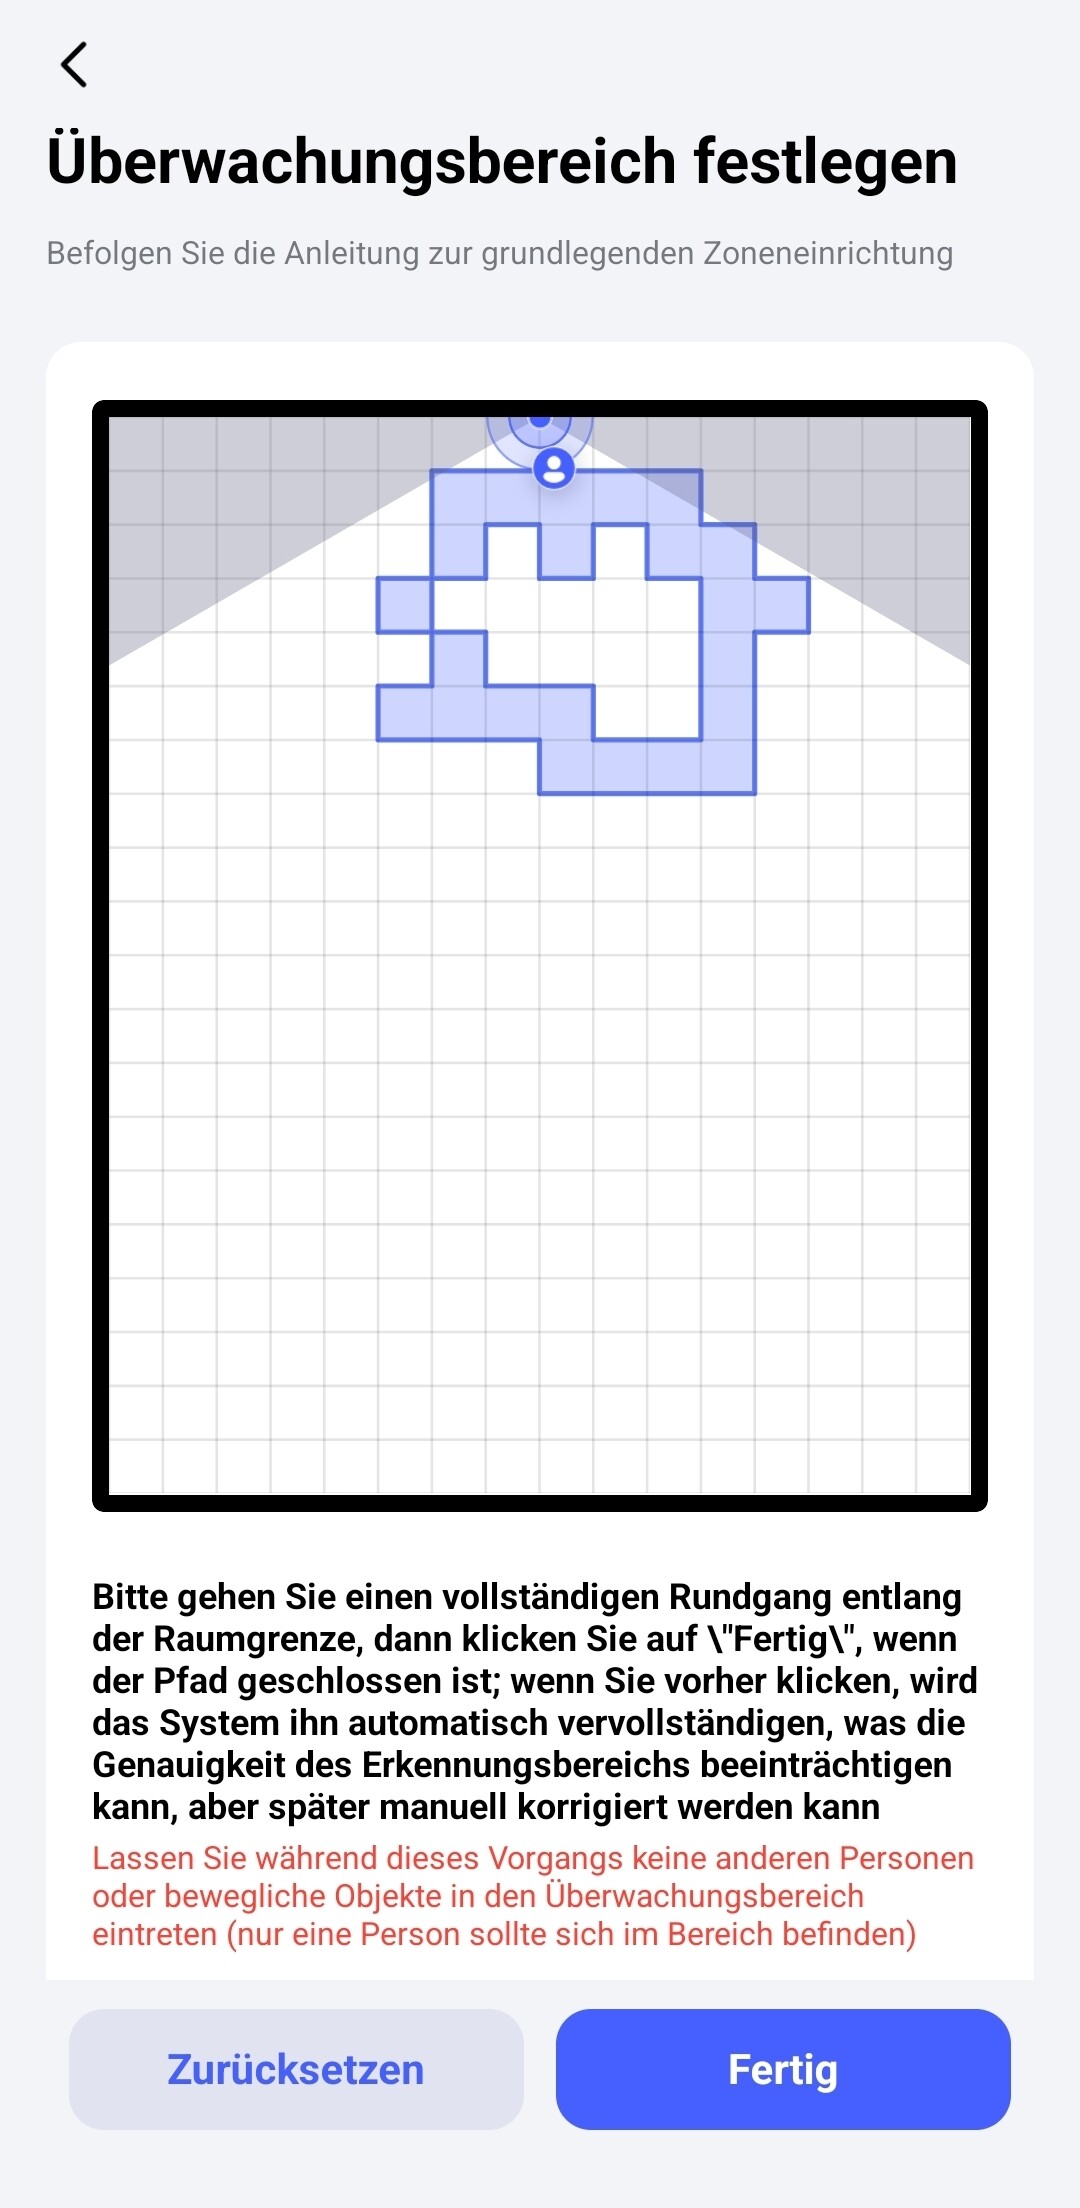
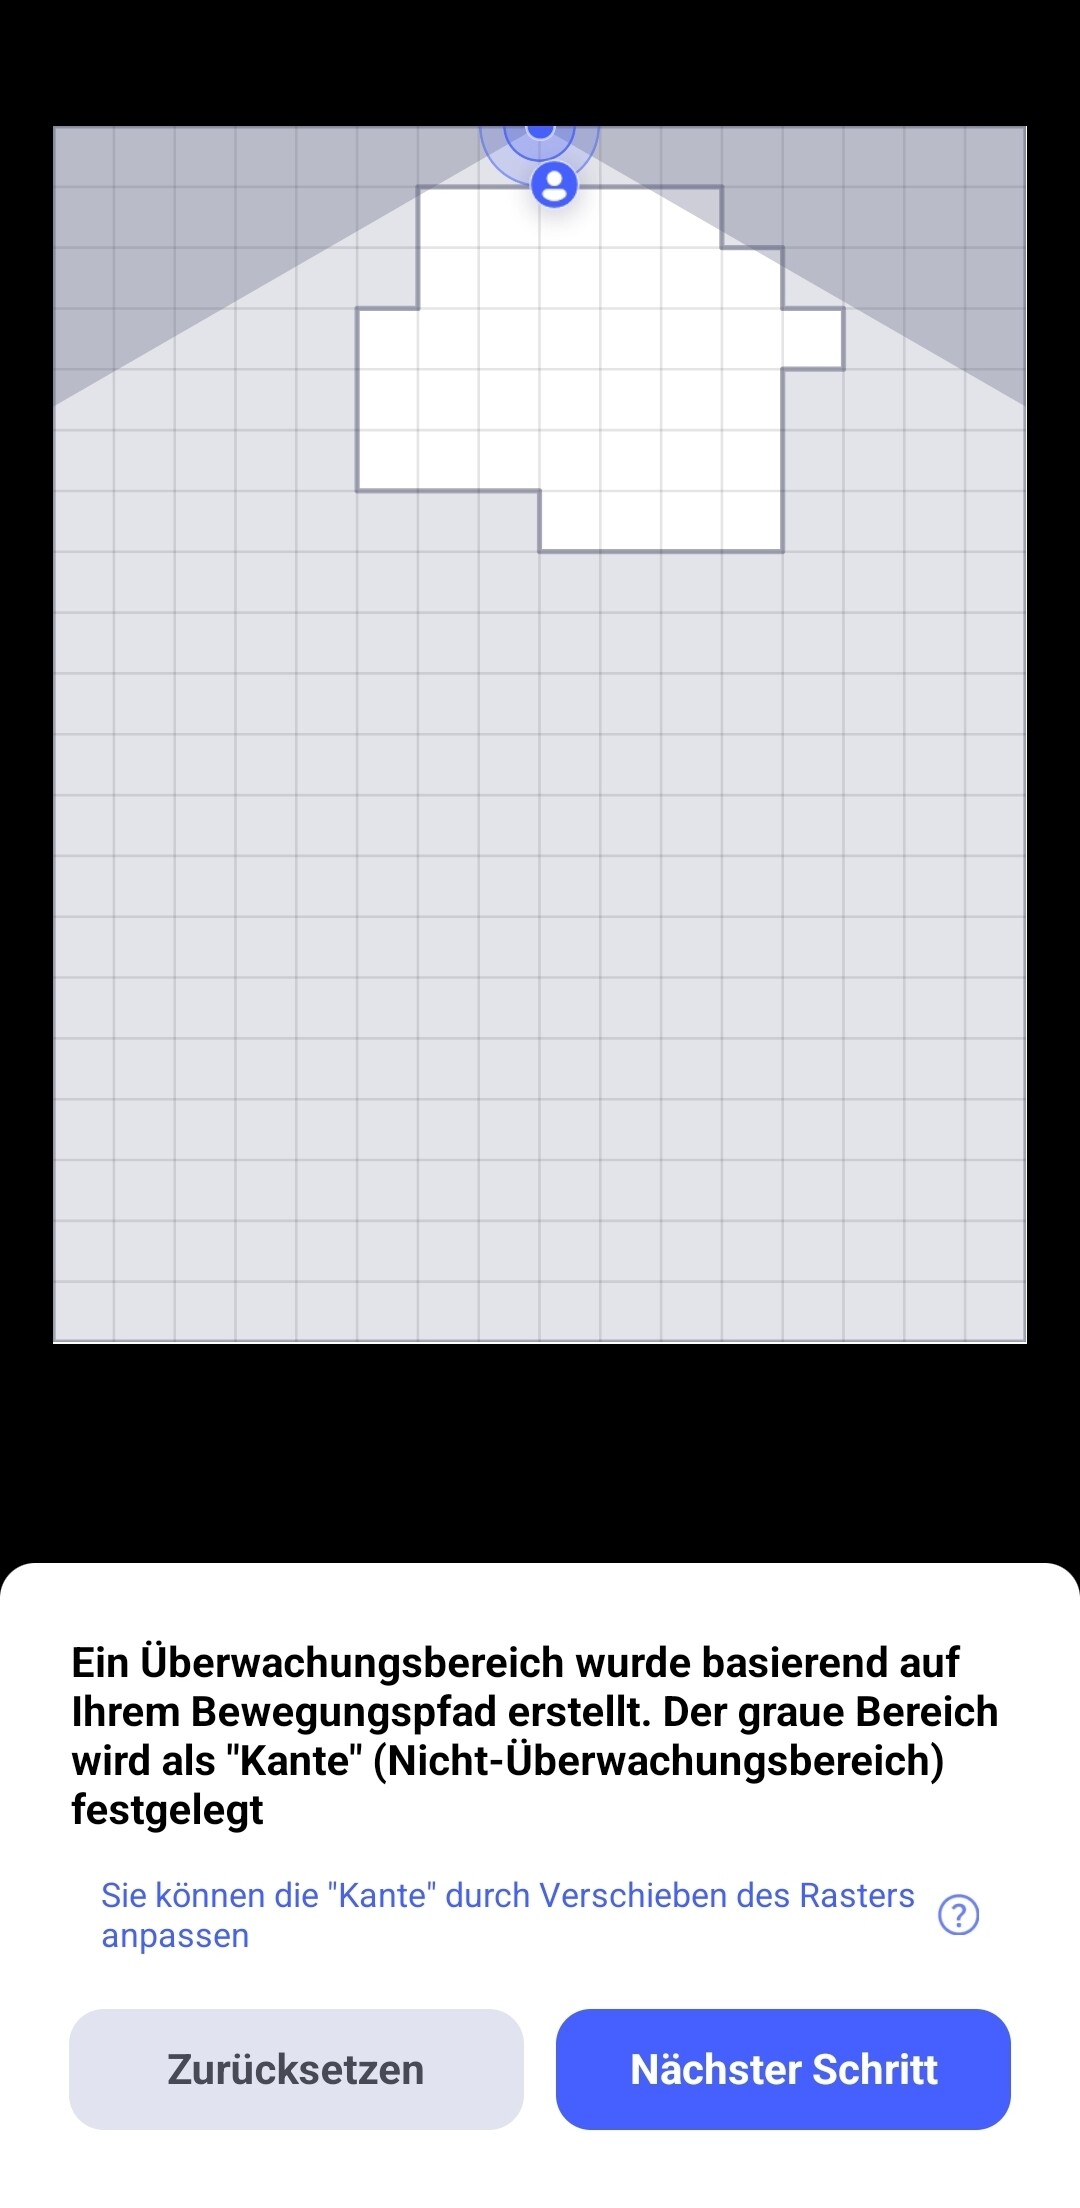
- Live Detection: A new addition is live detection during direct room walk-throughs and mapping.
- Detection Cycle: The detection cycle can now be flexibly adjusted from 10 seconds up to 5 minutes.
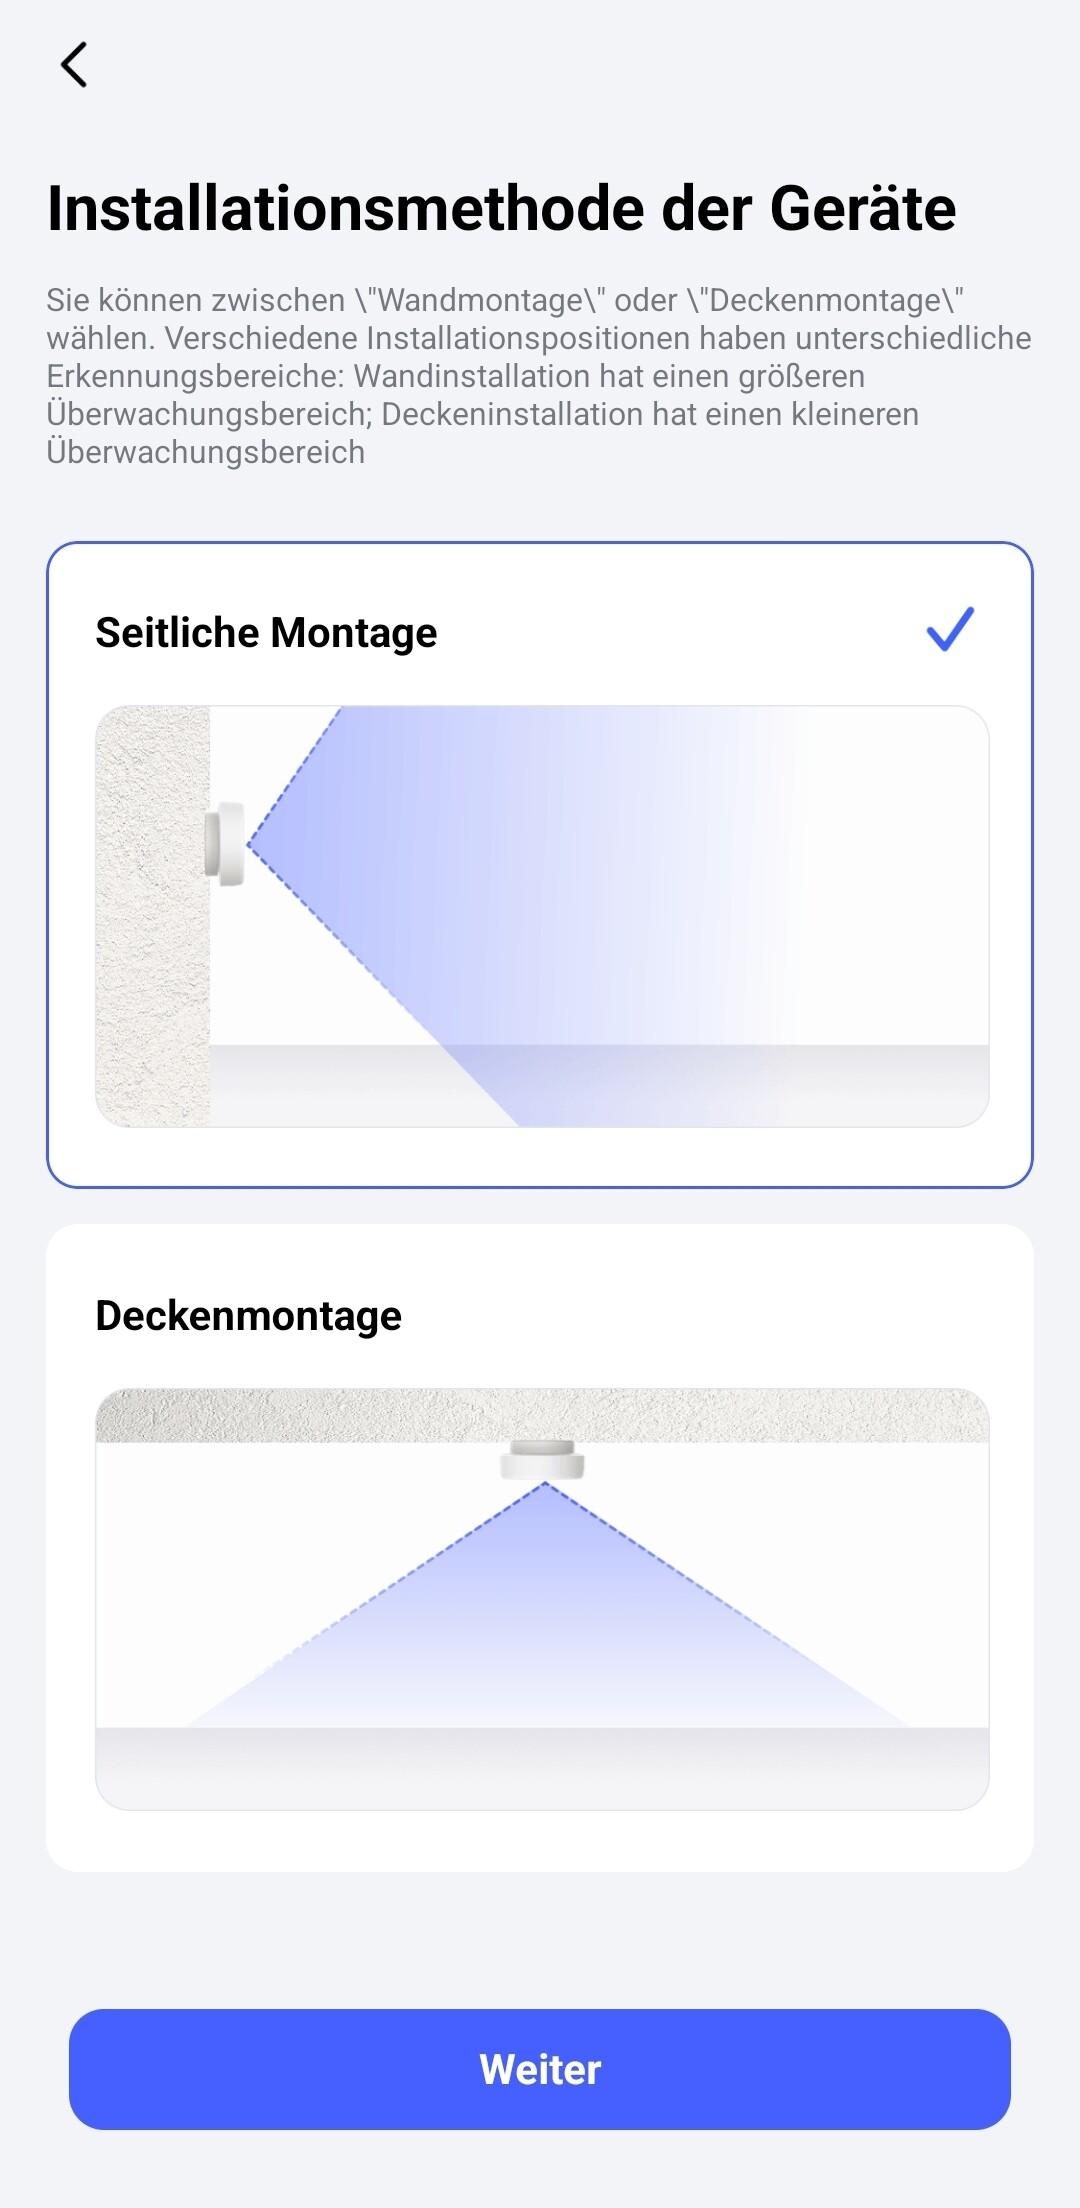
- Mounting Height: The exact mounting height must/can now be specified during setup (minimum height: 150 cm).
- Monitoring & Zones: Monitoring and zone settings are structured similarly to the FP2, but according to PR information, they are supposed to work with higher fidelity and precision.
- Personal Impression: More accurate and significantly less ghosting.
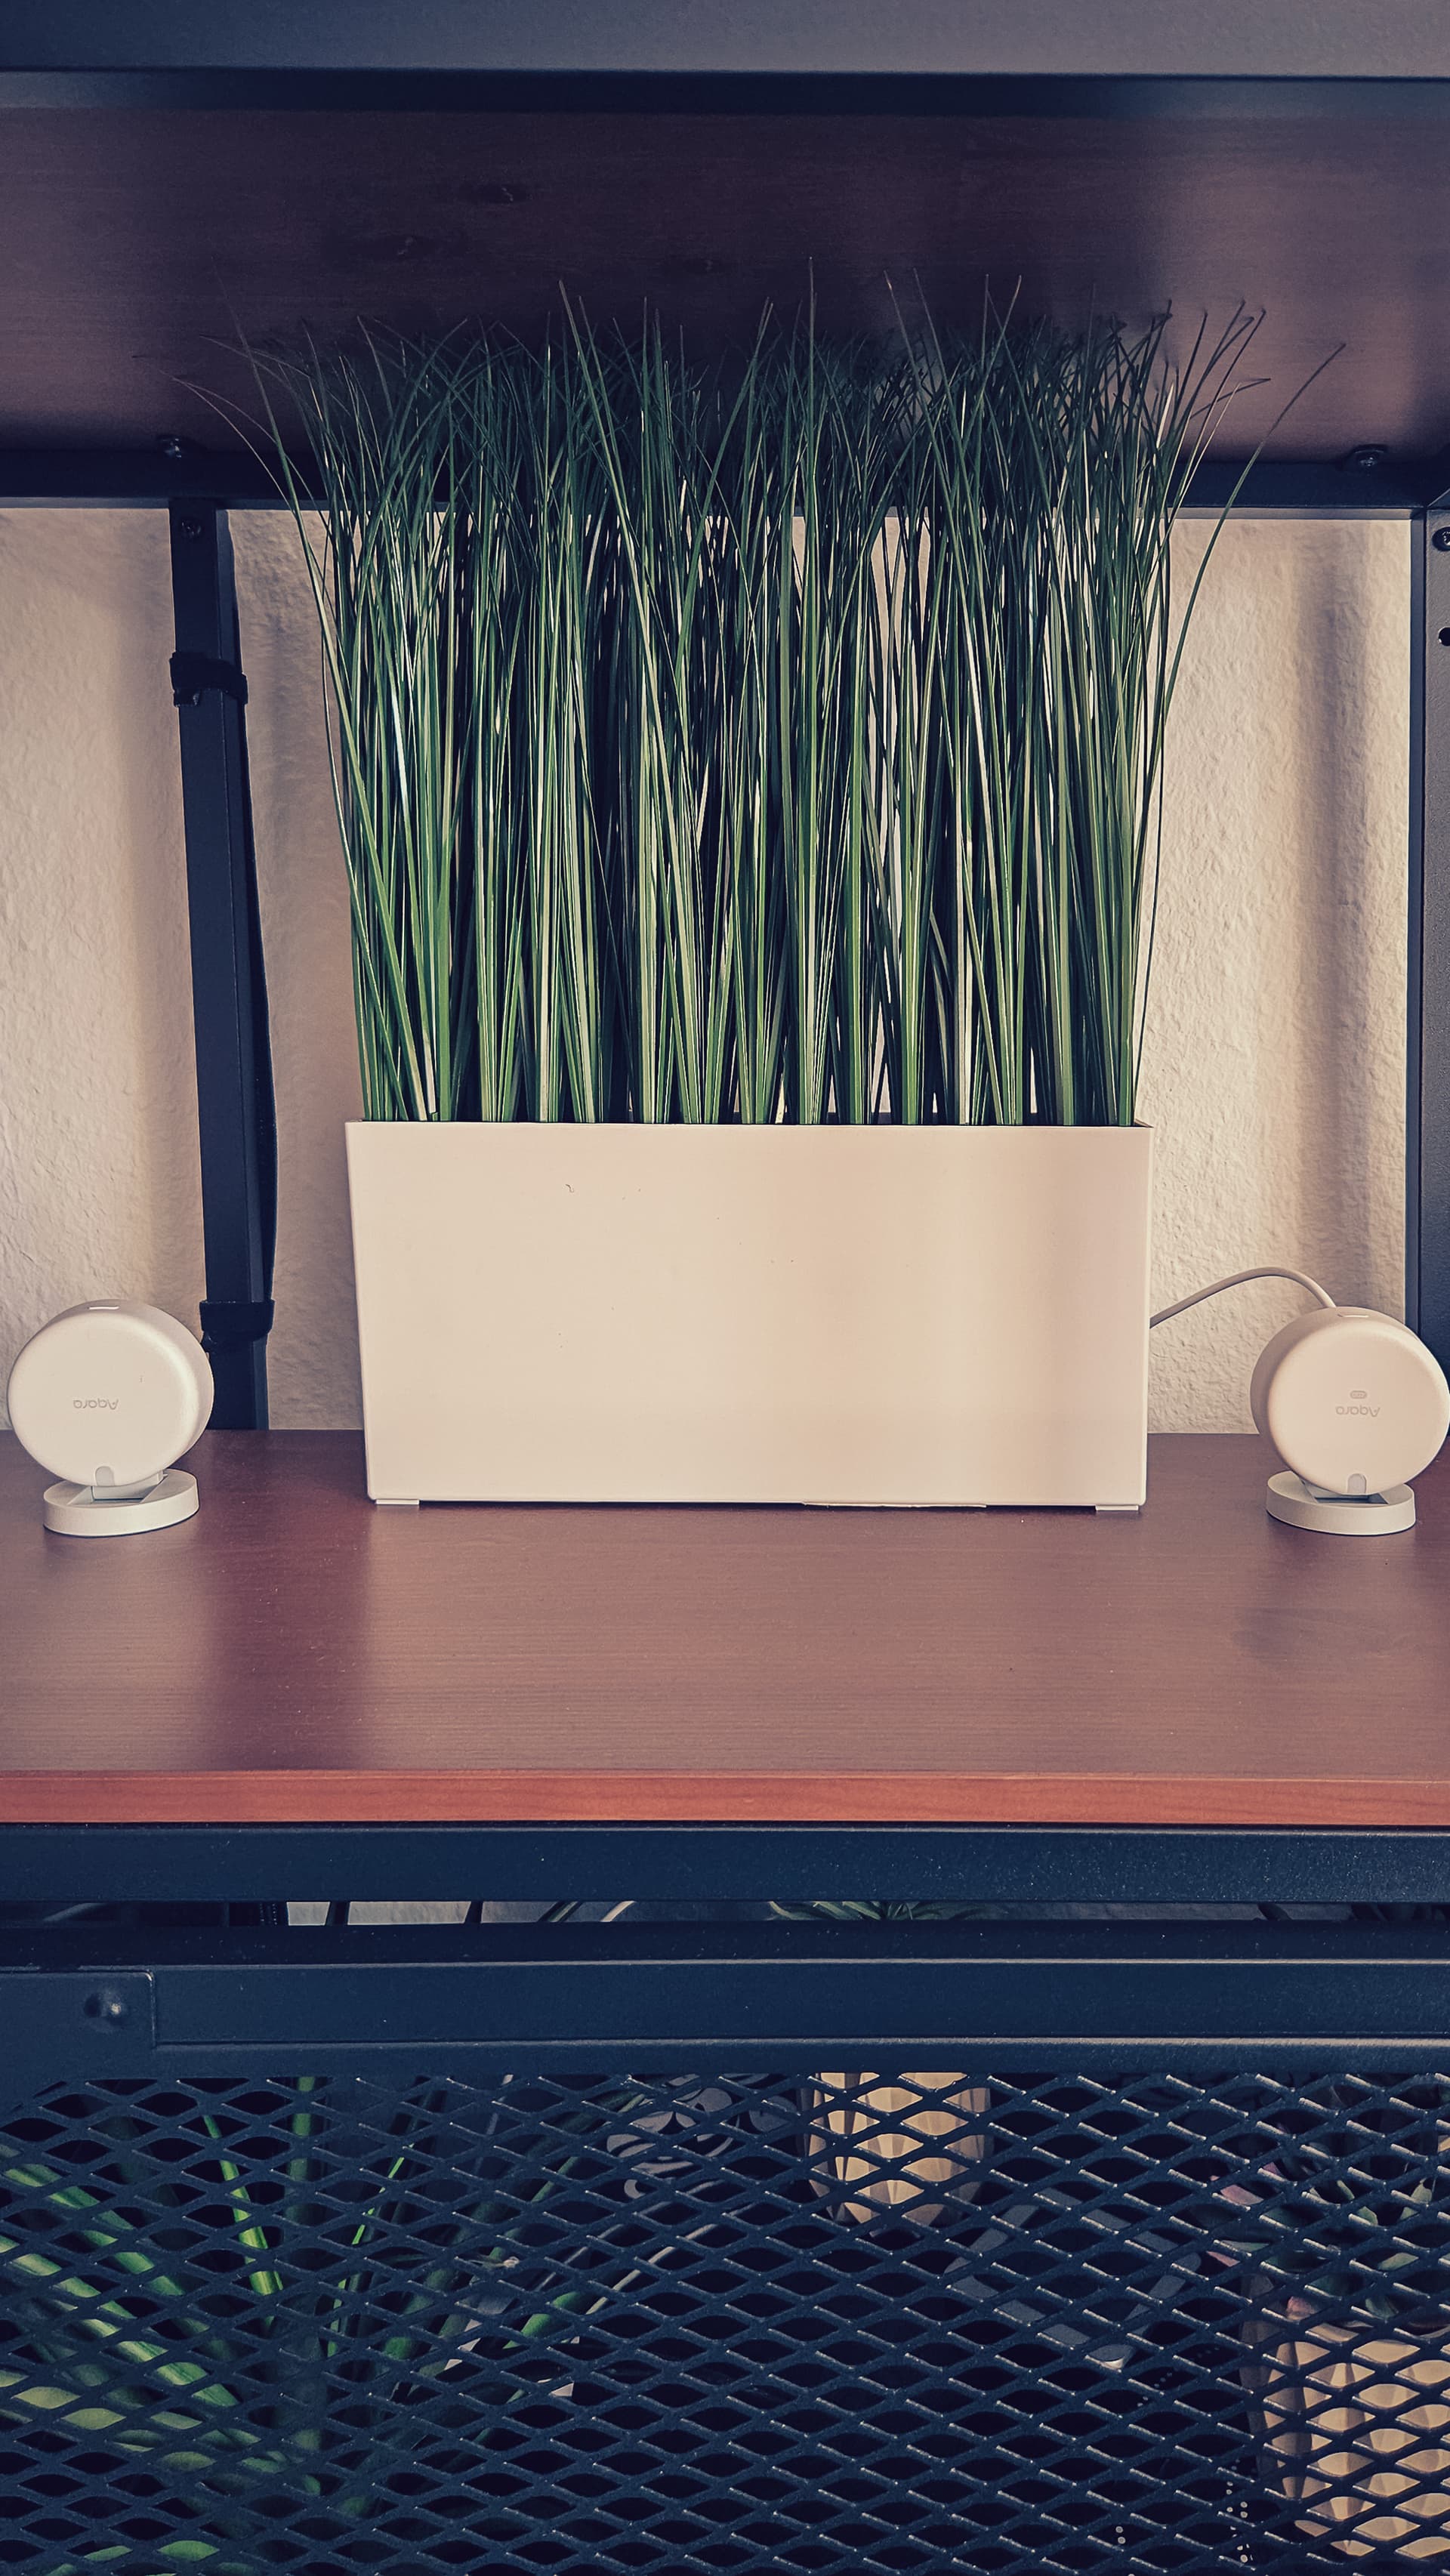
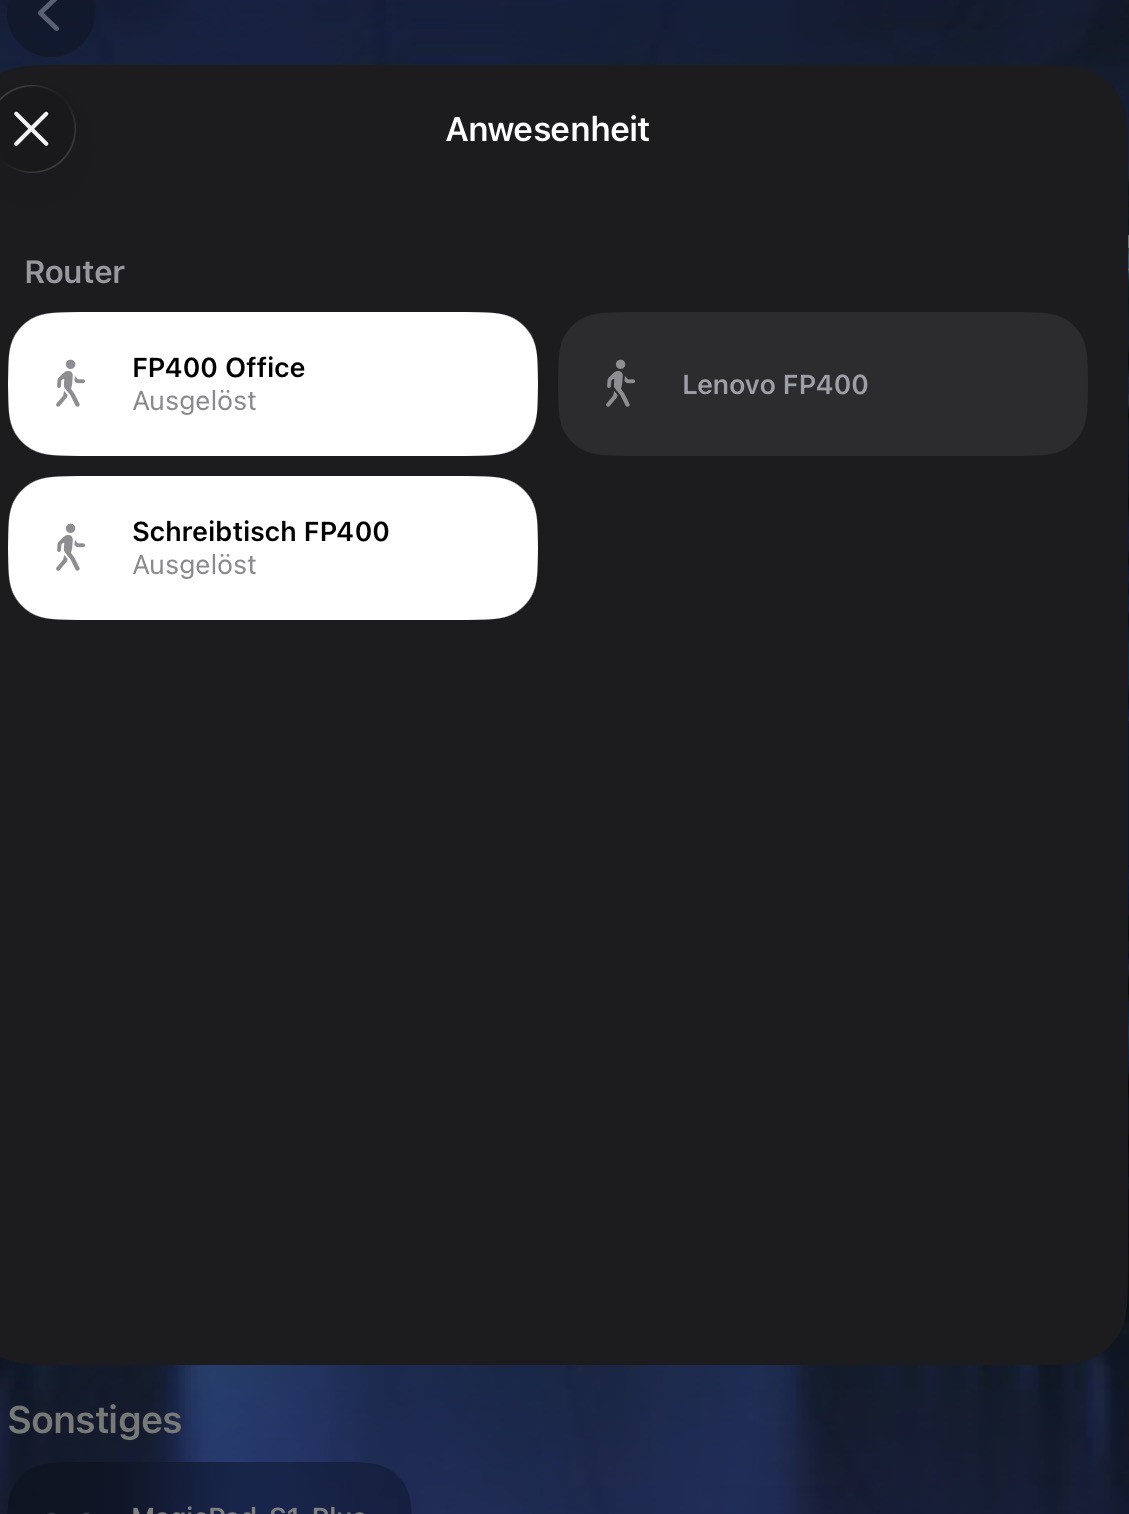
As you can see here, I was able to set up and test the two devices right next to each other.
Protocols & Protocol Switching
- Zigbee / Thread: Switching between Zigbee and Thread is done via Bluetooth as usual. I personally prefer Zigbee, hence the final switch to Zigbee mode.
- Limitations in Zigbee Mode: In pure Zigbee mode, no new settings or extended options could be observed up to this point.
Reset Instructions
- Resetting: If a reset of the sensor becomes necessary, this is done by pressing the button 10 times consecutively.
Conclusion
The FP400 is a worthy successor to the FP2. Personally, it feels substantially more accurate than the FP2 and exhibits noticeably less ghosting. Initially, I had both positioned side-by-side to maintain as identical a setup as possible.
However, as with all radar sensors: position is everything! Test your position over several days and states before final installation.
Things that no radar sensor likes, based on my personal experience:
- Opposing mirrors (bathrooms, hallways)
- Smart blinds when opening or closing
- Large tiled surfaces
- Large window areas
Try to avoid positioning the sensor facing such surfaces. I achieved the best results at head/chest height. I also achieved good results mounted above a door, angled slightly downward. Furthermore, I strongly recommend marking entry and exit points in the Aqara App; this helps immensely in defining absence more quickly.
Would I recommend replacing an FP2 with an FP400? It depends on the use case: if you have a room where the FP2 doesn’t perform as expected and you have already changed the device’s position multiple times (don’t forget to let it relearn), it is definitely worth giving the FP400 a try. For anyone who doesn’t own a presence sensor yet and doesn’t mind a cable, the FP400 comes with a very clear purchase recommendation.
In comparison to FP2, the following differences arise:
FP 2: WIFI - FP400 Zigbee or Thread
FP 2: 60GHz mmWave - FP400: 60GHz mmWave (up to 5 times more accurate)
FP 2: up to 5 targets - FP 400: up to 10 targets
FP 2: 8x6m Distance - FP 400: 10x8m Distance
(according to Aqara Infos)
Amazon DE: FP 400 Amazon DE
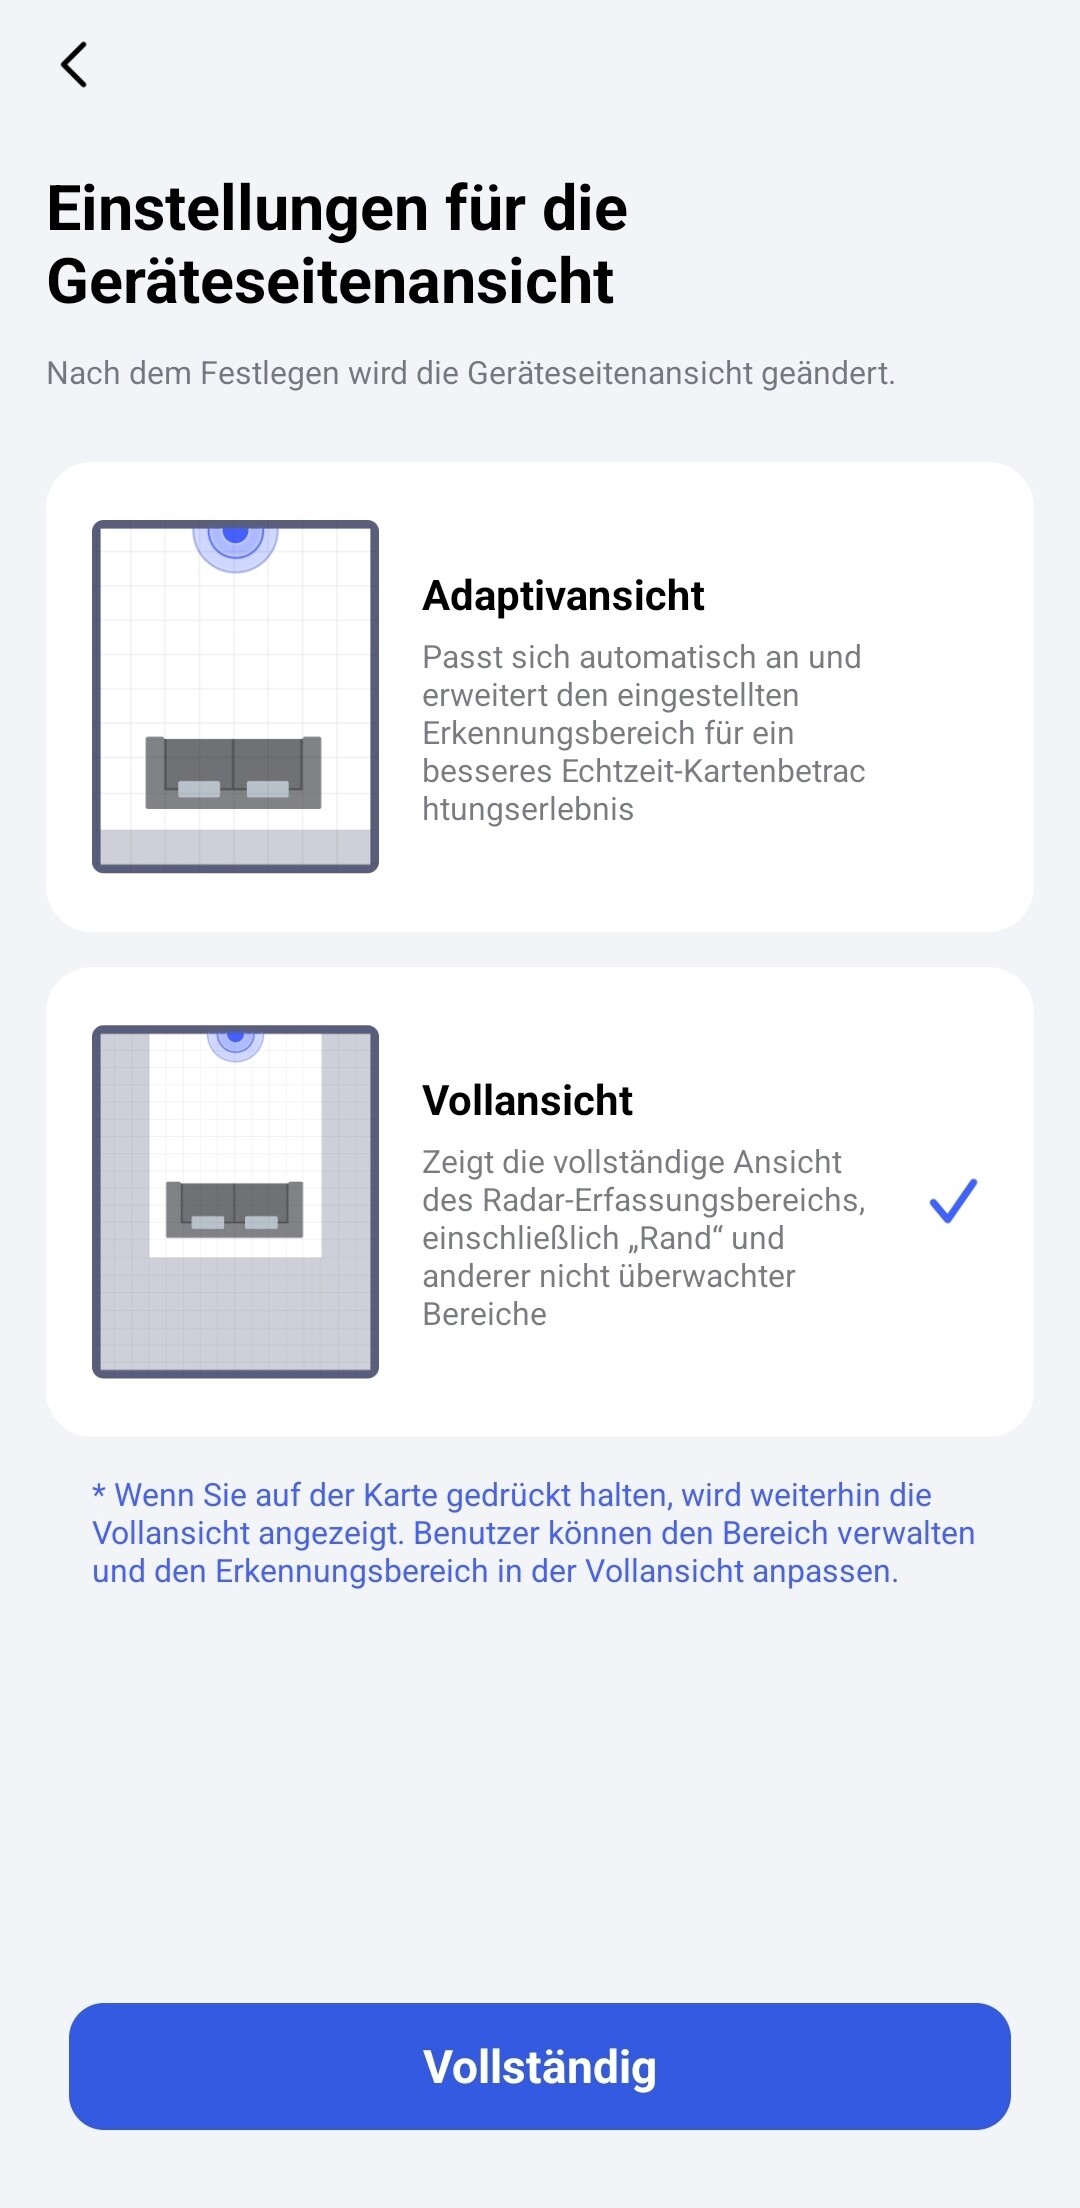
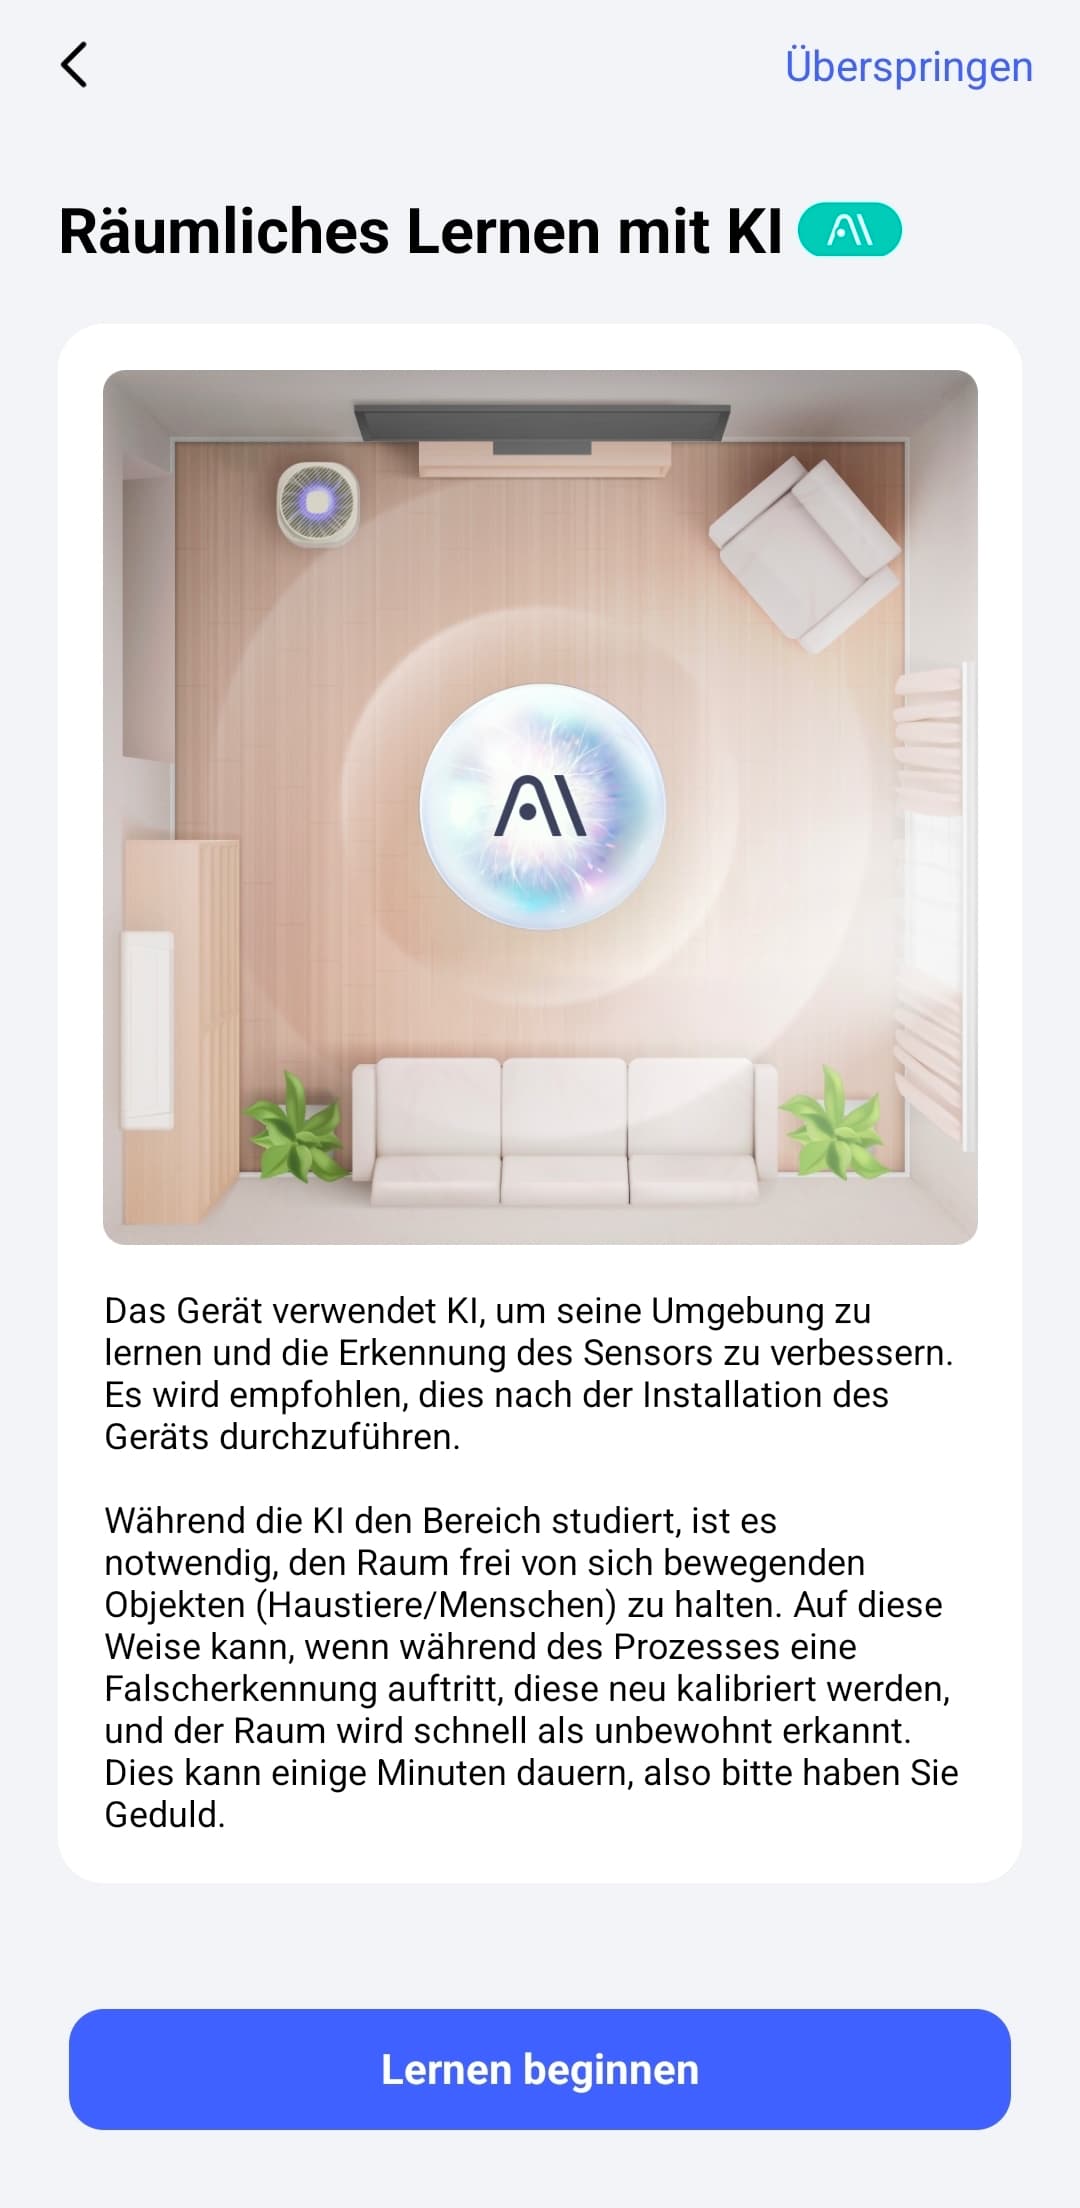
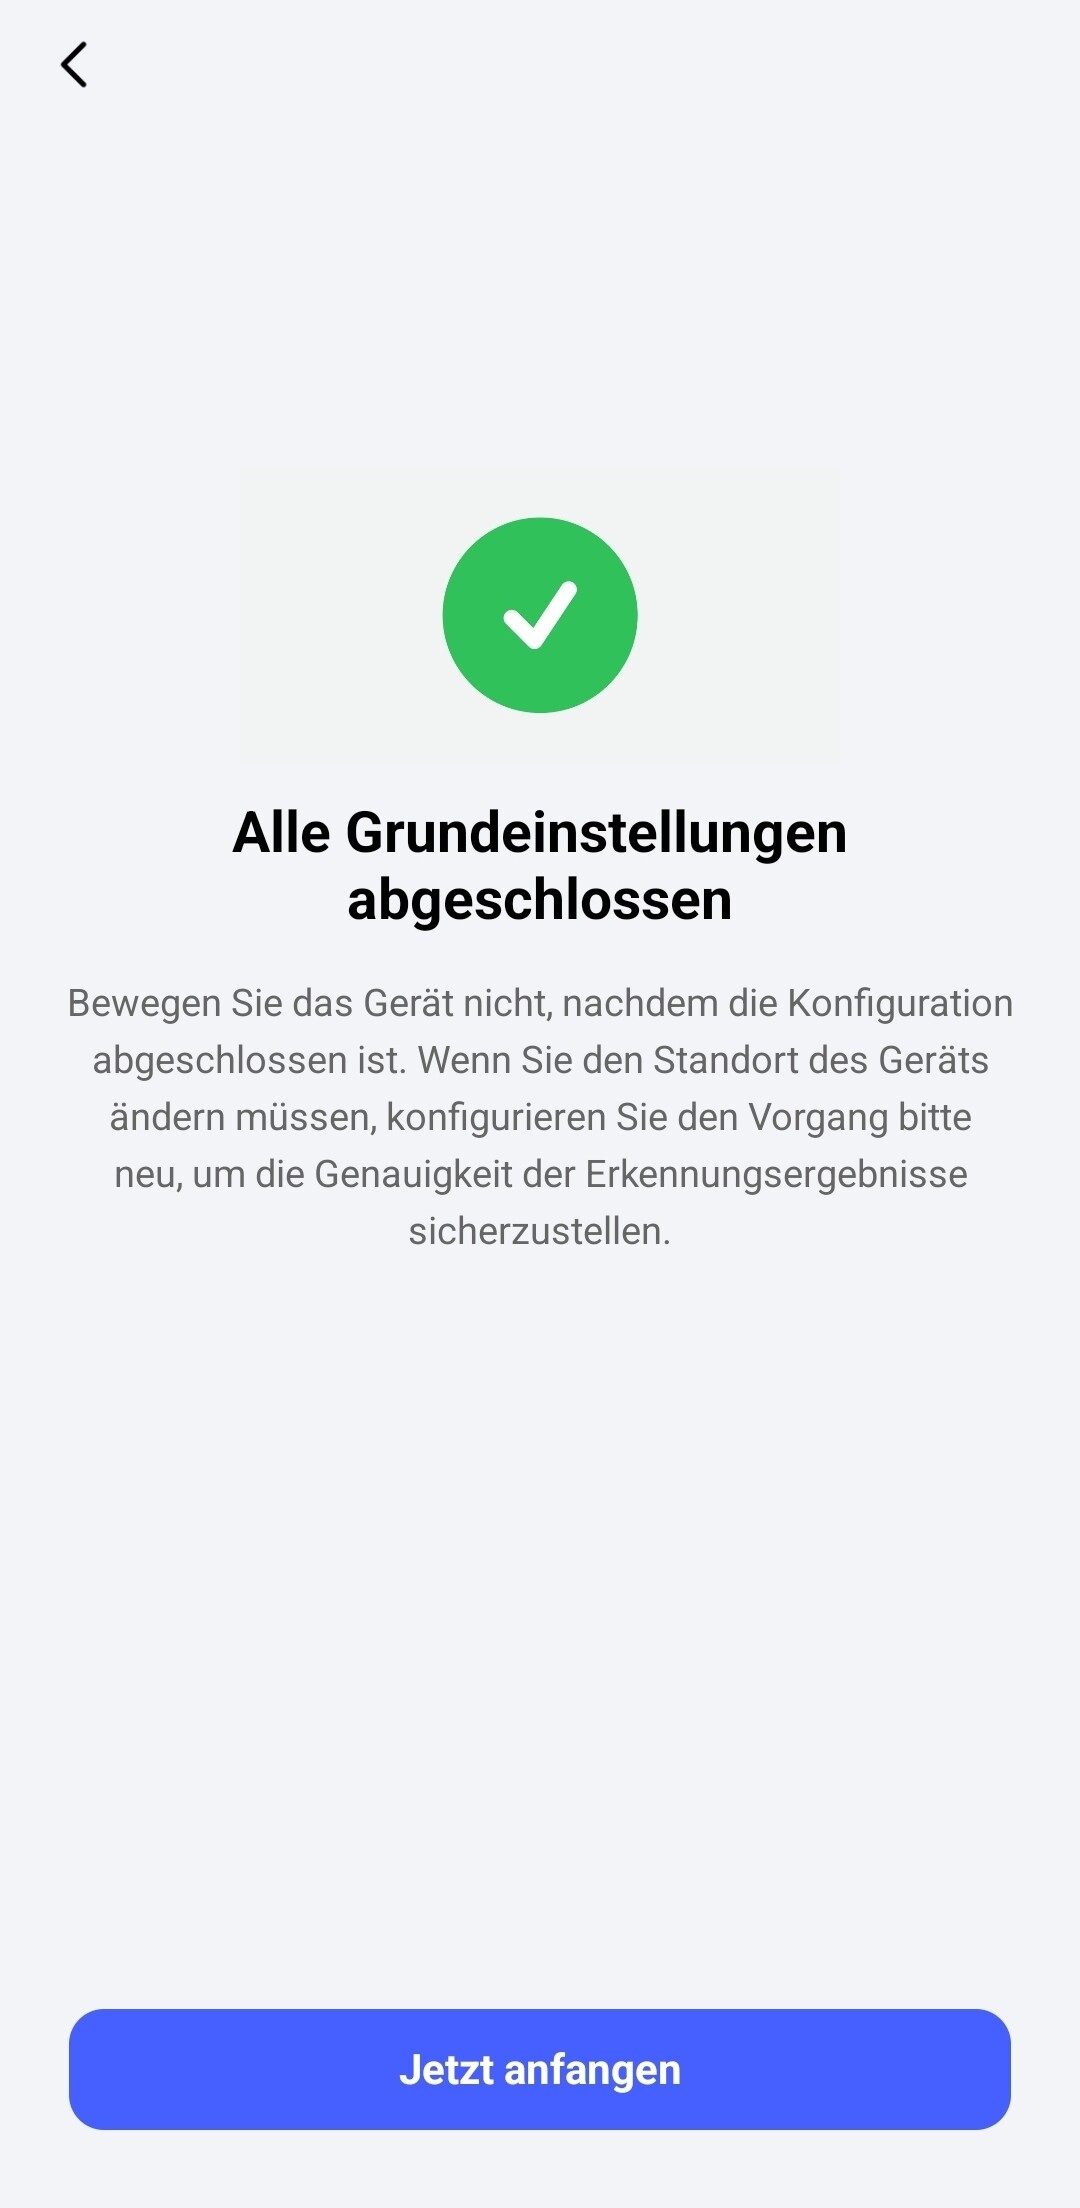
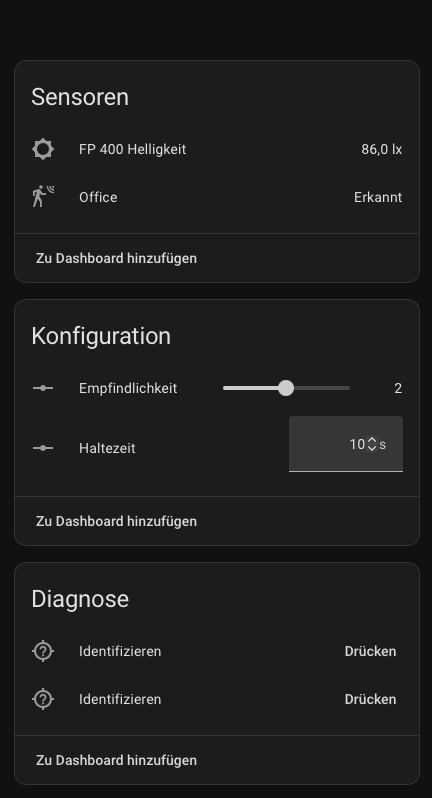
Attached are a few more screenshots of the setup, setup process, and integrations.
Aqara:
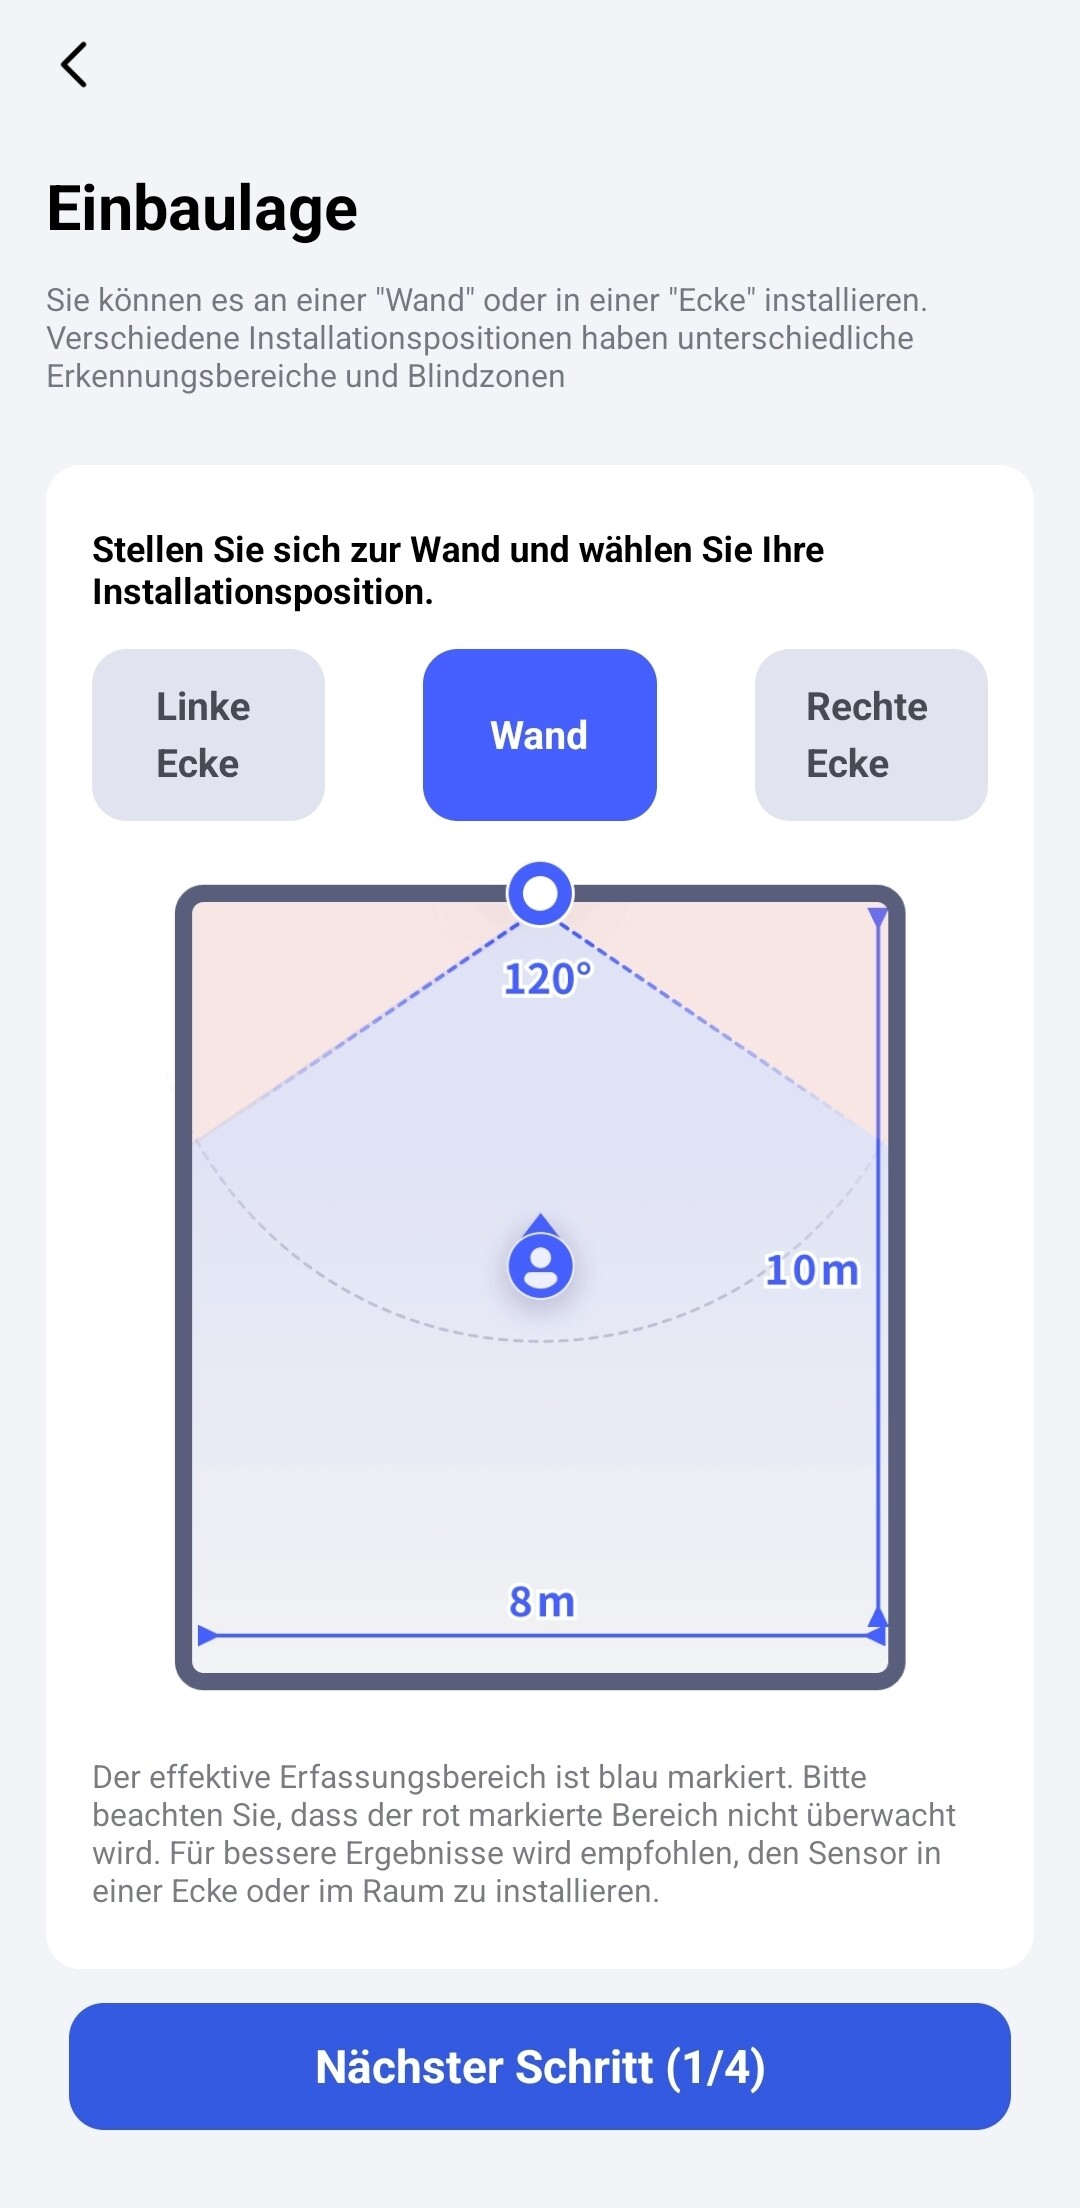

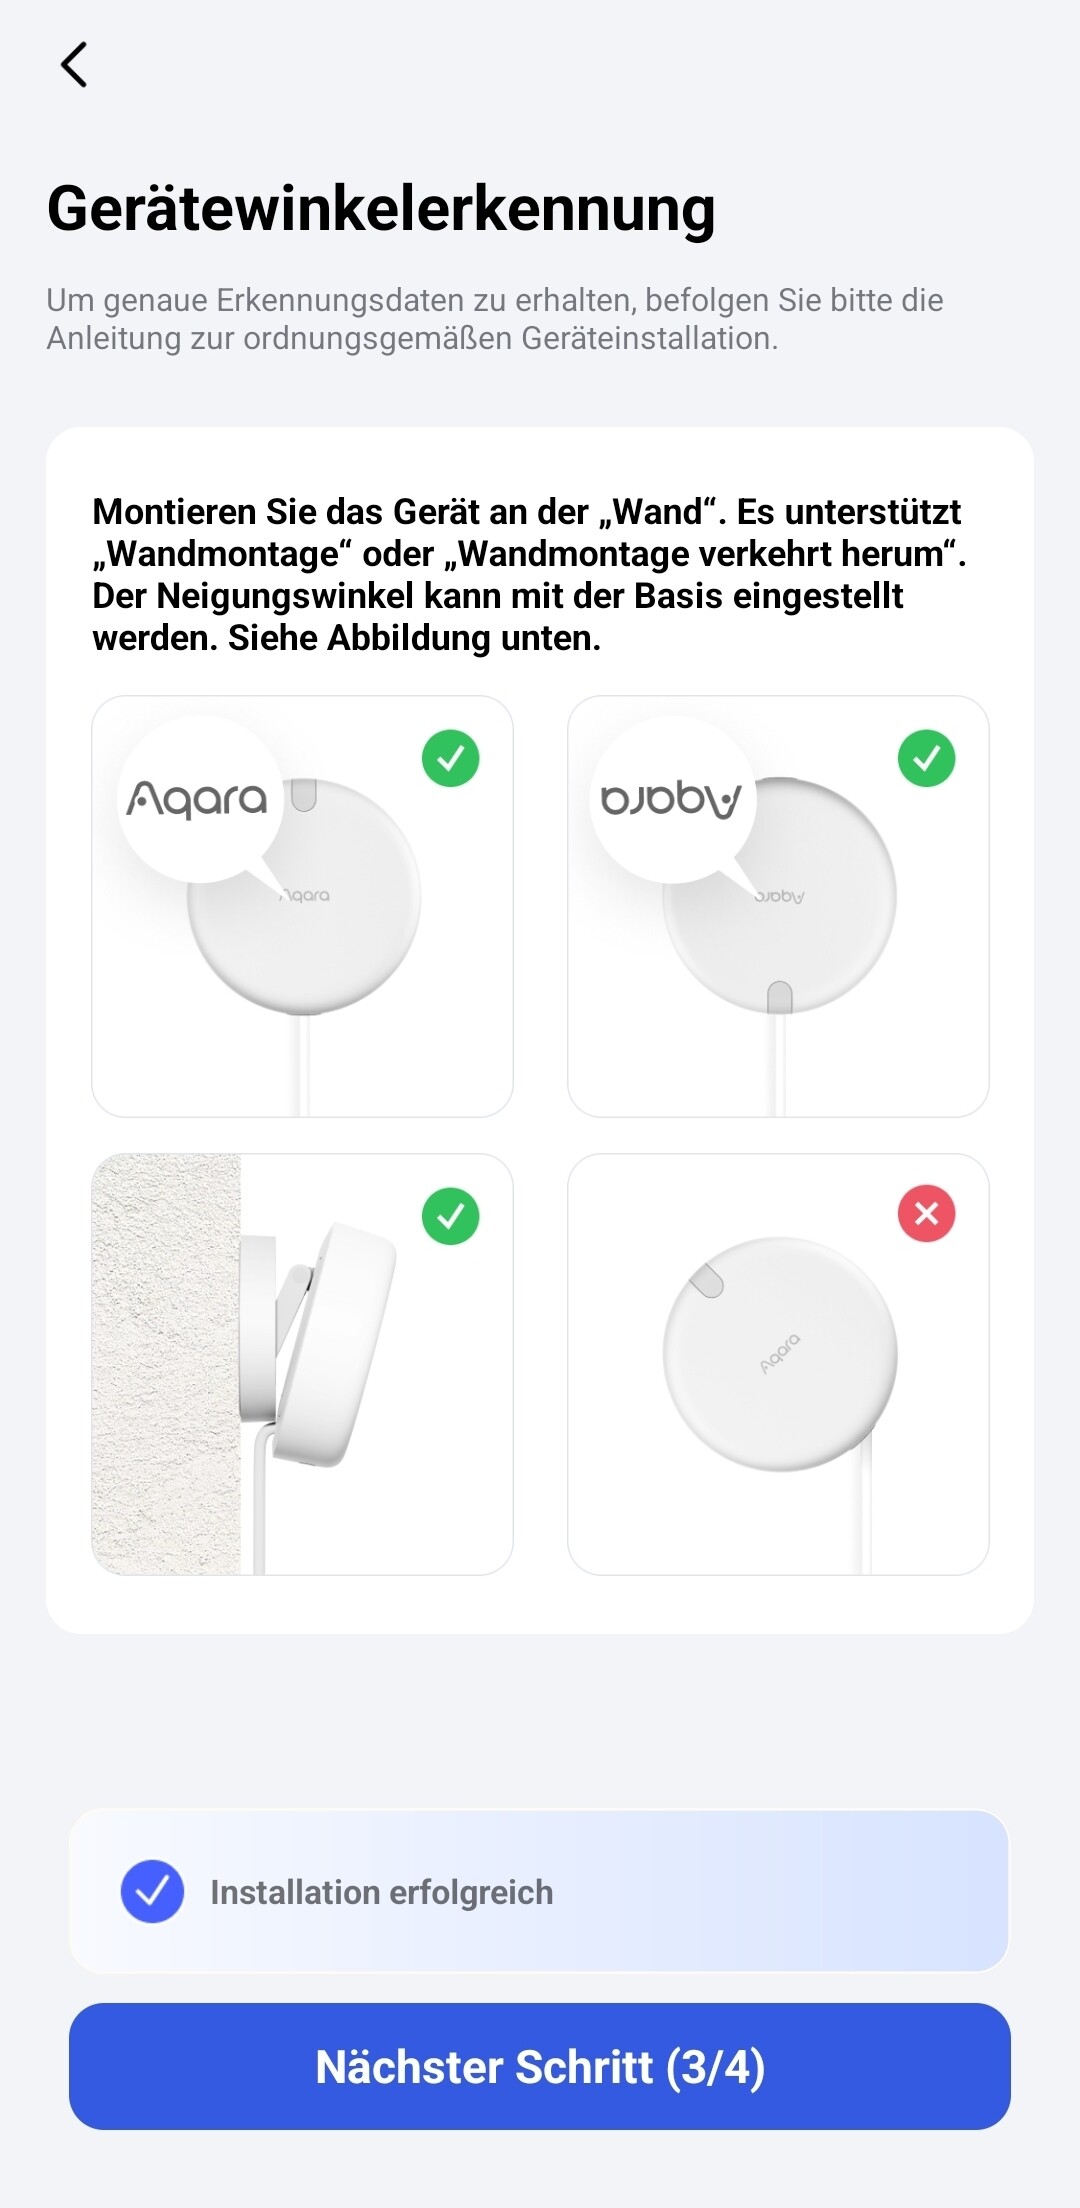
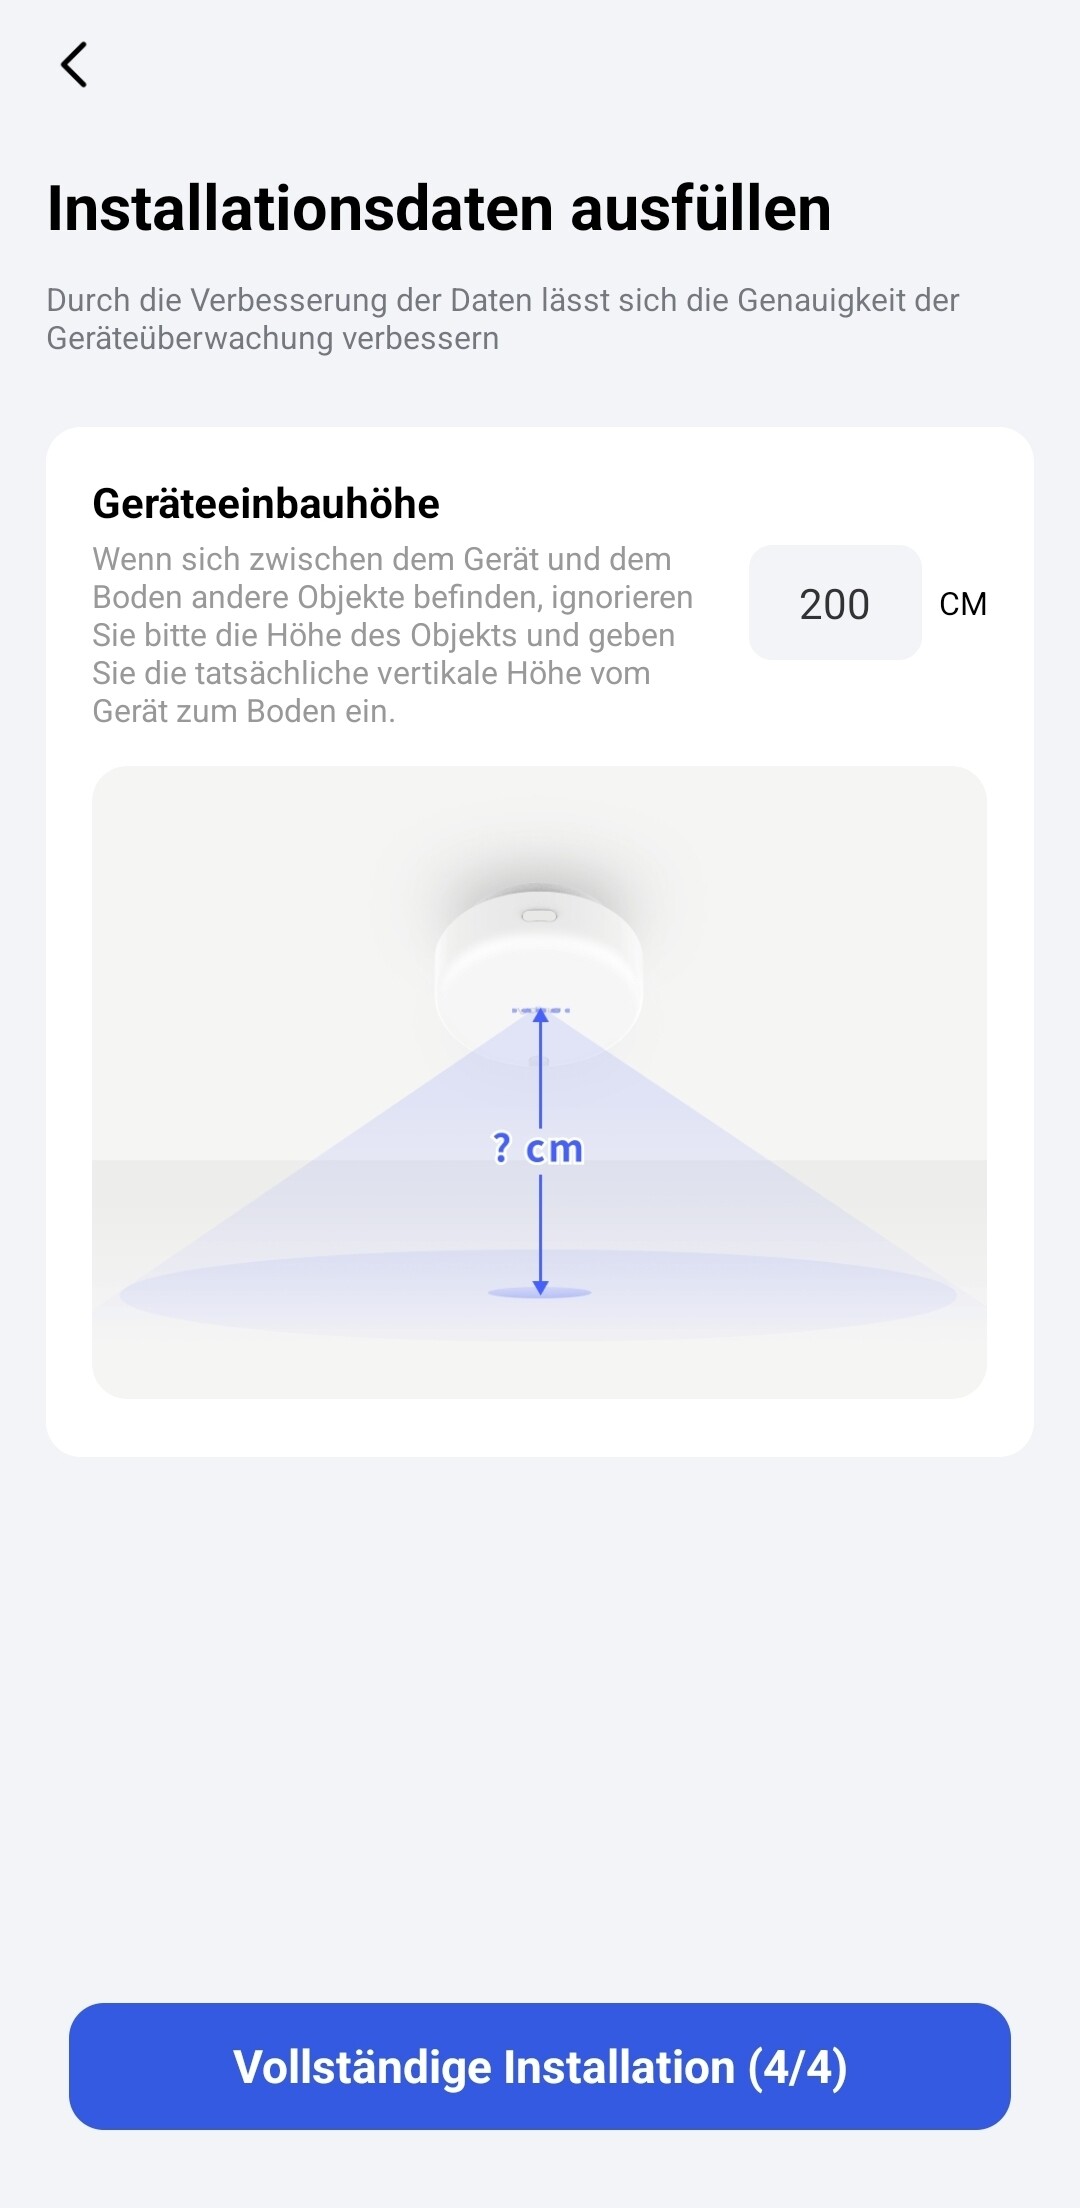
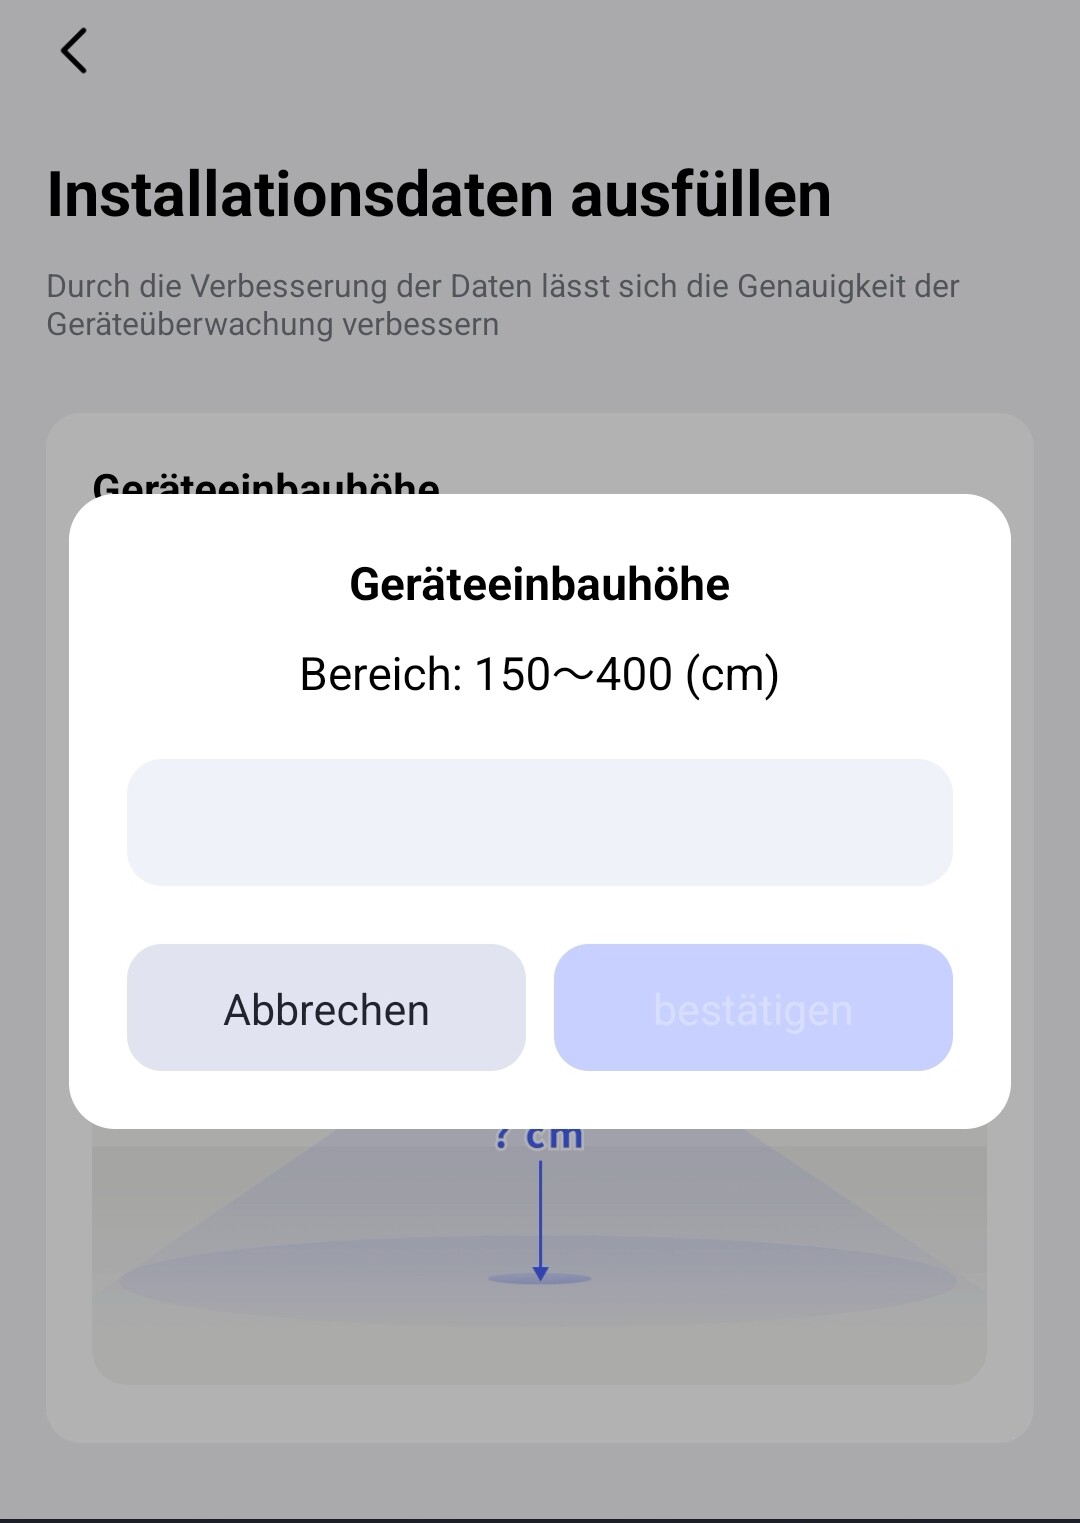
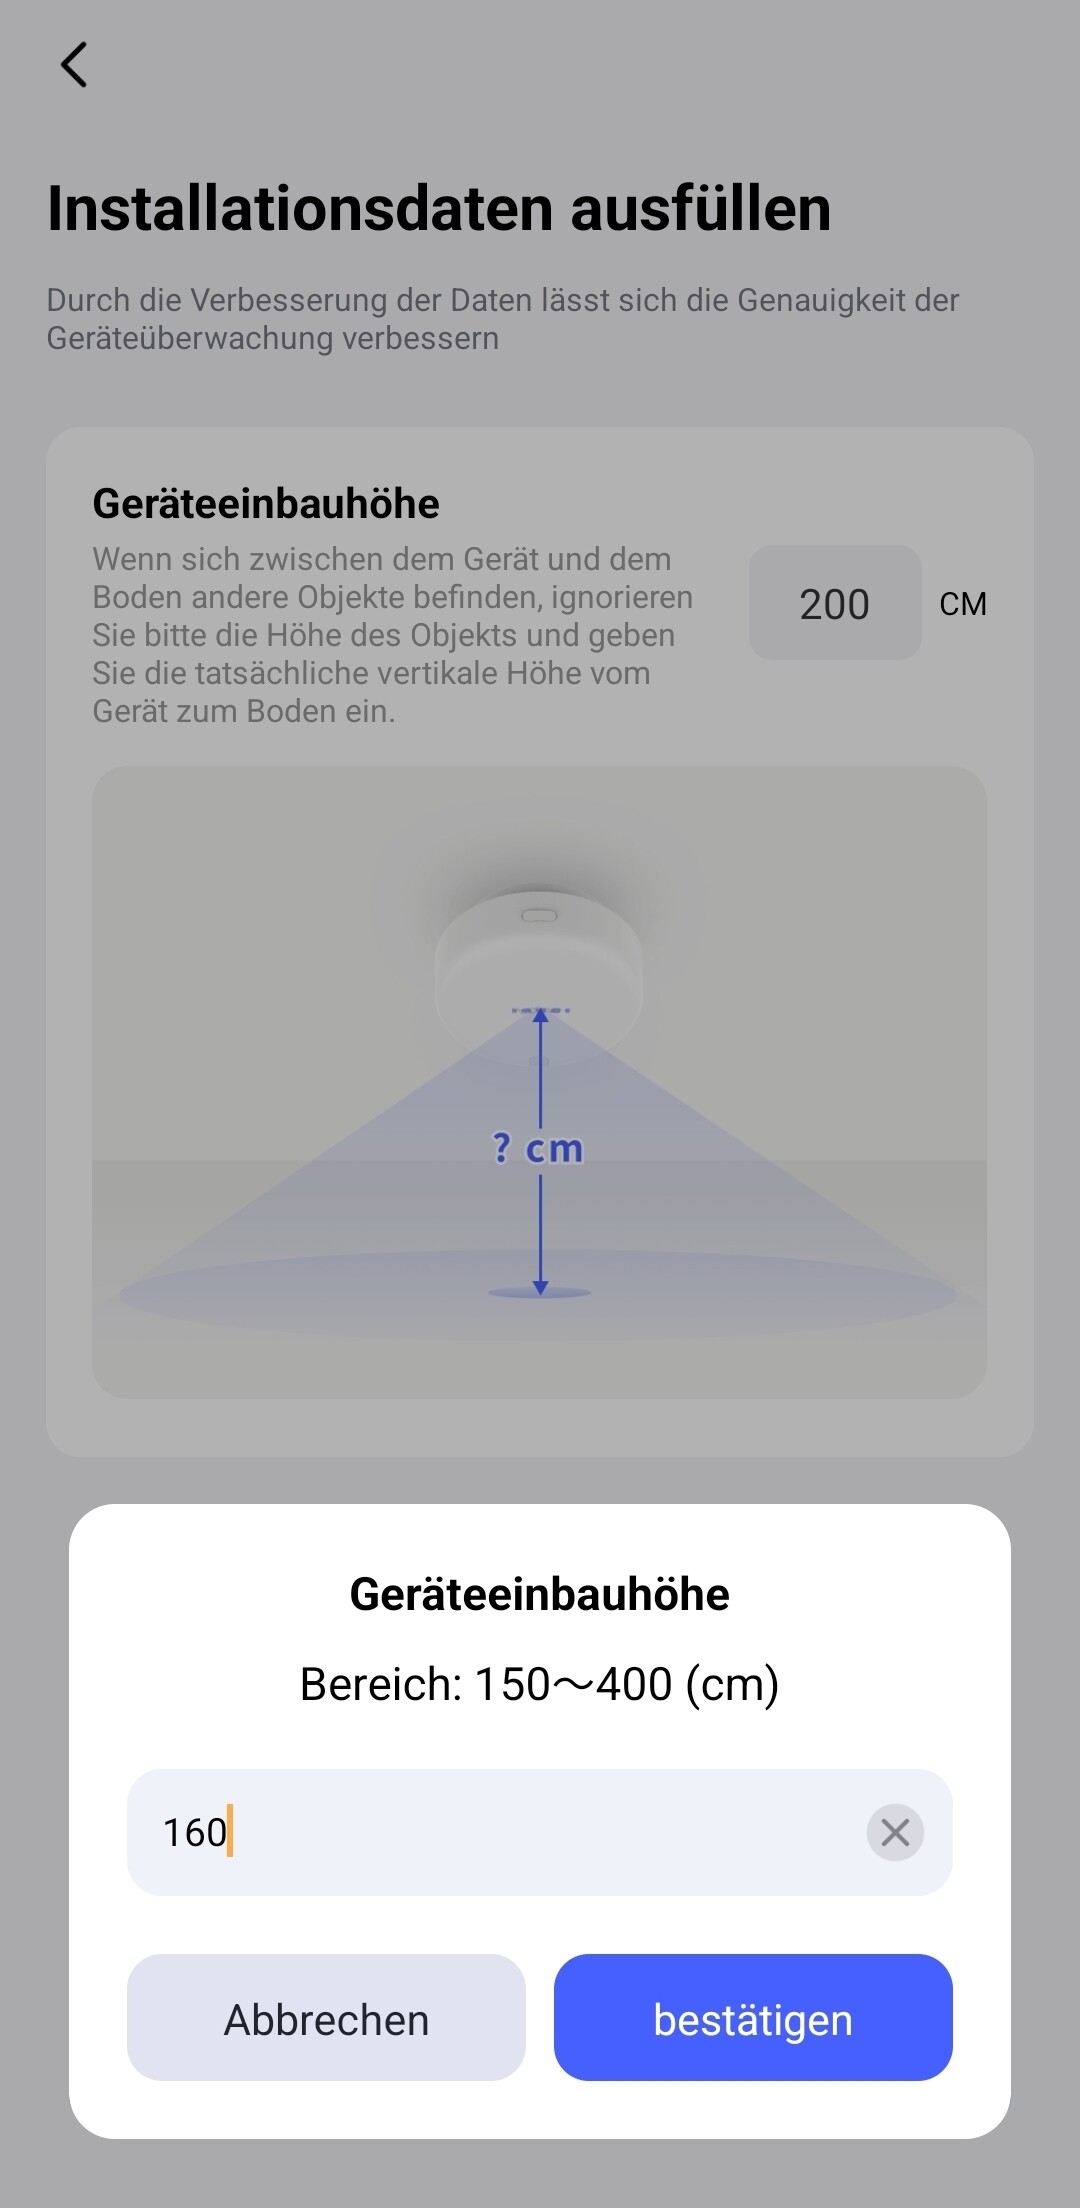
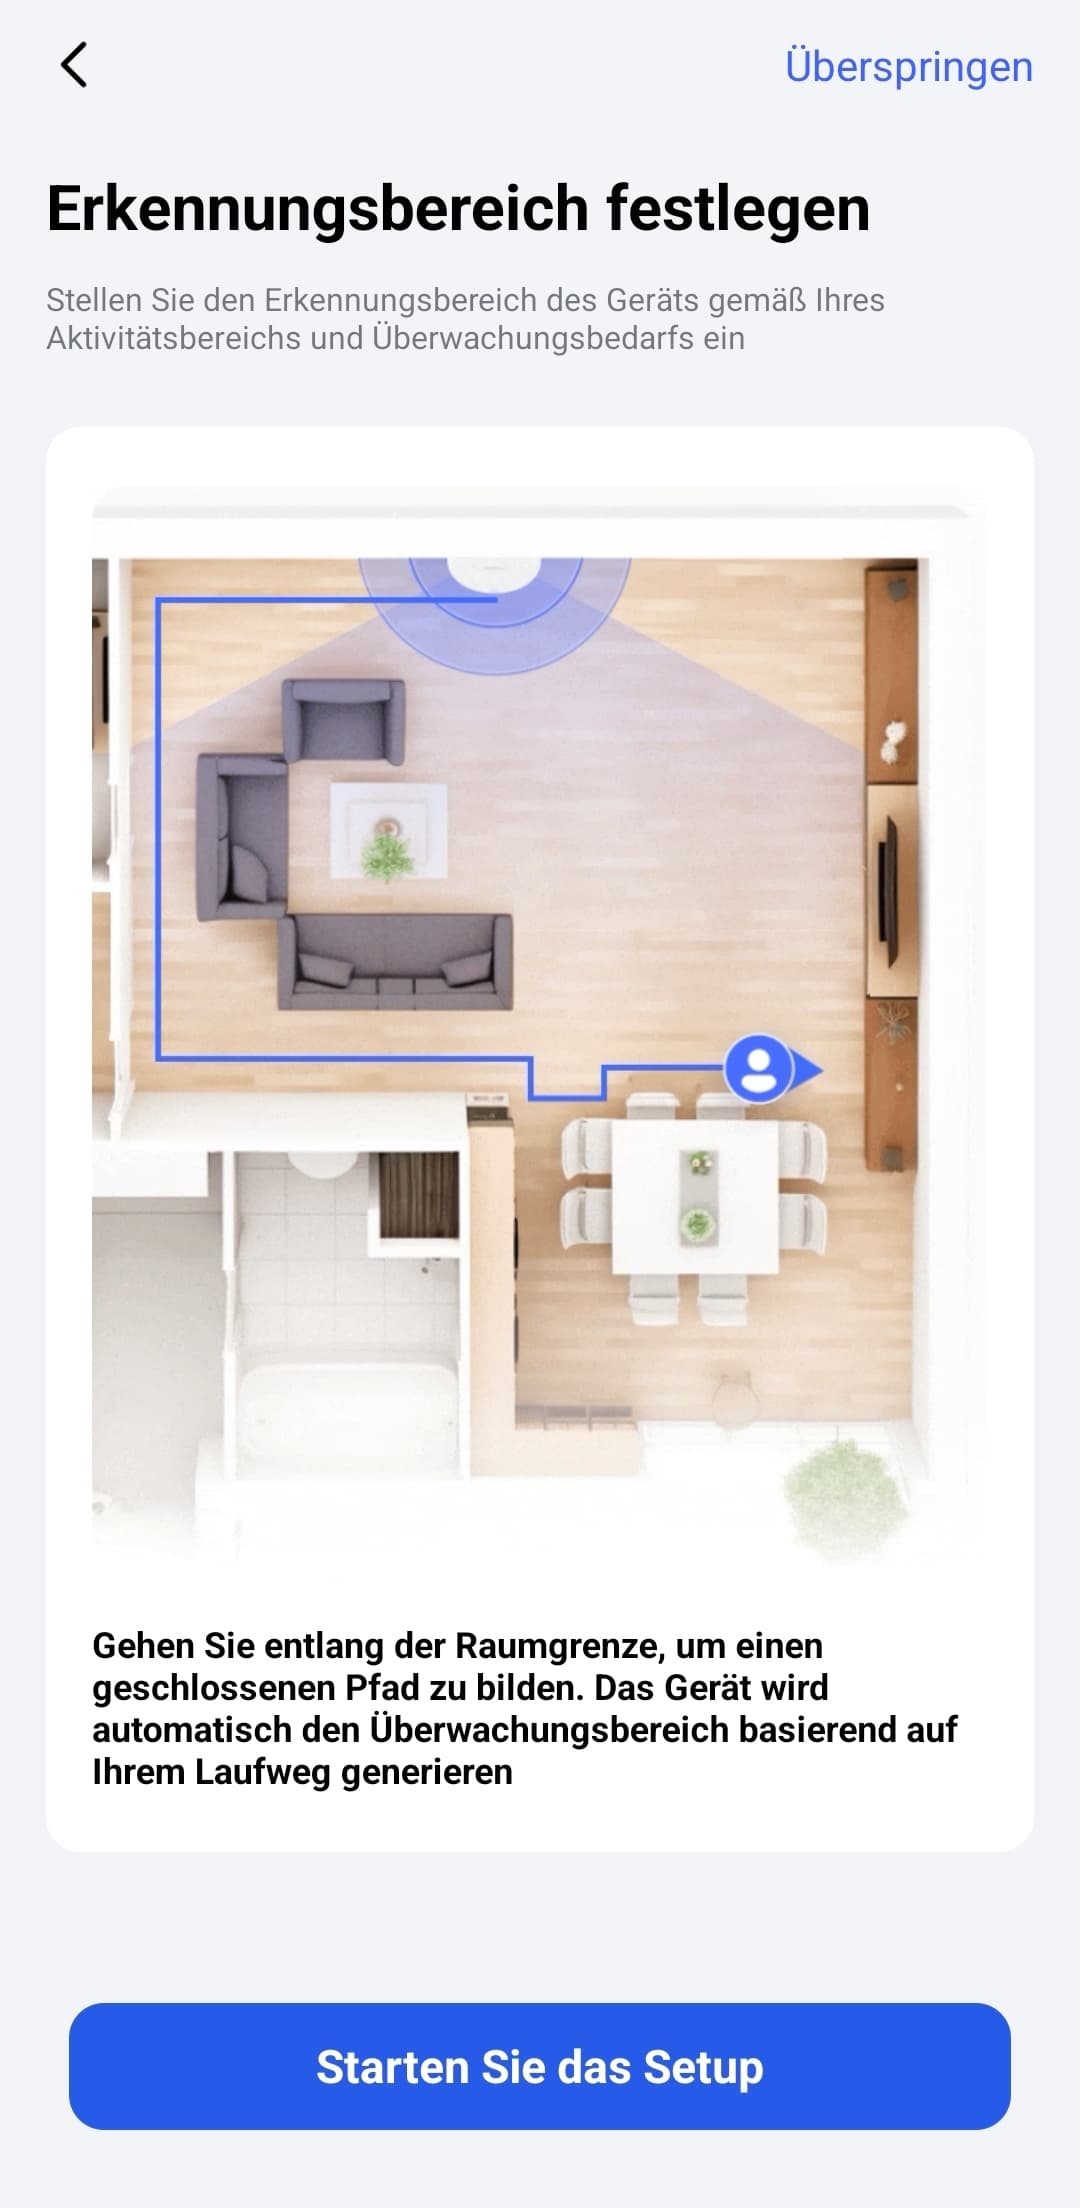
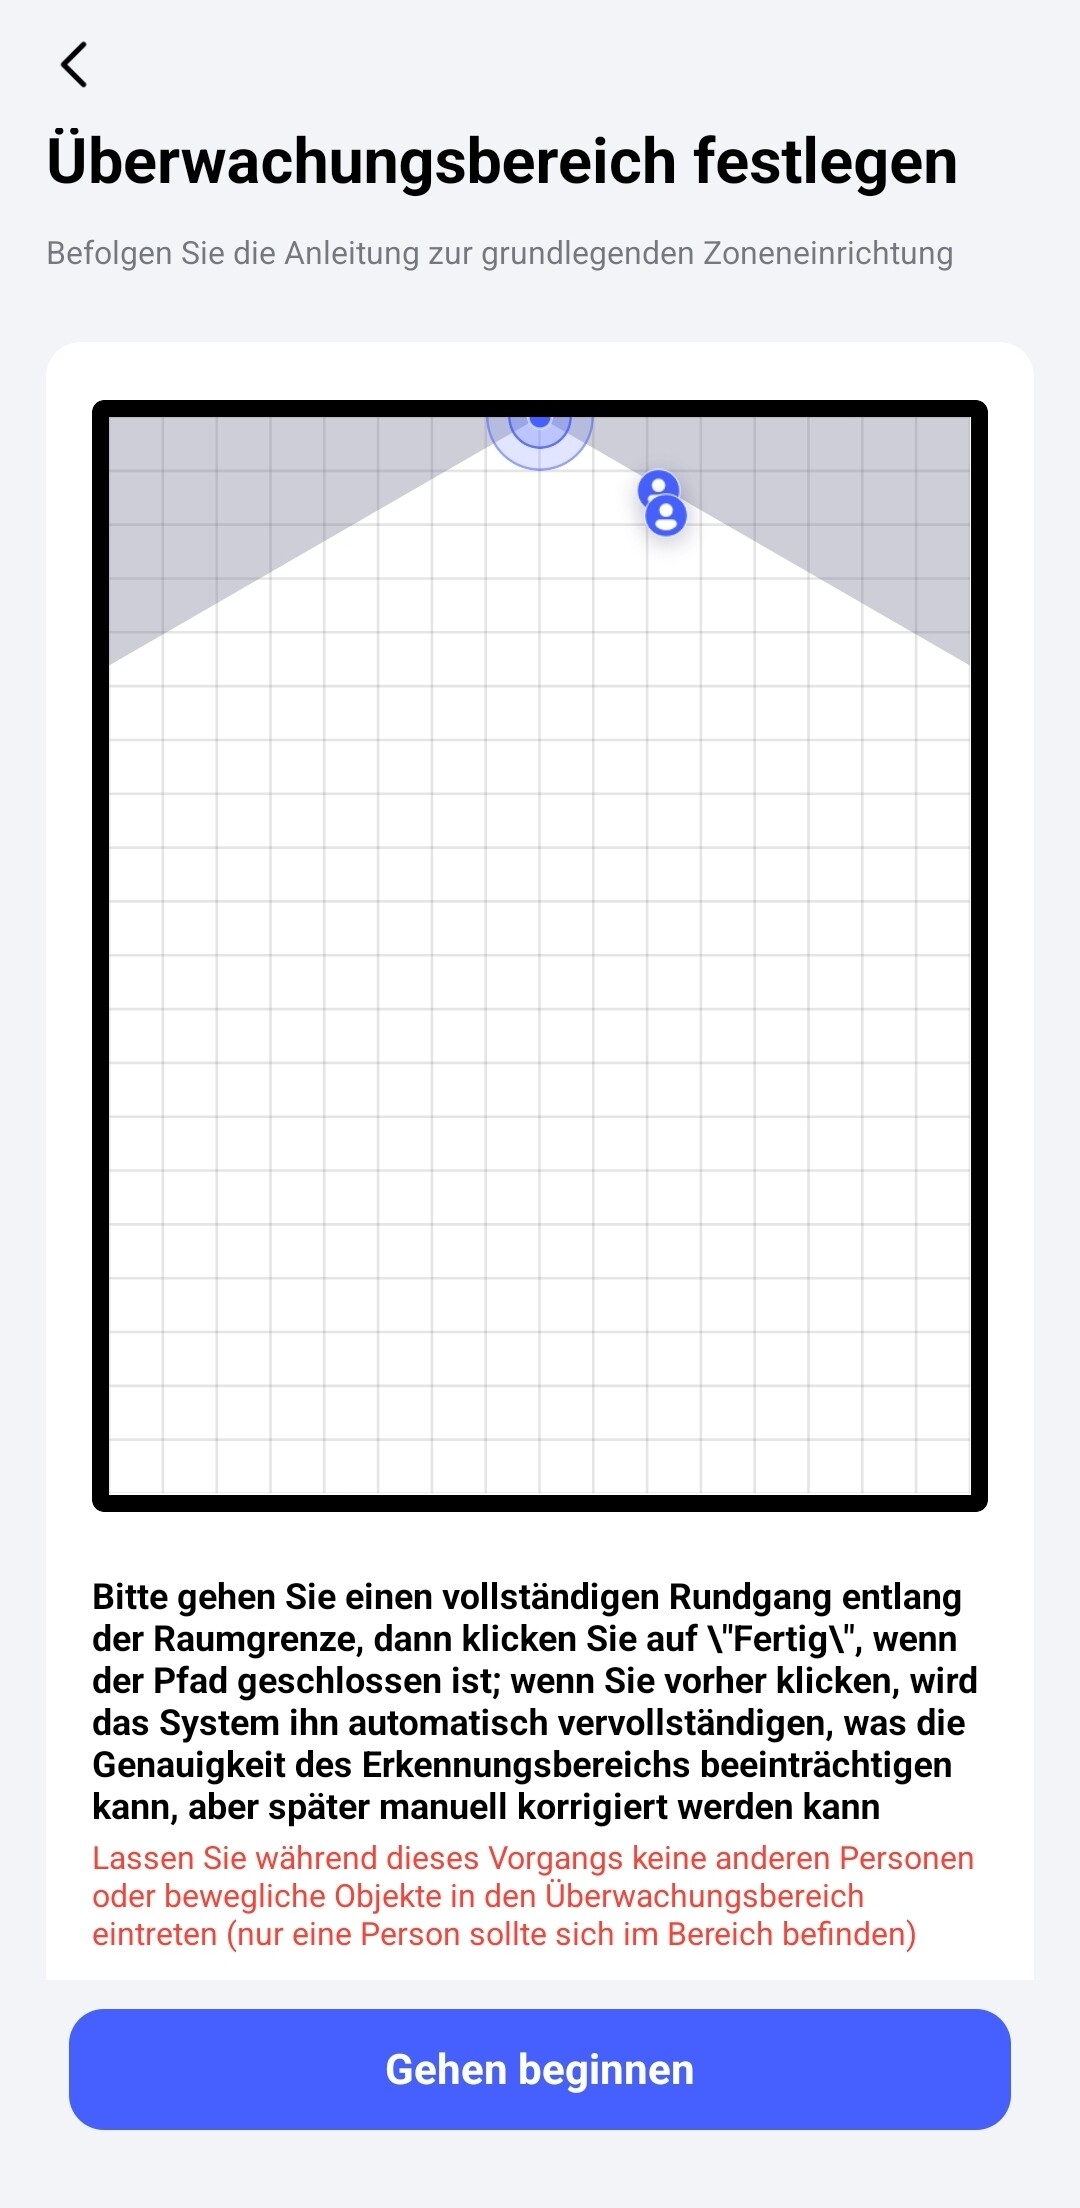
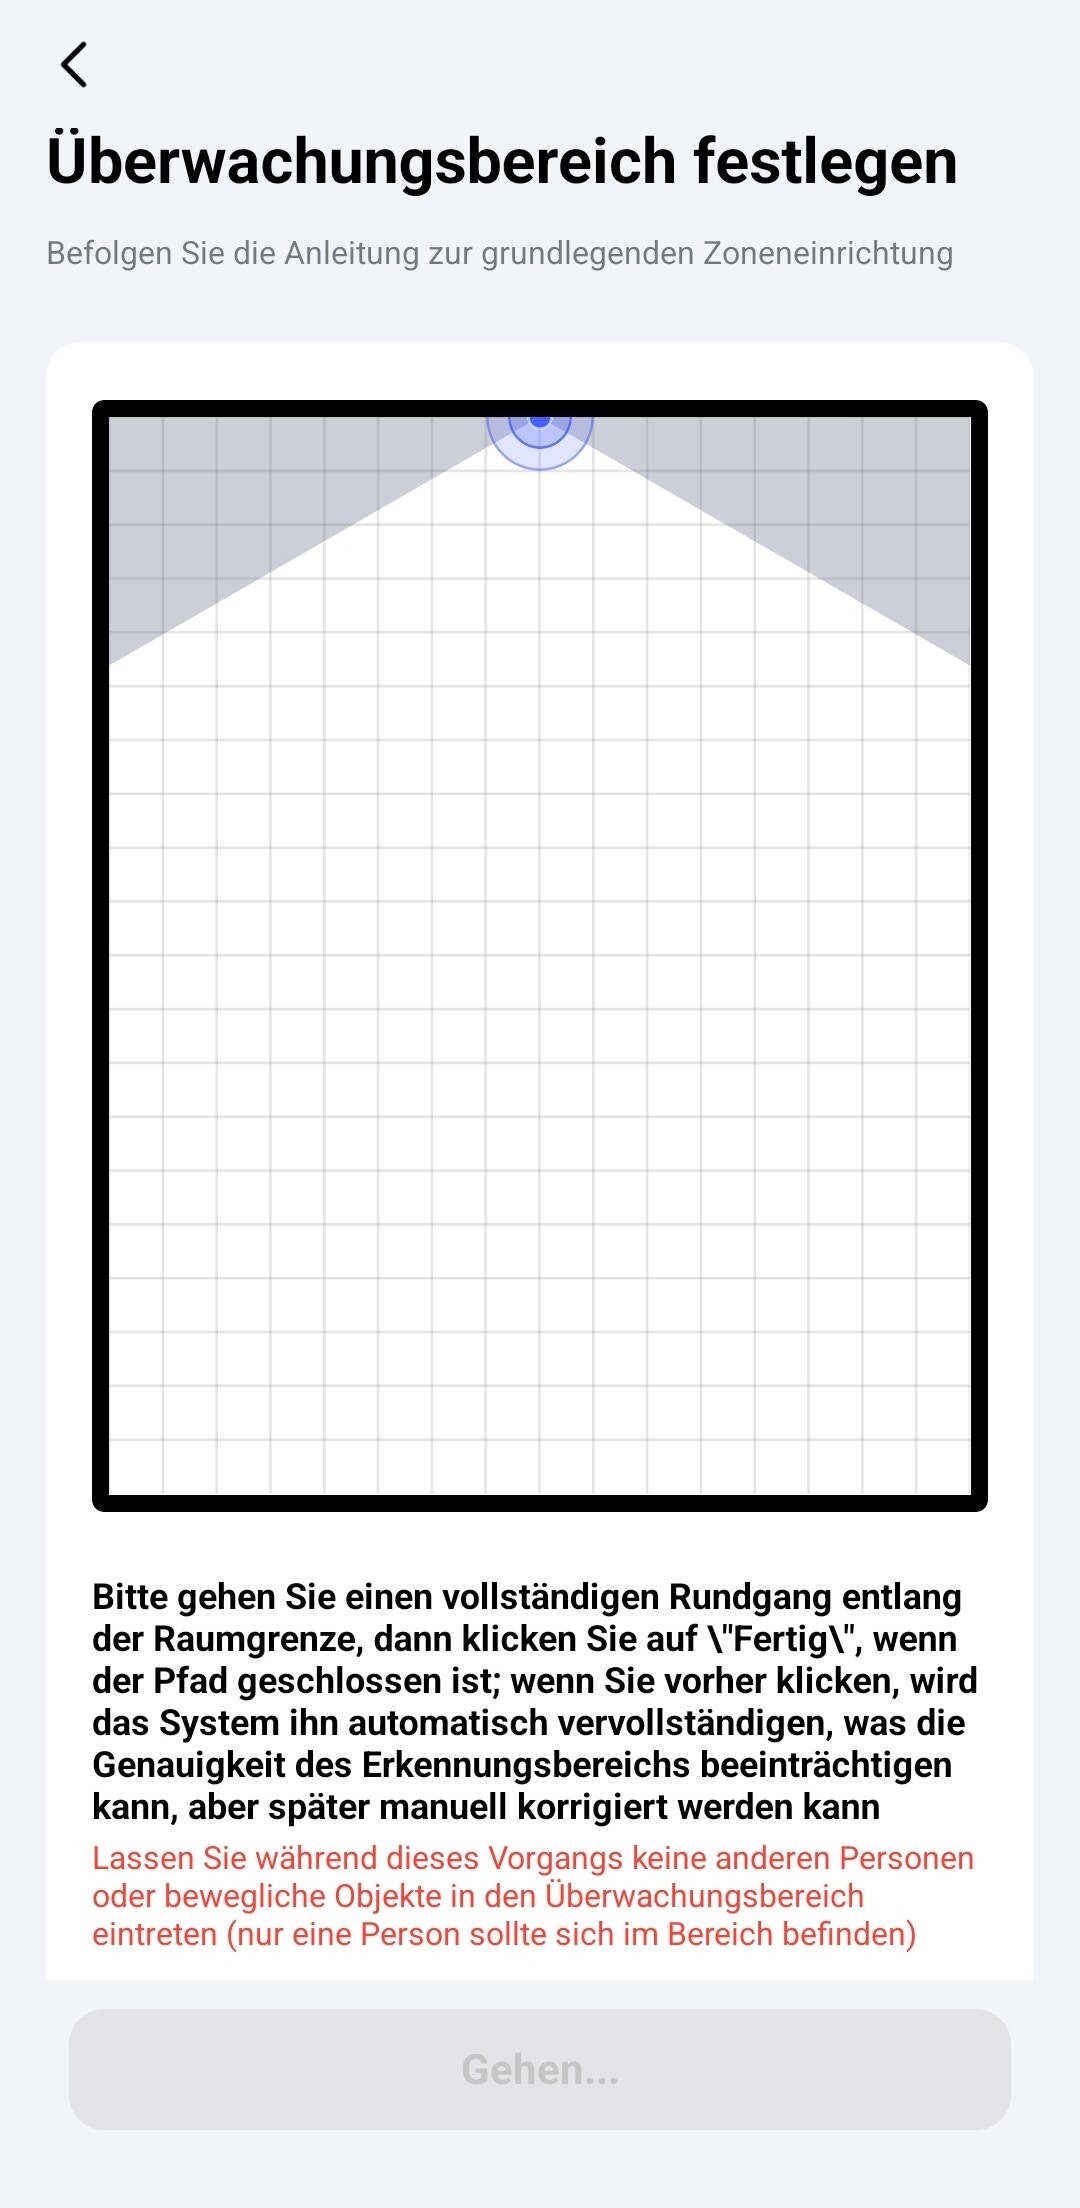
Live detection during setup
Apple Home:
Homeassistant:

MyLatestAqara
Spatial-Multi-Sensor-FP400
FP400
@AqaraOfficial @Caroline_Zzz


