__Lesson 3 Setting up the APP security system (alarms)
Good afternoon.
As in the previous lesson, I will give many screenshots of the settings.
Today we will look at the “video surveillance camera” settings block.
Fig. A
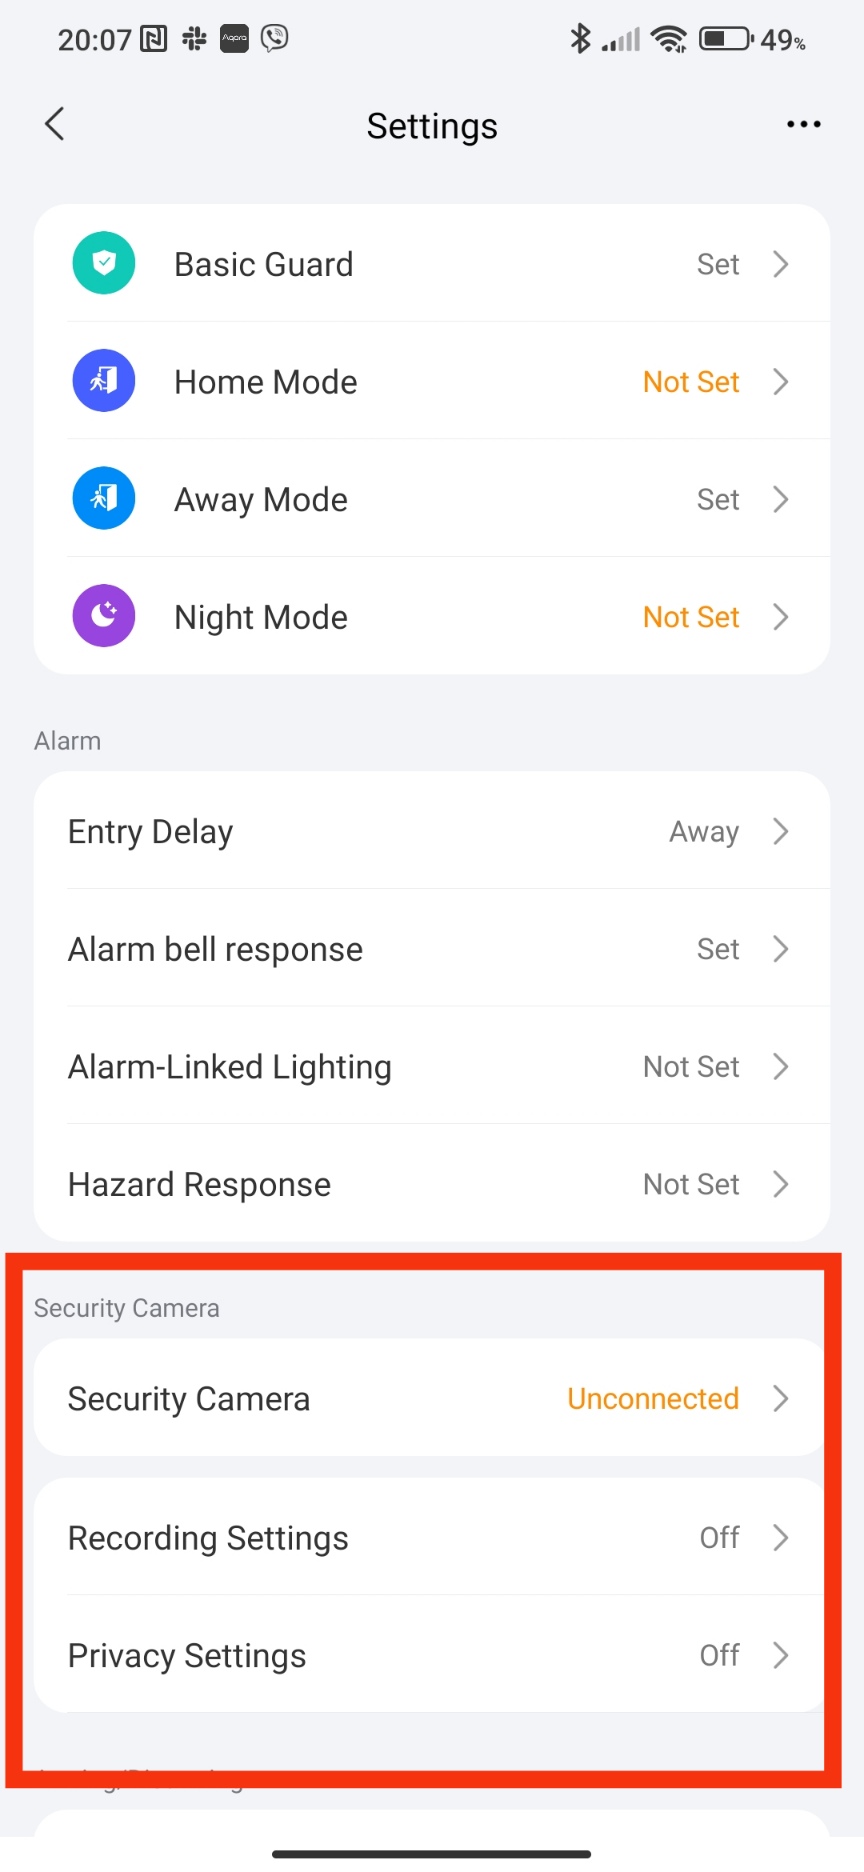
This block has its own peculiarity. It works only when subscribing to this function. All settings marked with a “shield” are paid and require a subscription.
I bought a subscription for one of my cameras specifically for the lesson. This will allow you to see the real functions that are in the security system with a subscription. This is also related to other settings blocks.
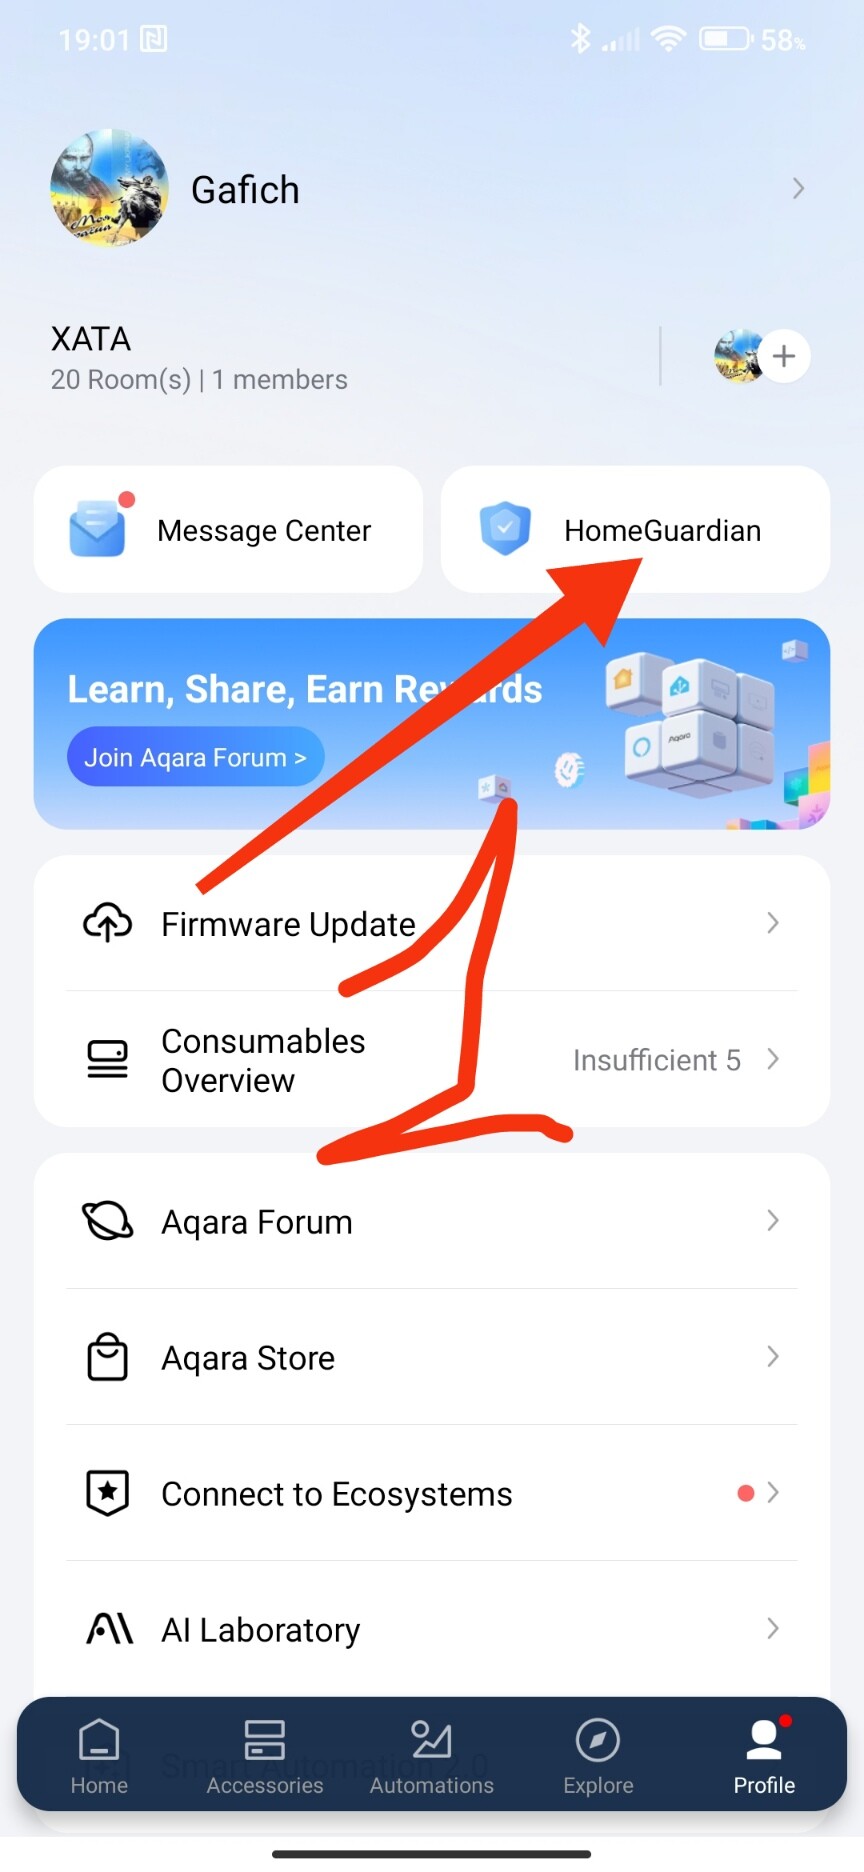
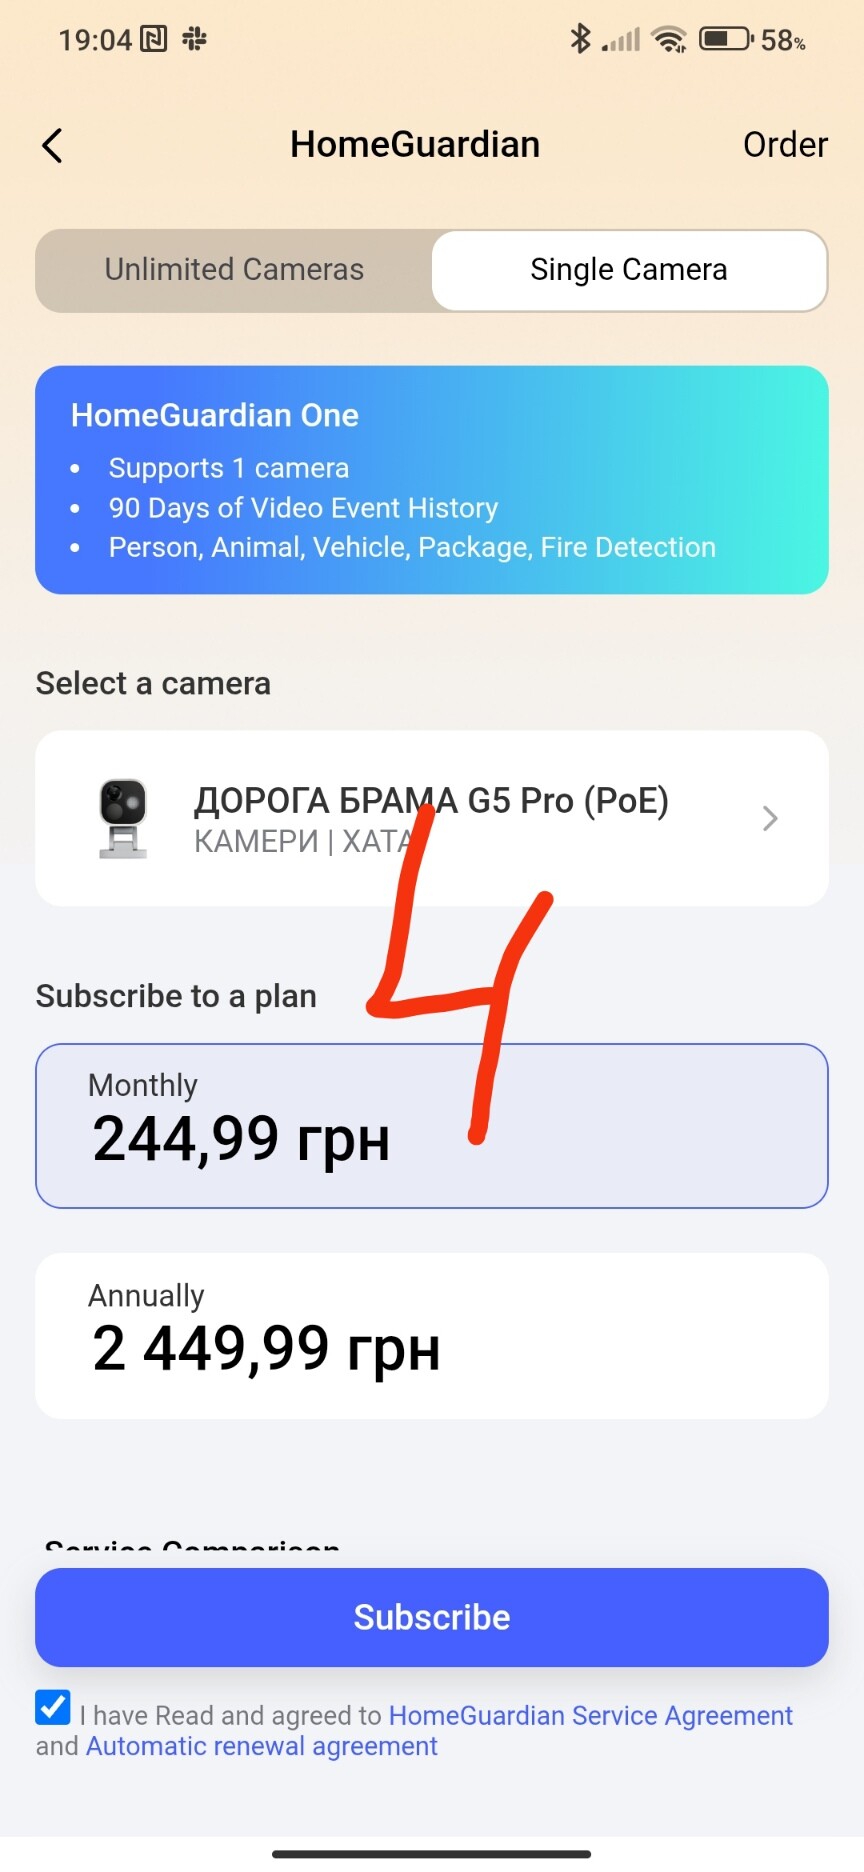
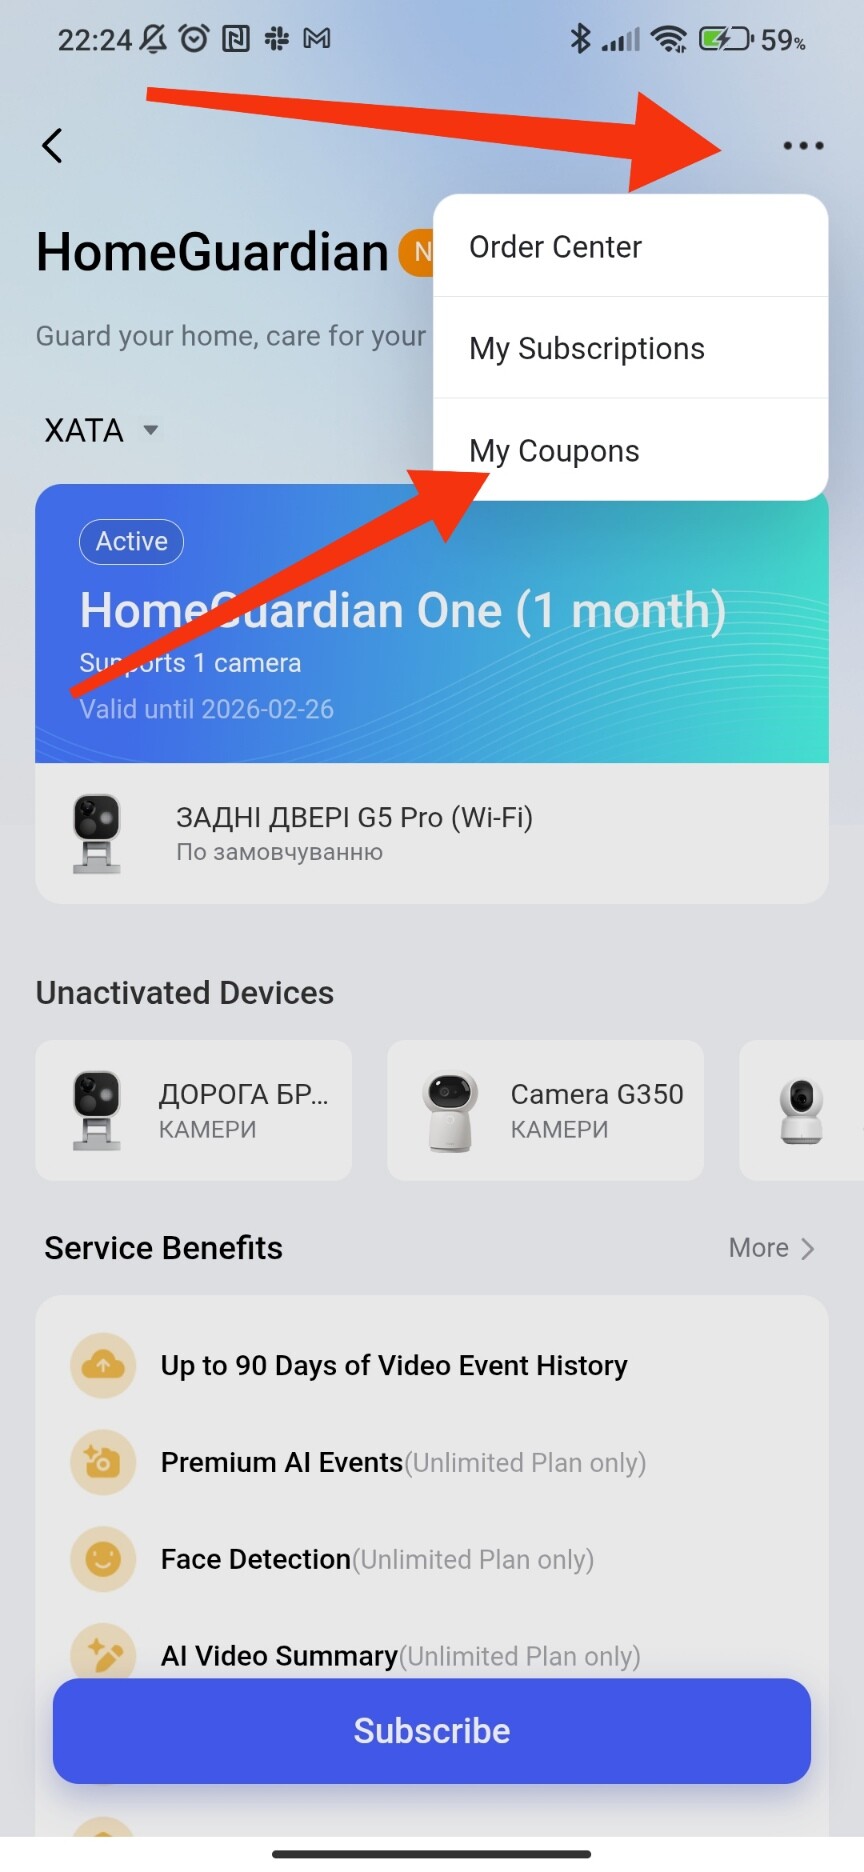
To purchase a paid subscription, you need to go to the app settings page and take the following steps to select the desired camera
Fig. 1, 2.
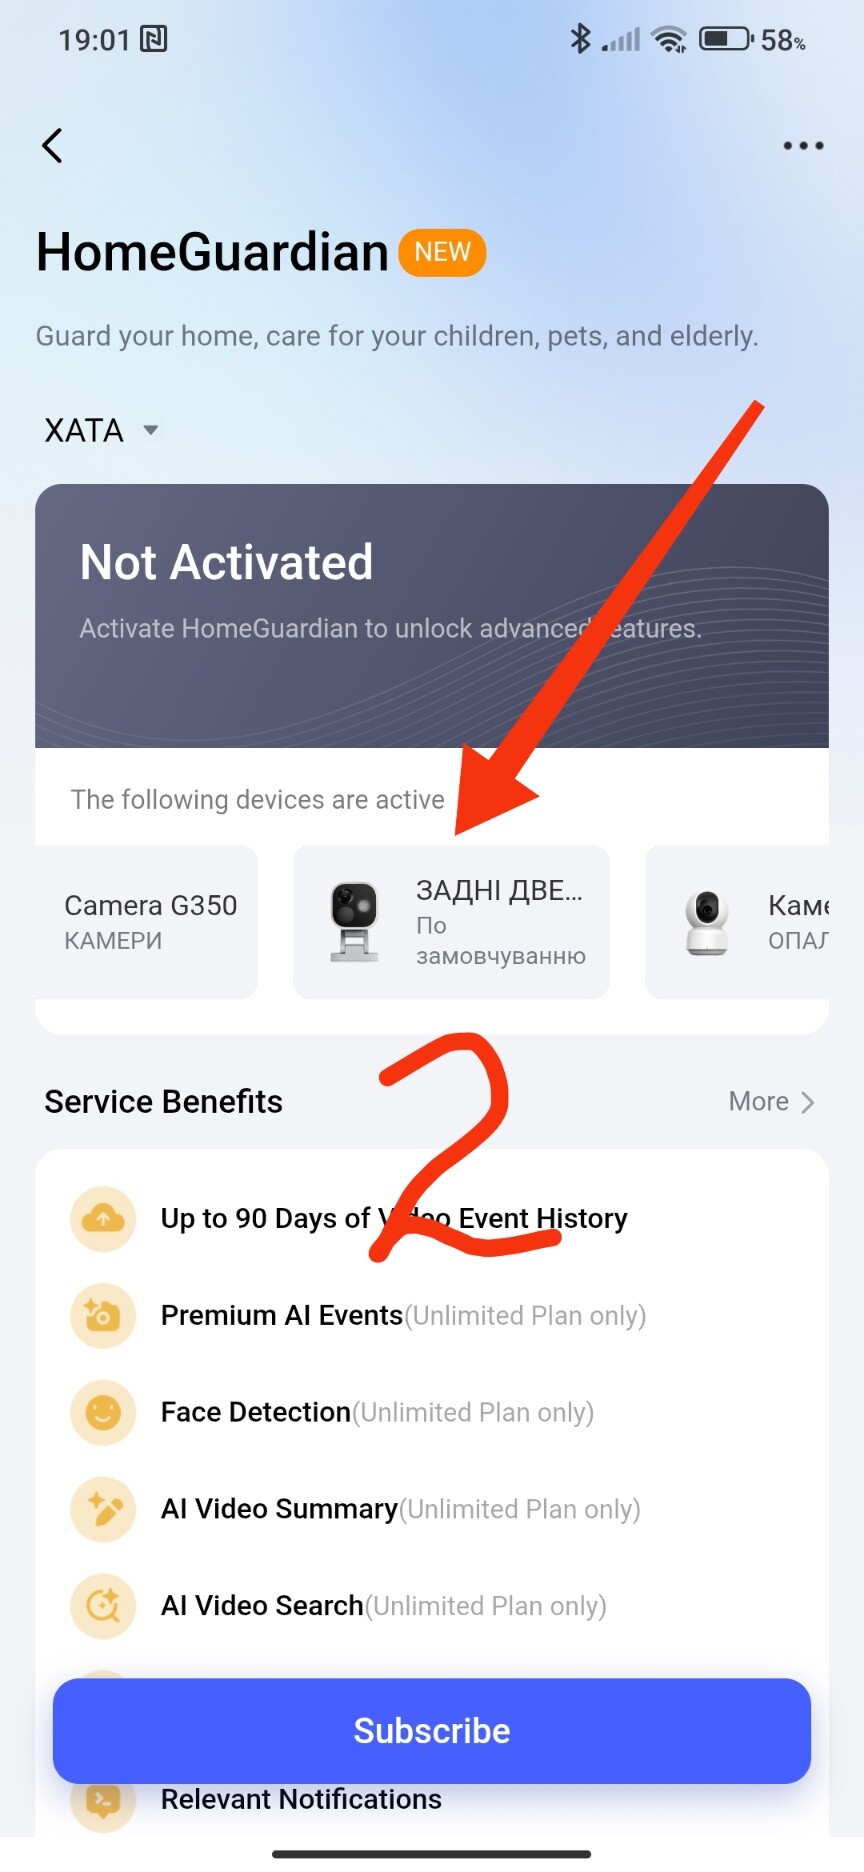
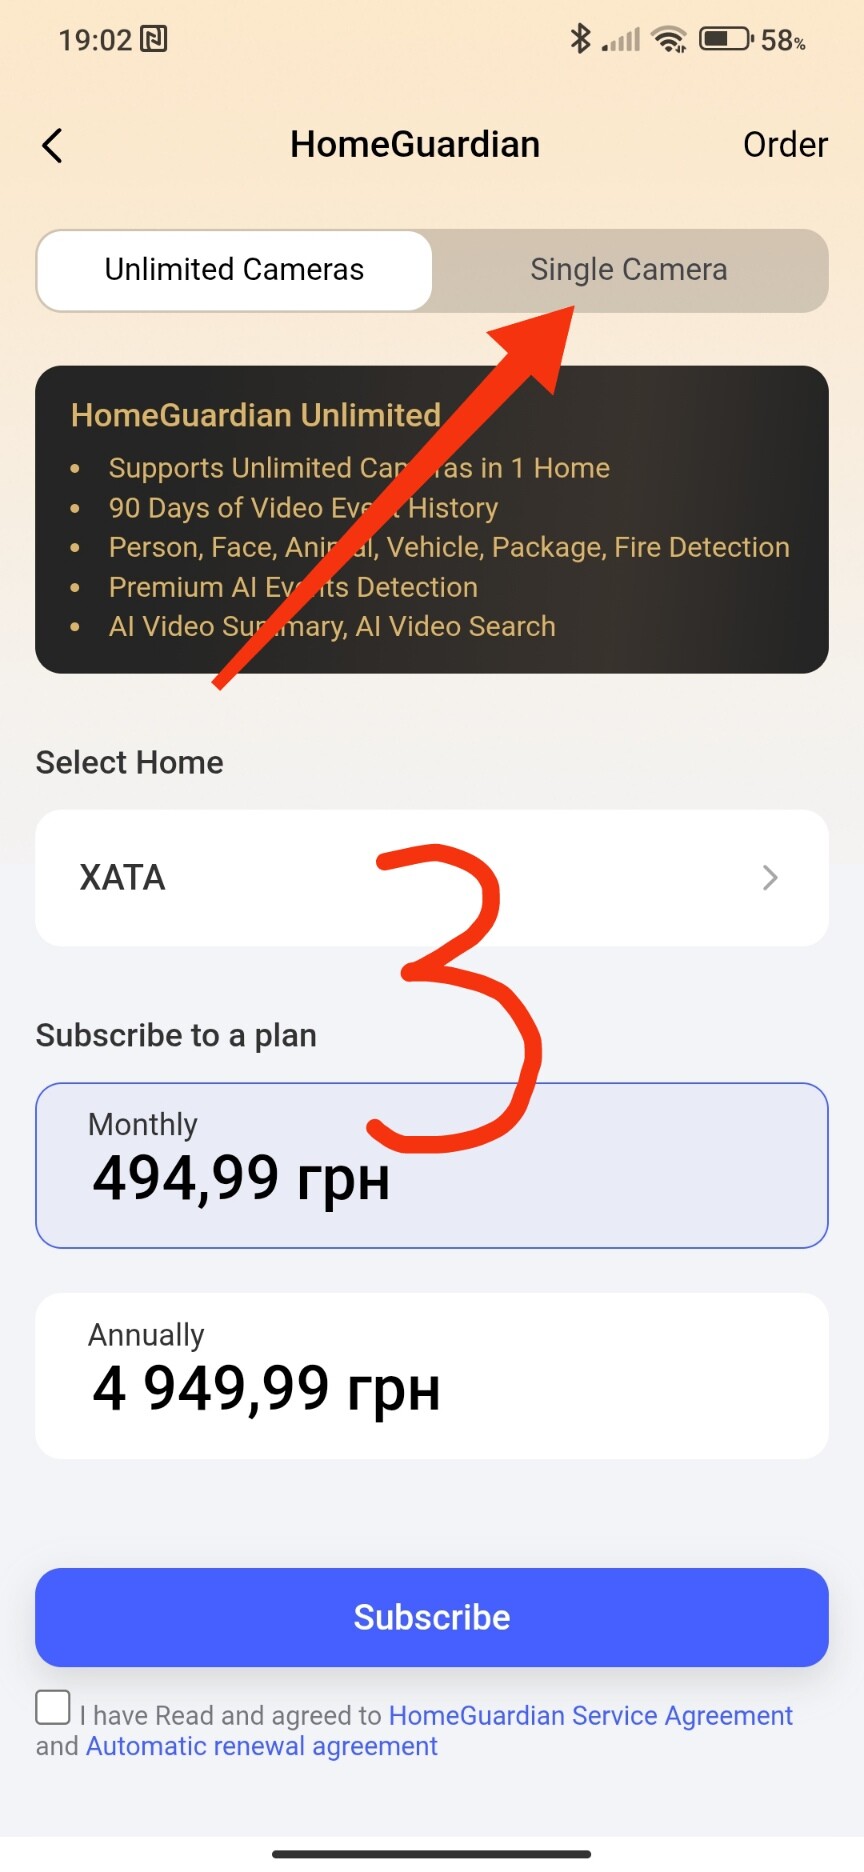
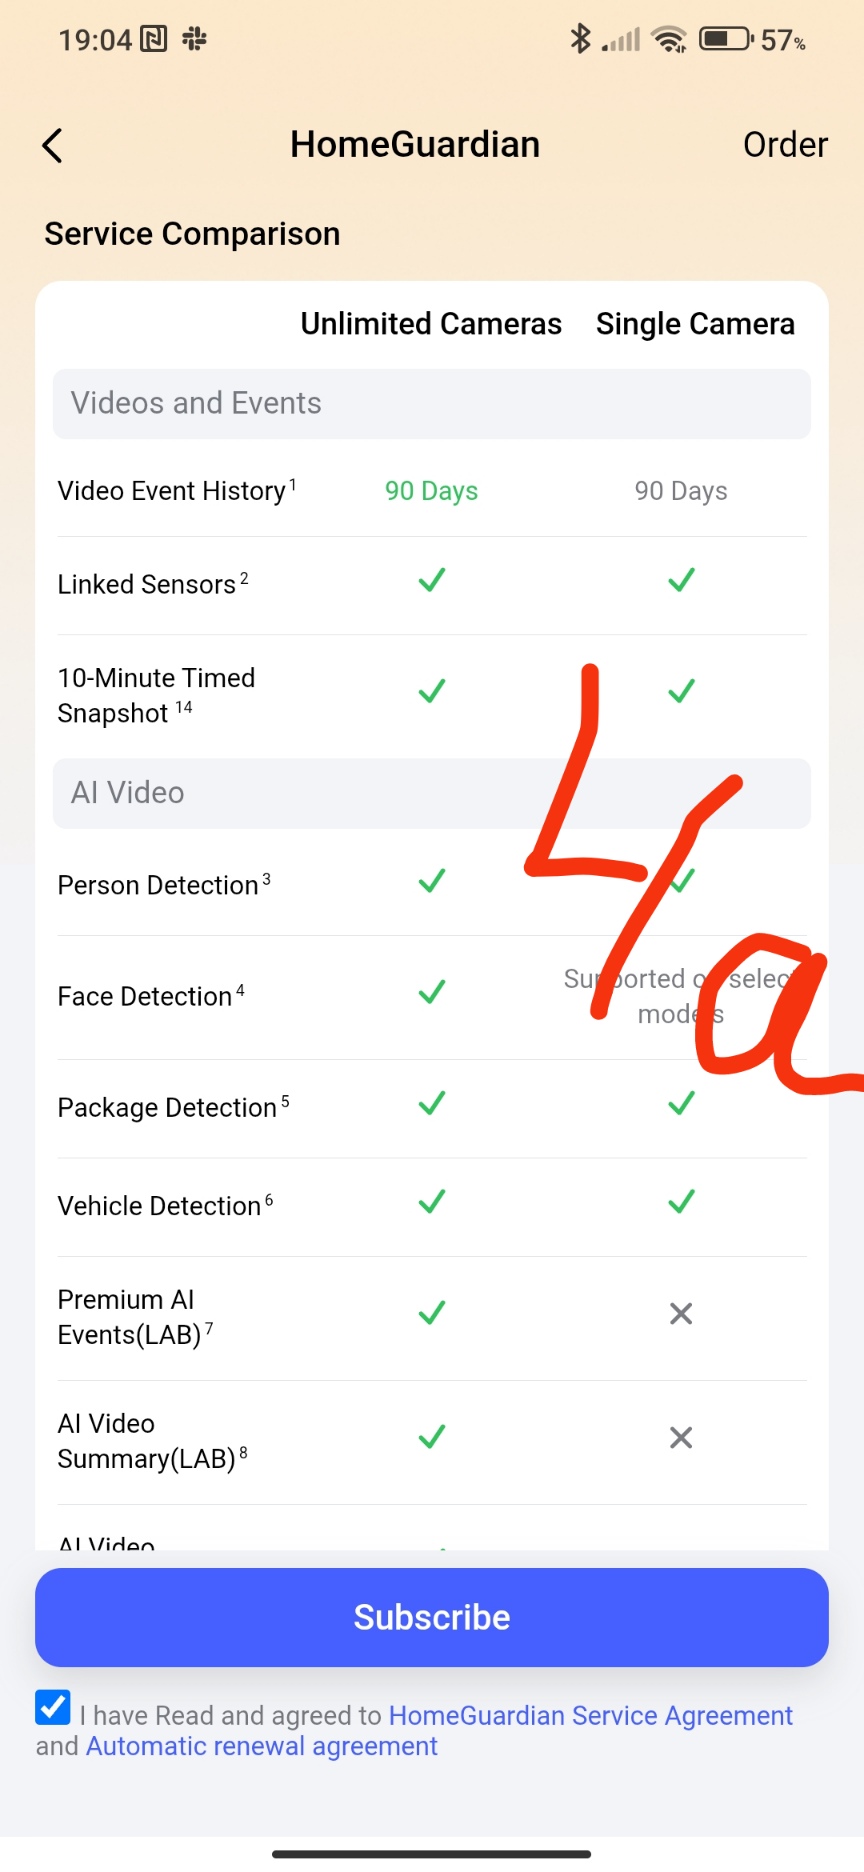
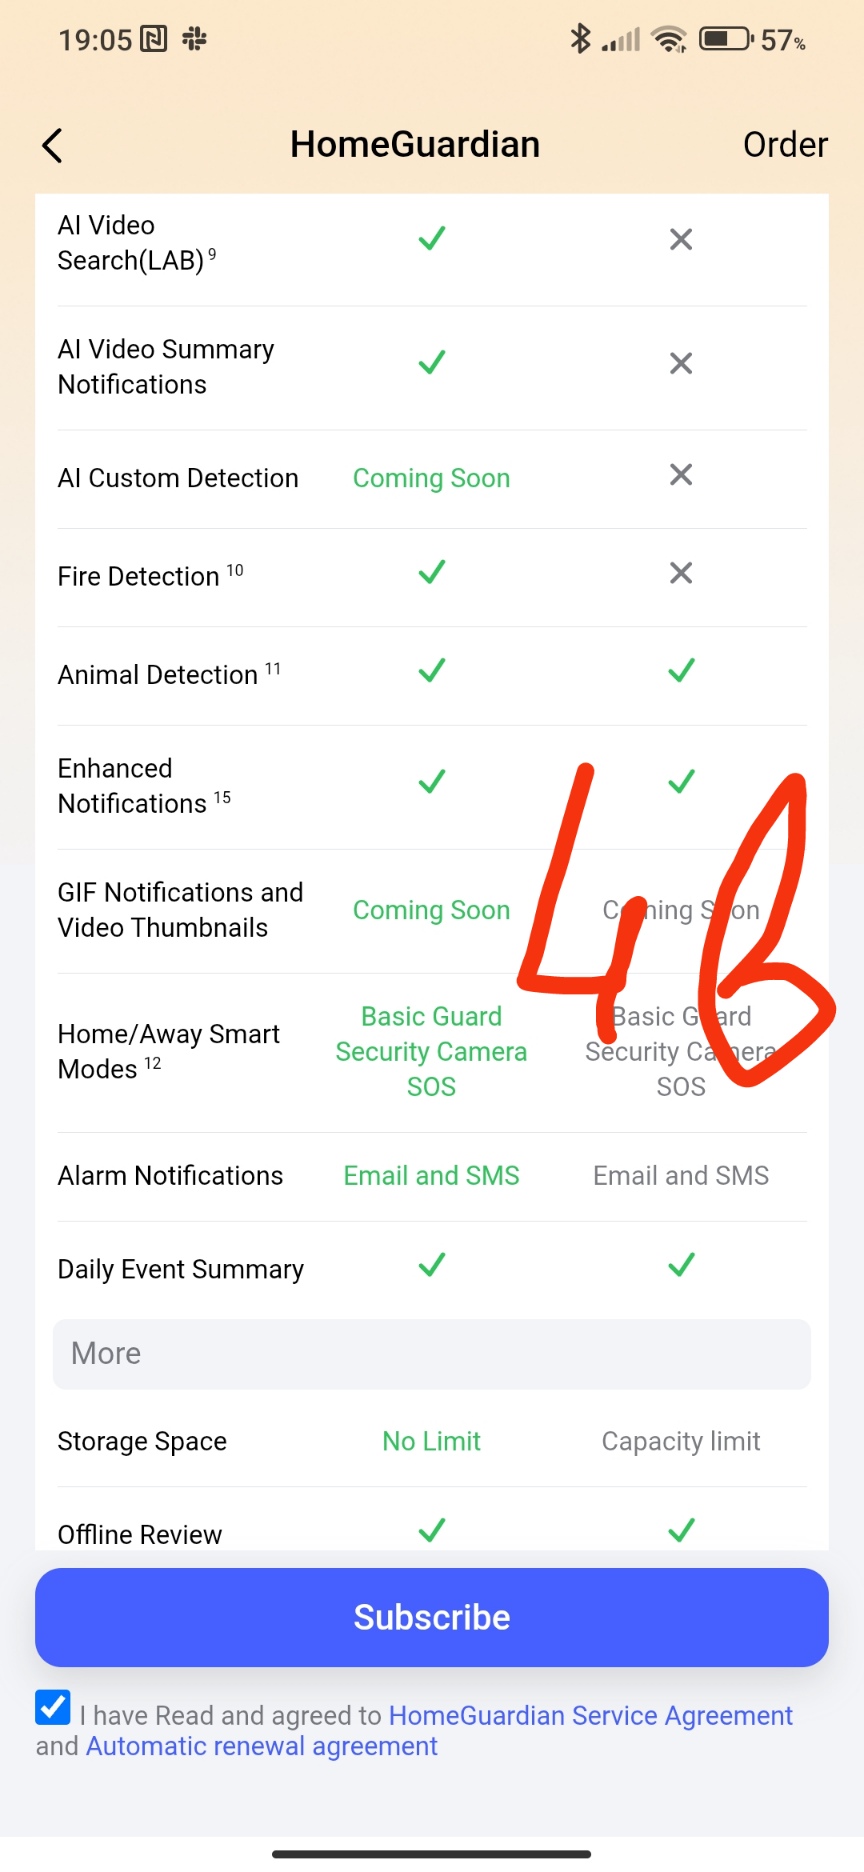
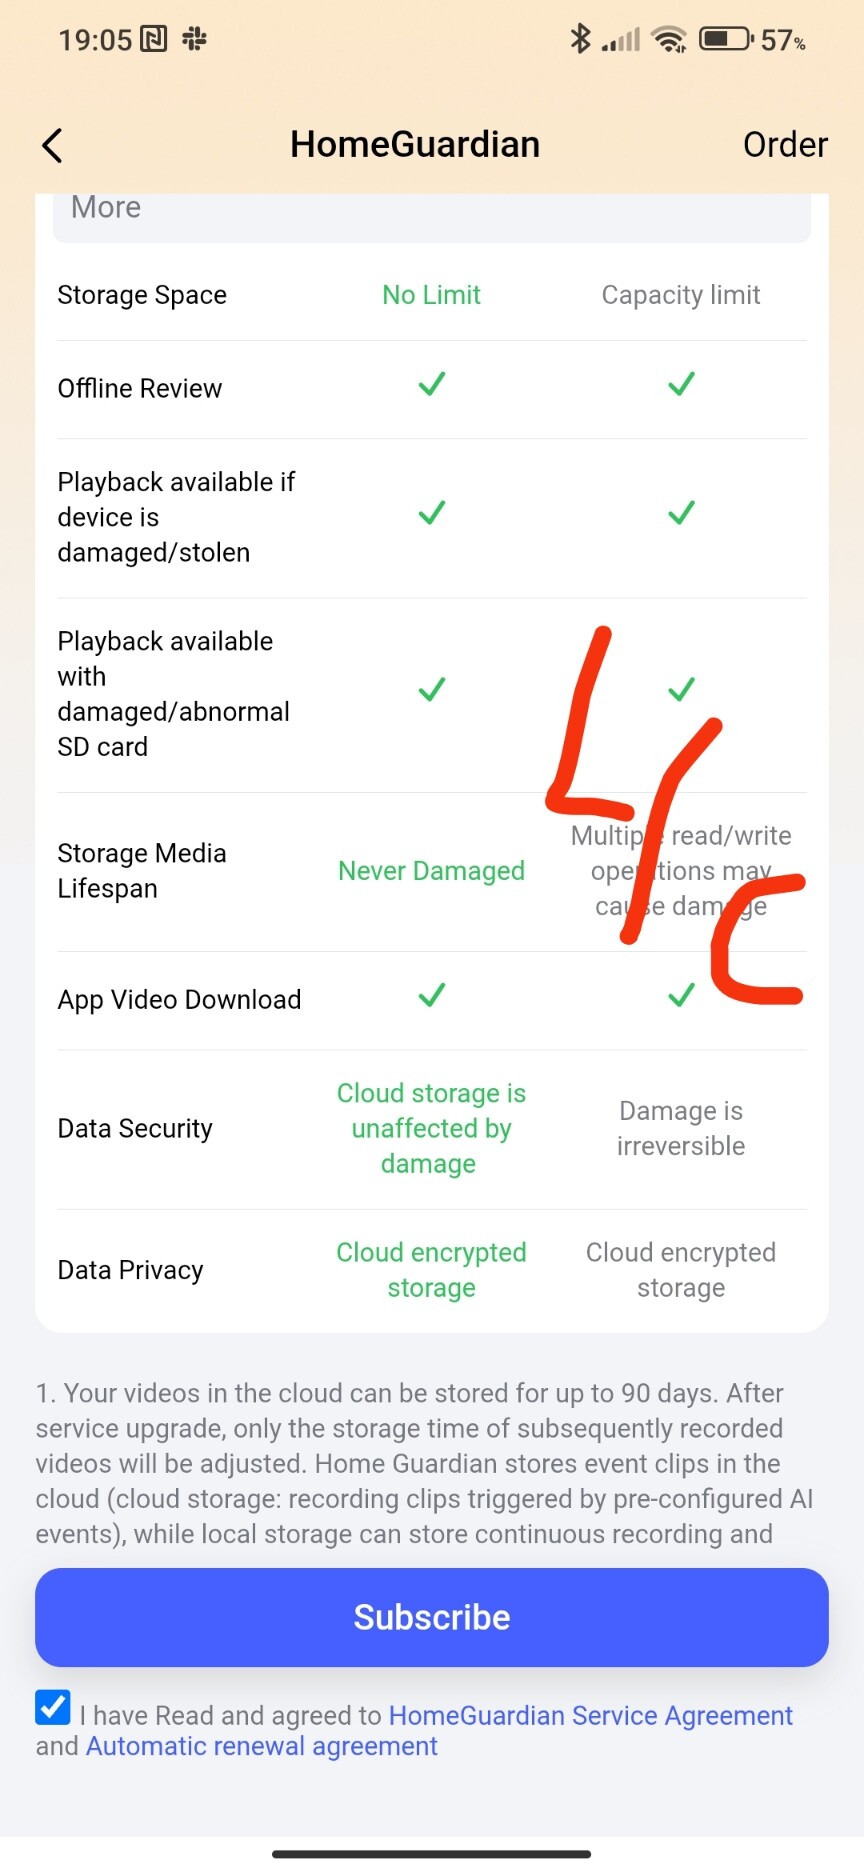
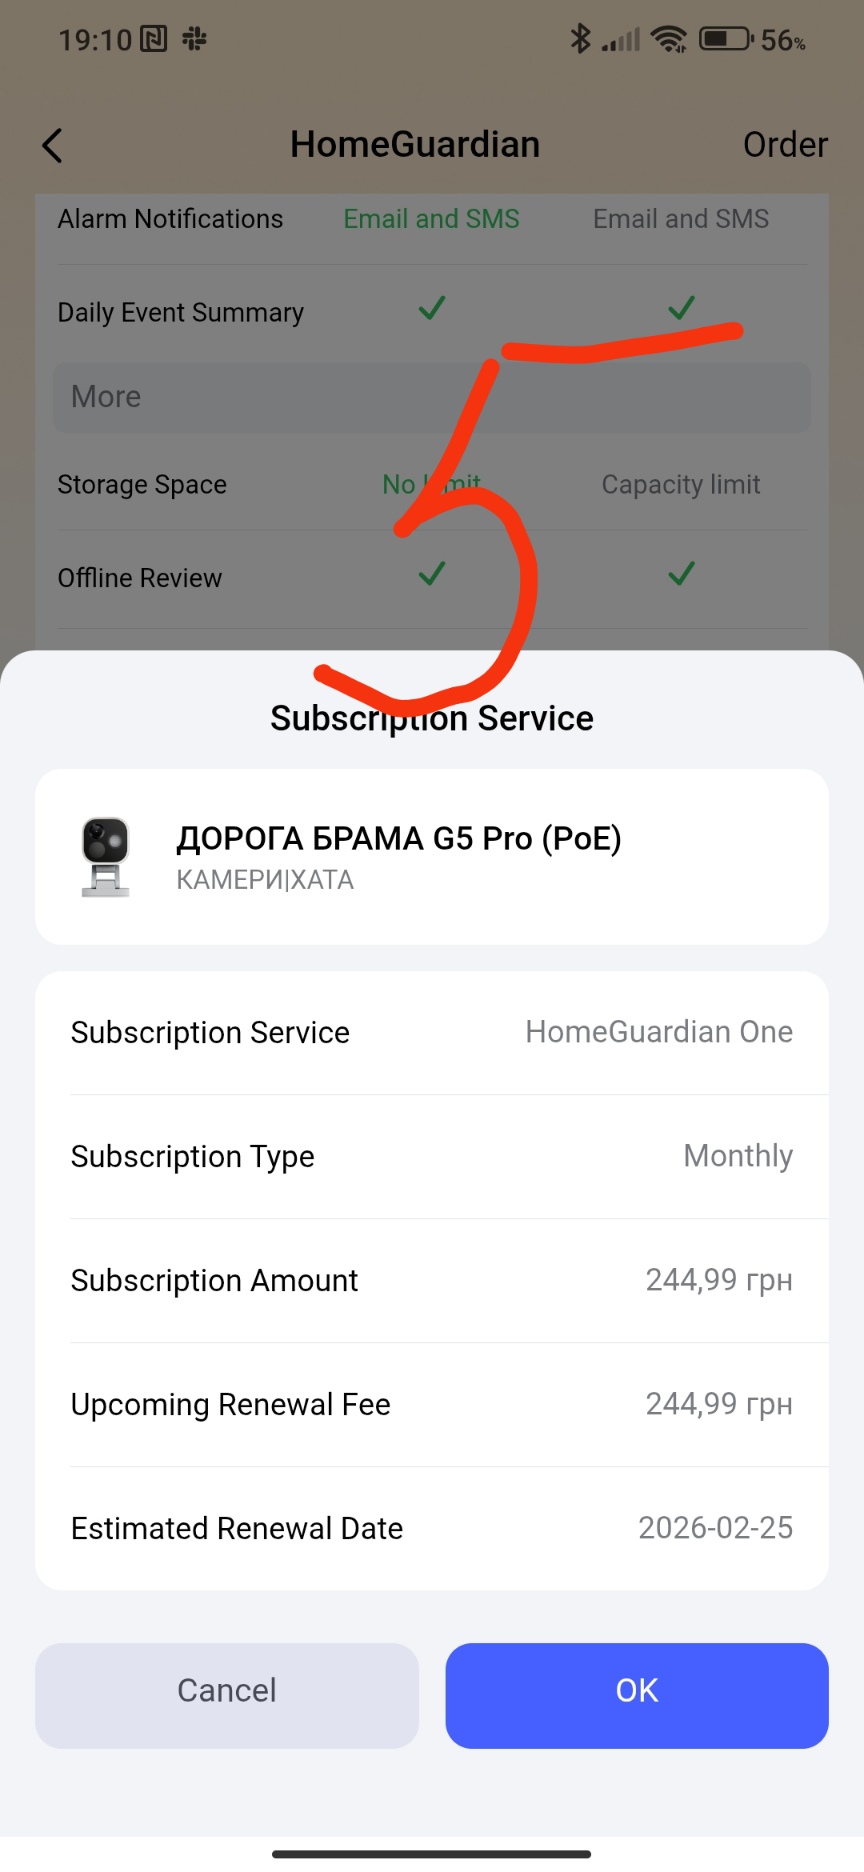
The following pictures show the purchase process and the functions that will be available after subscription.
Fig. 3,4
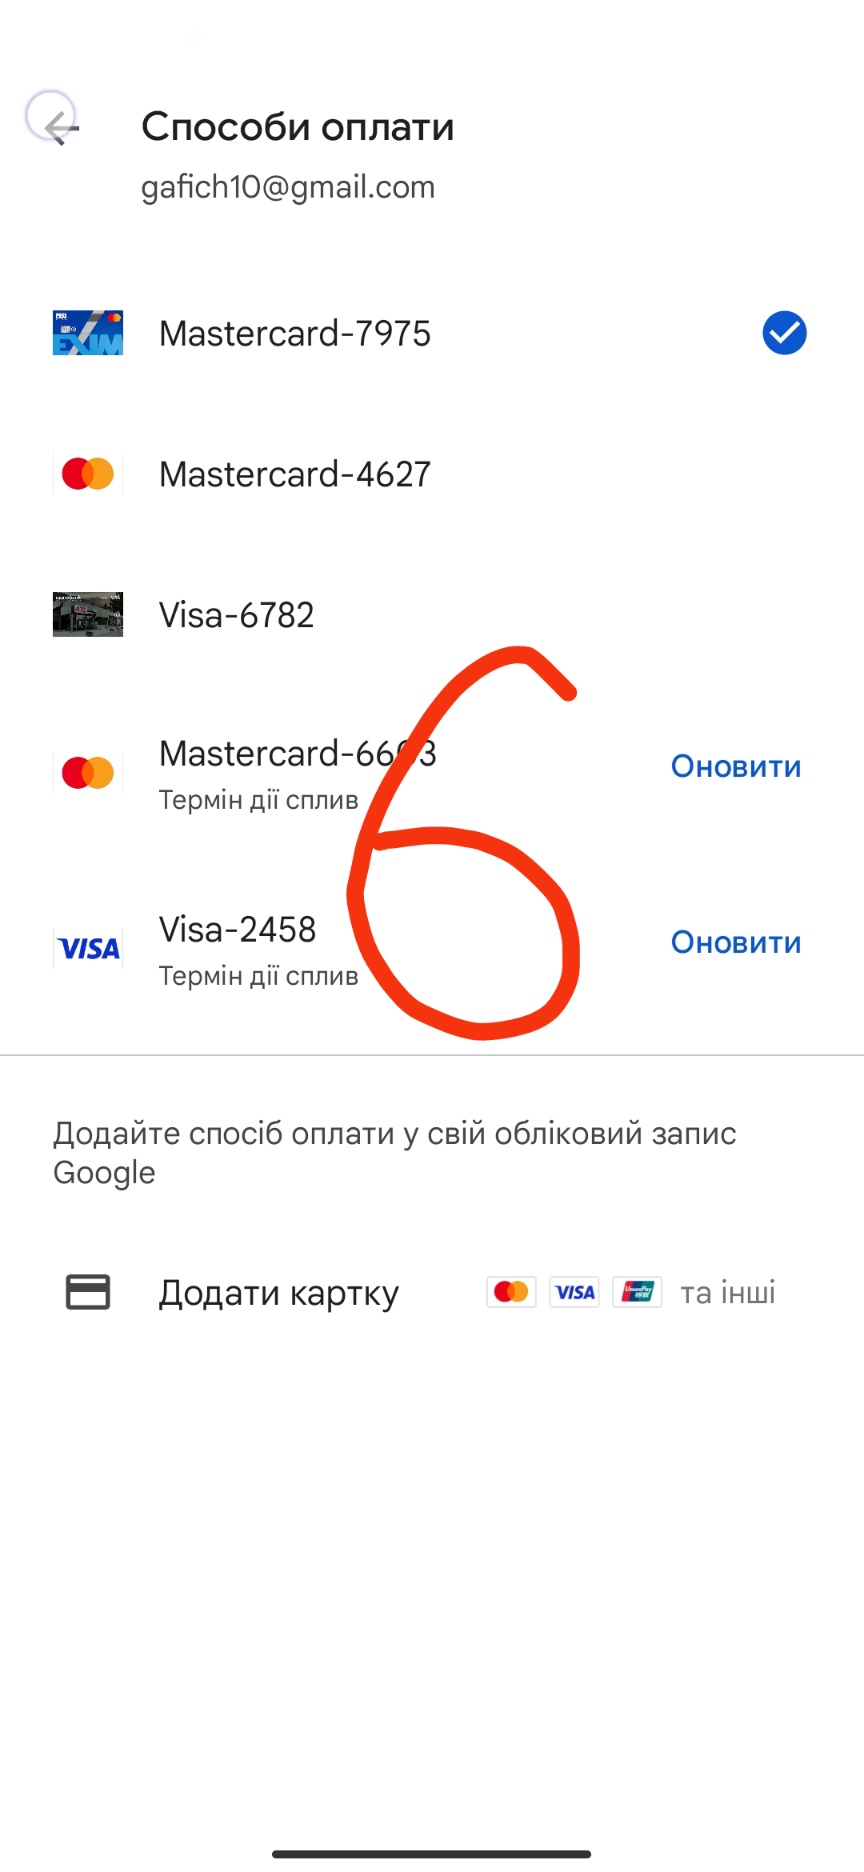
Payment process.
Fig. 5,6
That’s it, the subscription is for one camera in the house. Now let’s look at the settings that have opened for us in the security system.
Let’s consider the “security camera” settings block.
Fig. 7
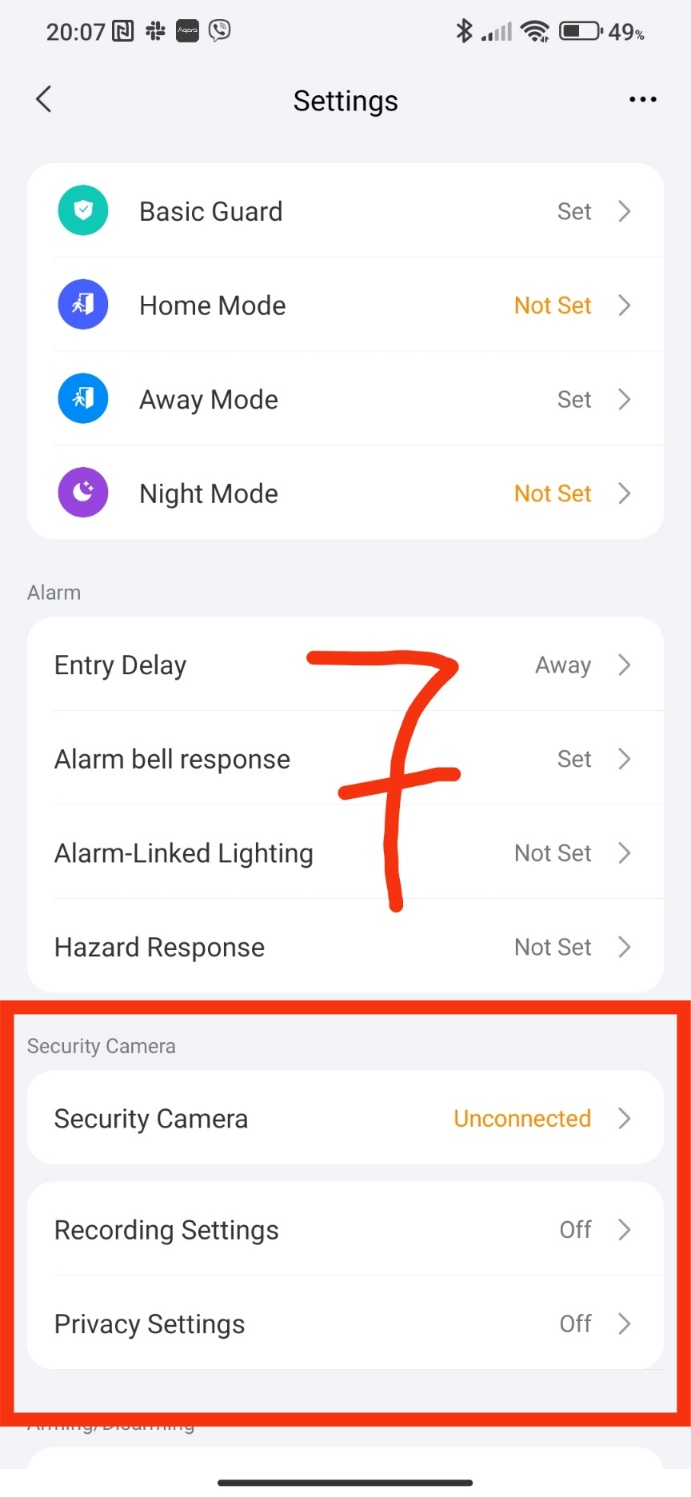
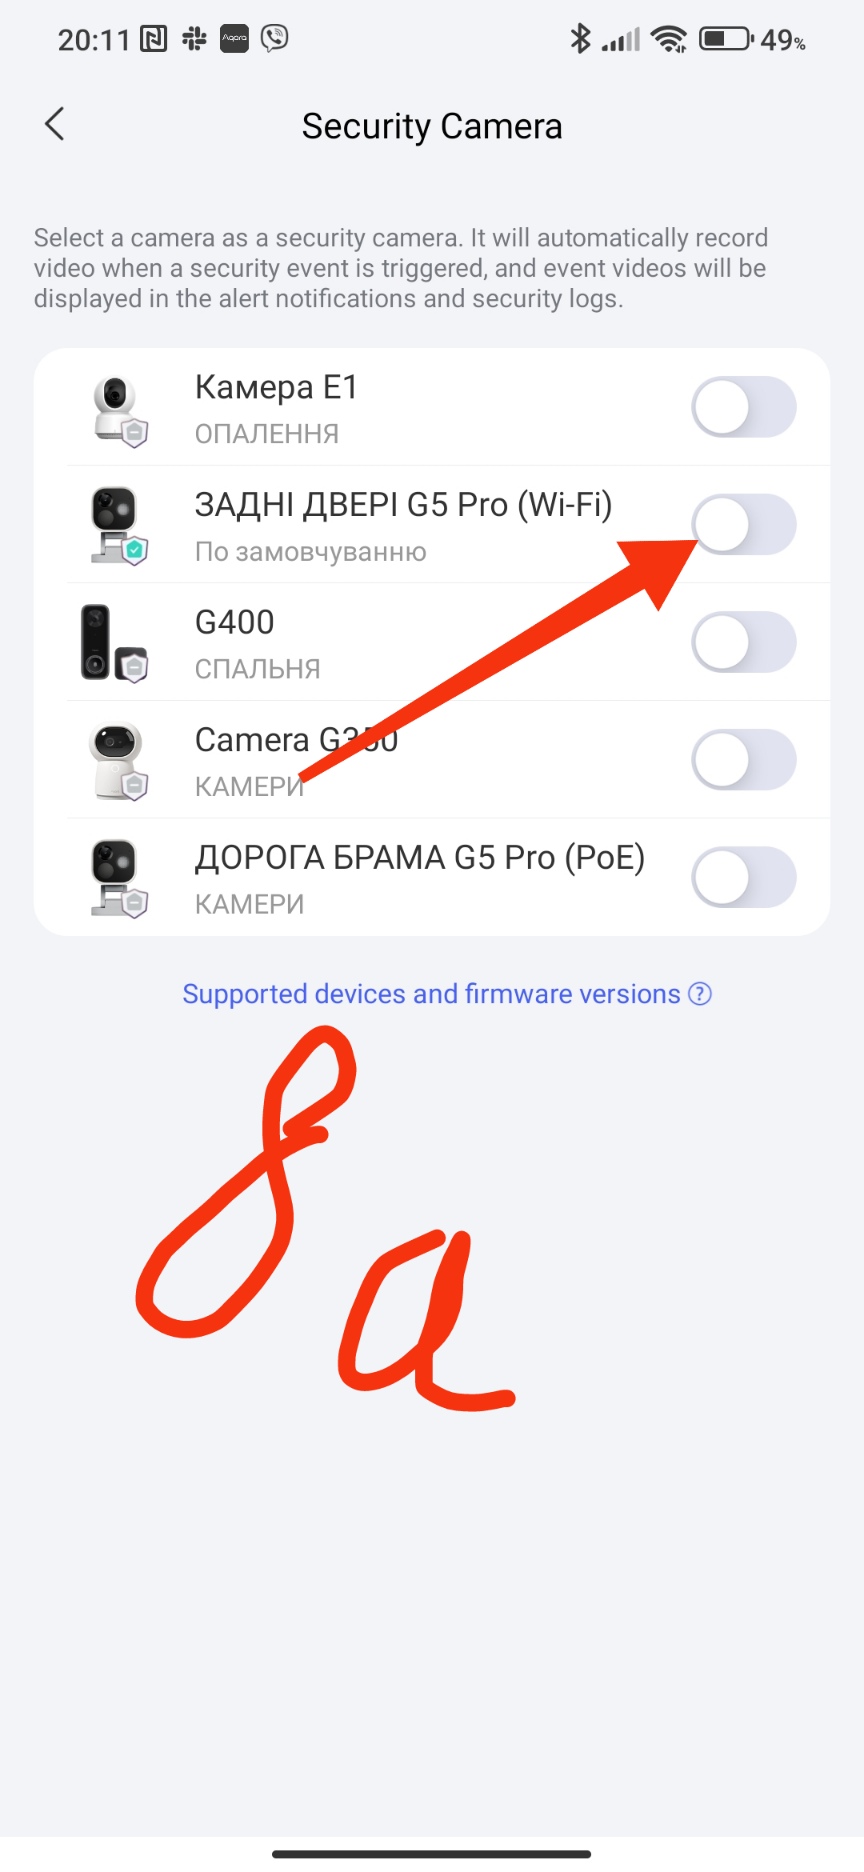
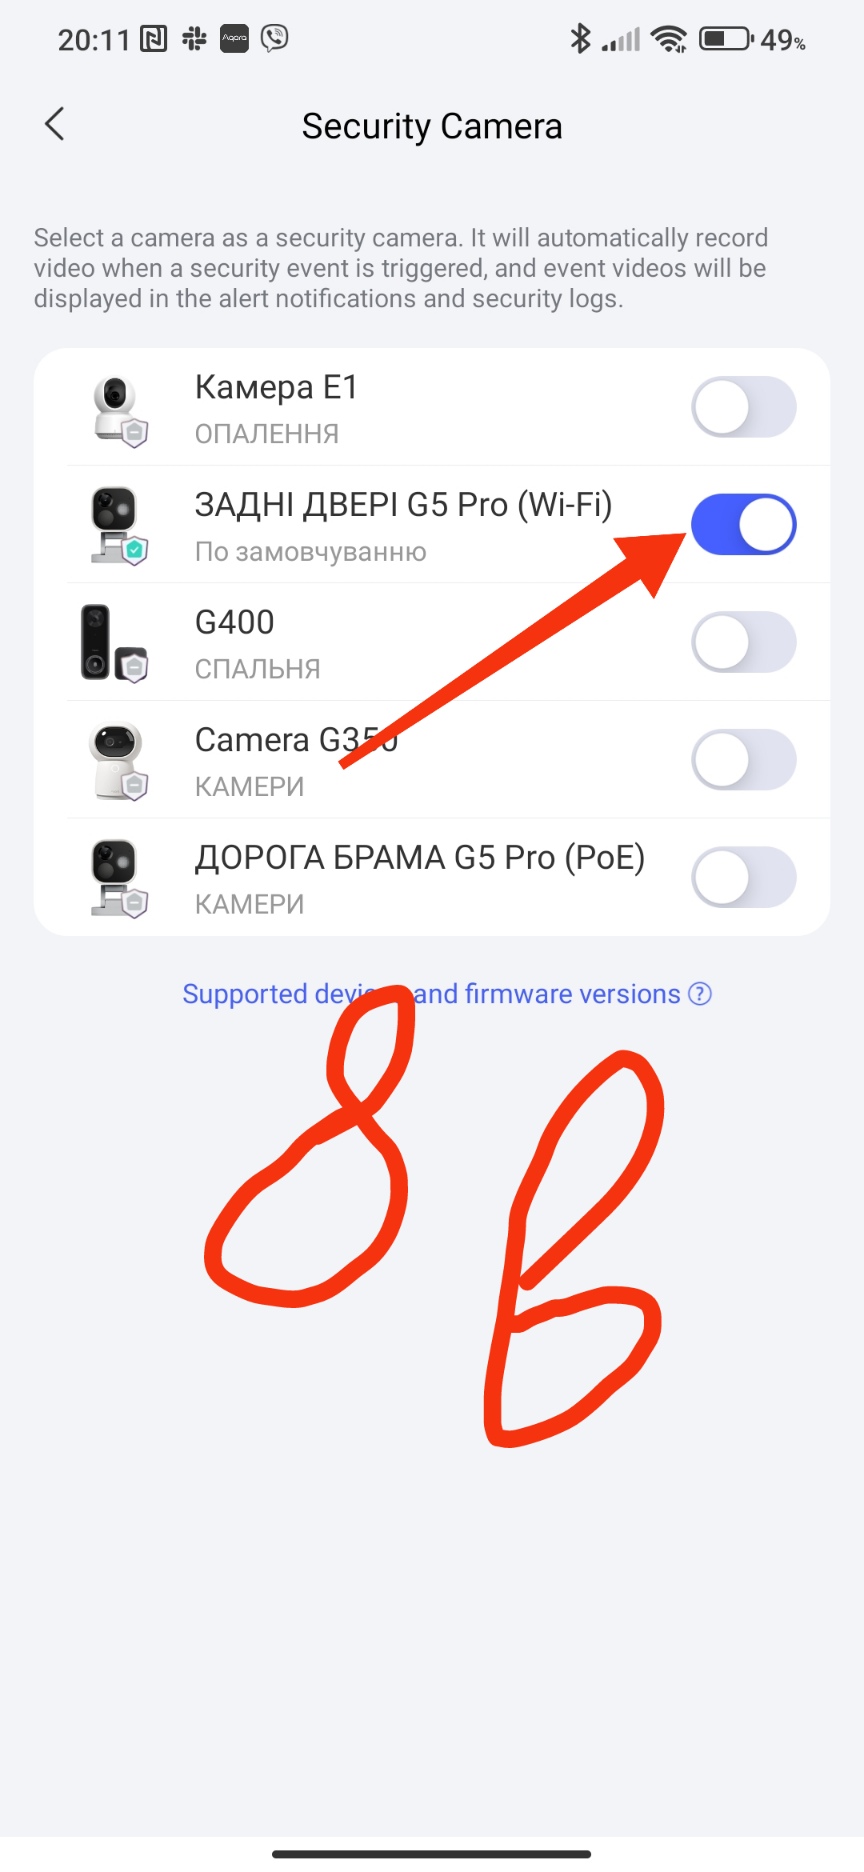
To activate the security camera (in our case, only one camera) you need to configure it according to the pictures in the “security cameras” section.
Fig. 8,
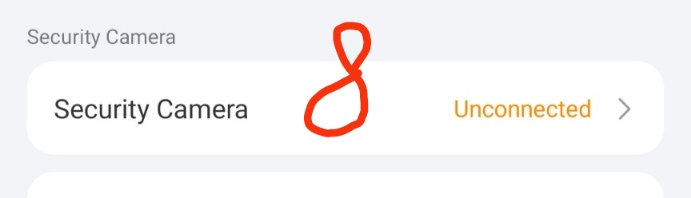
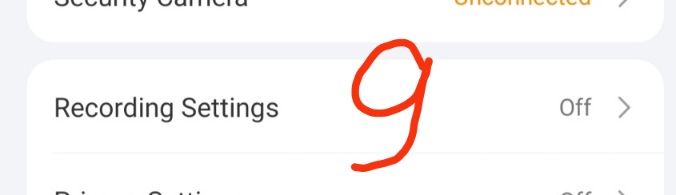
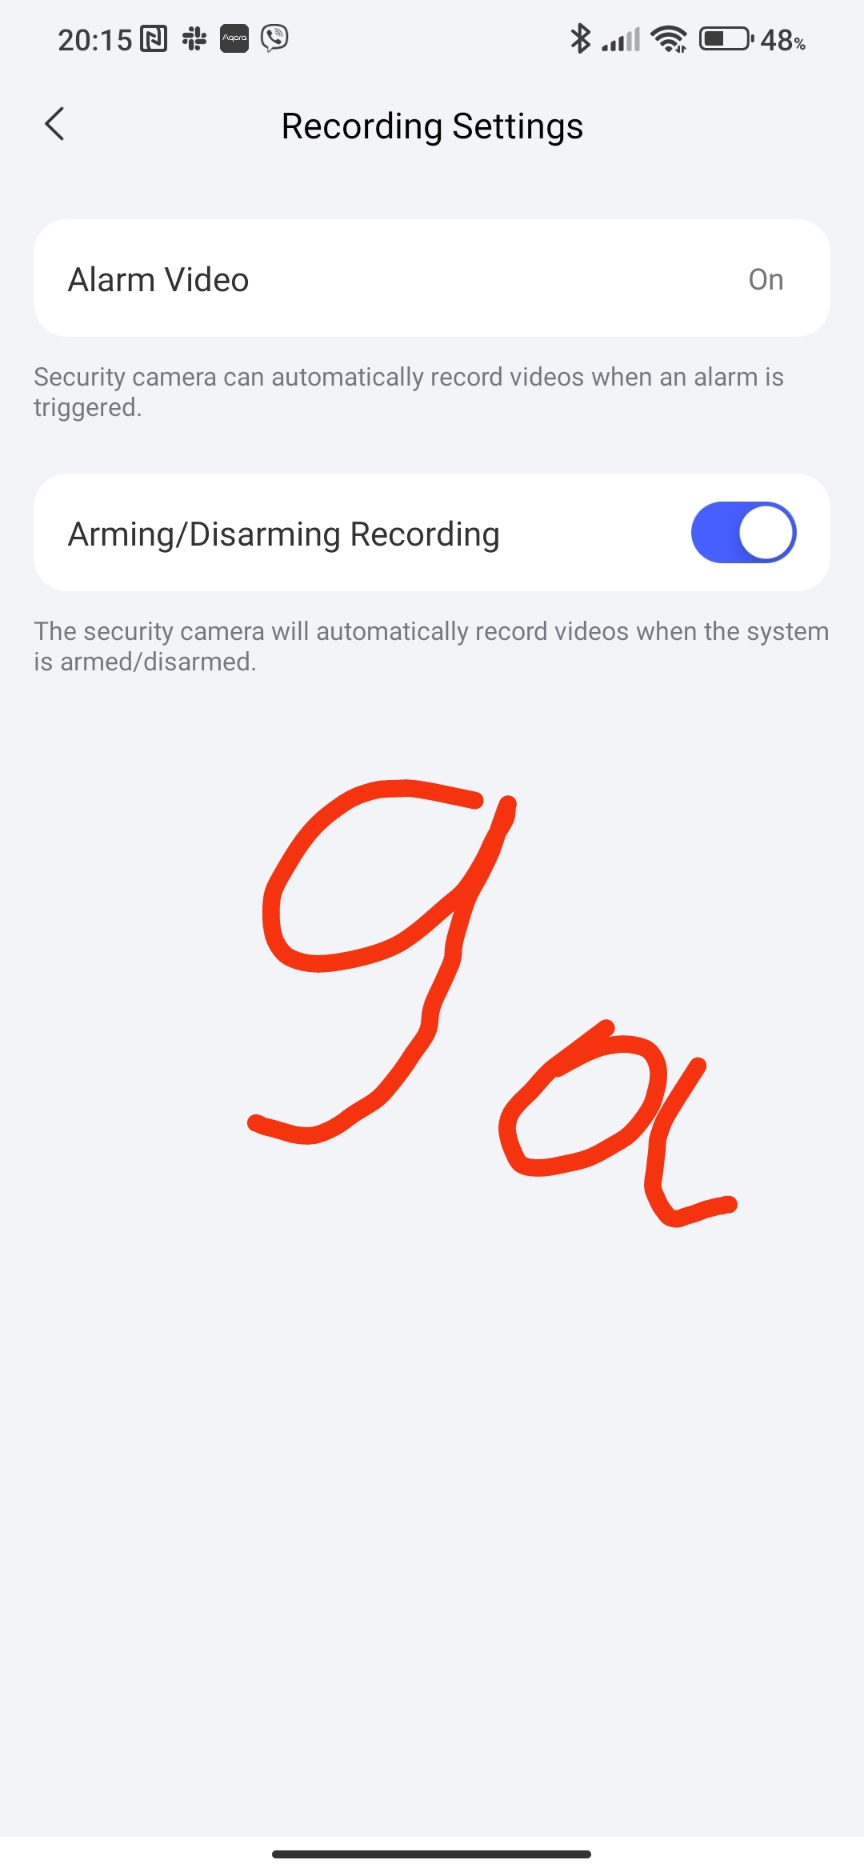
The next setting is “recording settings”. Everything is clear here without explanation. There is also a function that records the moment the security alarm is set or removed by the user.
Fig. 9,
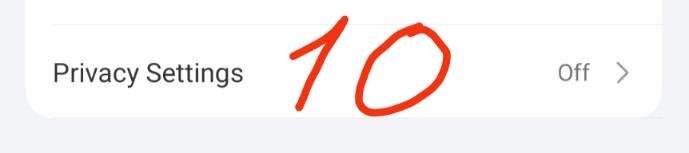
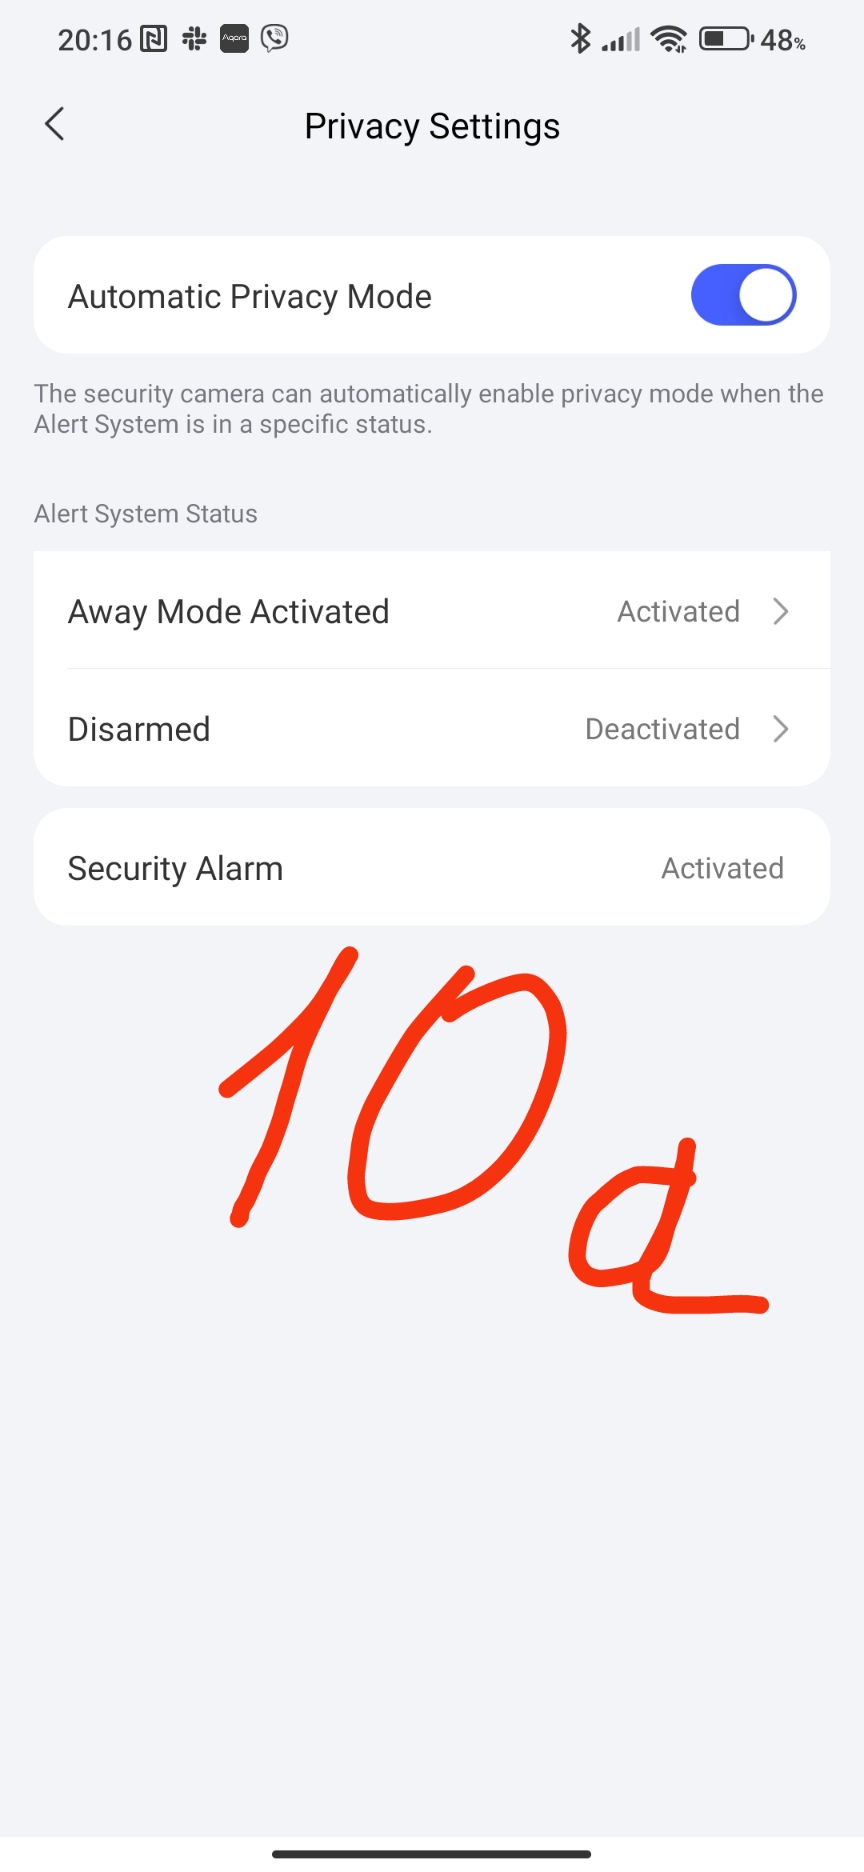
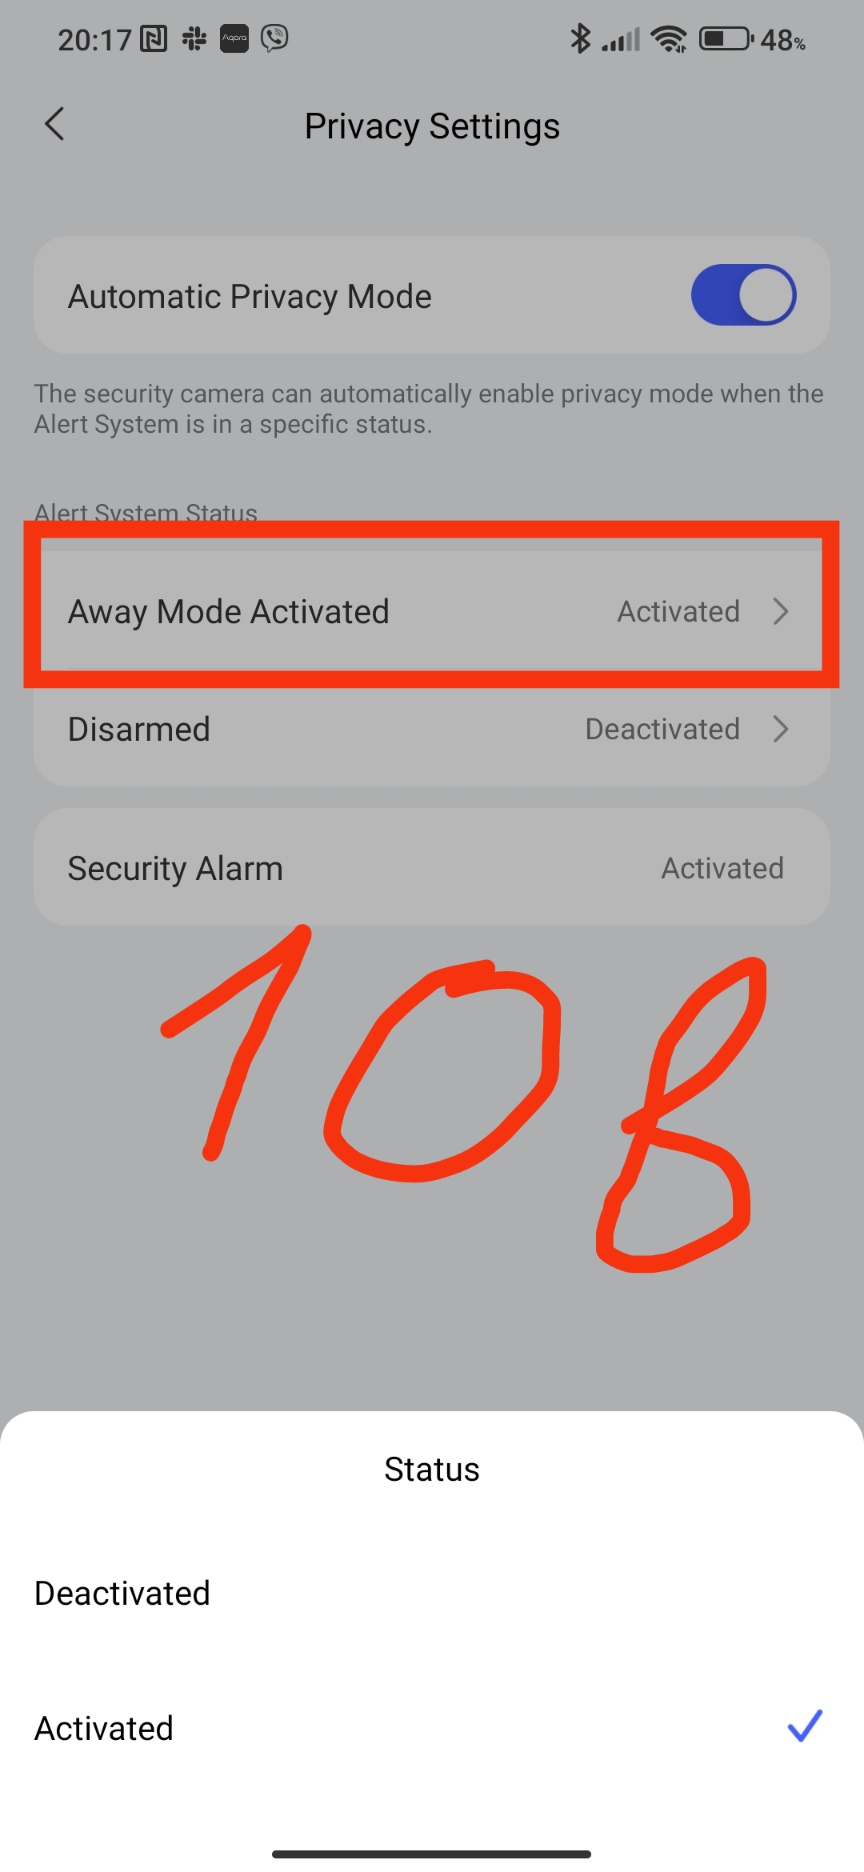
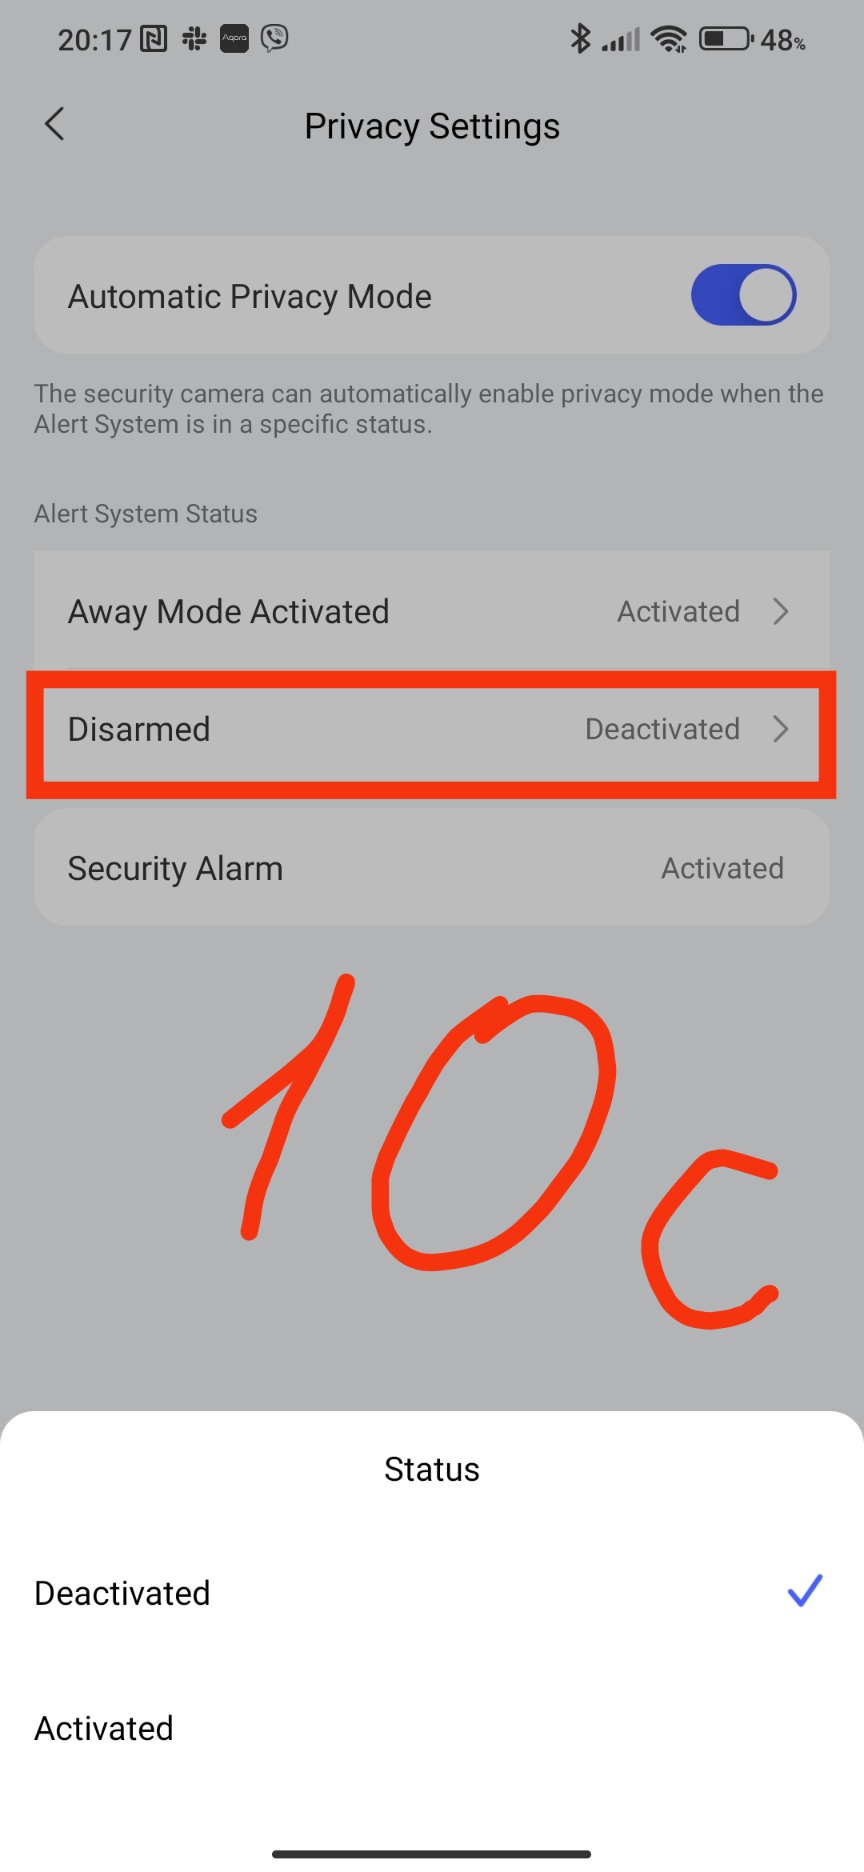
The last setting of this block is “privacy settings”. This setting allows you to turn on and off the camera’s recording. For example, I turned off the security of the house, then the camera stopped recording video, turned it on - video recording began.
Fig. 10
This concludes the lesson.
More to come.
_________________________________
In addition, here “…” are your coupons that you can exchange for points earned on the forum.
___Lesson 5. Setting up the APP security system (arming/disarming the security alarm)