Good afternoon. Let’s start the topic. Today’s topic will include the following components of the control system:
relay T2 (boiler control);
radiator thermostat (E1,W600), room √1 and √2;
virtual switches (lesson 12);
Part 1. Preparing the T2 relay.
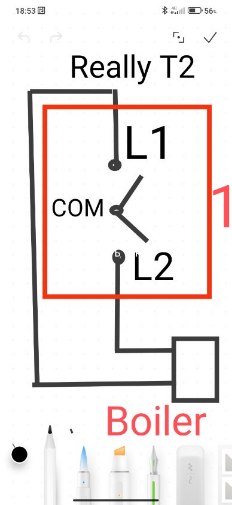
To control the boiler, we use dry contacts of the T2 relay. These settings are described in my topic, figure “C” ( Rele T2, let's talk about it again )
I also suggest connecting dry contacts to the boiler in the following way. This connection gives us the opportunity to quickly disconnect the heating boiler from the automation system at any time. I call this mode emergency. At any time you can block the automation by turning off 1 channel (L1) T2. The second channel will be involved in the automation (L2).
Fig. 1.
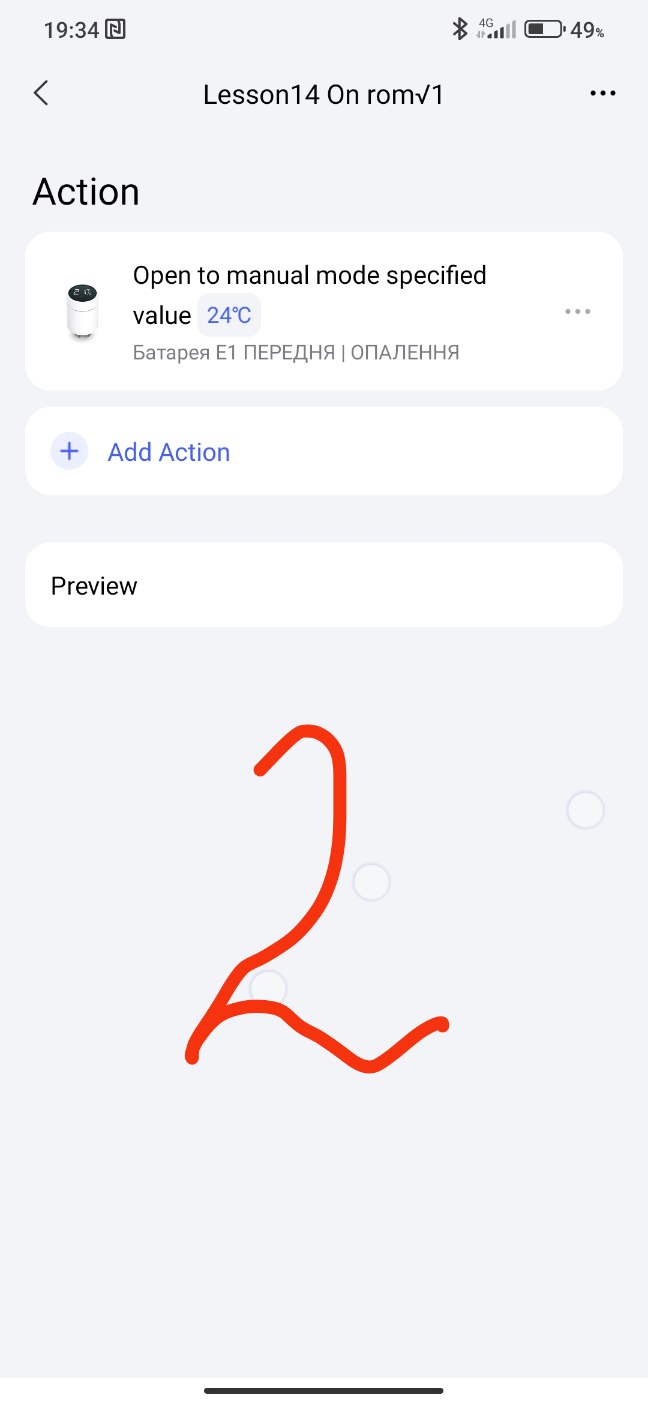
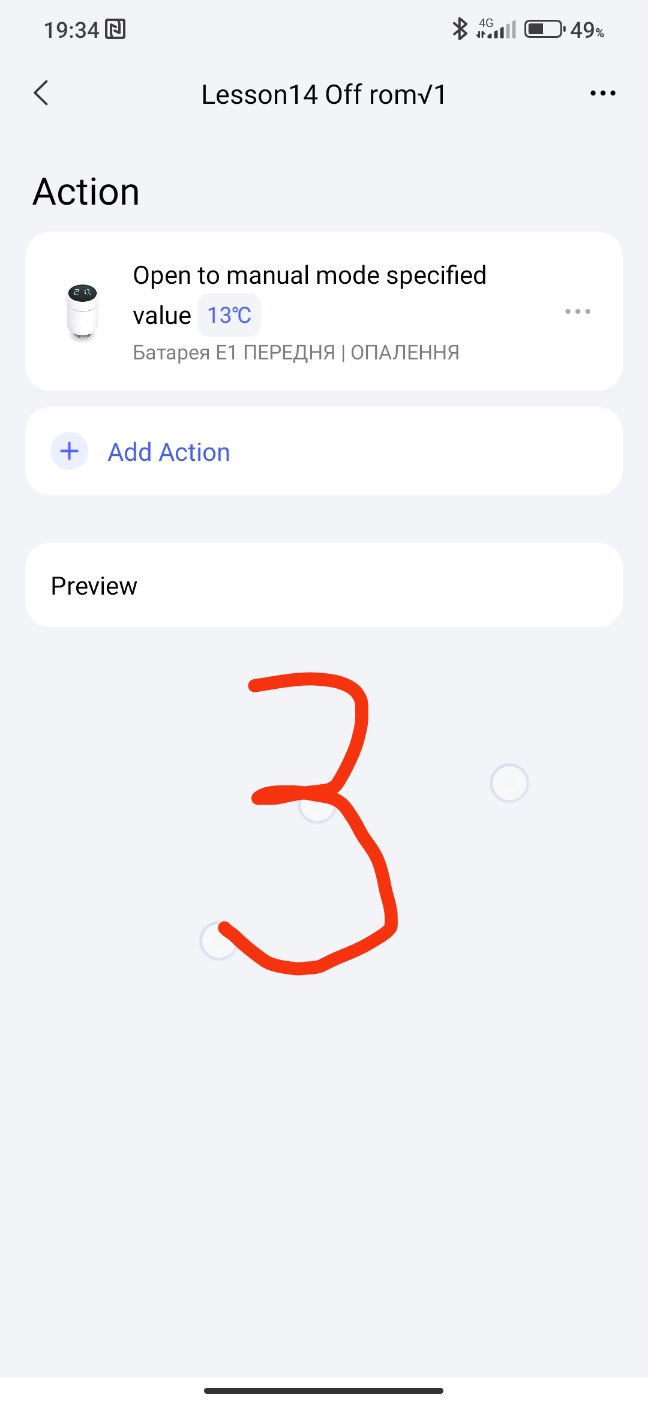
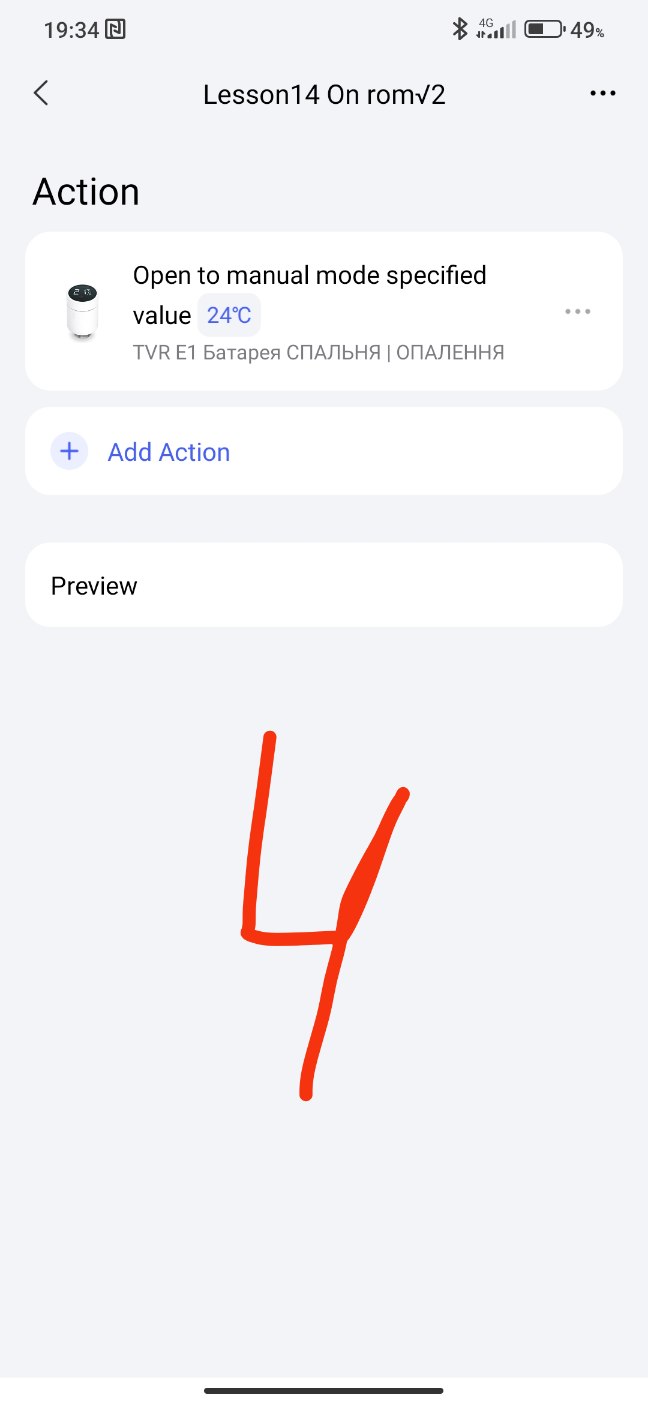
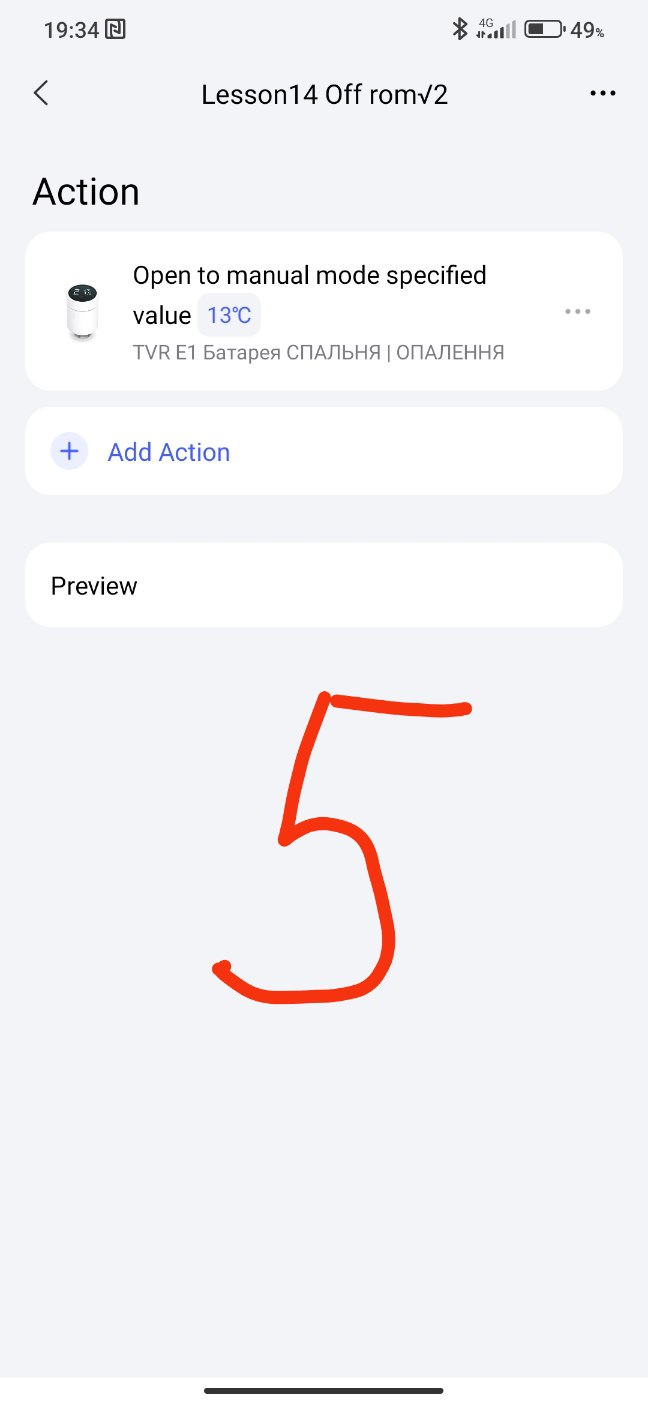
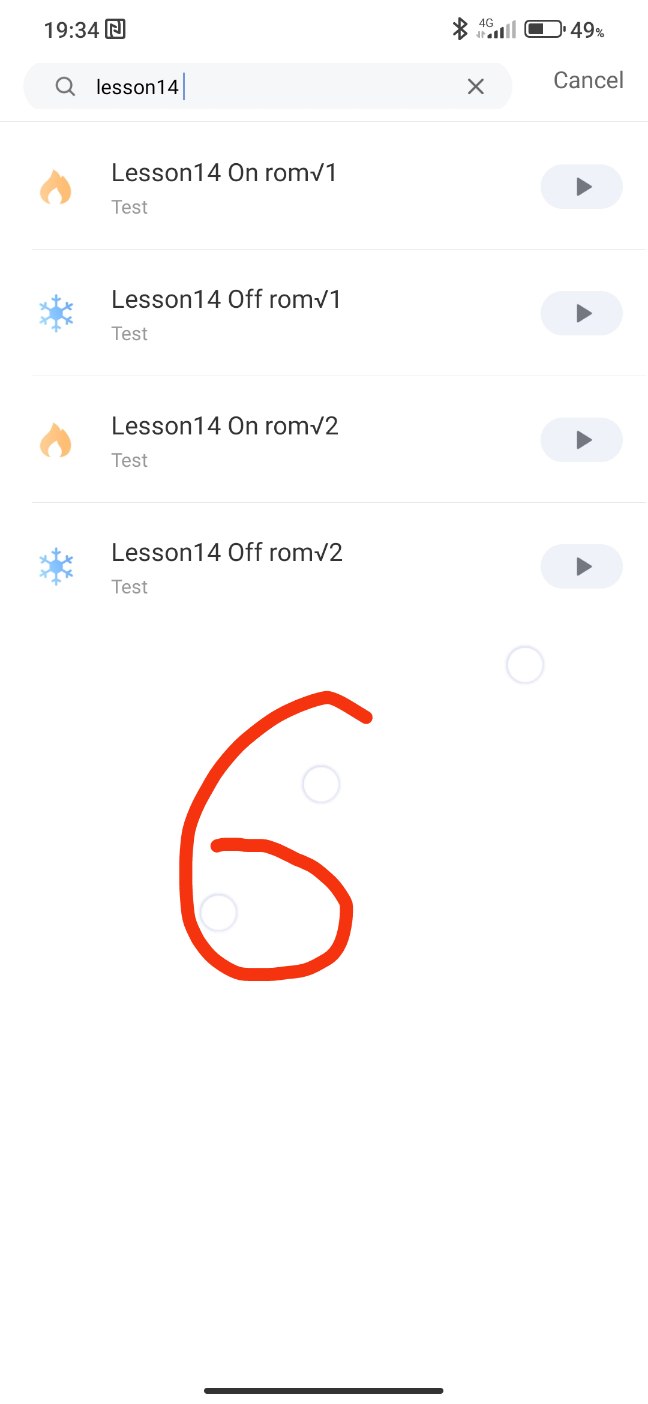
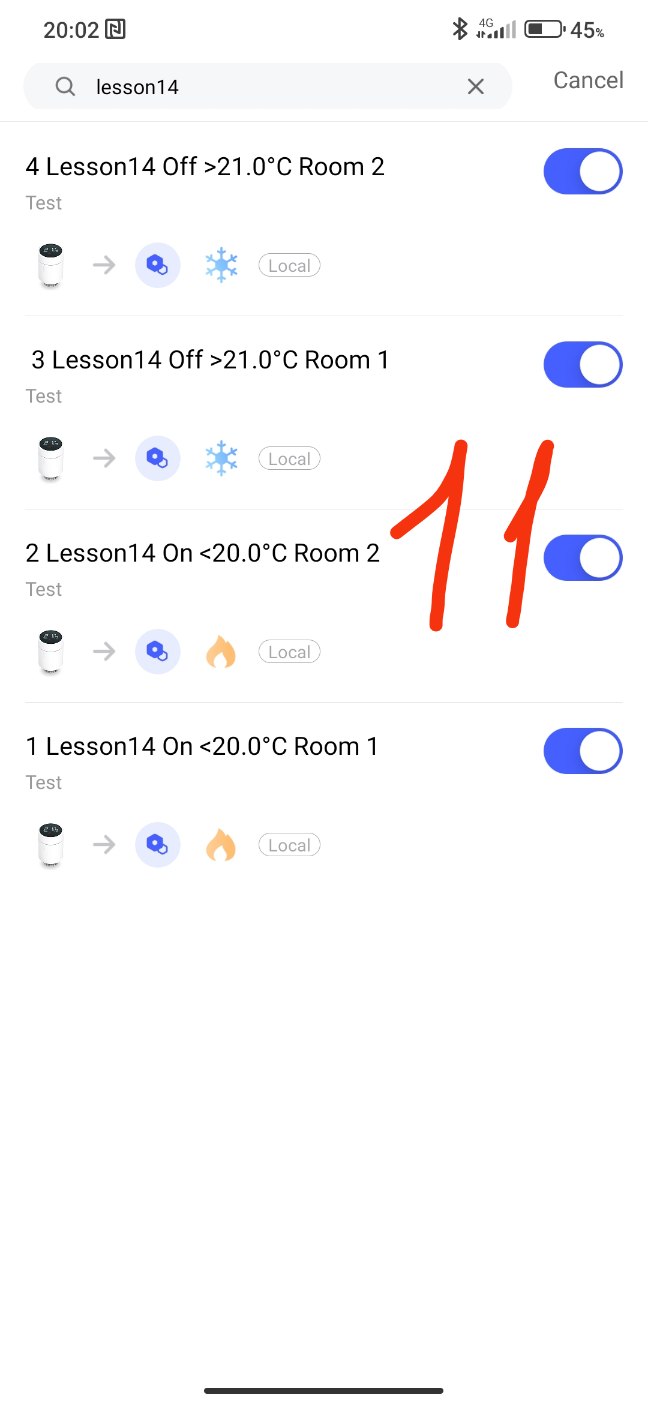
Part 2. Creating the “On” “Off” scenario of the TVR thermostat.
To save the TVR battery charge, we will create scenes for starting and stopping the heating of radiators (low temperature/high temperature). Room √1, √2 “On”, “Off”
Fig. 2,3,4,5,6
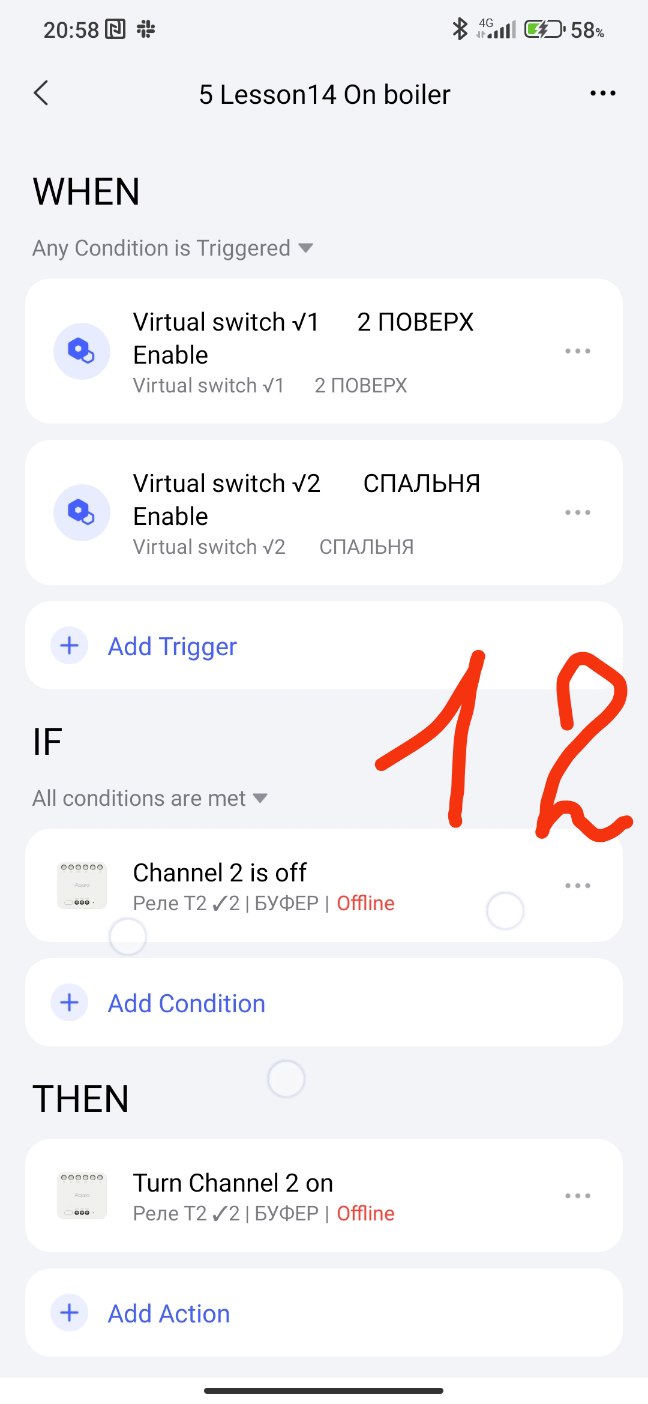
Part 4. Creating boiler control commands using the T2 relay (dry contacts).
Since contact 1 (L1) is constantly closed and plays the role of “manual boiler shutdown”, we will use contact 2 (L2) for control. We create the “On” boiler automation.
Fig. 12
This automation is given as an example. You can decipher the rooms and make time periods of the temperature regime. I described this in previous lessons.
This will end this lesson.
Thank you for reading and sharing the topic (you can also share it on other platforms with a link to our forum).
More to come.
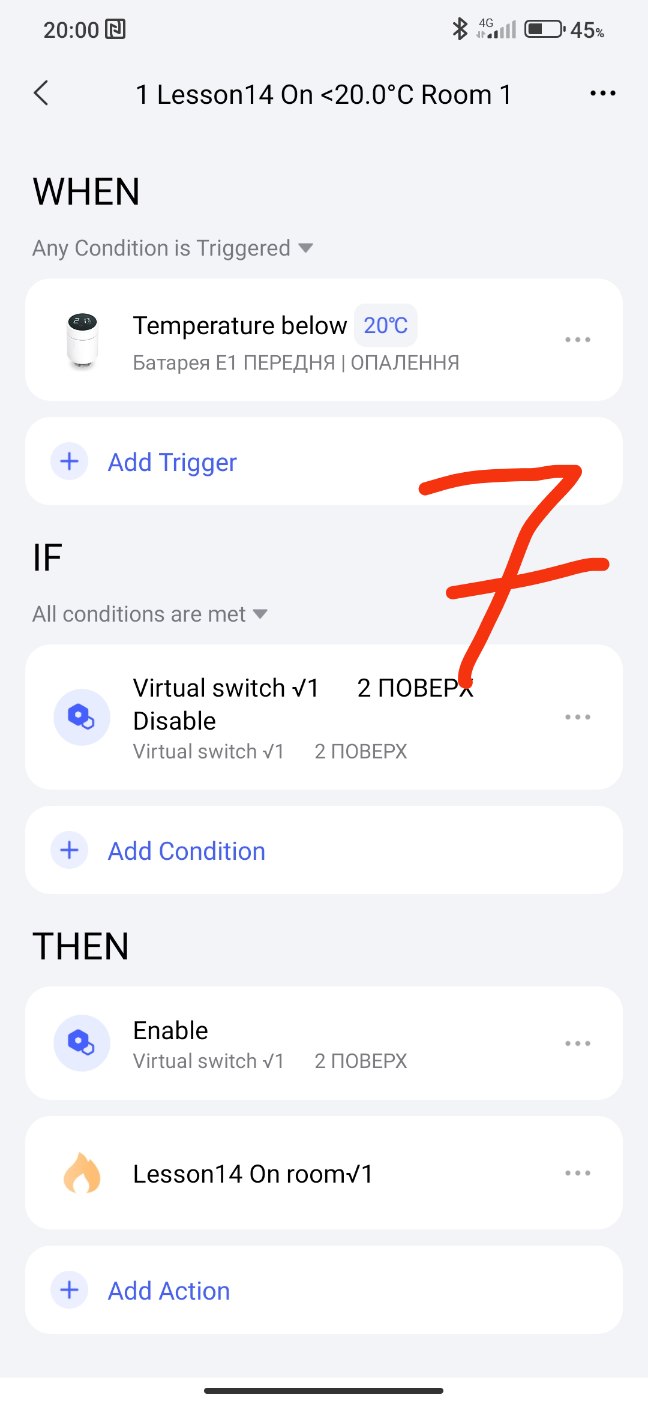
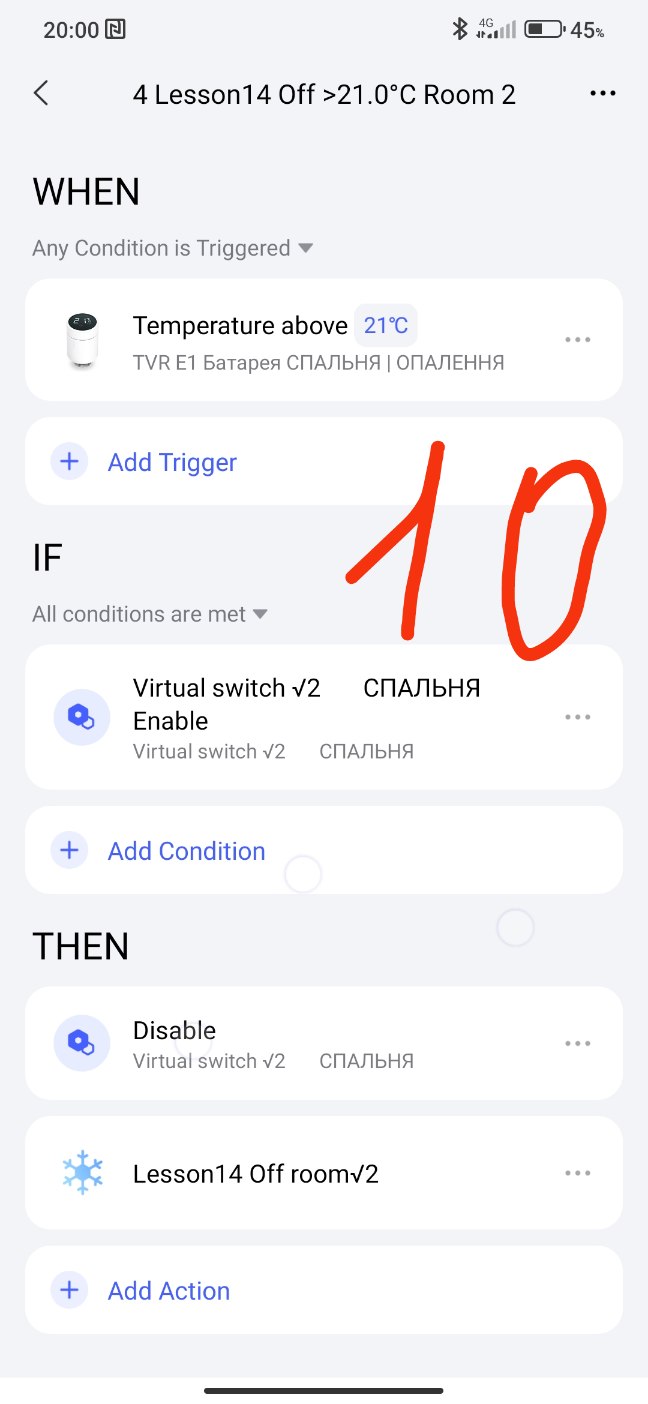
Explanation 1. Fig. 7÷11. I make this automation block to be able to control the temperature of each room separately (operationality). For example, you go into the automation of (for example) room 7 and promptly set (adjust) the On/Off temperature of the radiator. Once again, you manipulate the temperature of a separate room, slowly and clearly.
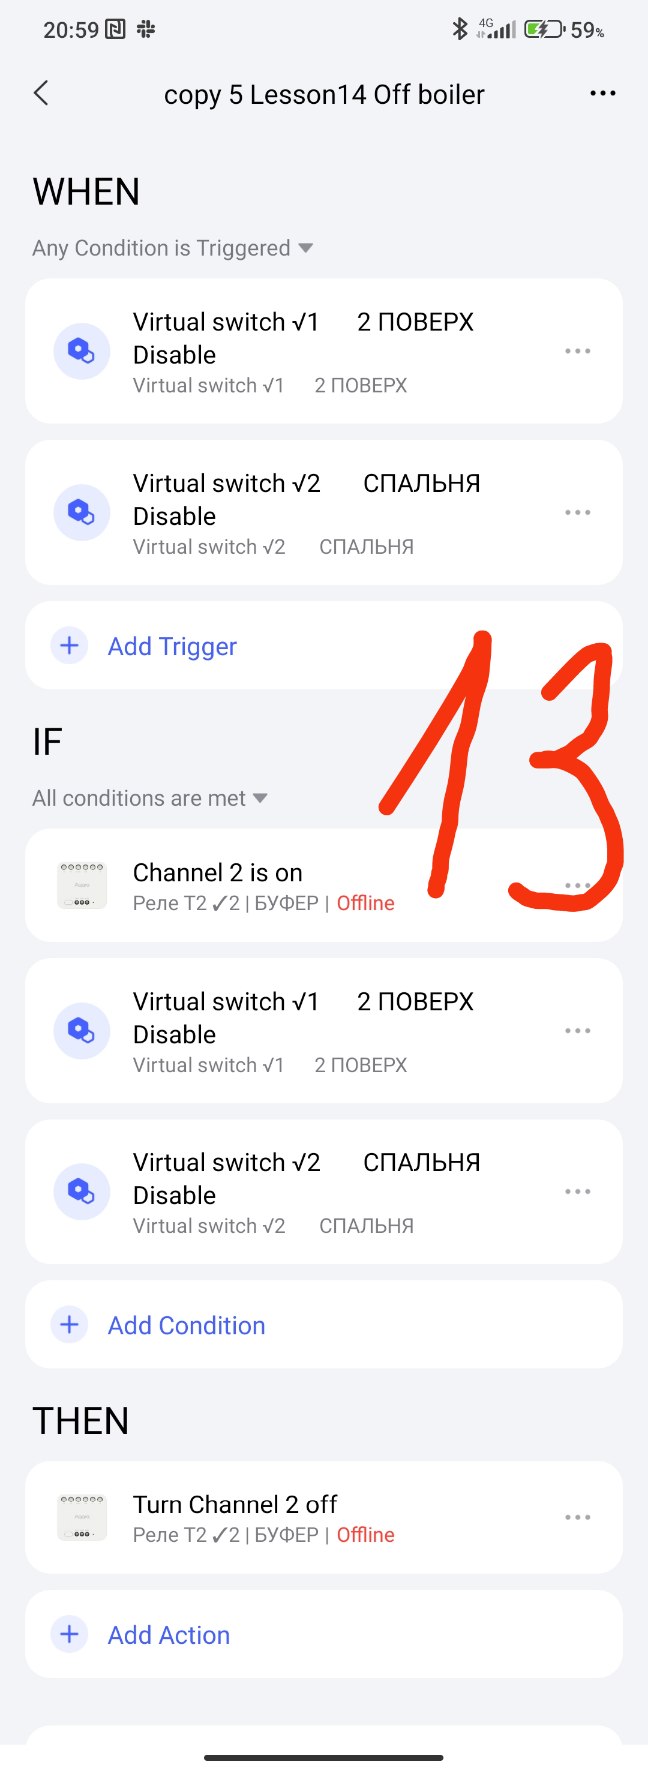
Explanation 2. Fig. 12÷13.
Let’s consider the question (imagine) you have 9 single-channel relays that will do On/Off for your boiler when the corresponding thermometer (TVR thermostat) sends a signal to the corresponding relay (1÷9 room) to turn on or off the boiler (order for heating or stopping heating).
How will the boiler work in this case?
It will be turned on if at least one relay (1÷9) will give On to the boiler. These conditions are in this automation section WHEN (Fig.12).
It (the boiler) will be turned off when ALL relays are Off. We placed these Off conditions (1÷9) in the IF section. If the condition is met (all relays are off), the boiler will turn off. (Fig.13).
Summary.
Advantage 1.
If you create virtual switches (single-channel relays 1÷9 from our imagination), then we get two blocks that control the boiler (On/Off) using a real relay T2. We will not need to refer to these control blocks in the future, they work autonomously.
Advantage 2.
Now you control the temperature in each room (control is quick and clear) by going to the settings of a separate room.
The block (from ADVANTAGE 1) is not filled with different temperatures that you could enter there for 9 rooms (as you suggest).
Another explanation, in the IF section I enter the relay state (T2) so that there are no spam automation launches.