Good afternoon. I will start my anniversary, tenth lesson with a group of topics dedicated to the control and management of climatic devices. I also recommend this lesson to experienced users.
Many users have encountered the problem of limitations of the smart schedule in E1, the best situation with the smart schedule in the W600 thermostat. Let’s look at how to create a smart schedule without restrictions on time and temperature periods. I want to emphasize right away that creating a schedule will take you some time, but you did it and forgot about it for the entire heating period.
Before you start developing a smart schedule, take a piece of paper and a pen. Write down the range of periods and the temperature that you need to set for 24 hours, Monday-Sunday.
During communication on the forum, user @moyessi provided me with a schedule of temperature periods for a day.
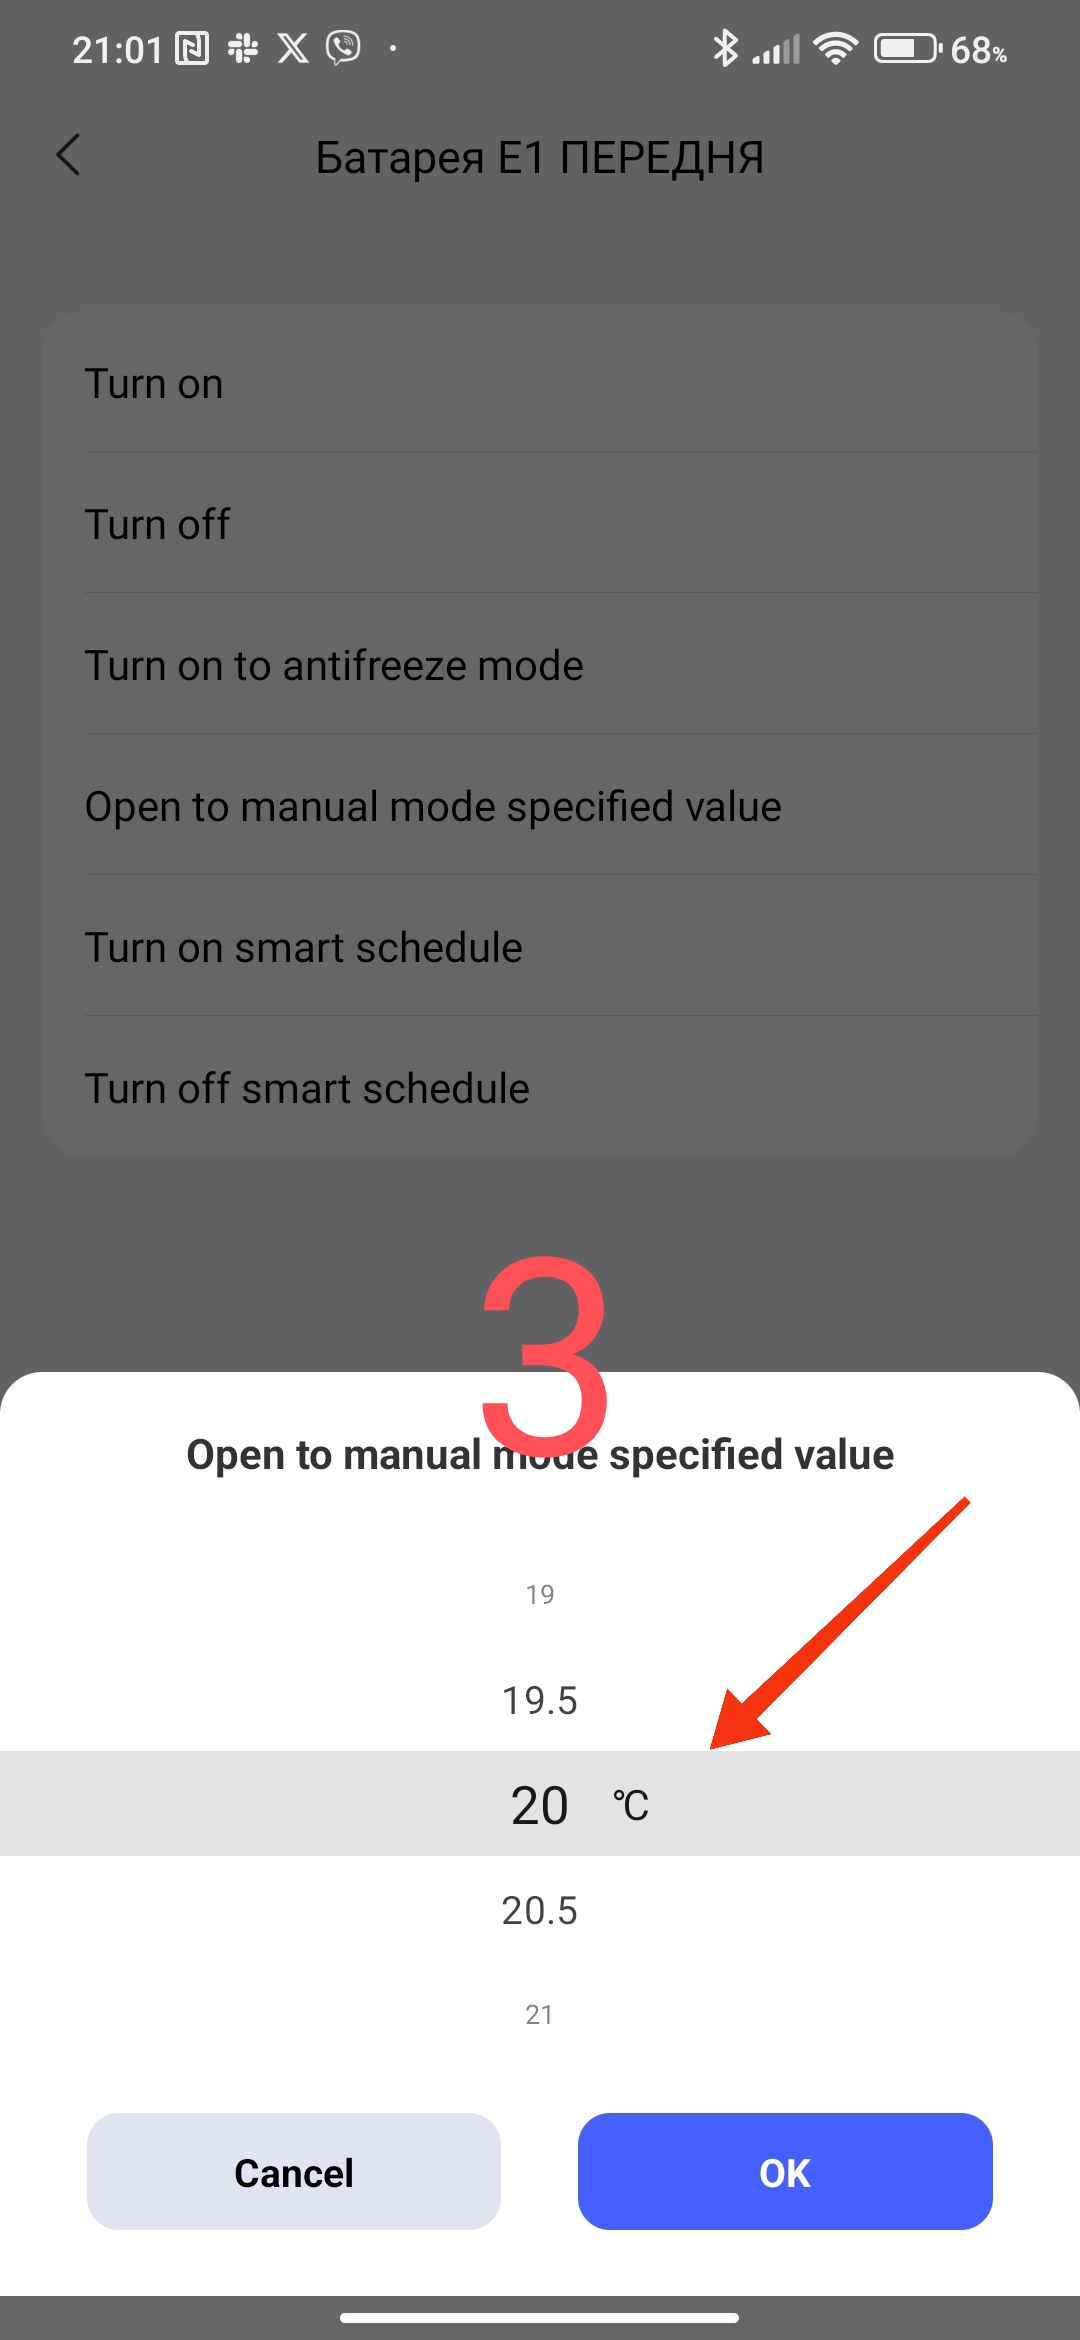
06.00_09.00_20°C
09.00_1600_14°C
16.00_22.00_20°C
22.00_06.00 (next day) 10° C.
Based on this schedule, we will create a smart schedule.
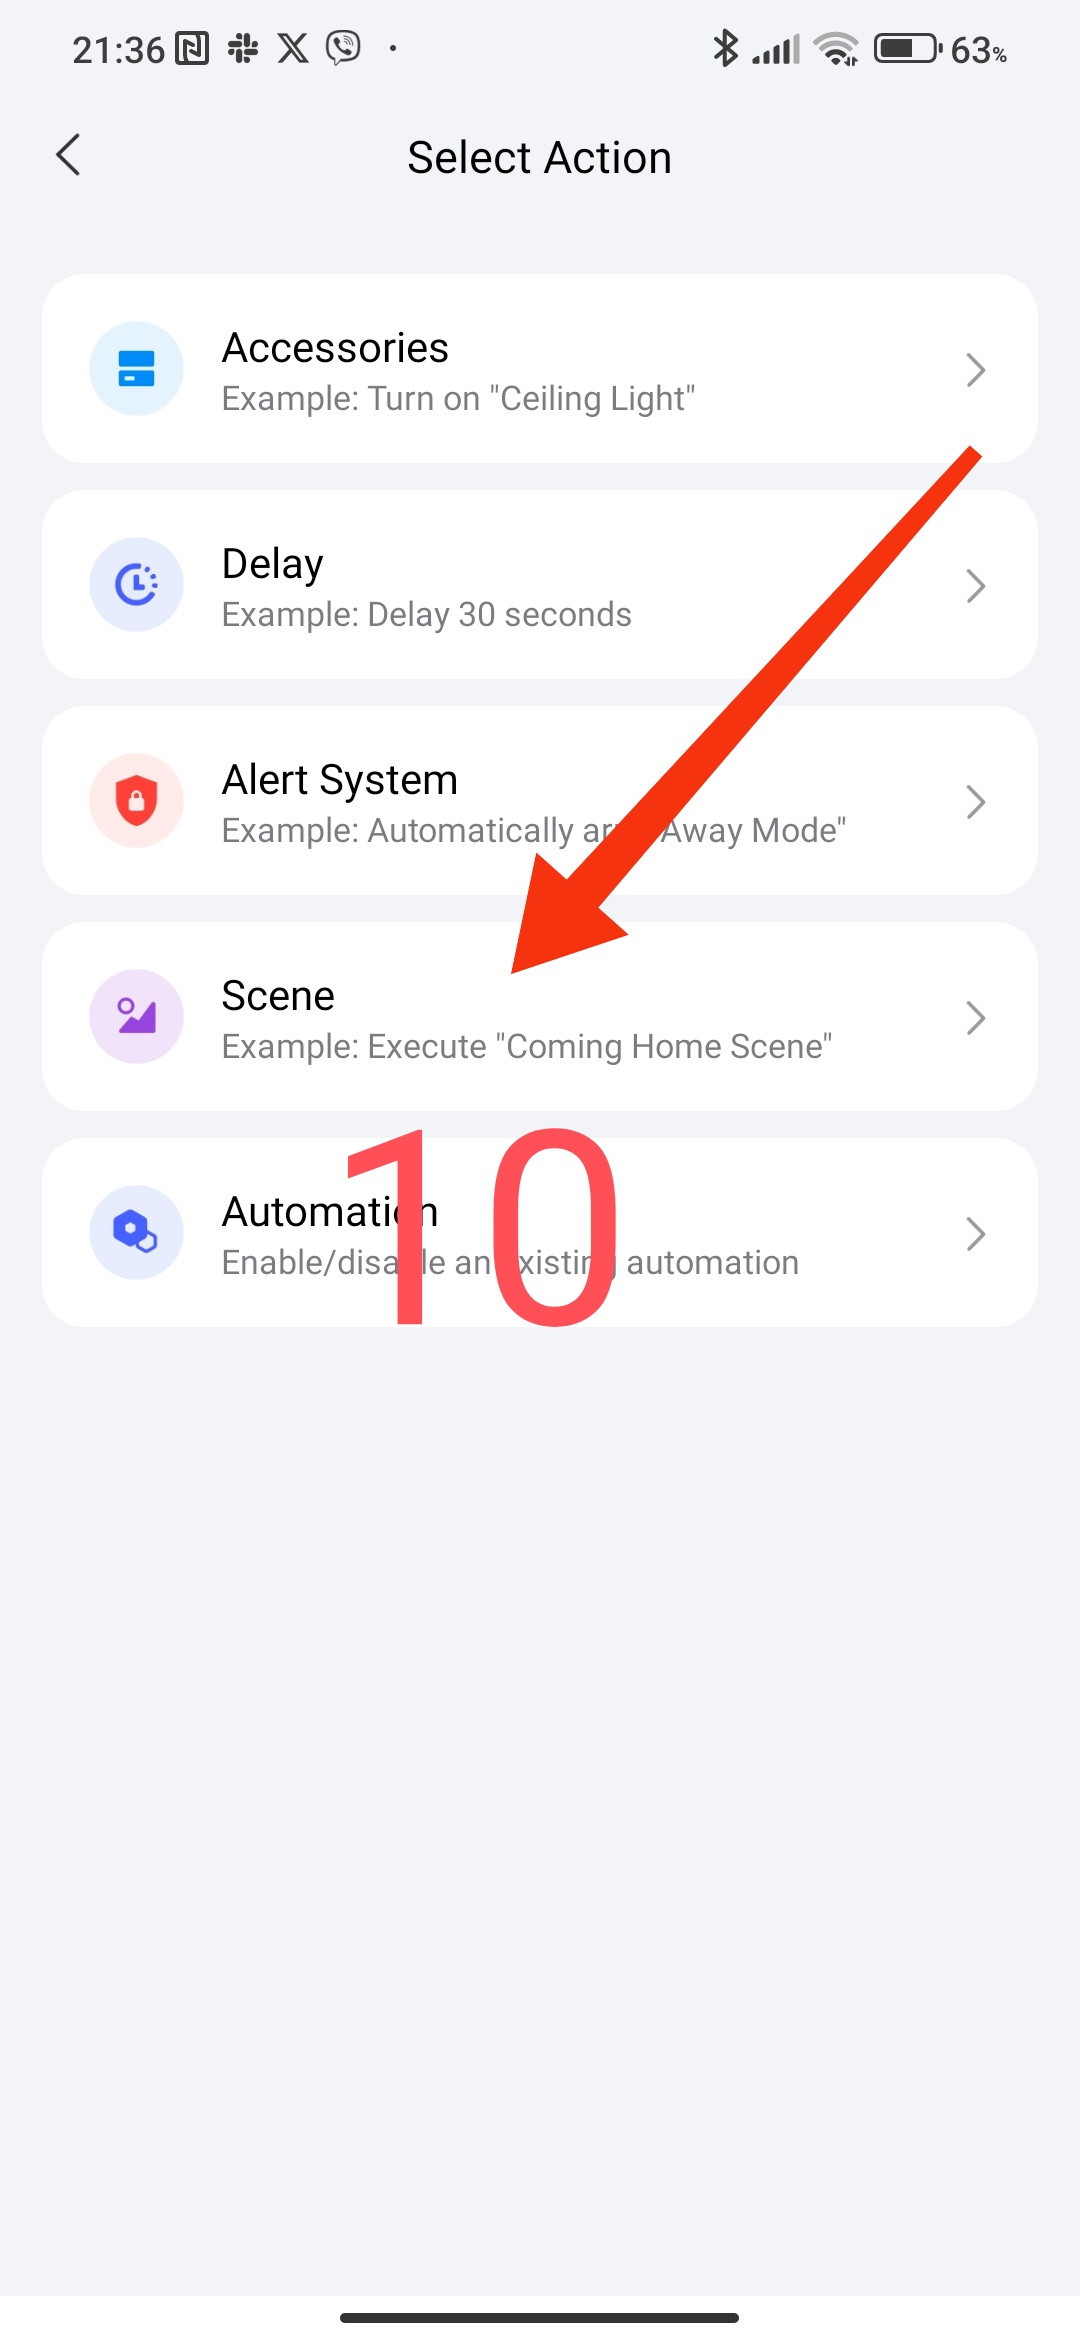
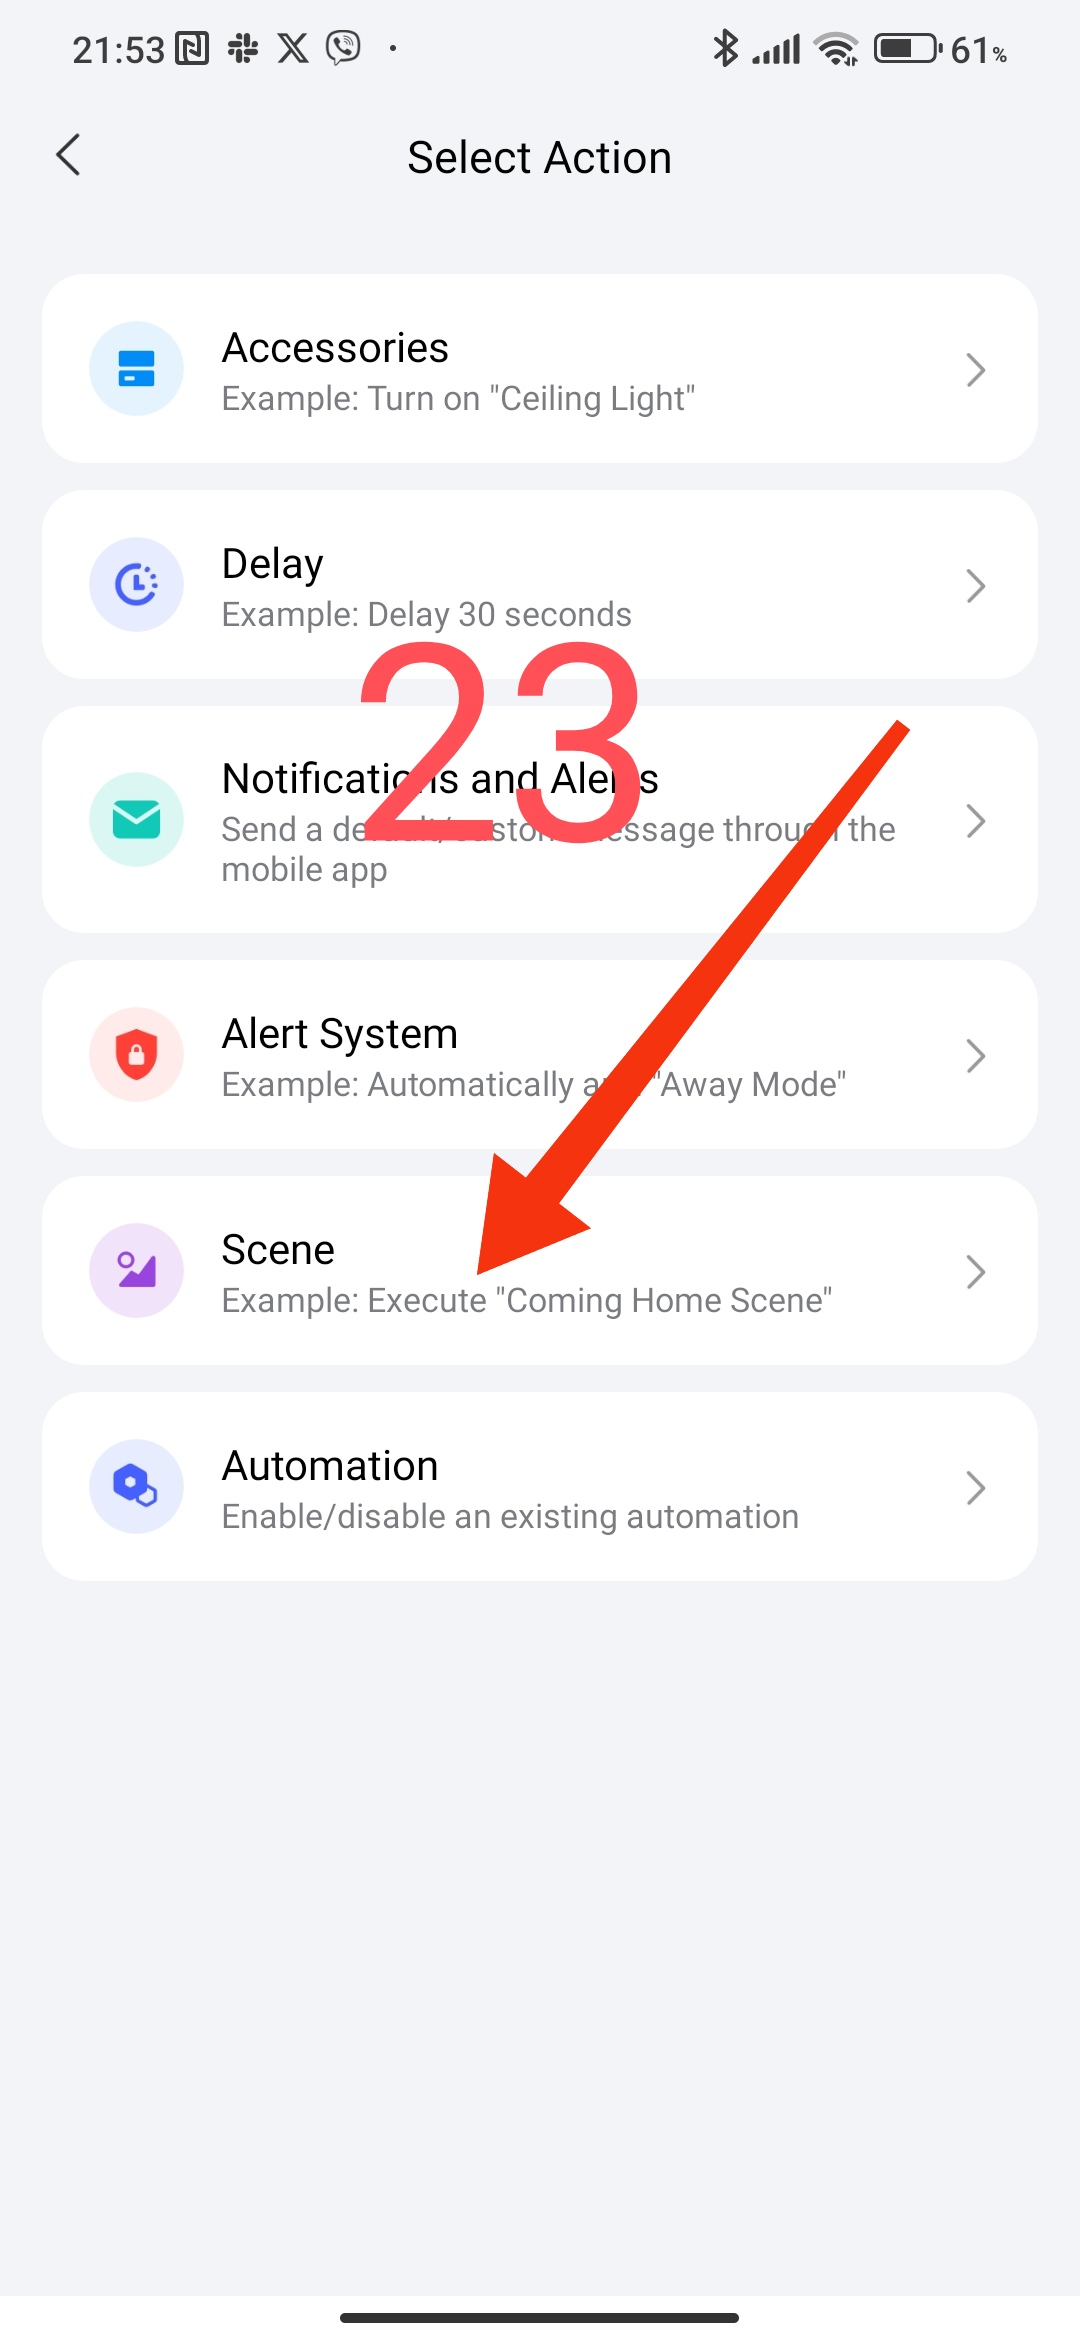
1.Creating scenes with control periods and temperature (°C).
Select the “+” icon in scenes and select thermostat E1 in the equipment. Set the option “set temperature to 20°C” (according to the schedule above).
Fig. 1, 2, 3
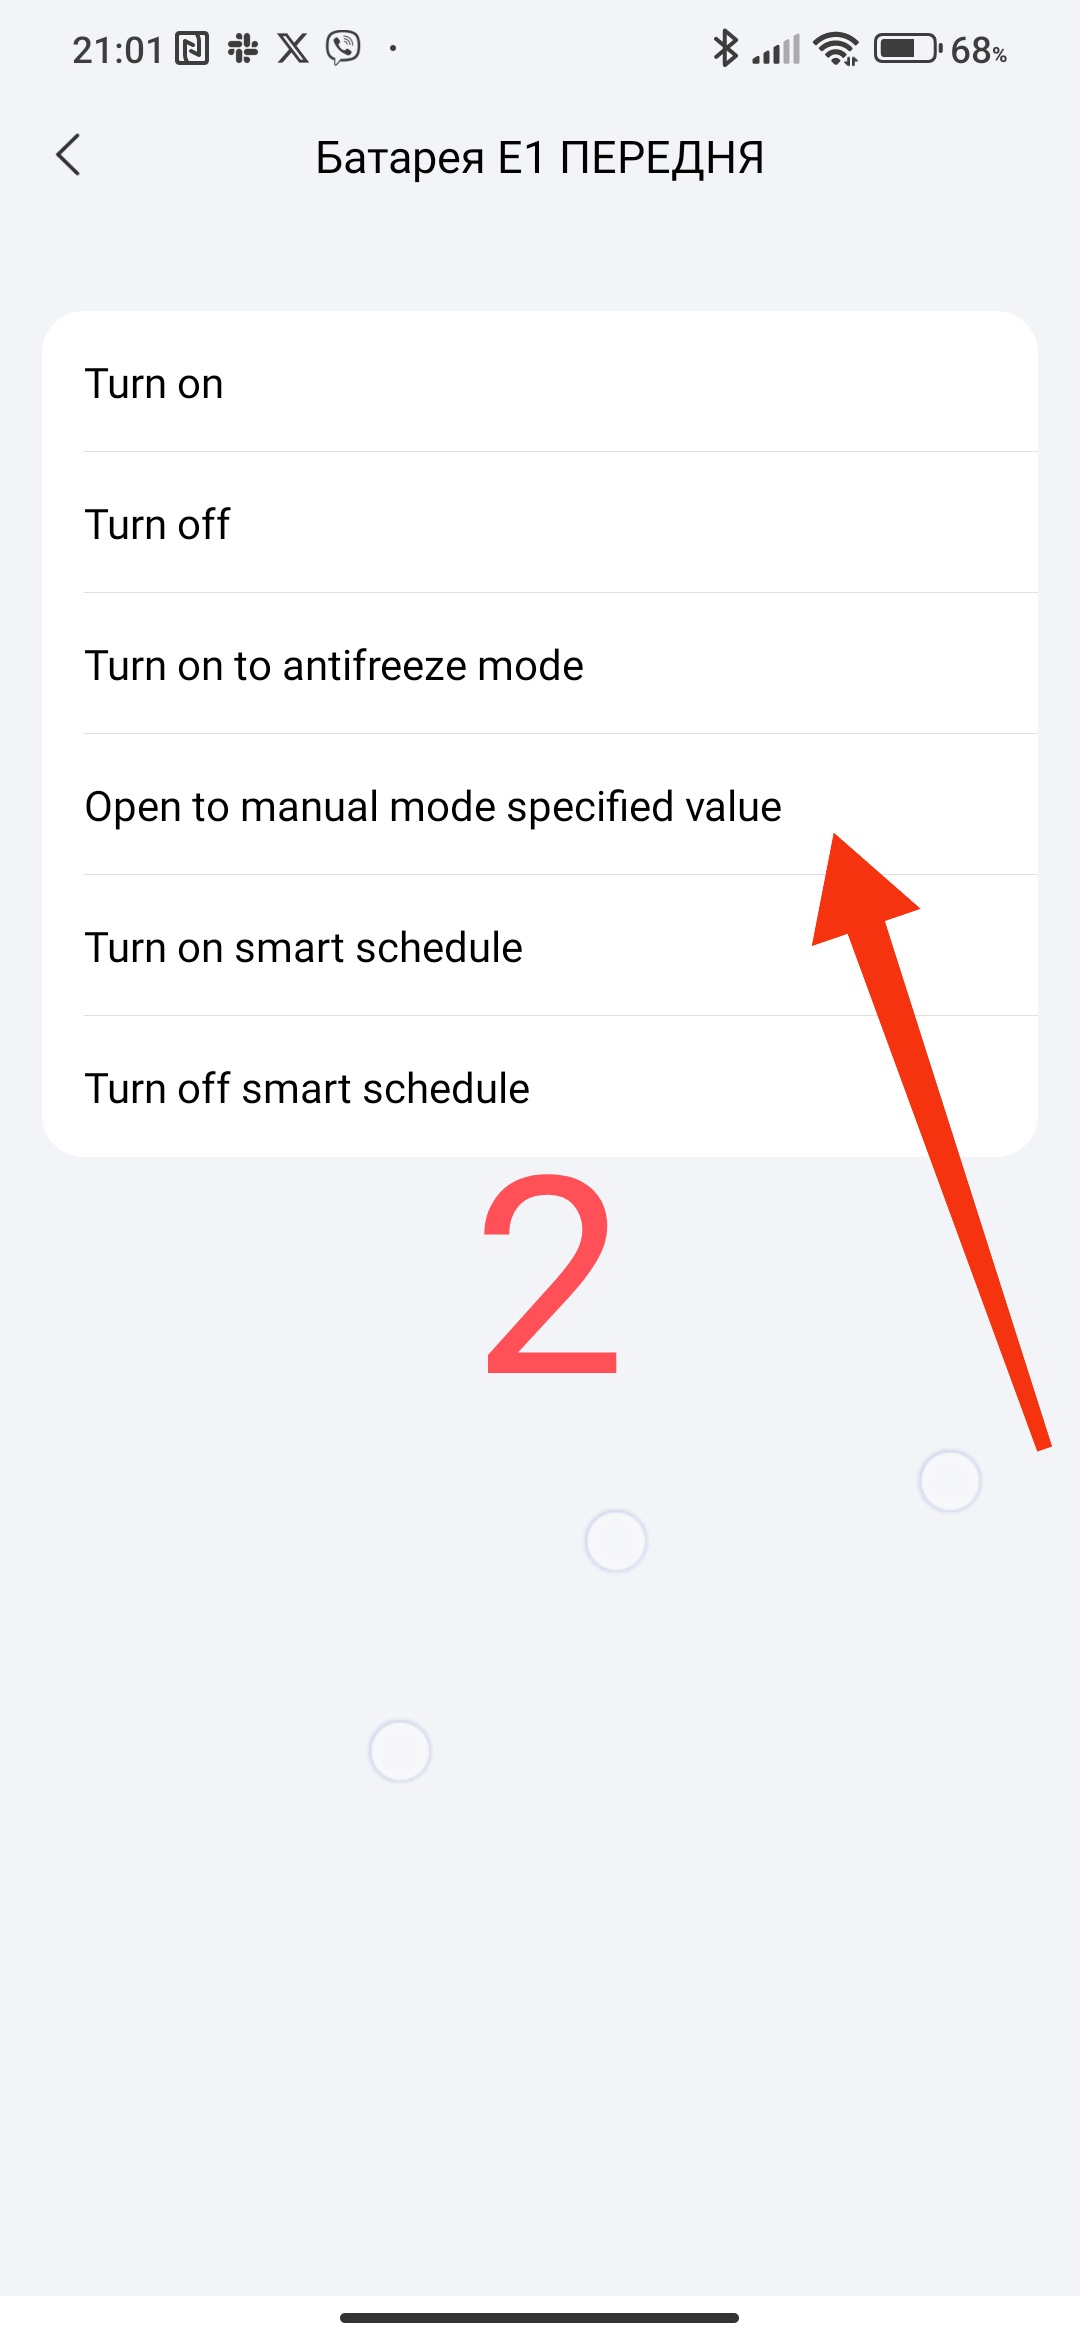
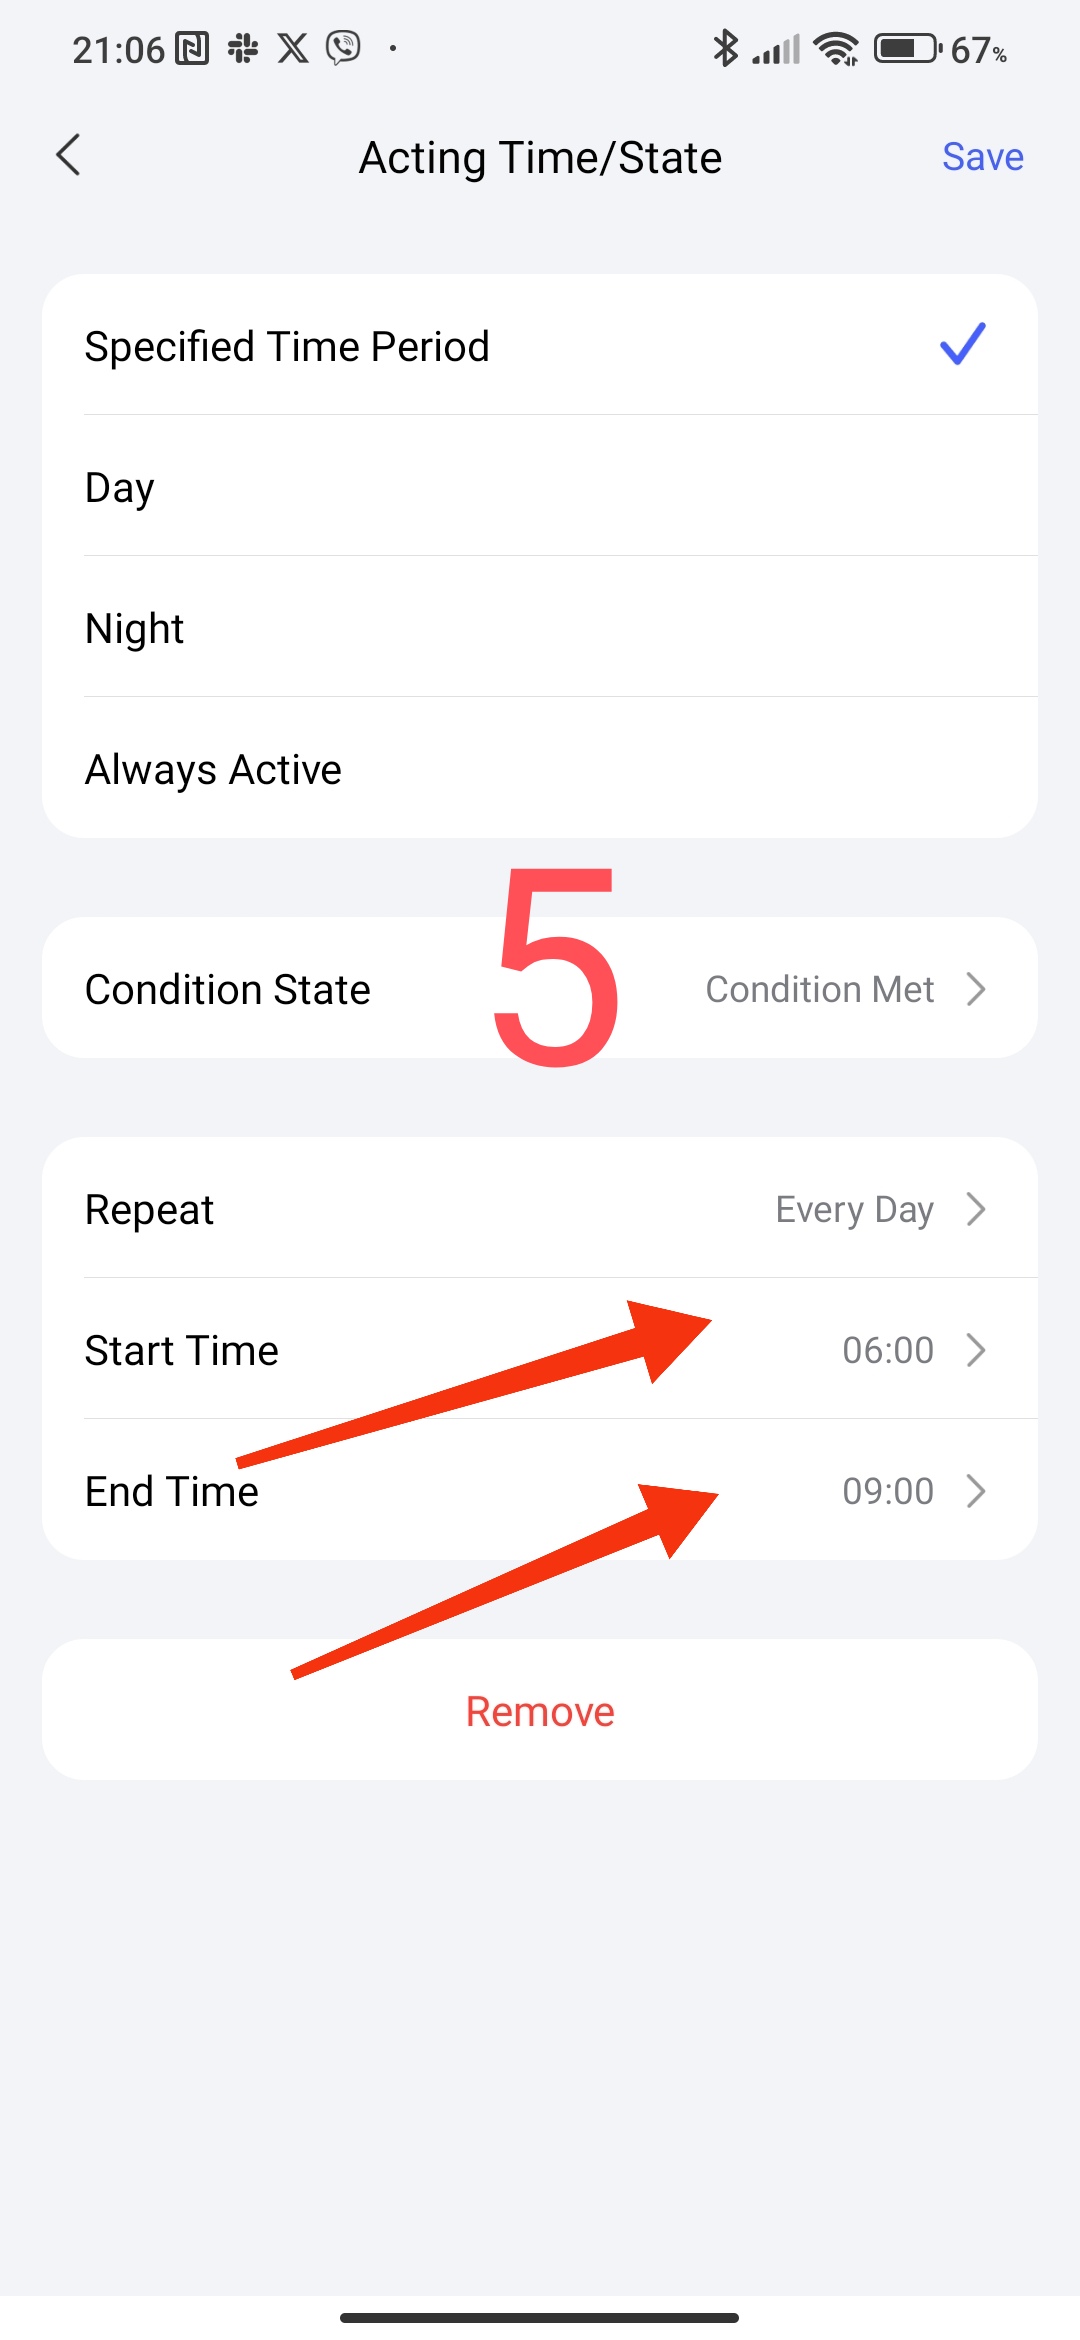
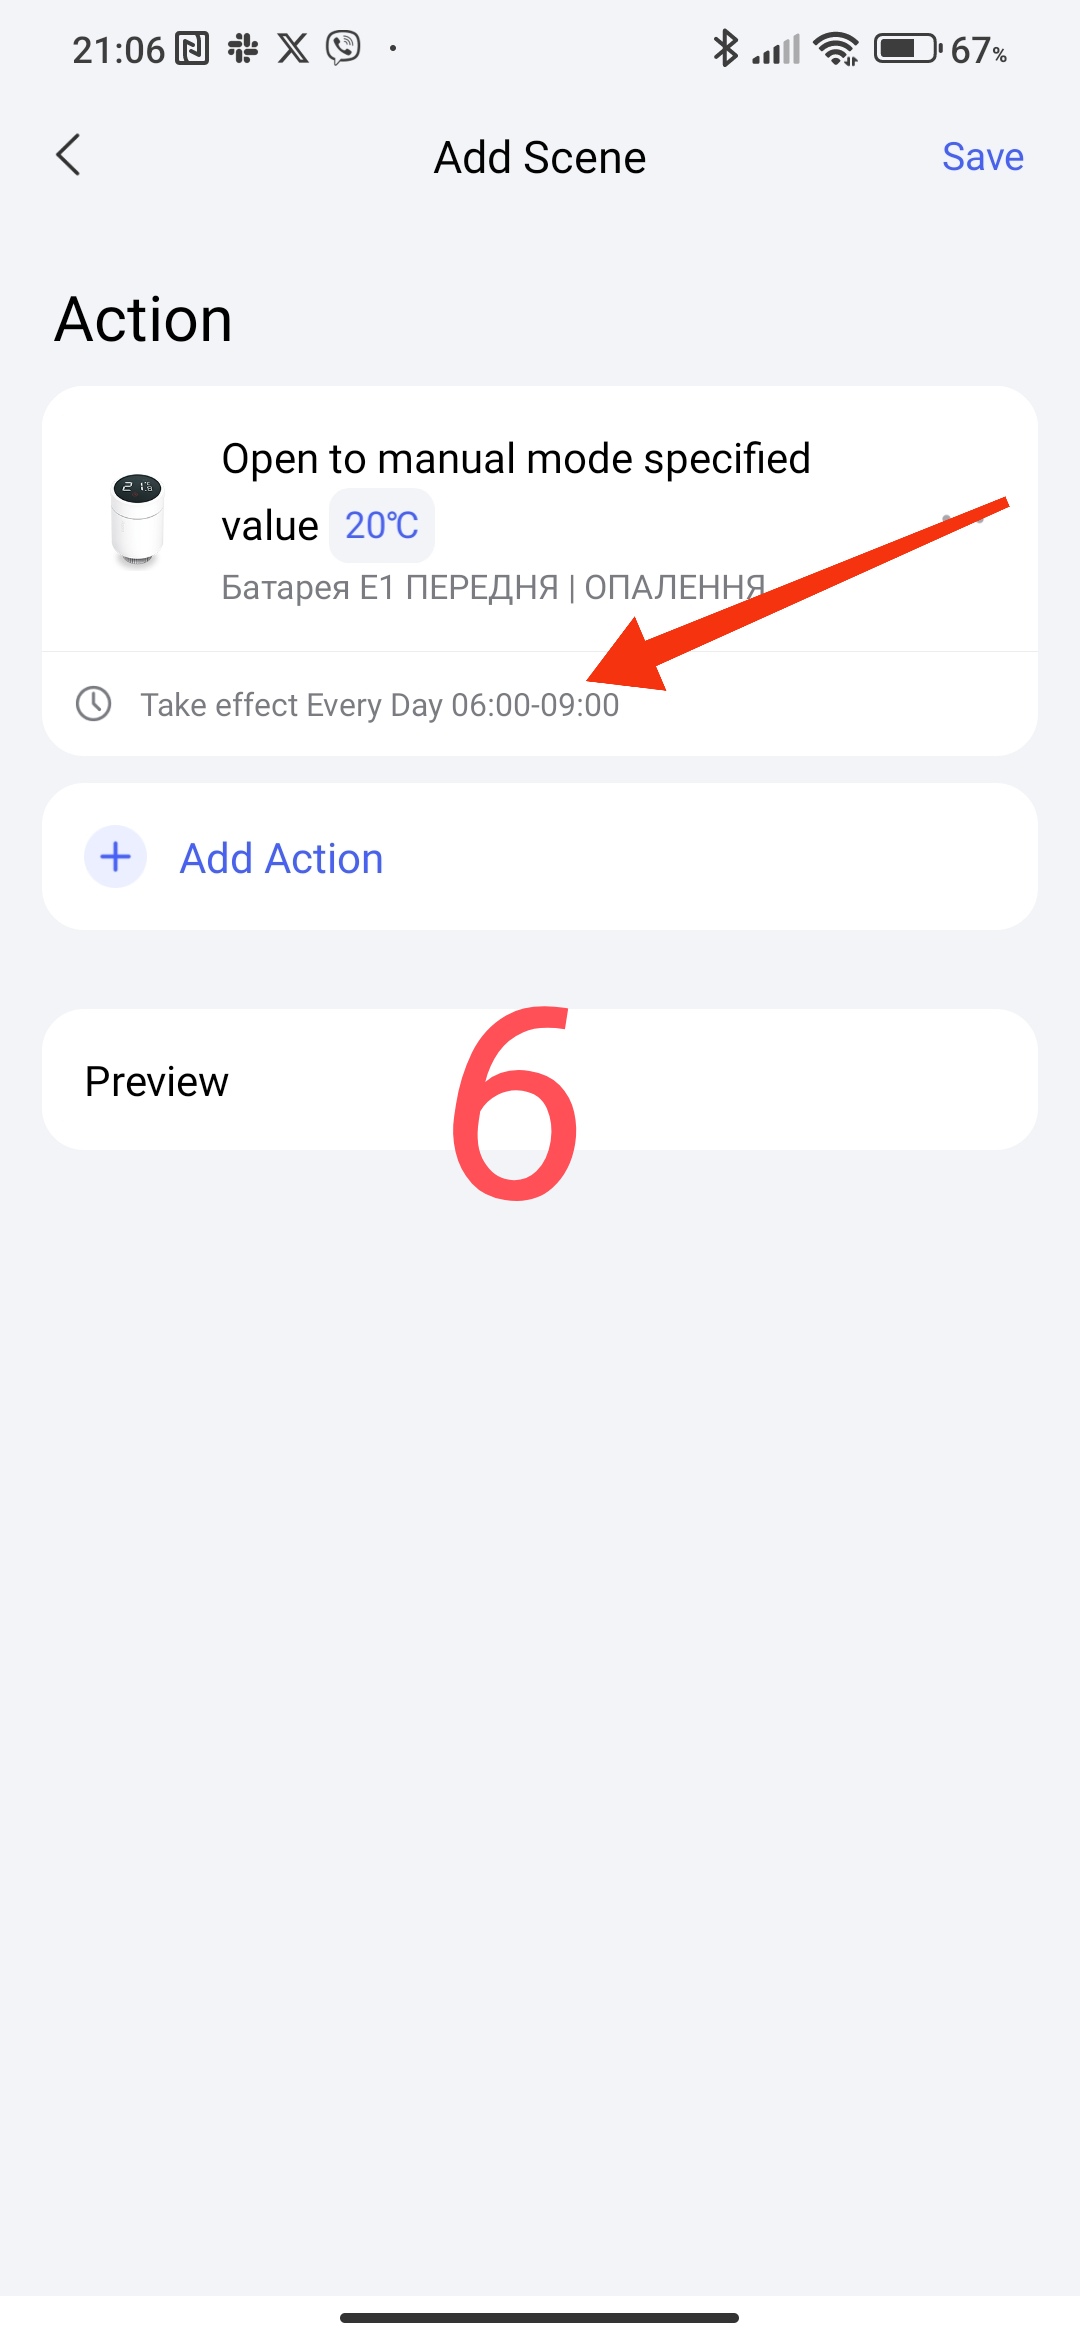
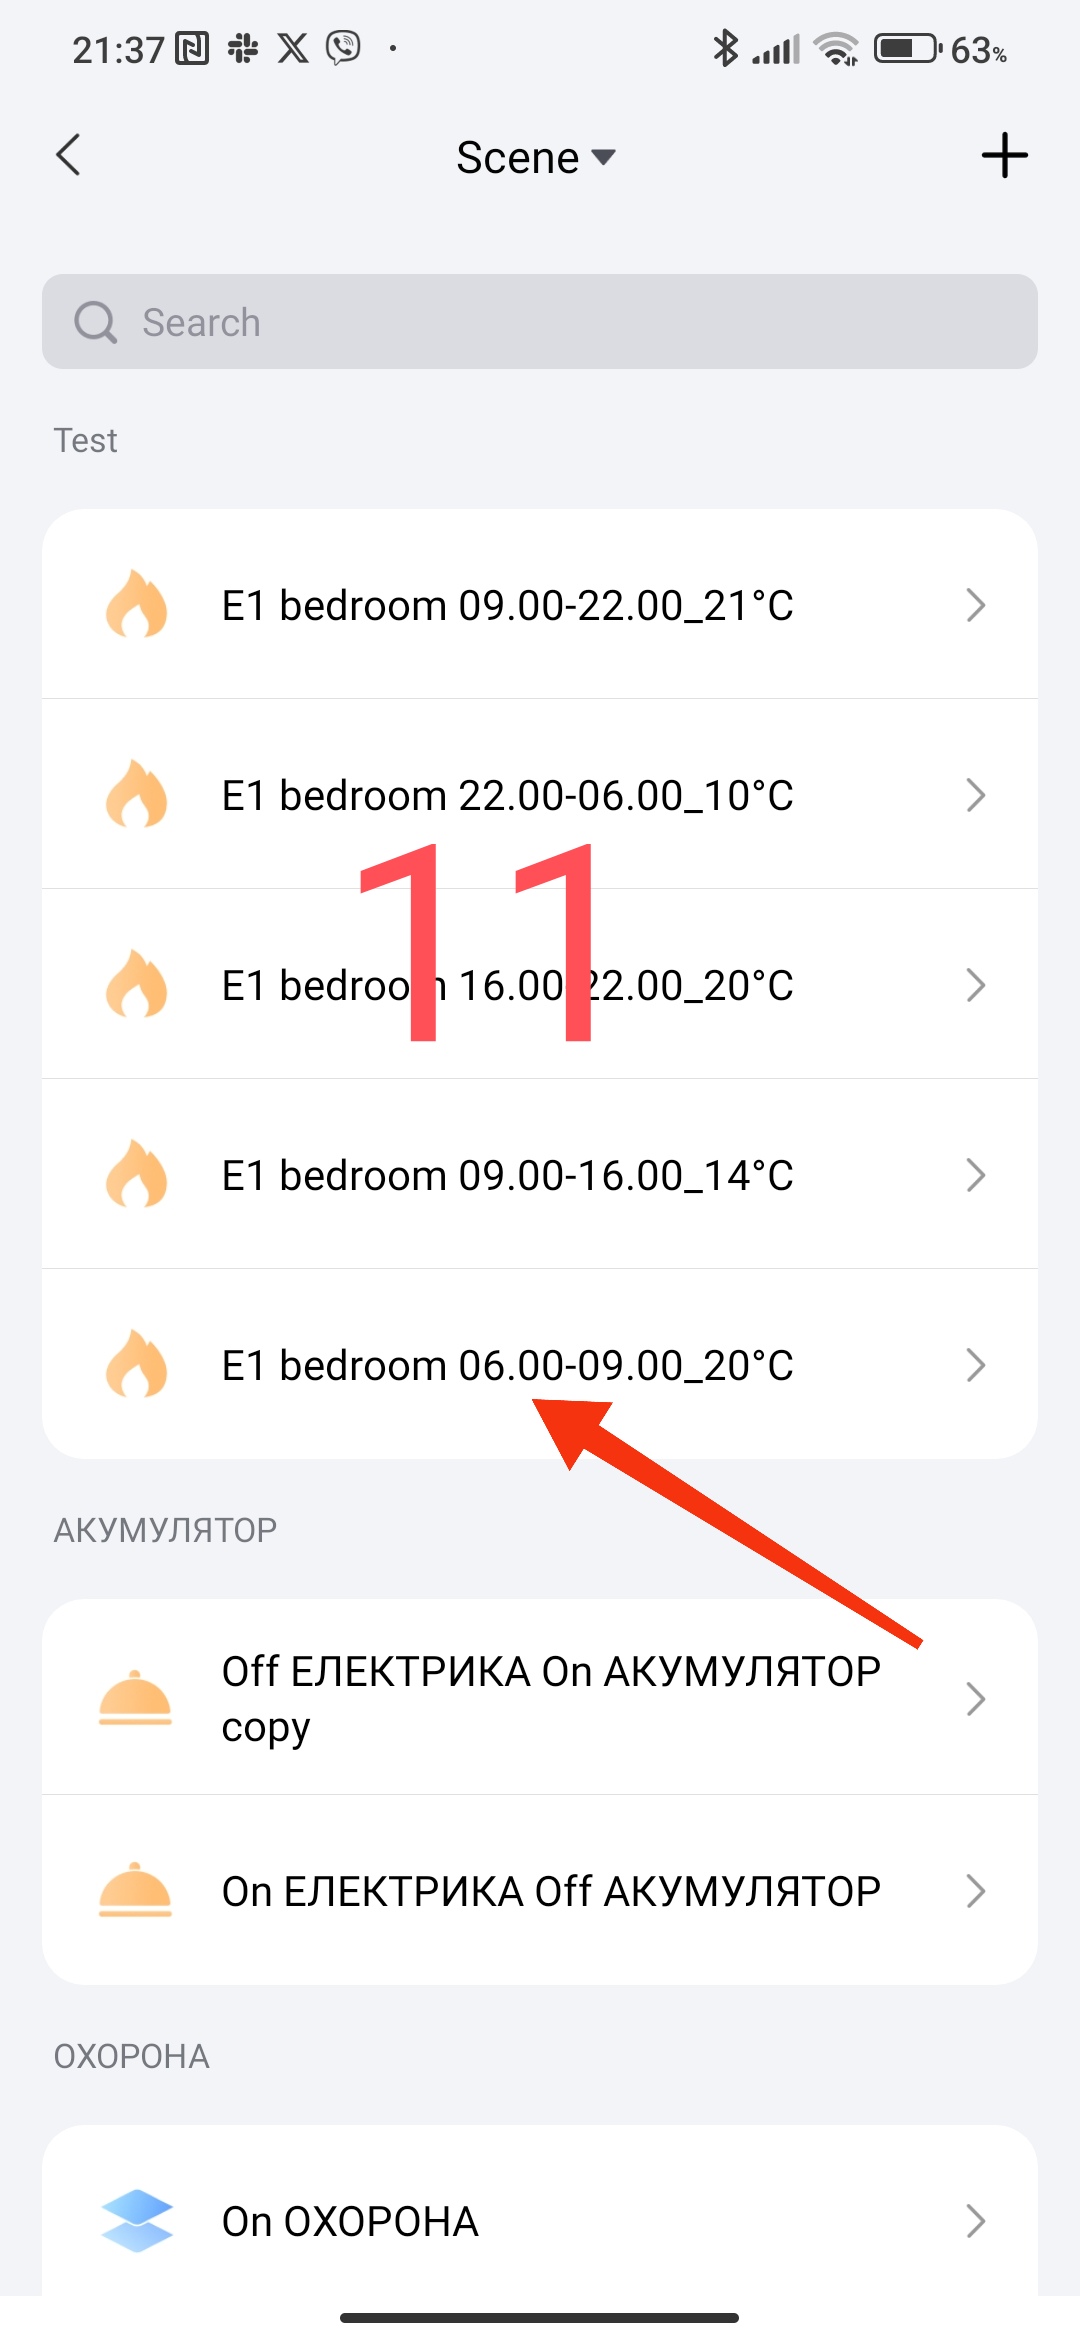
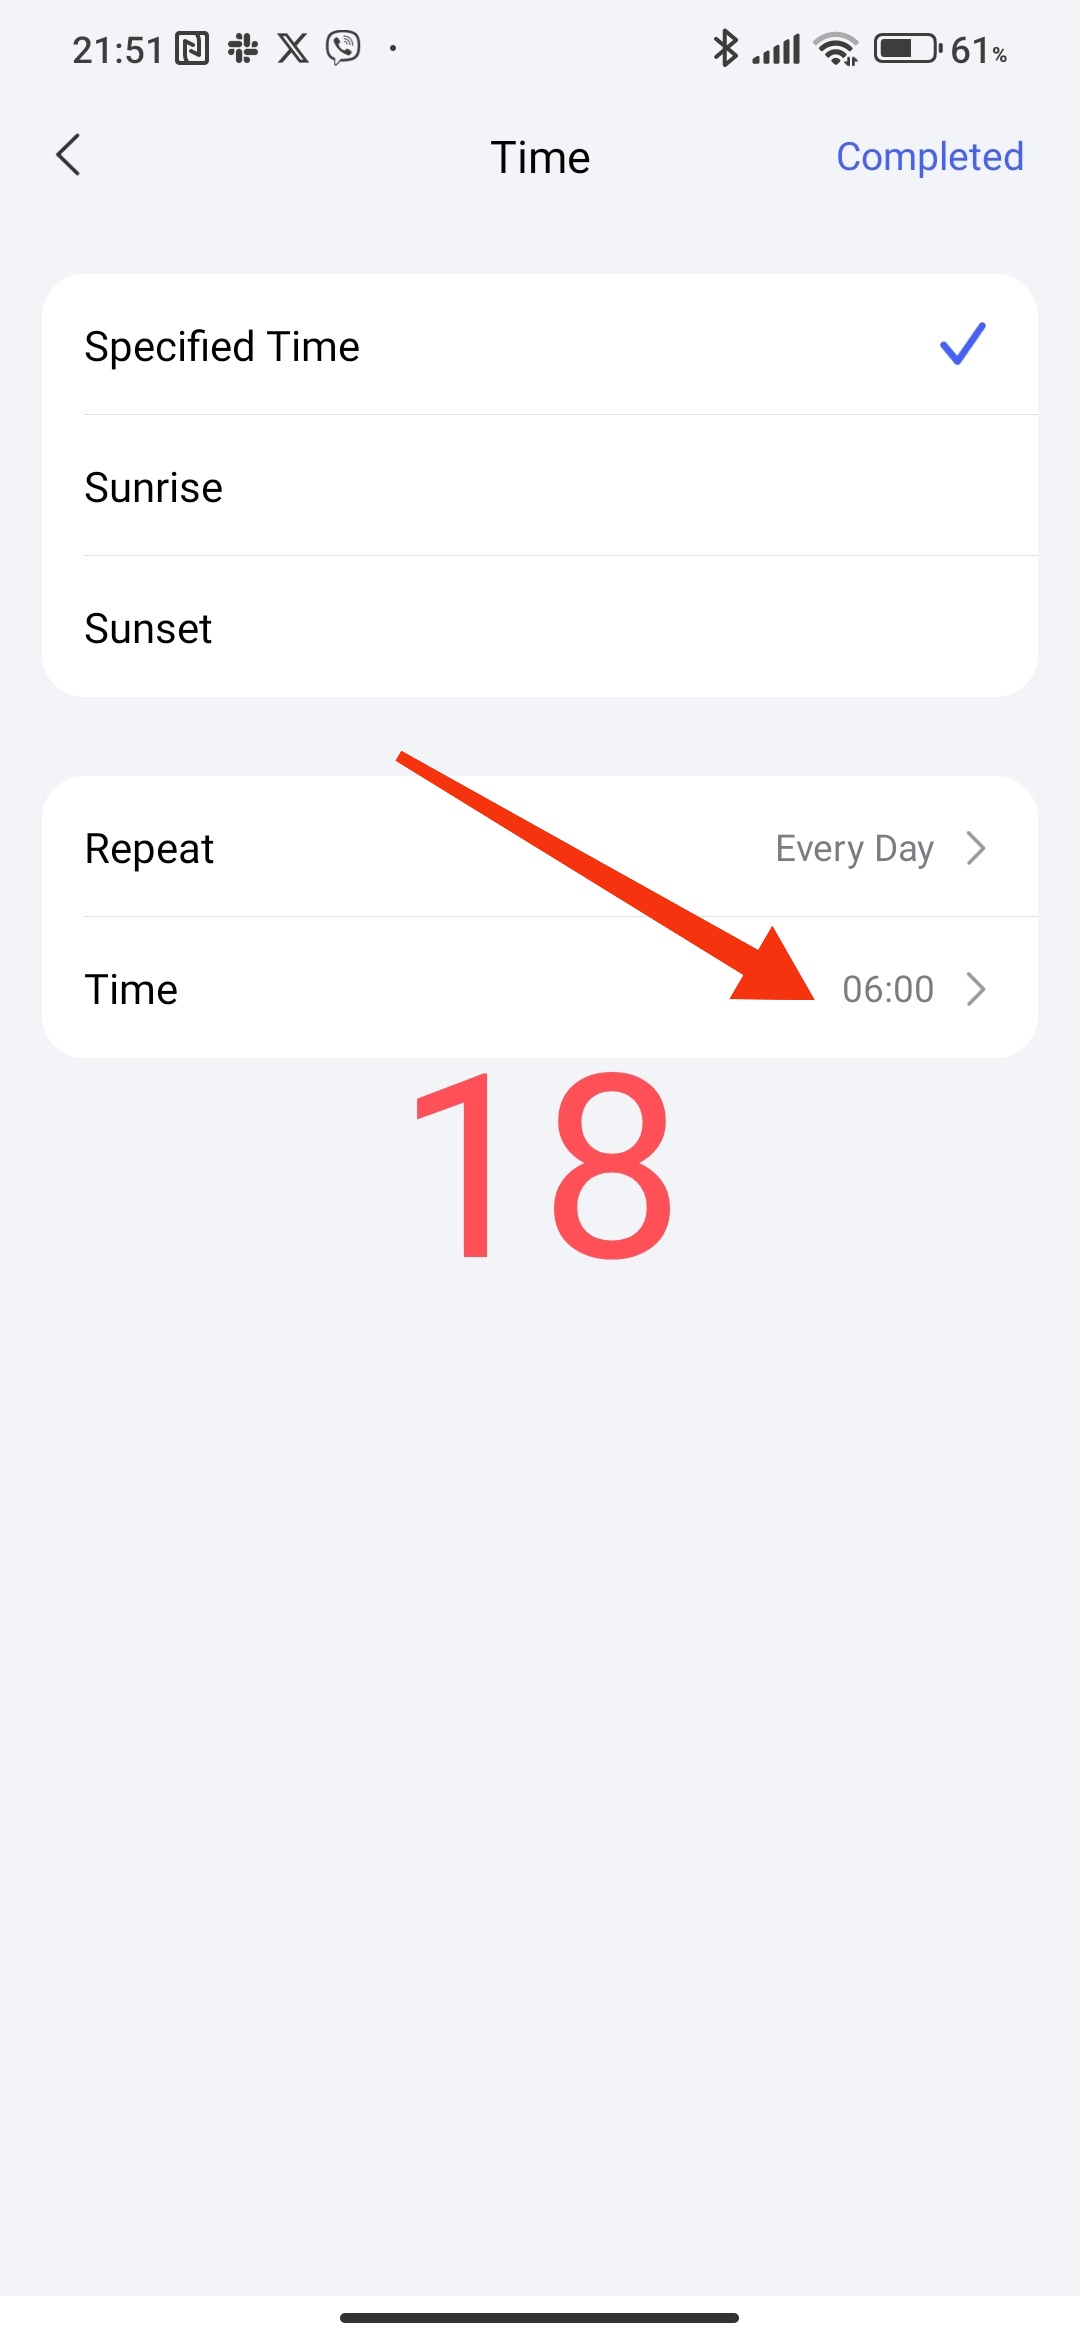
The next step will be in the settings “…” period “06.00-09.00” (according to the schedule above).
Fig. 4, 5, 6

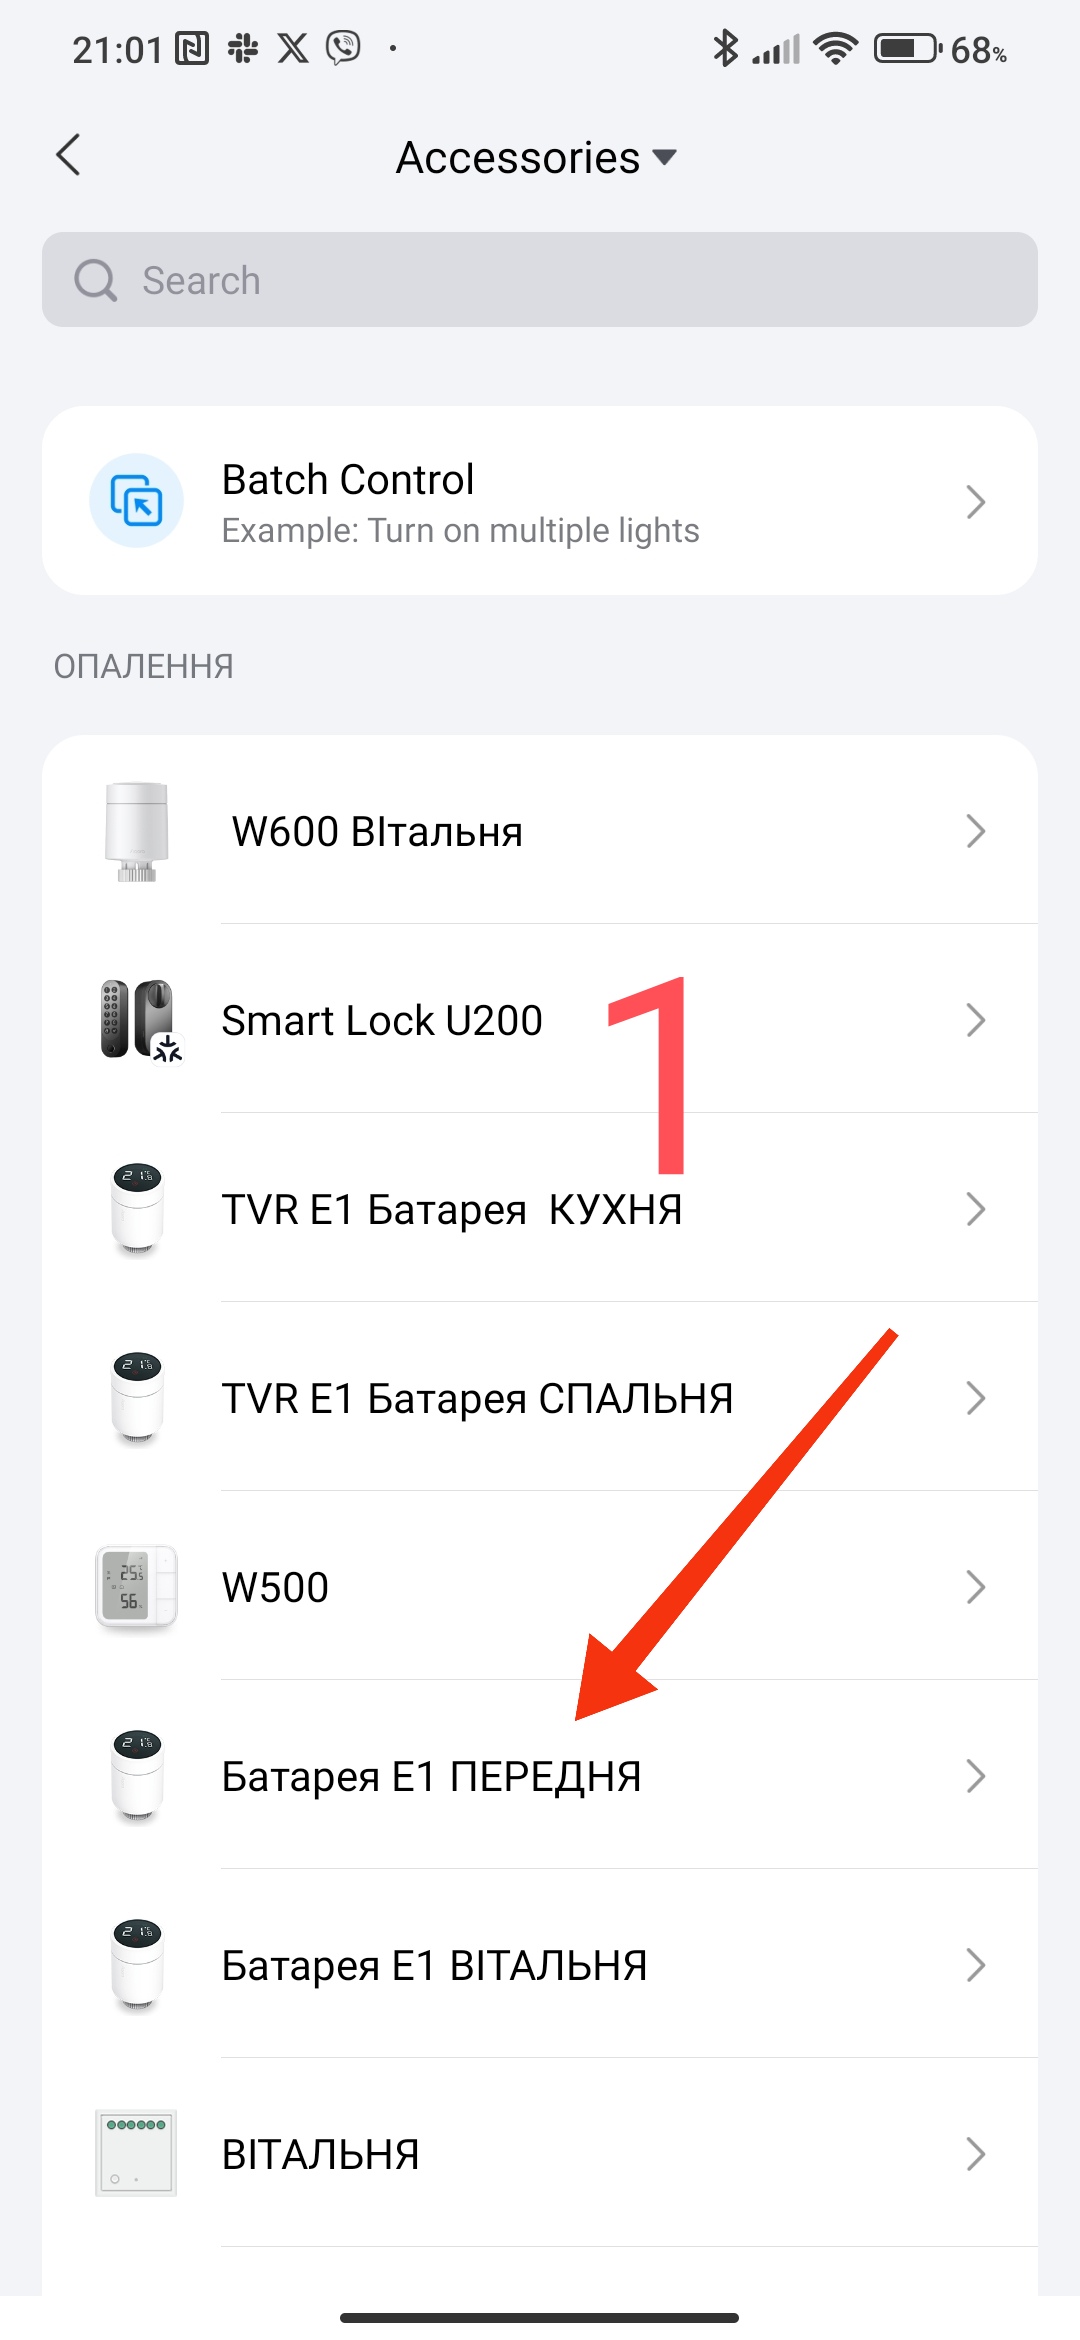
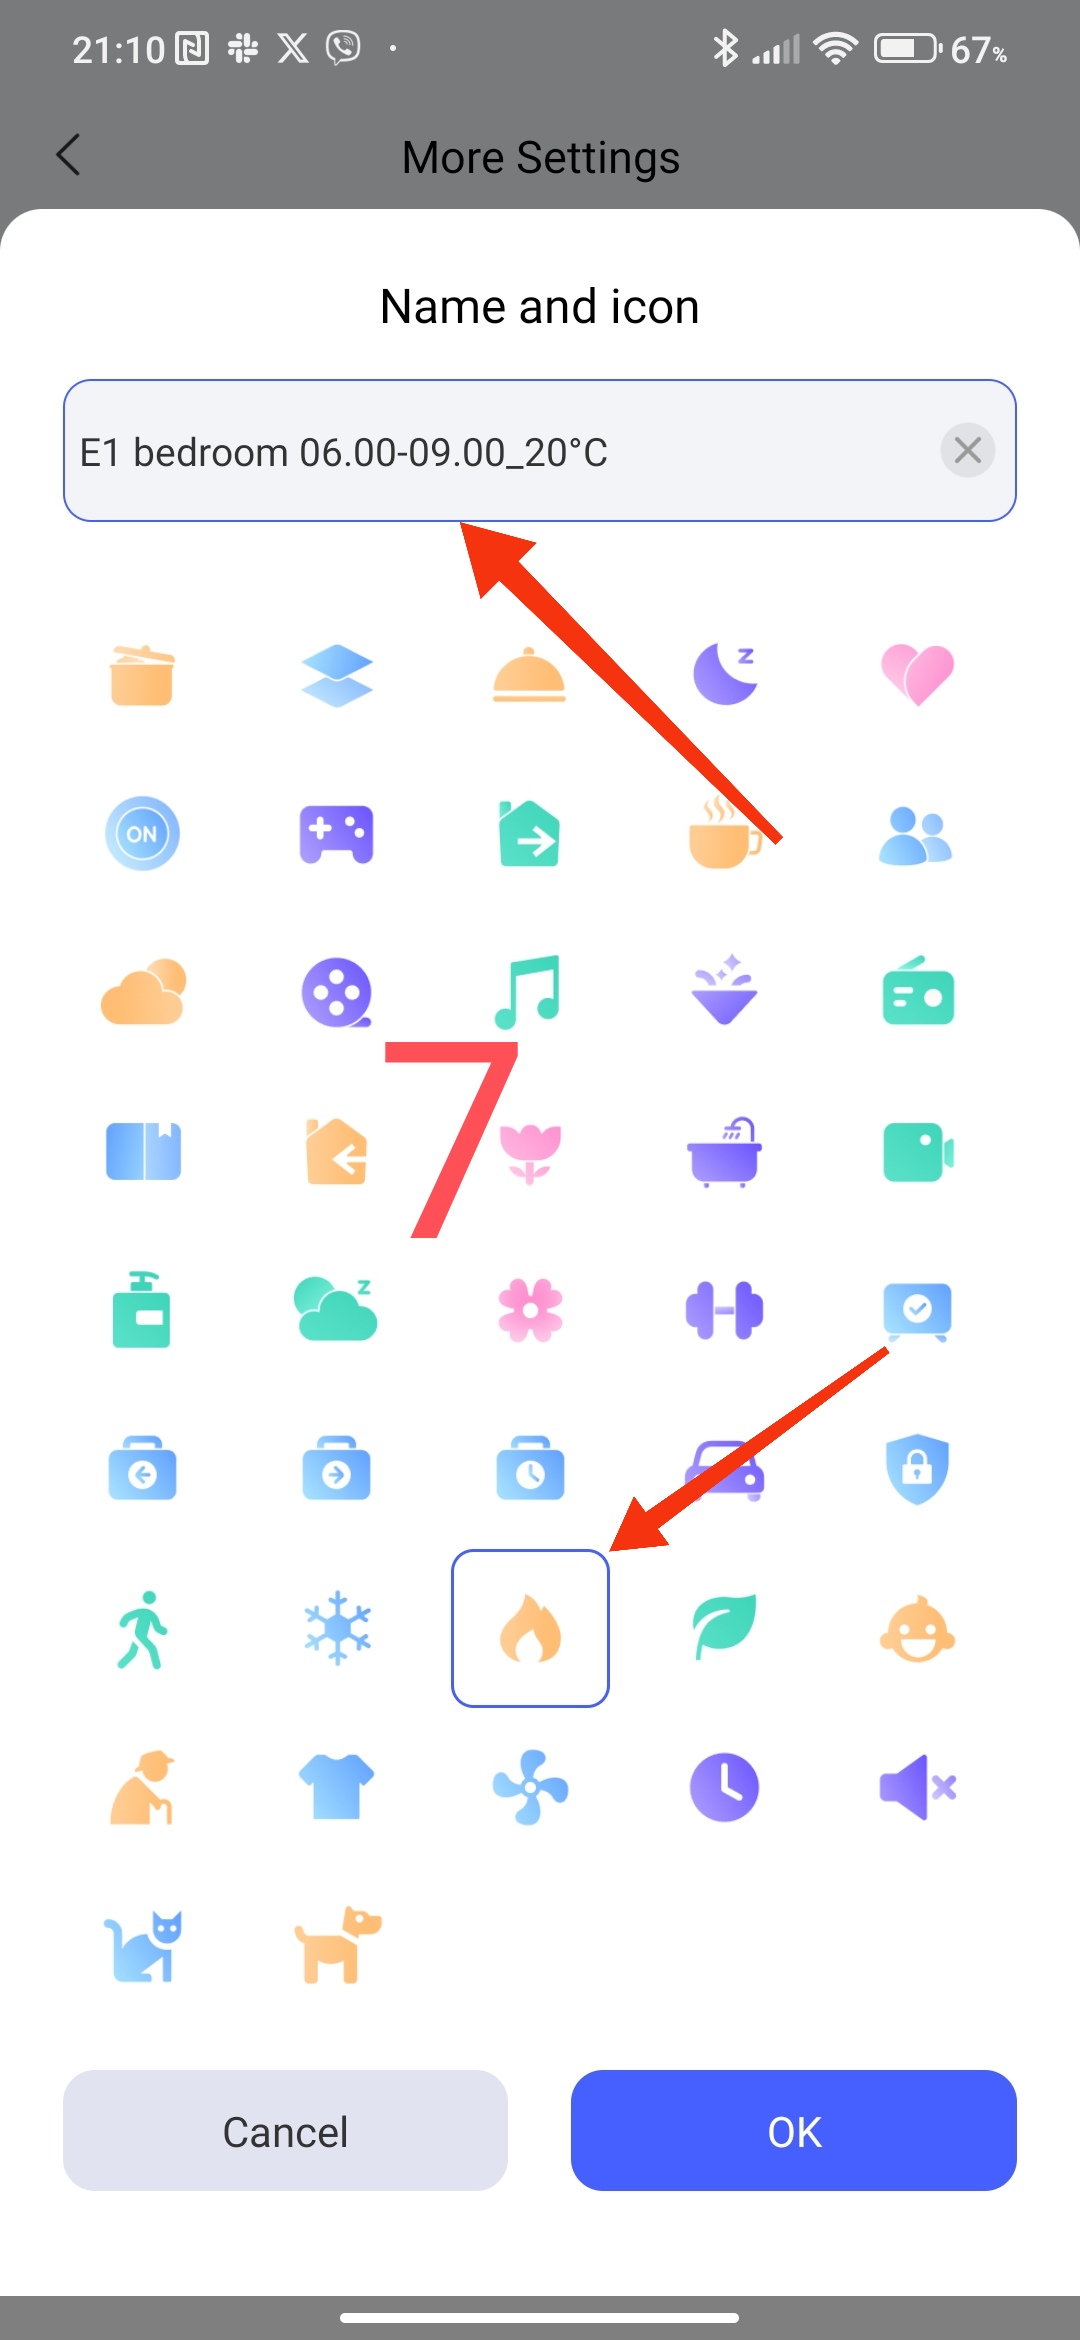
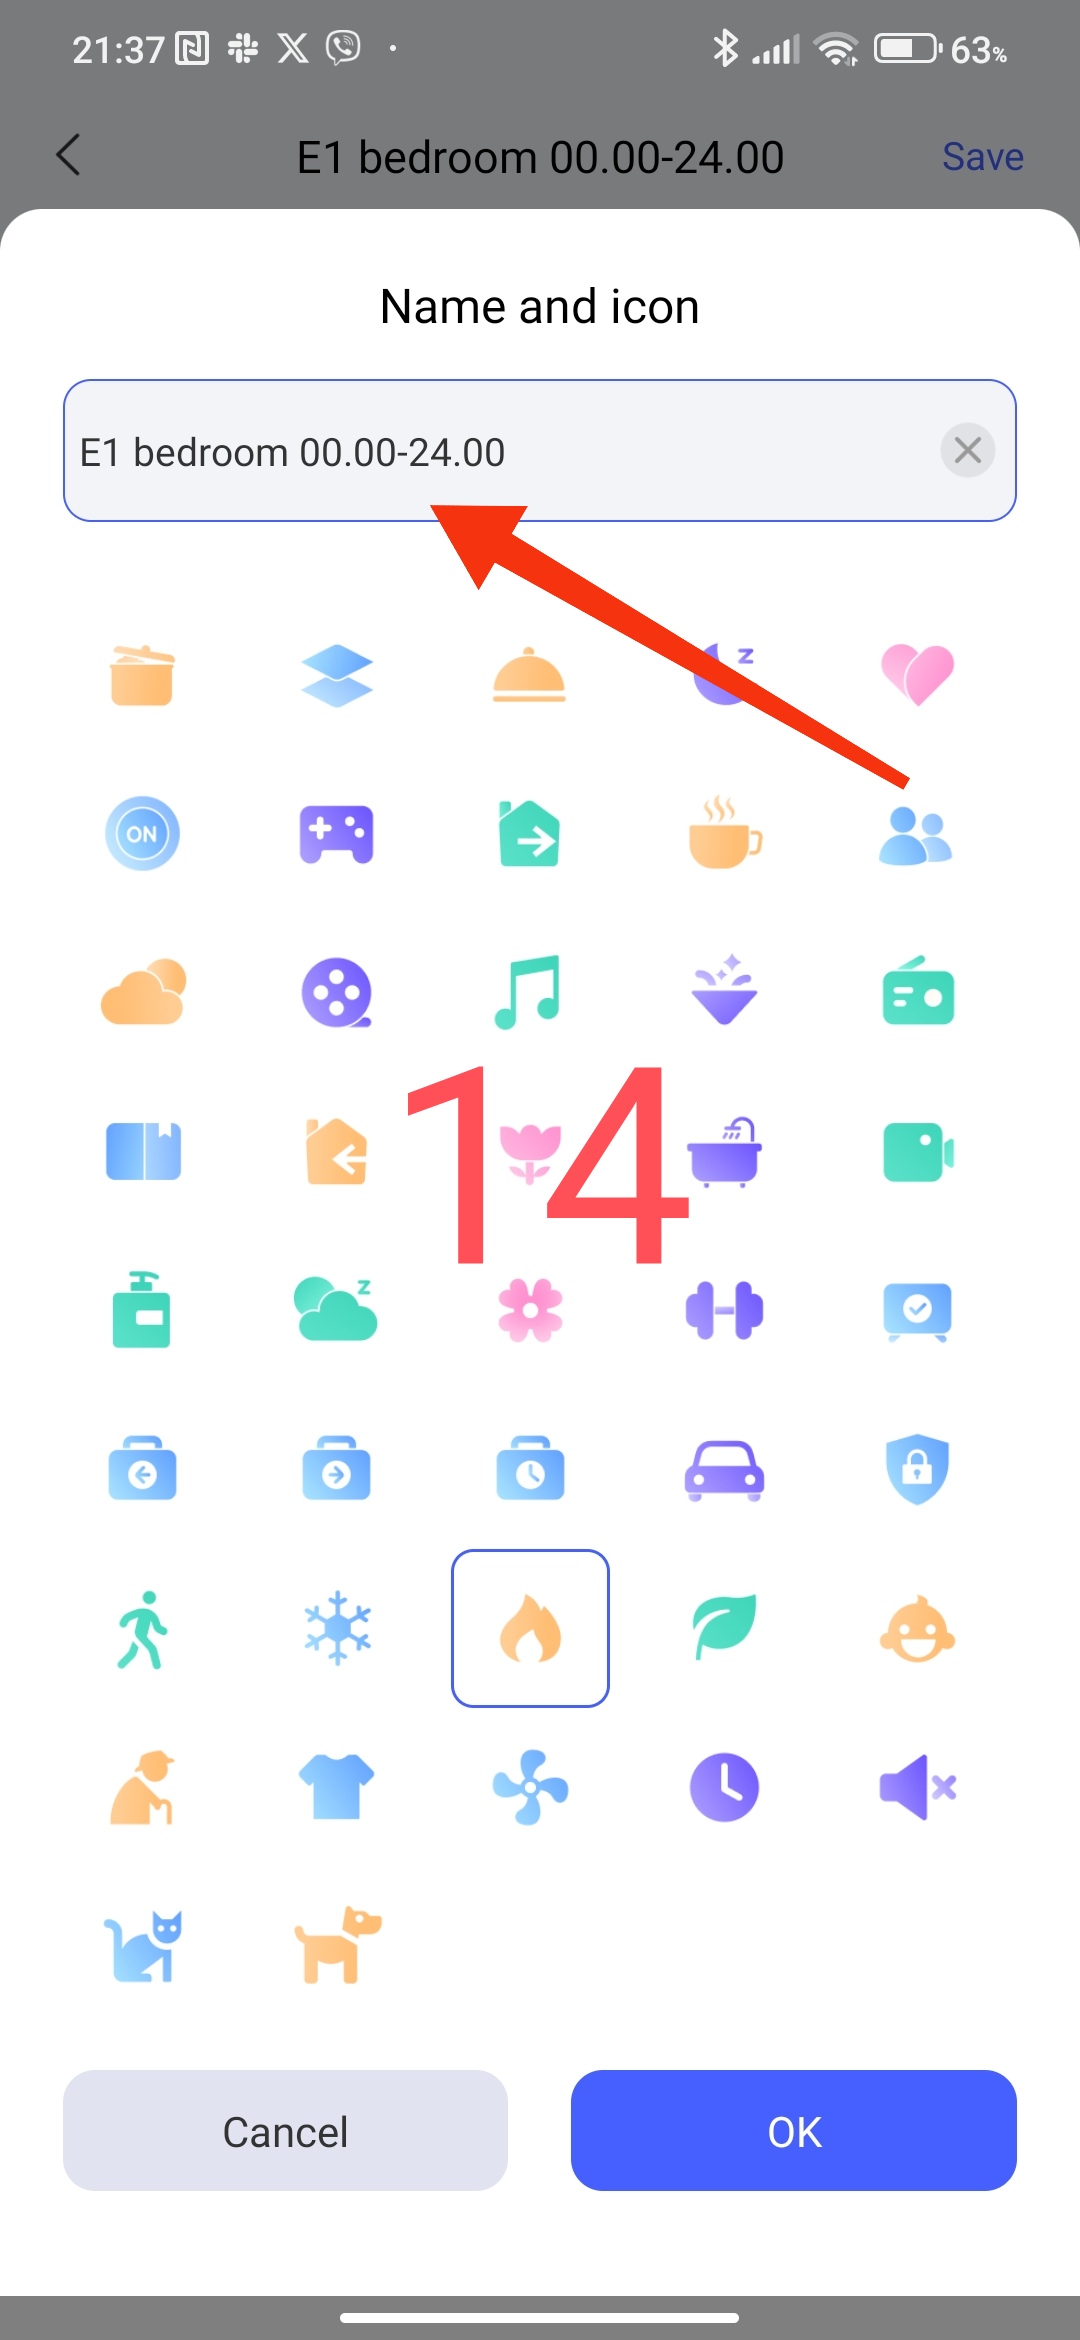
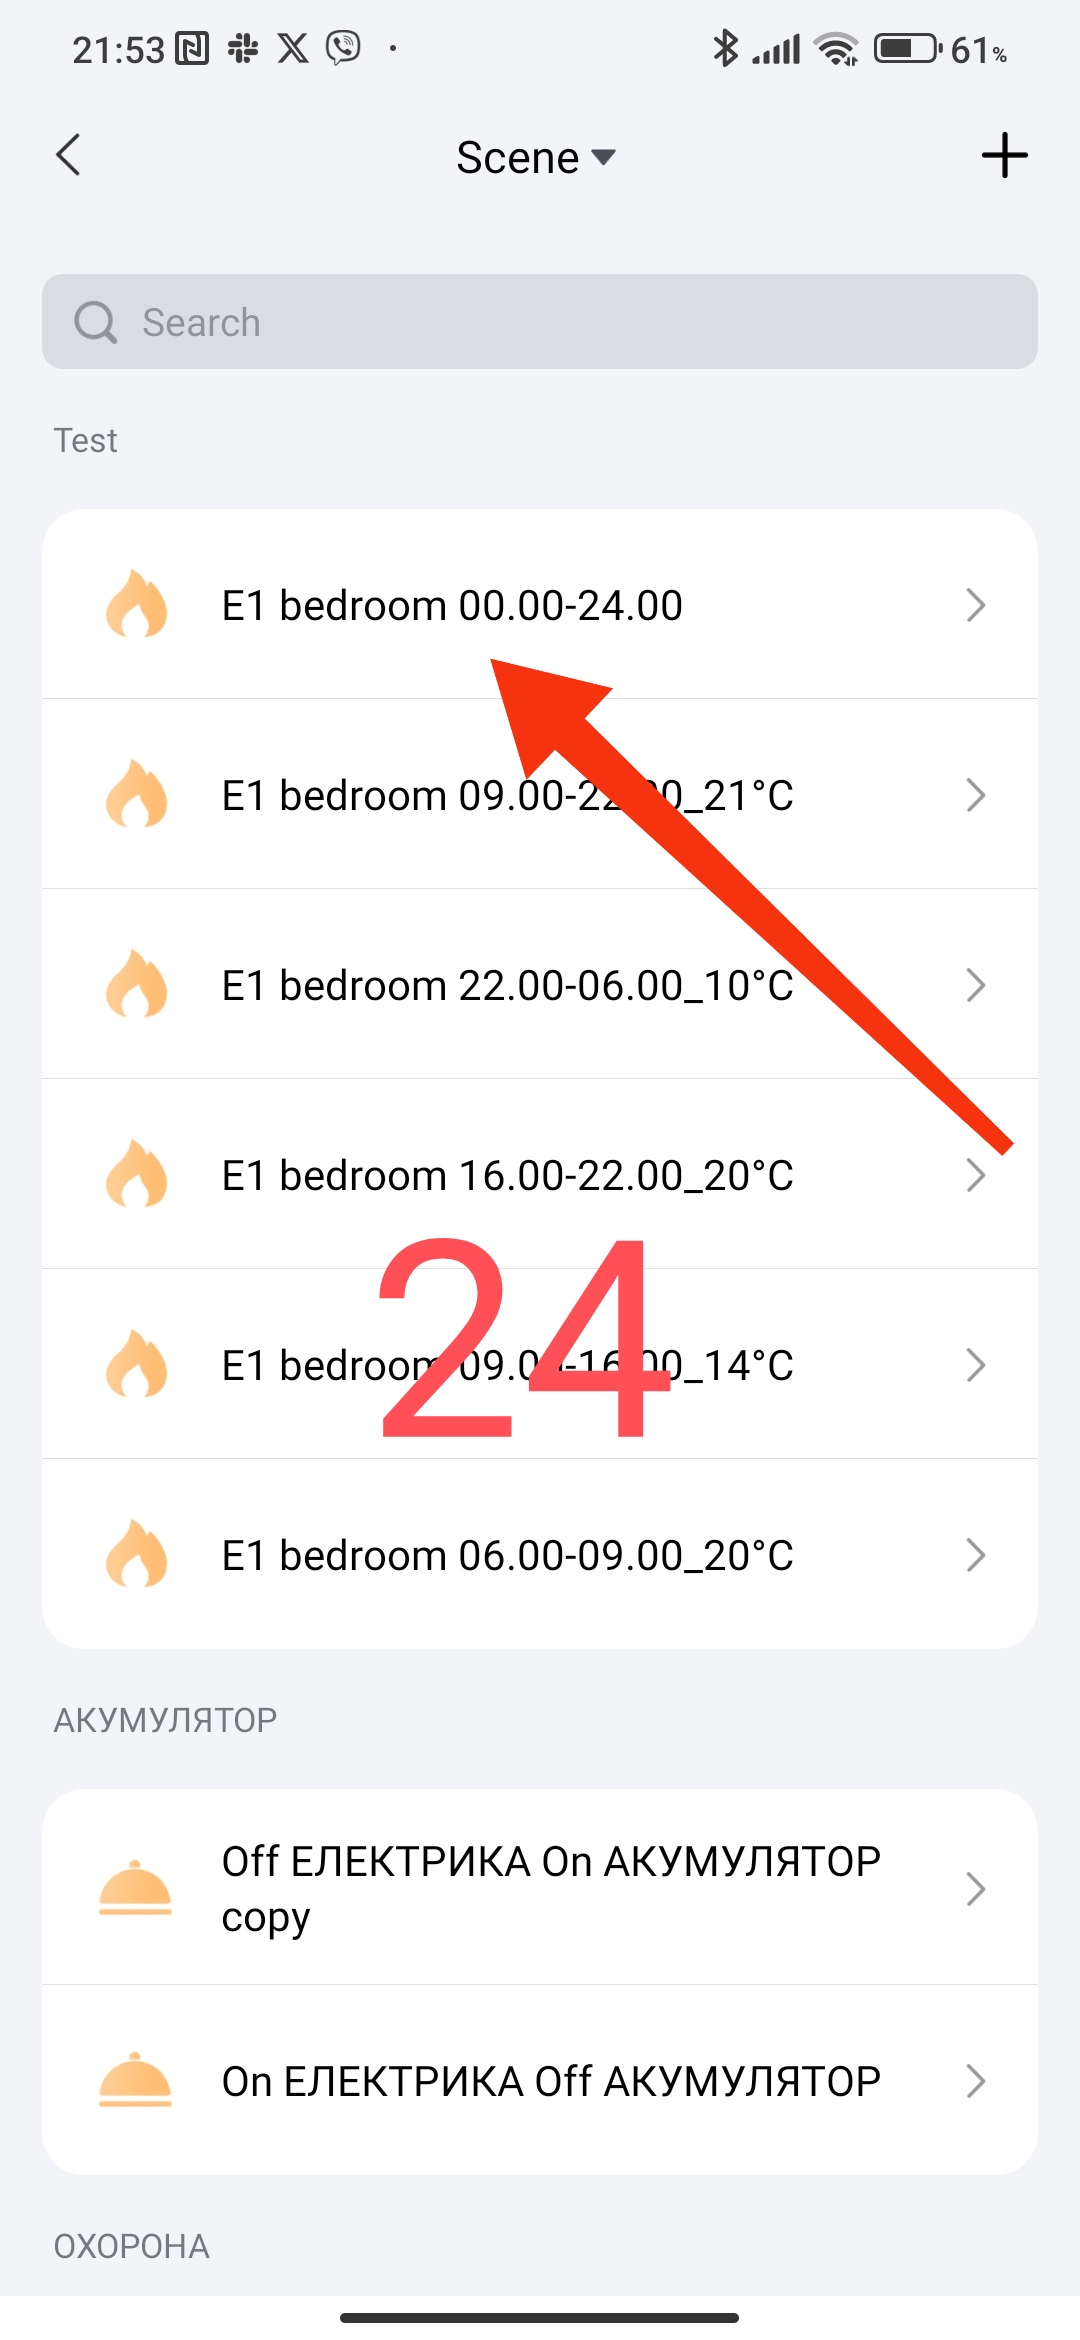
The next step will be to create a scene name. Why do I emphasize the name, because it will make it easier for you to find the period and temperature for further creation and quick editing of scenes. In the name, I recommend writing the room, period, temperature “E1 bedroom 06.00_00.00_20°C”. I use the room name as
Fig.7
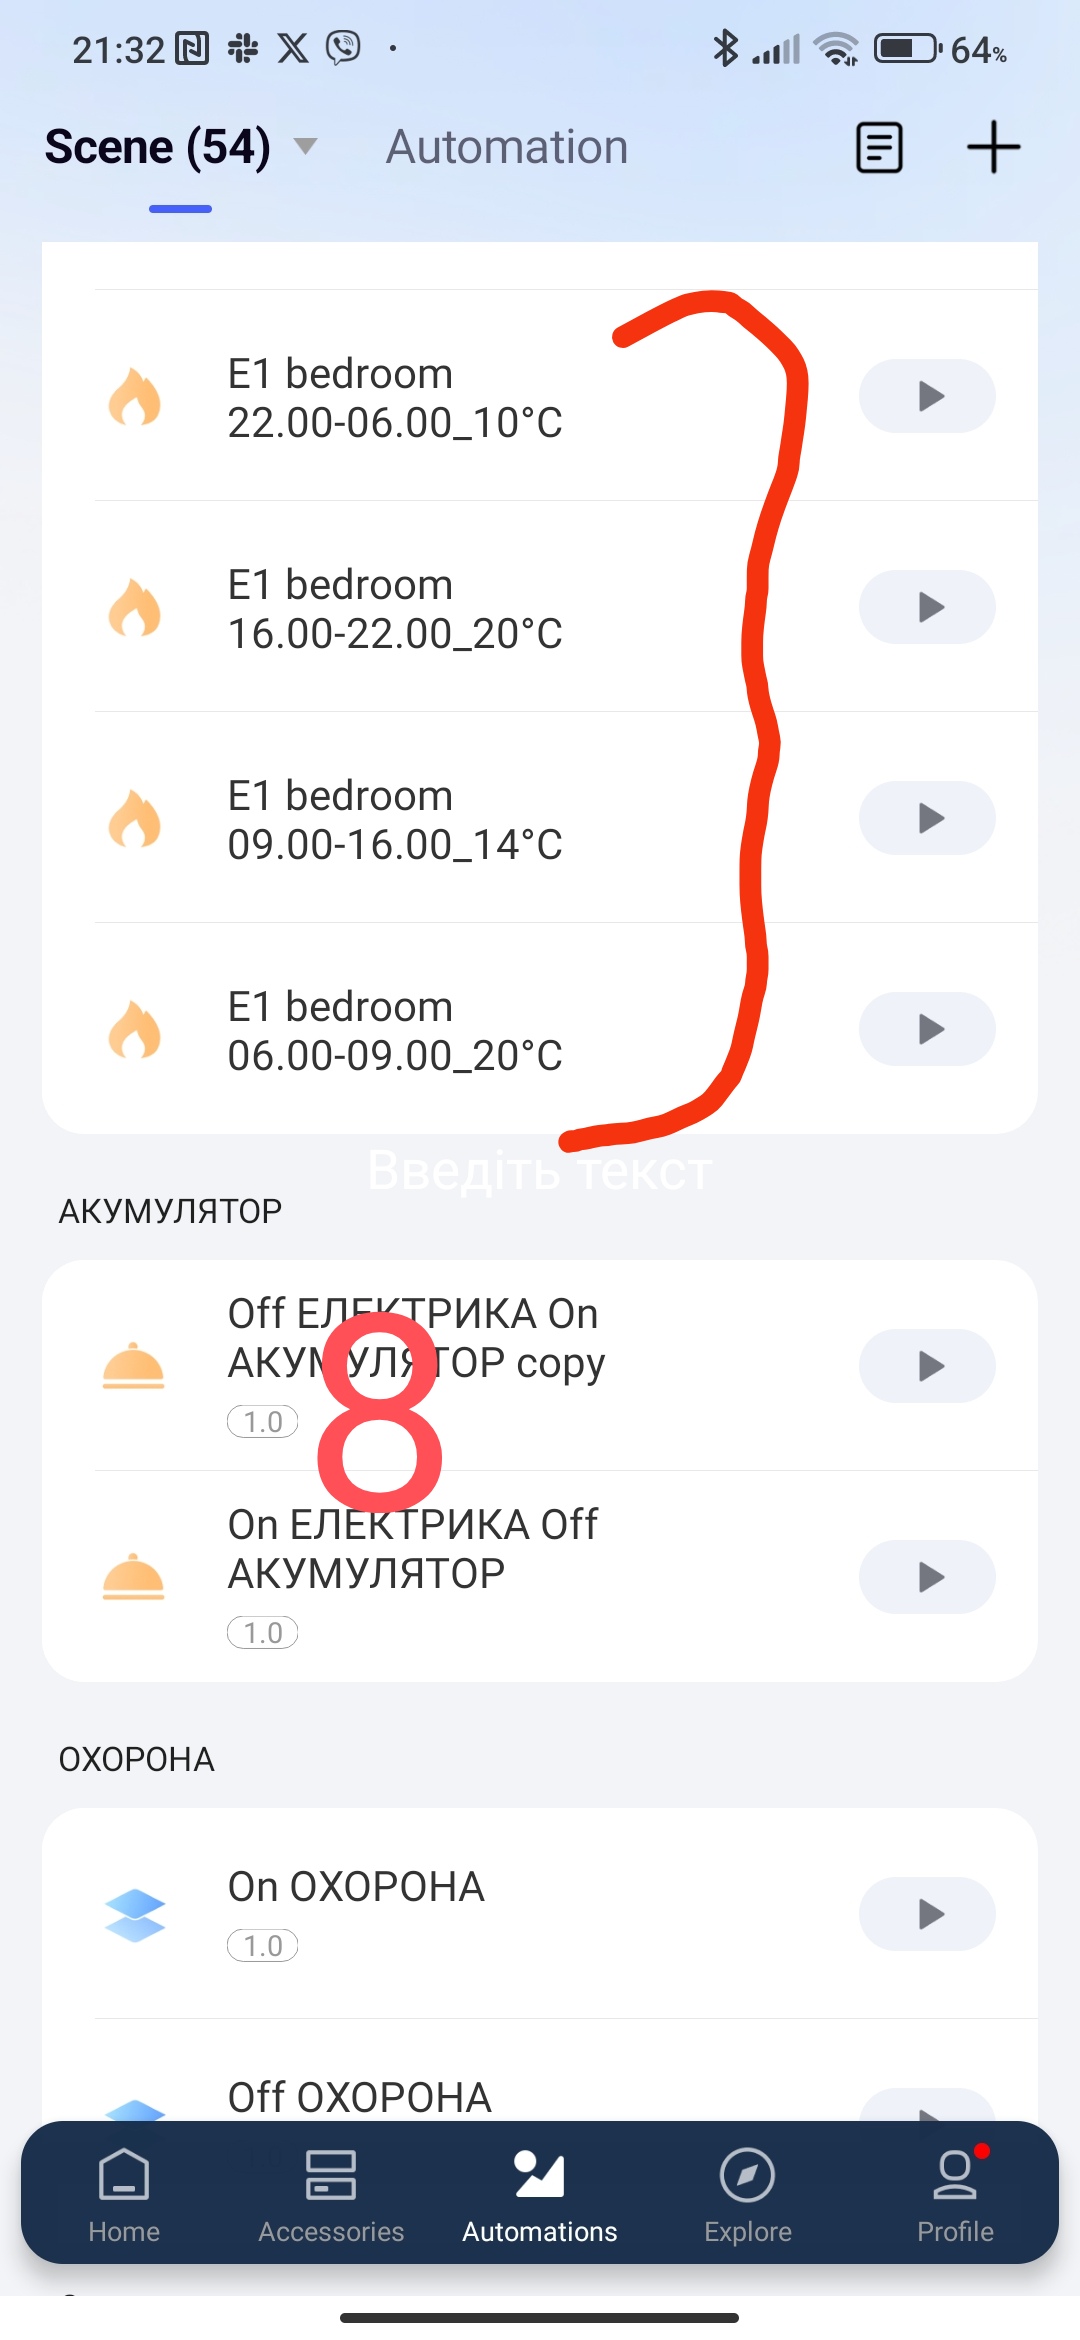
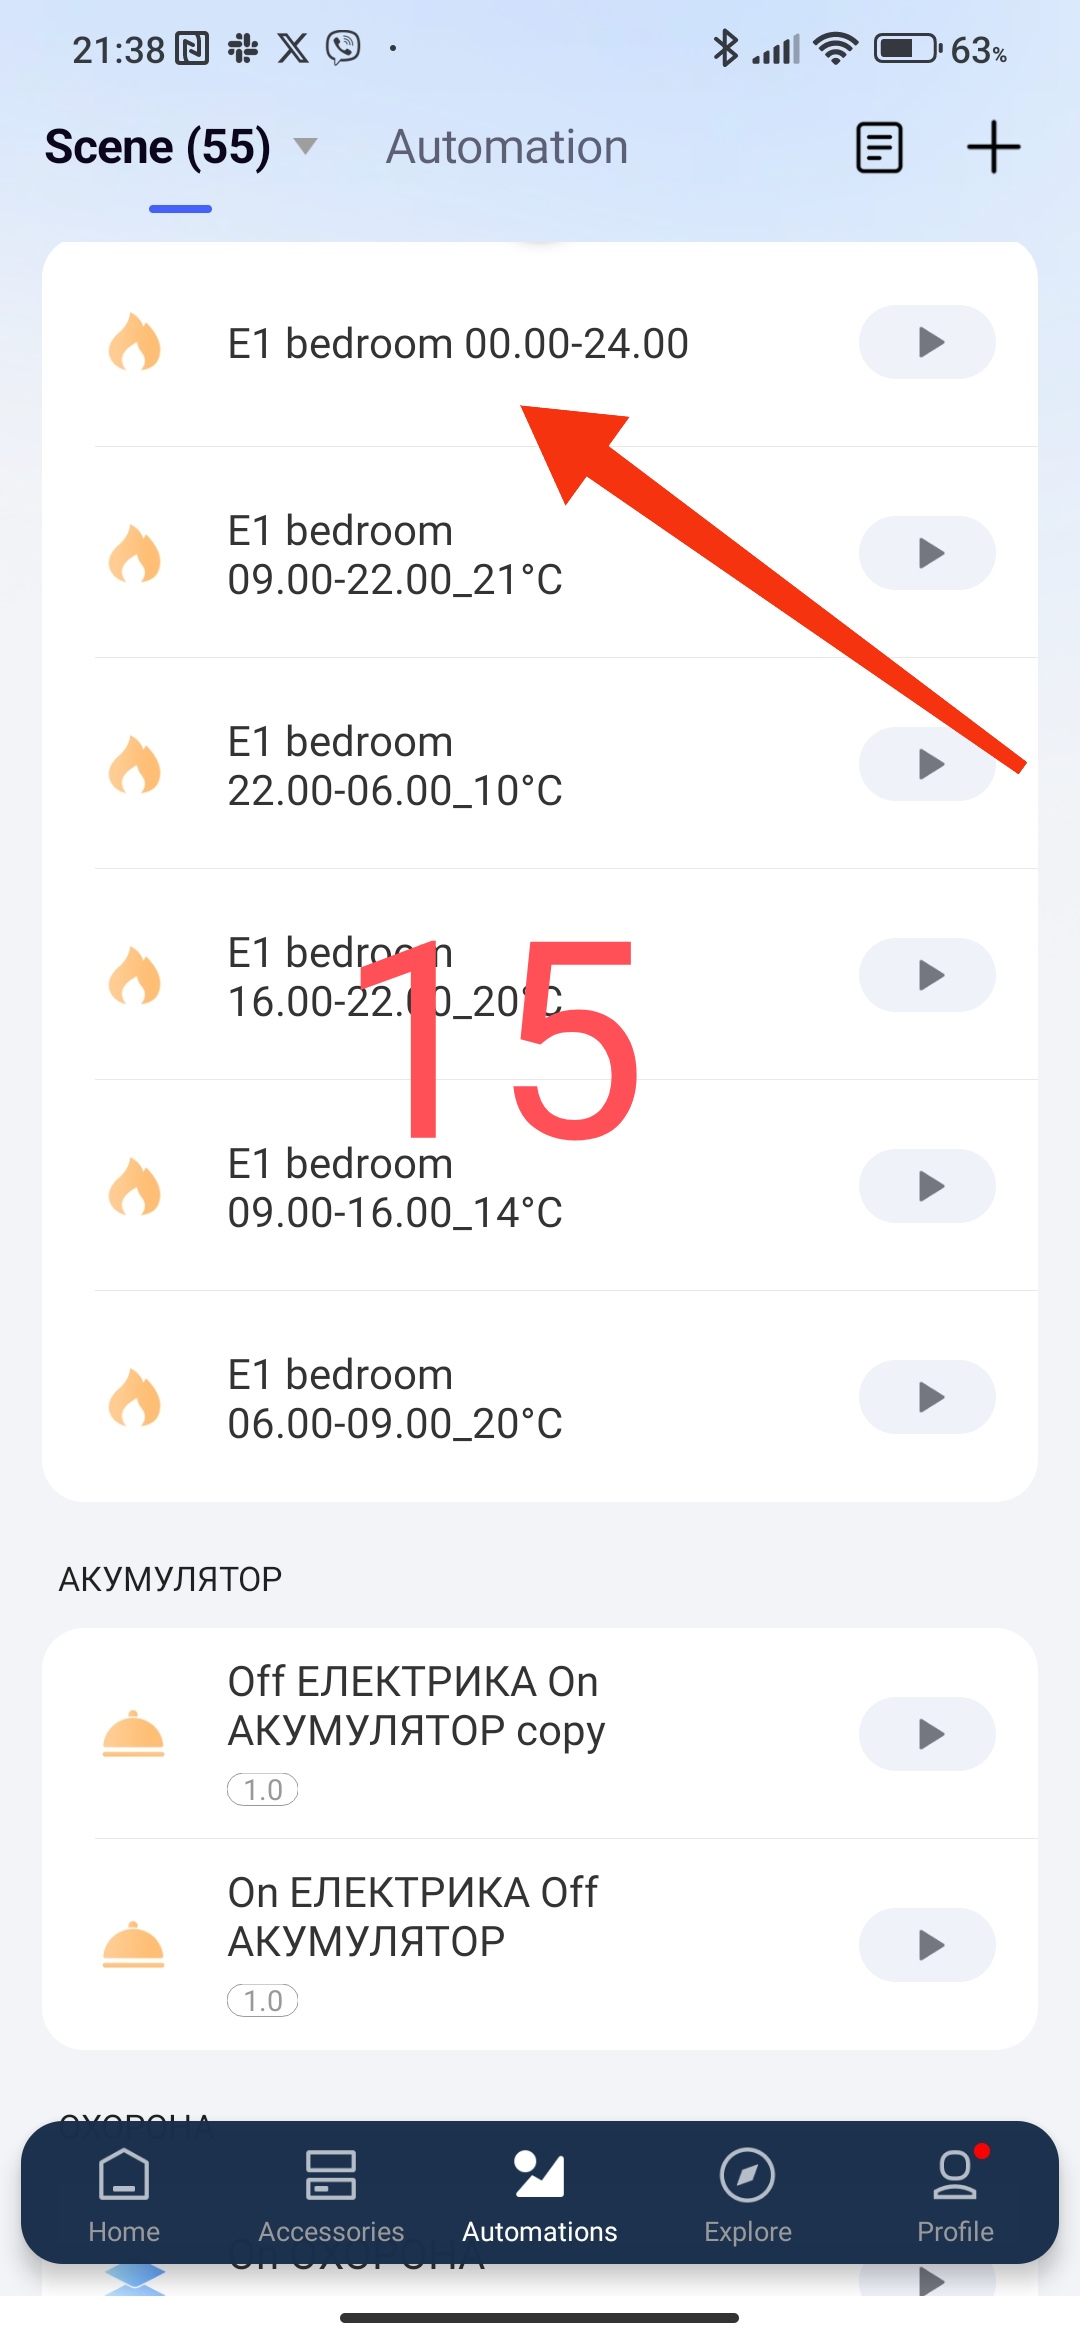
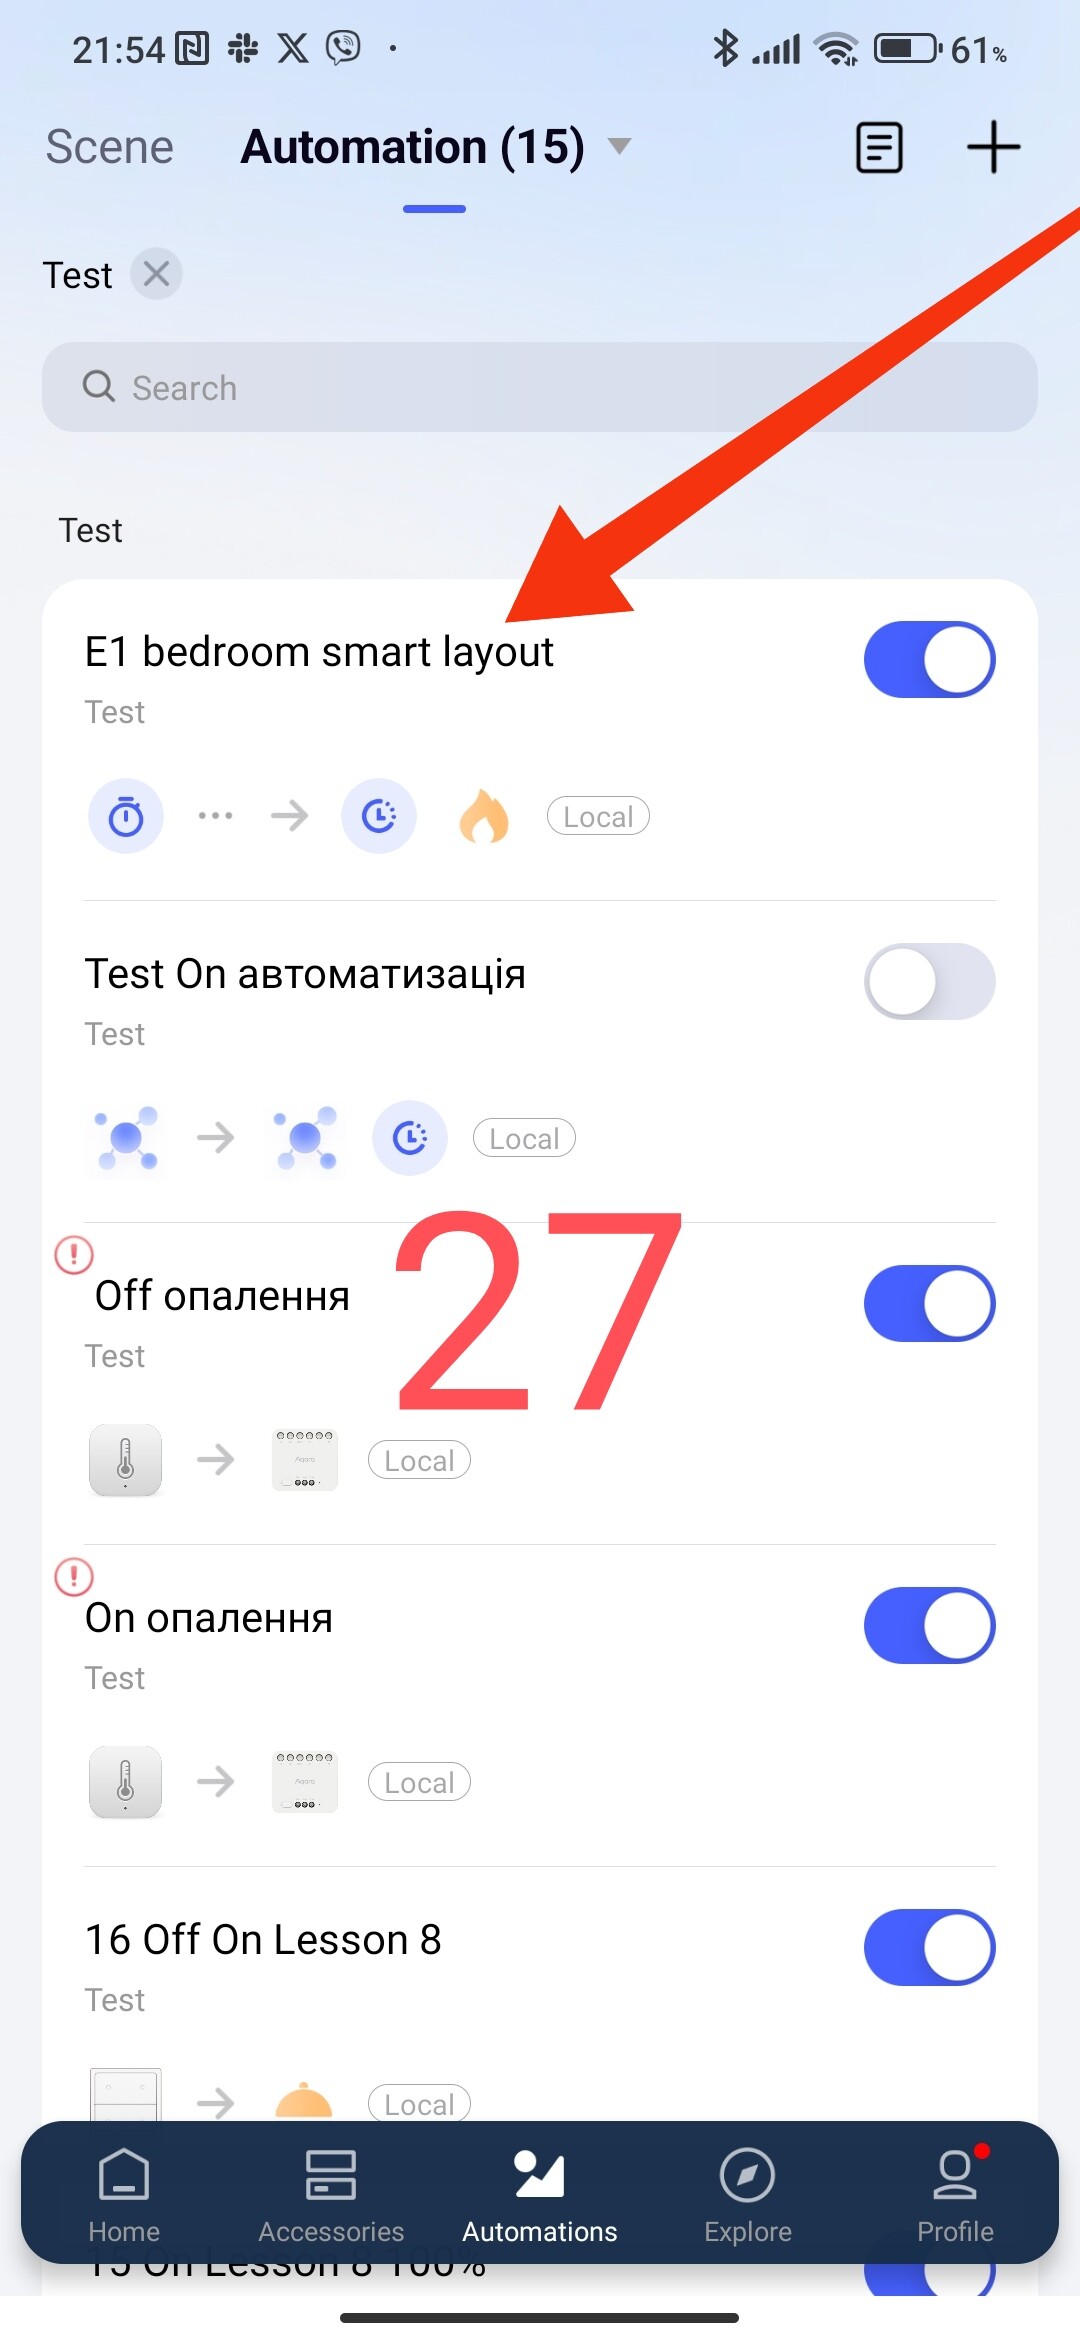
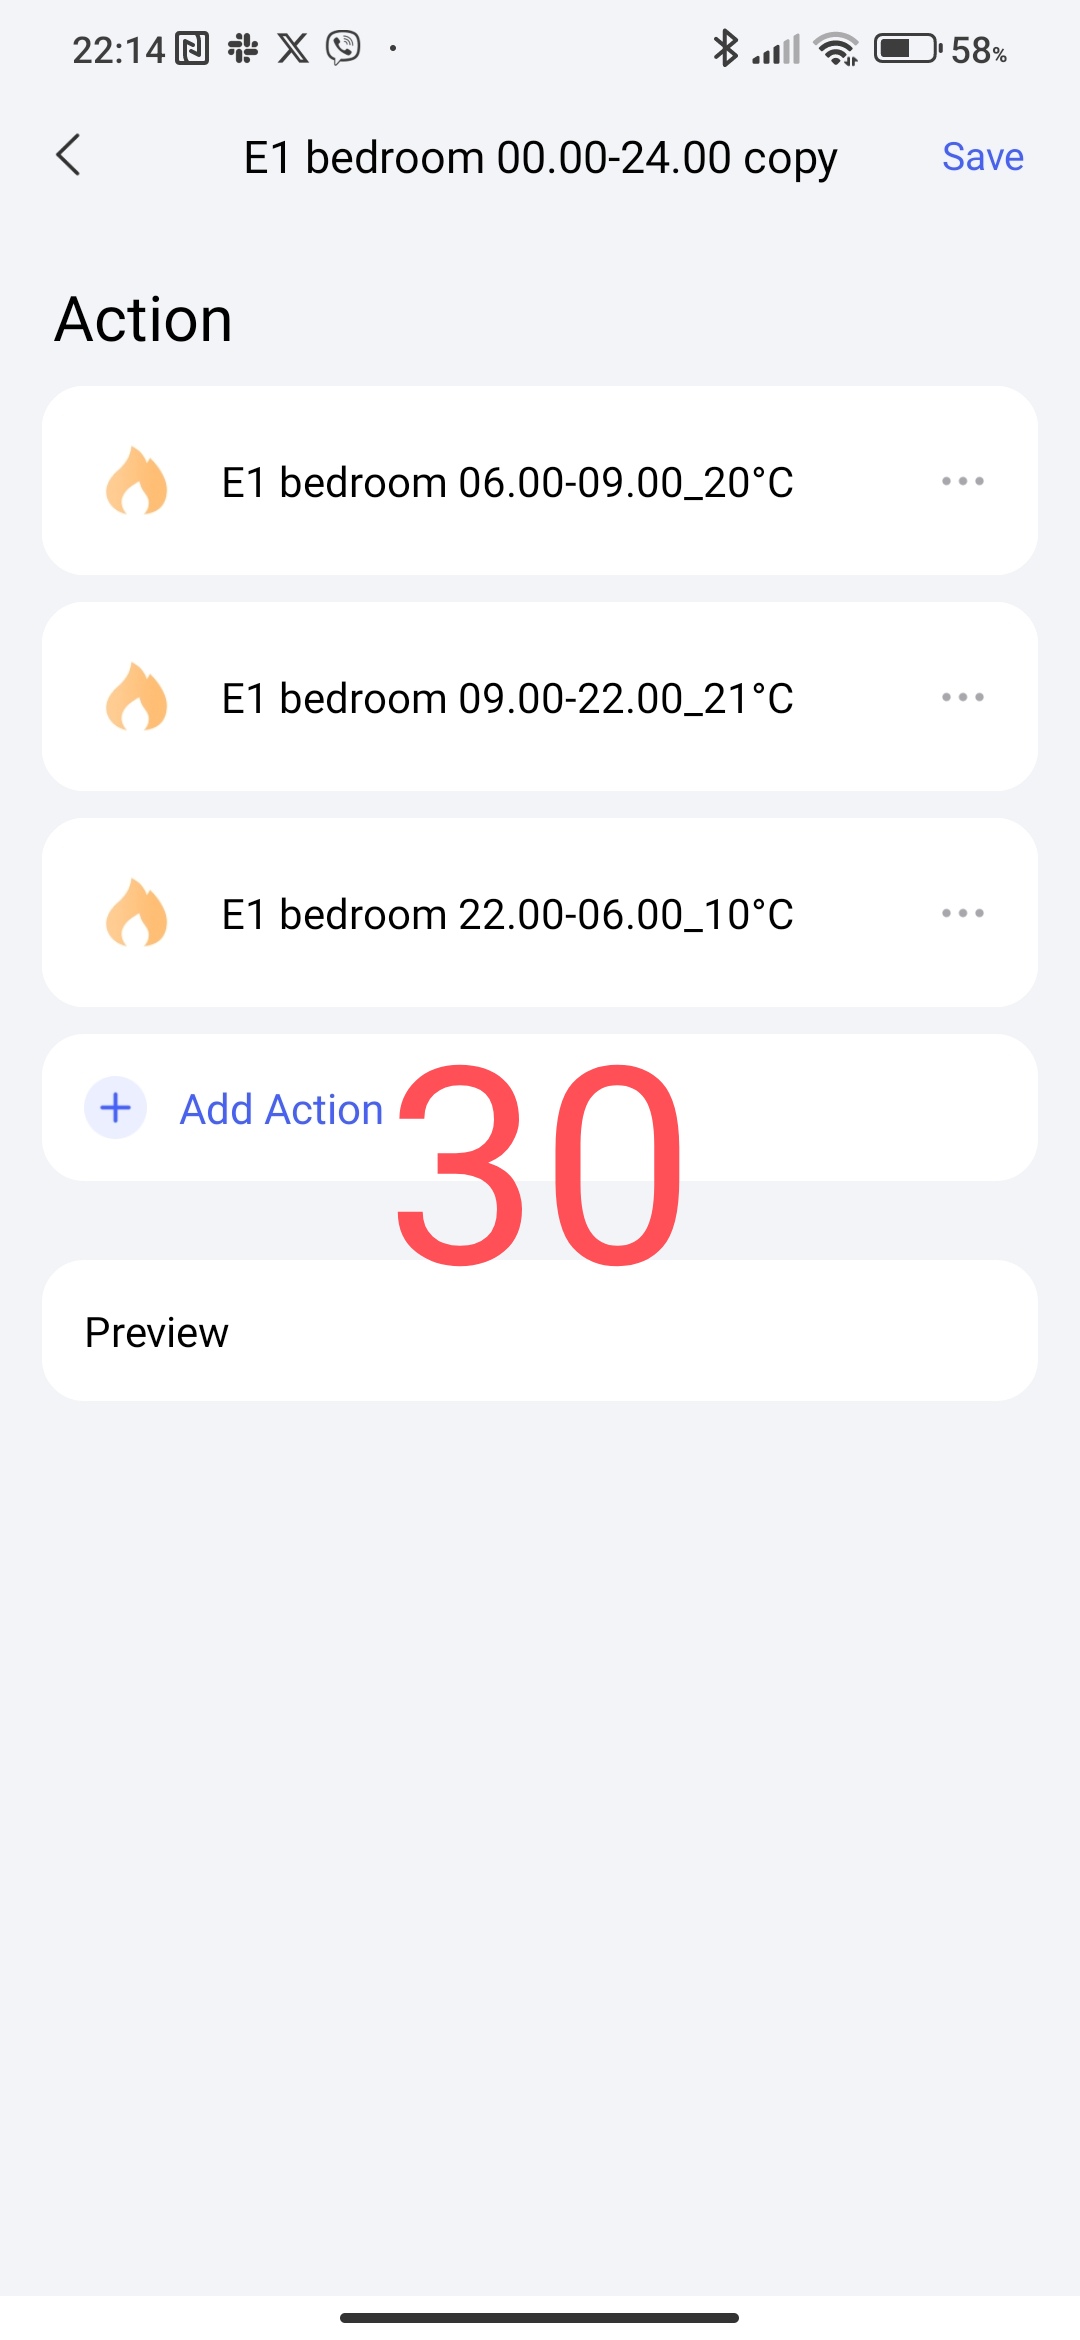
By analogy, we create scenes for the following periods, according to our schedule.
Fig.8
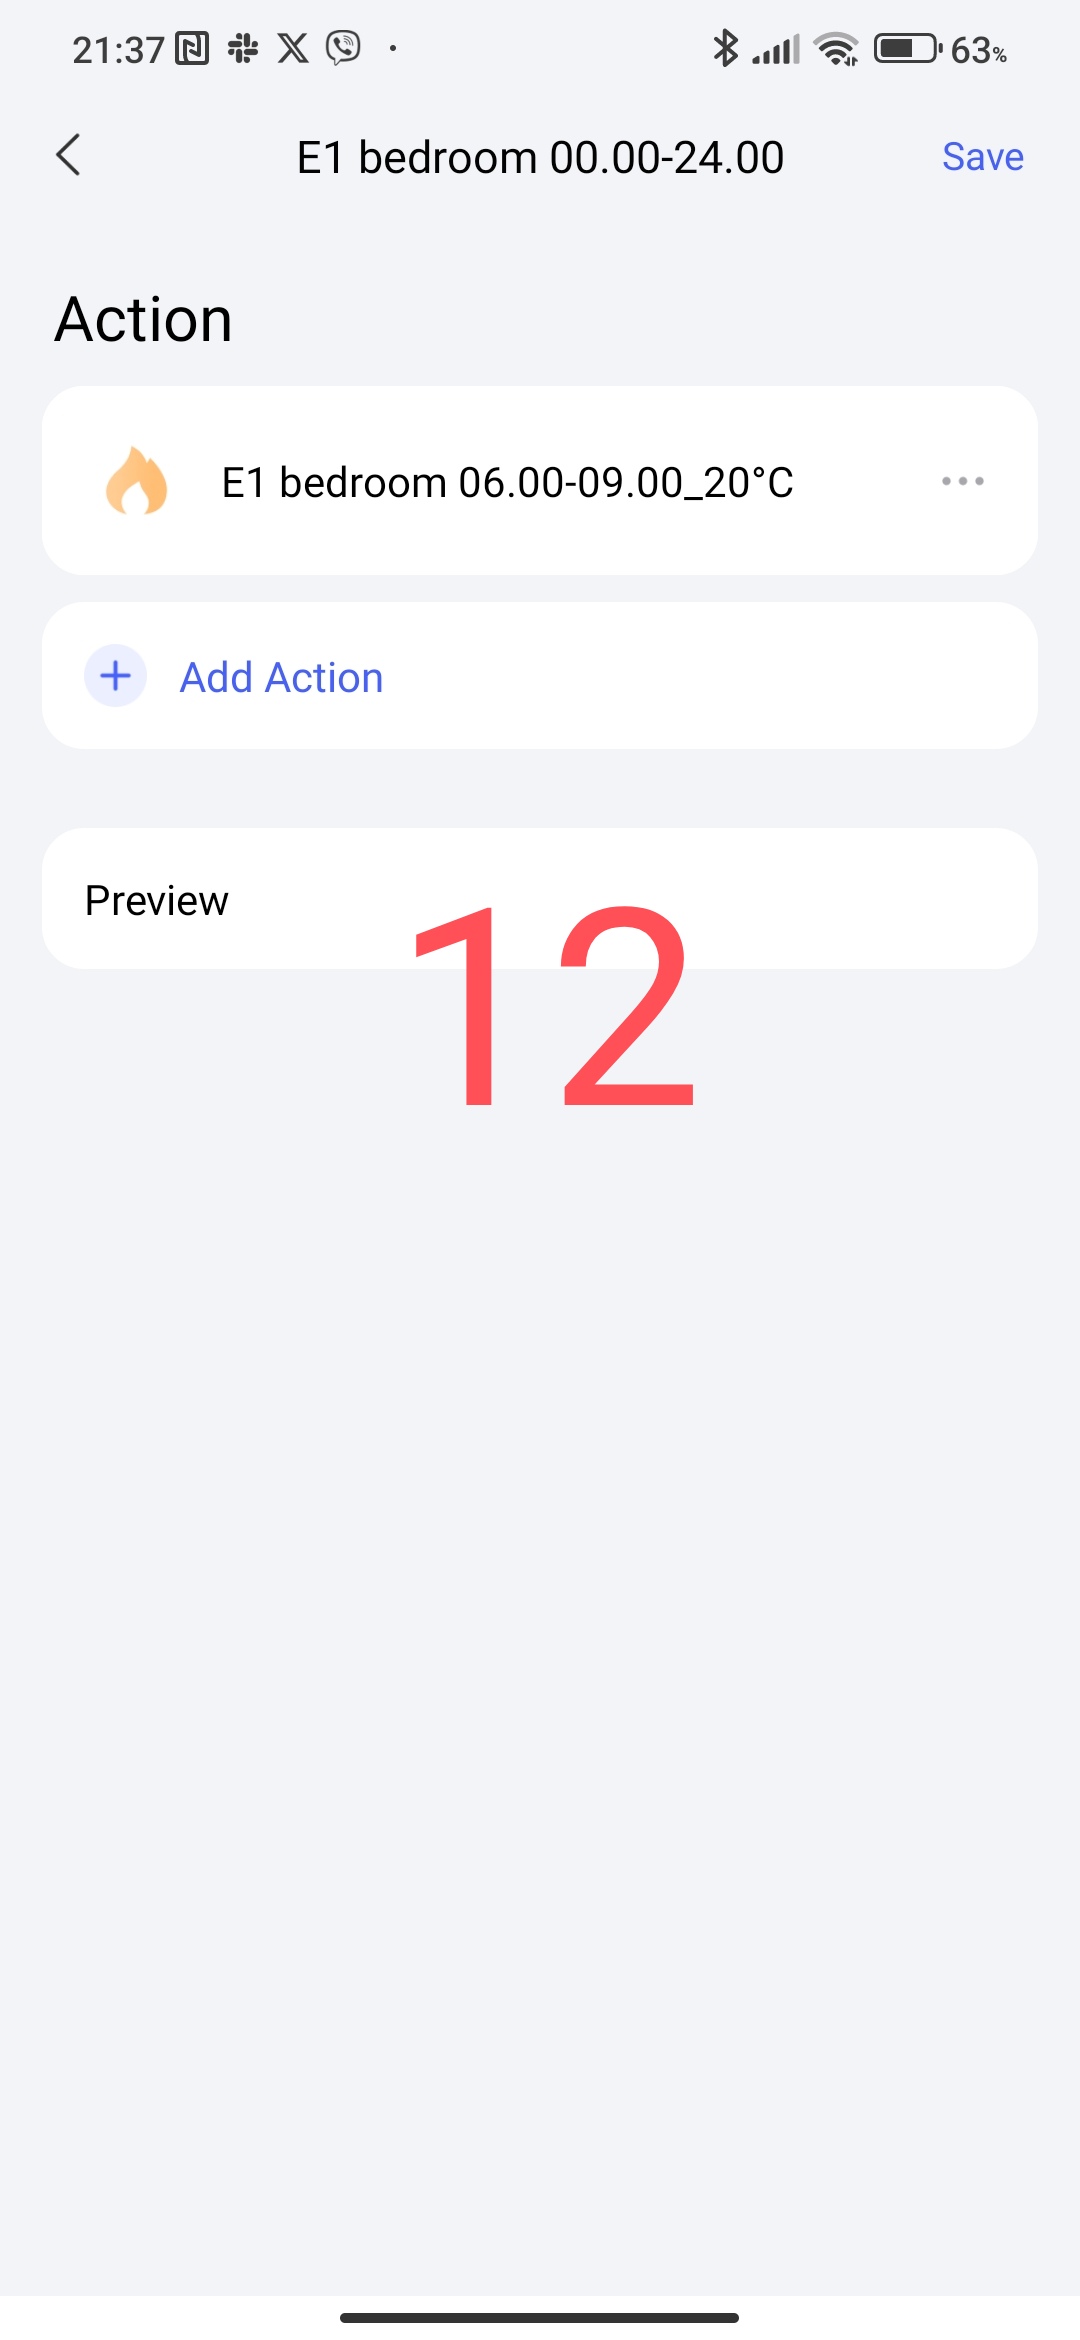
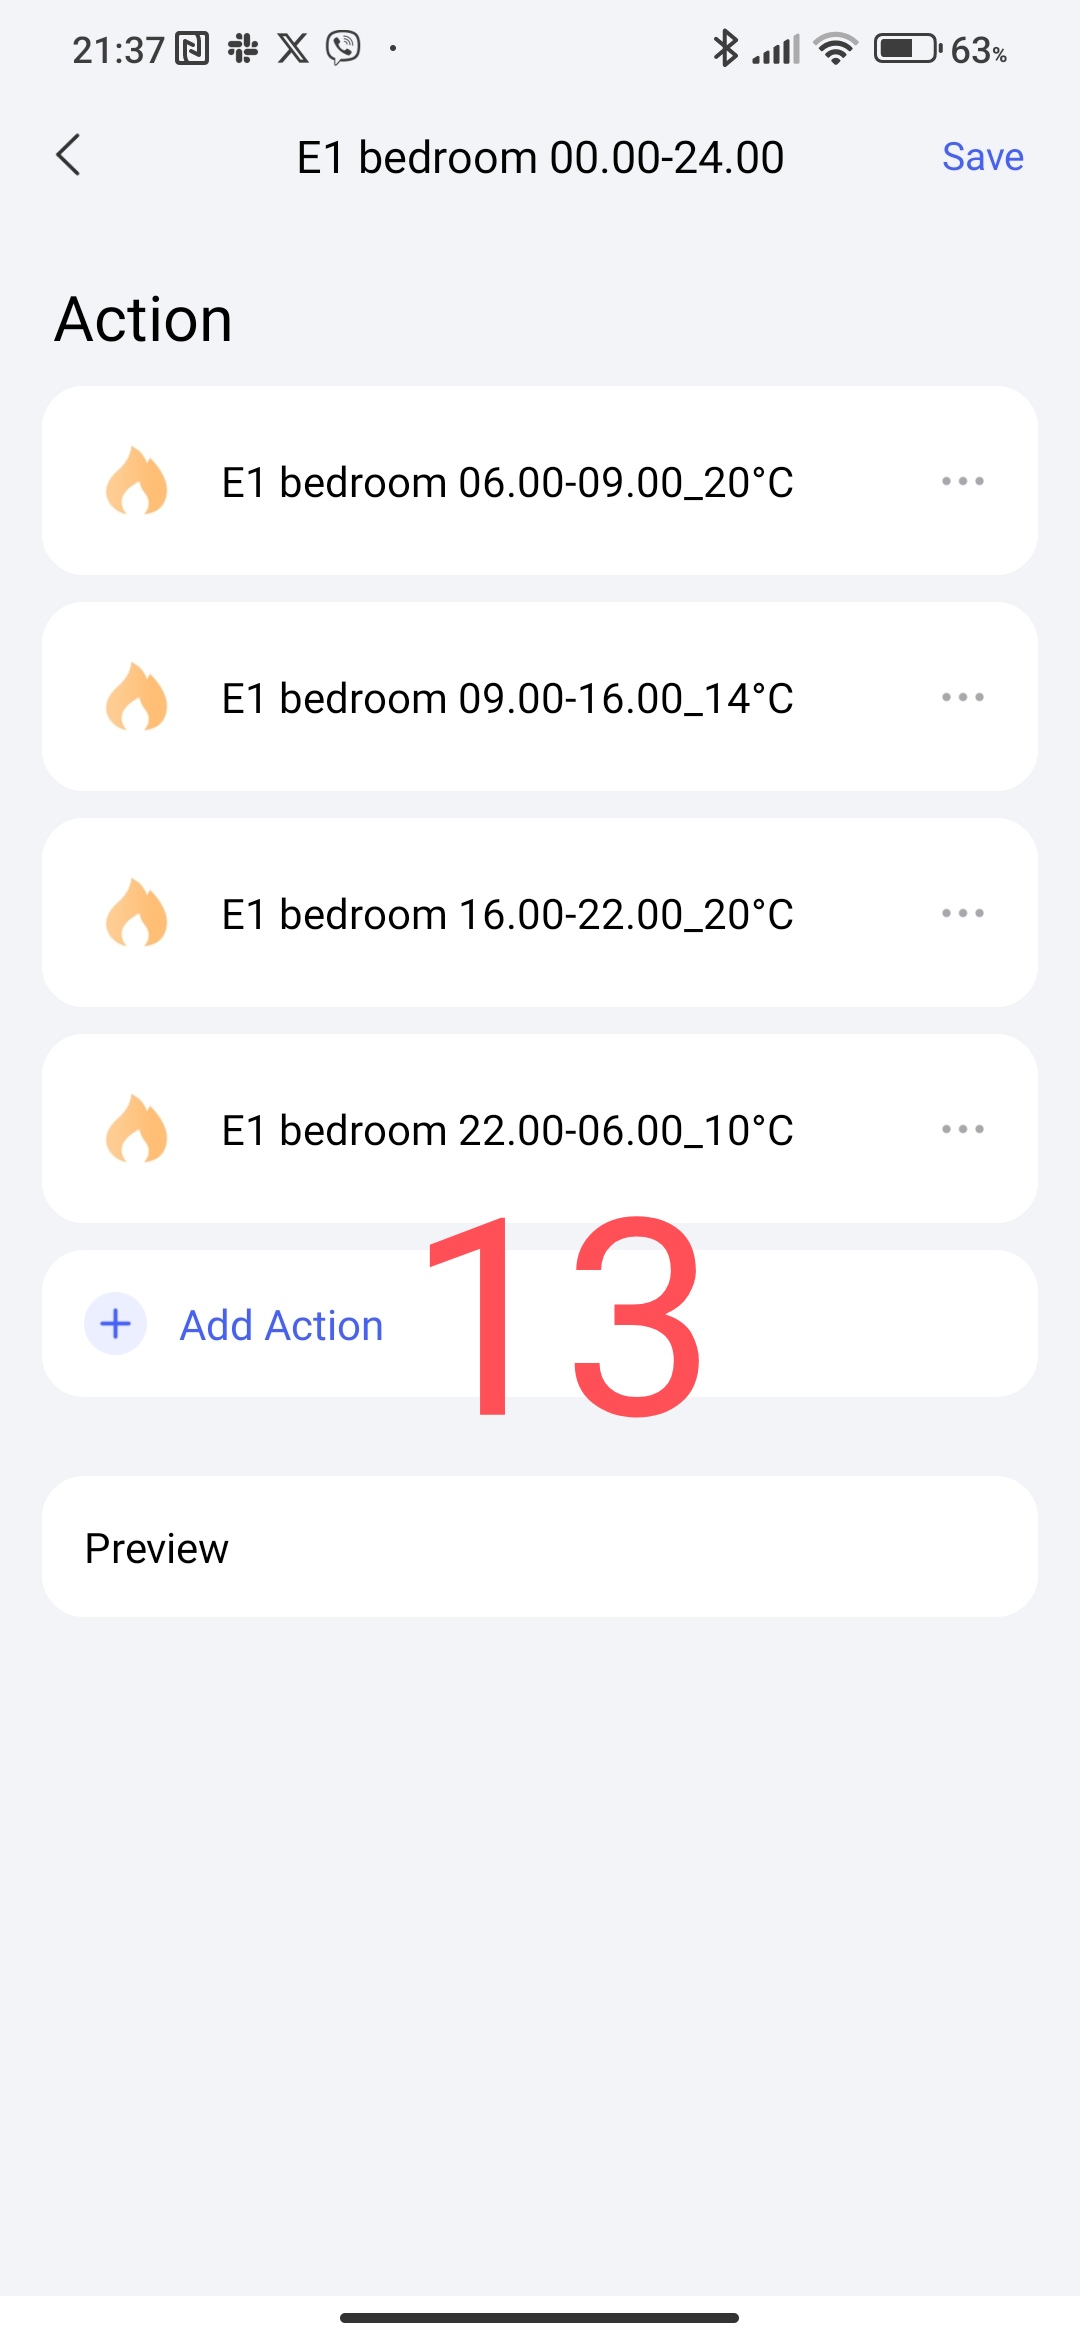
2.Creating a group launch scenario.
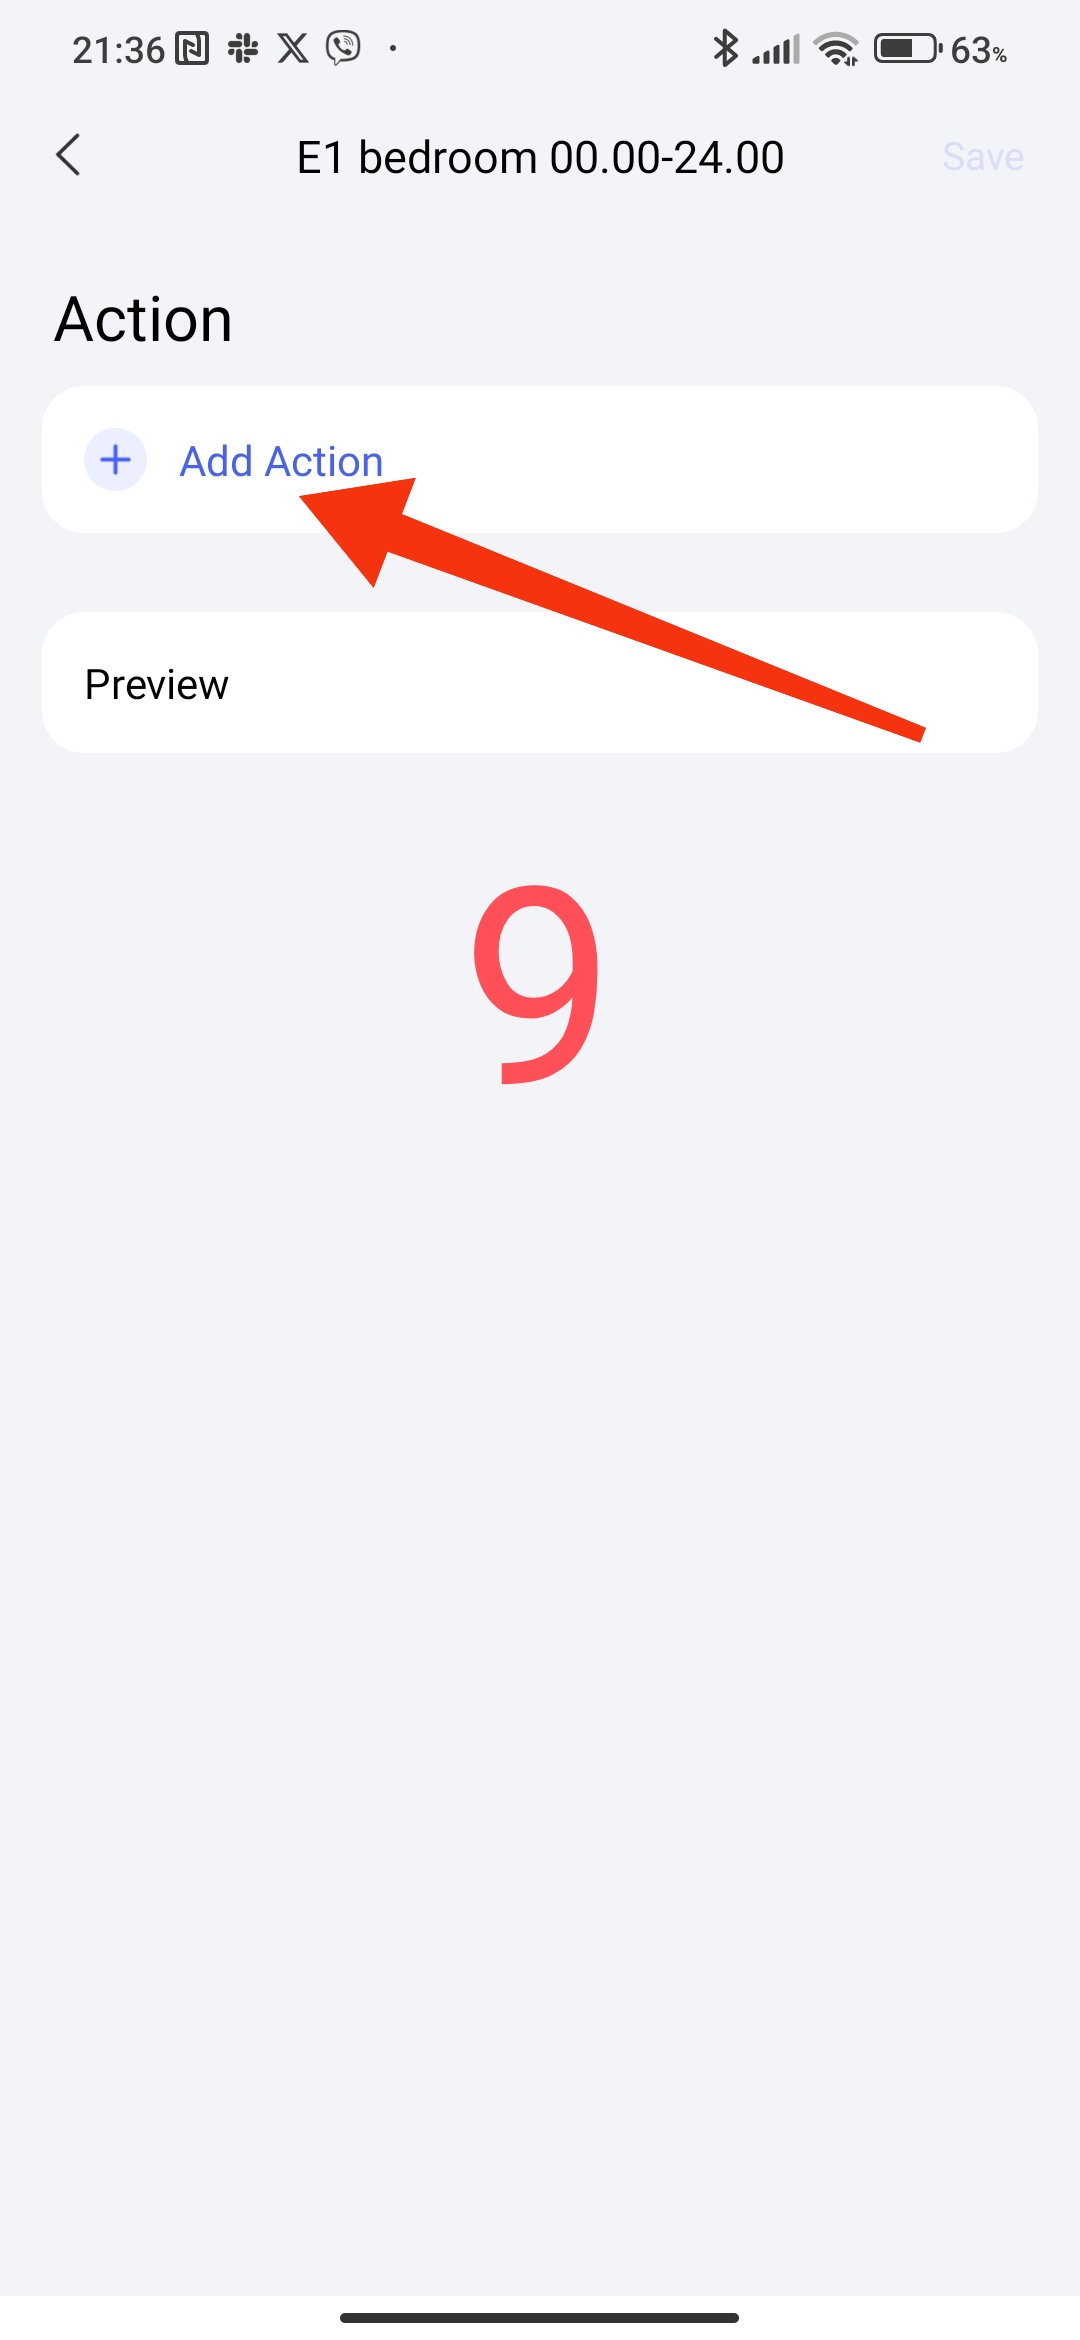
Select the “+” icon in the scenes and select “Launch scenario”. We select the scenarios that we created according to our schedule, by time period. Also use “E1 bedroom 00.00-23.59” for the name, this will systematize your scenarios.
Fig.9,10,11,12,13,14,15
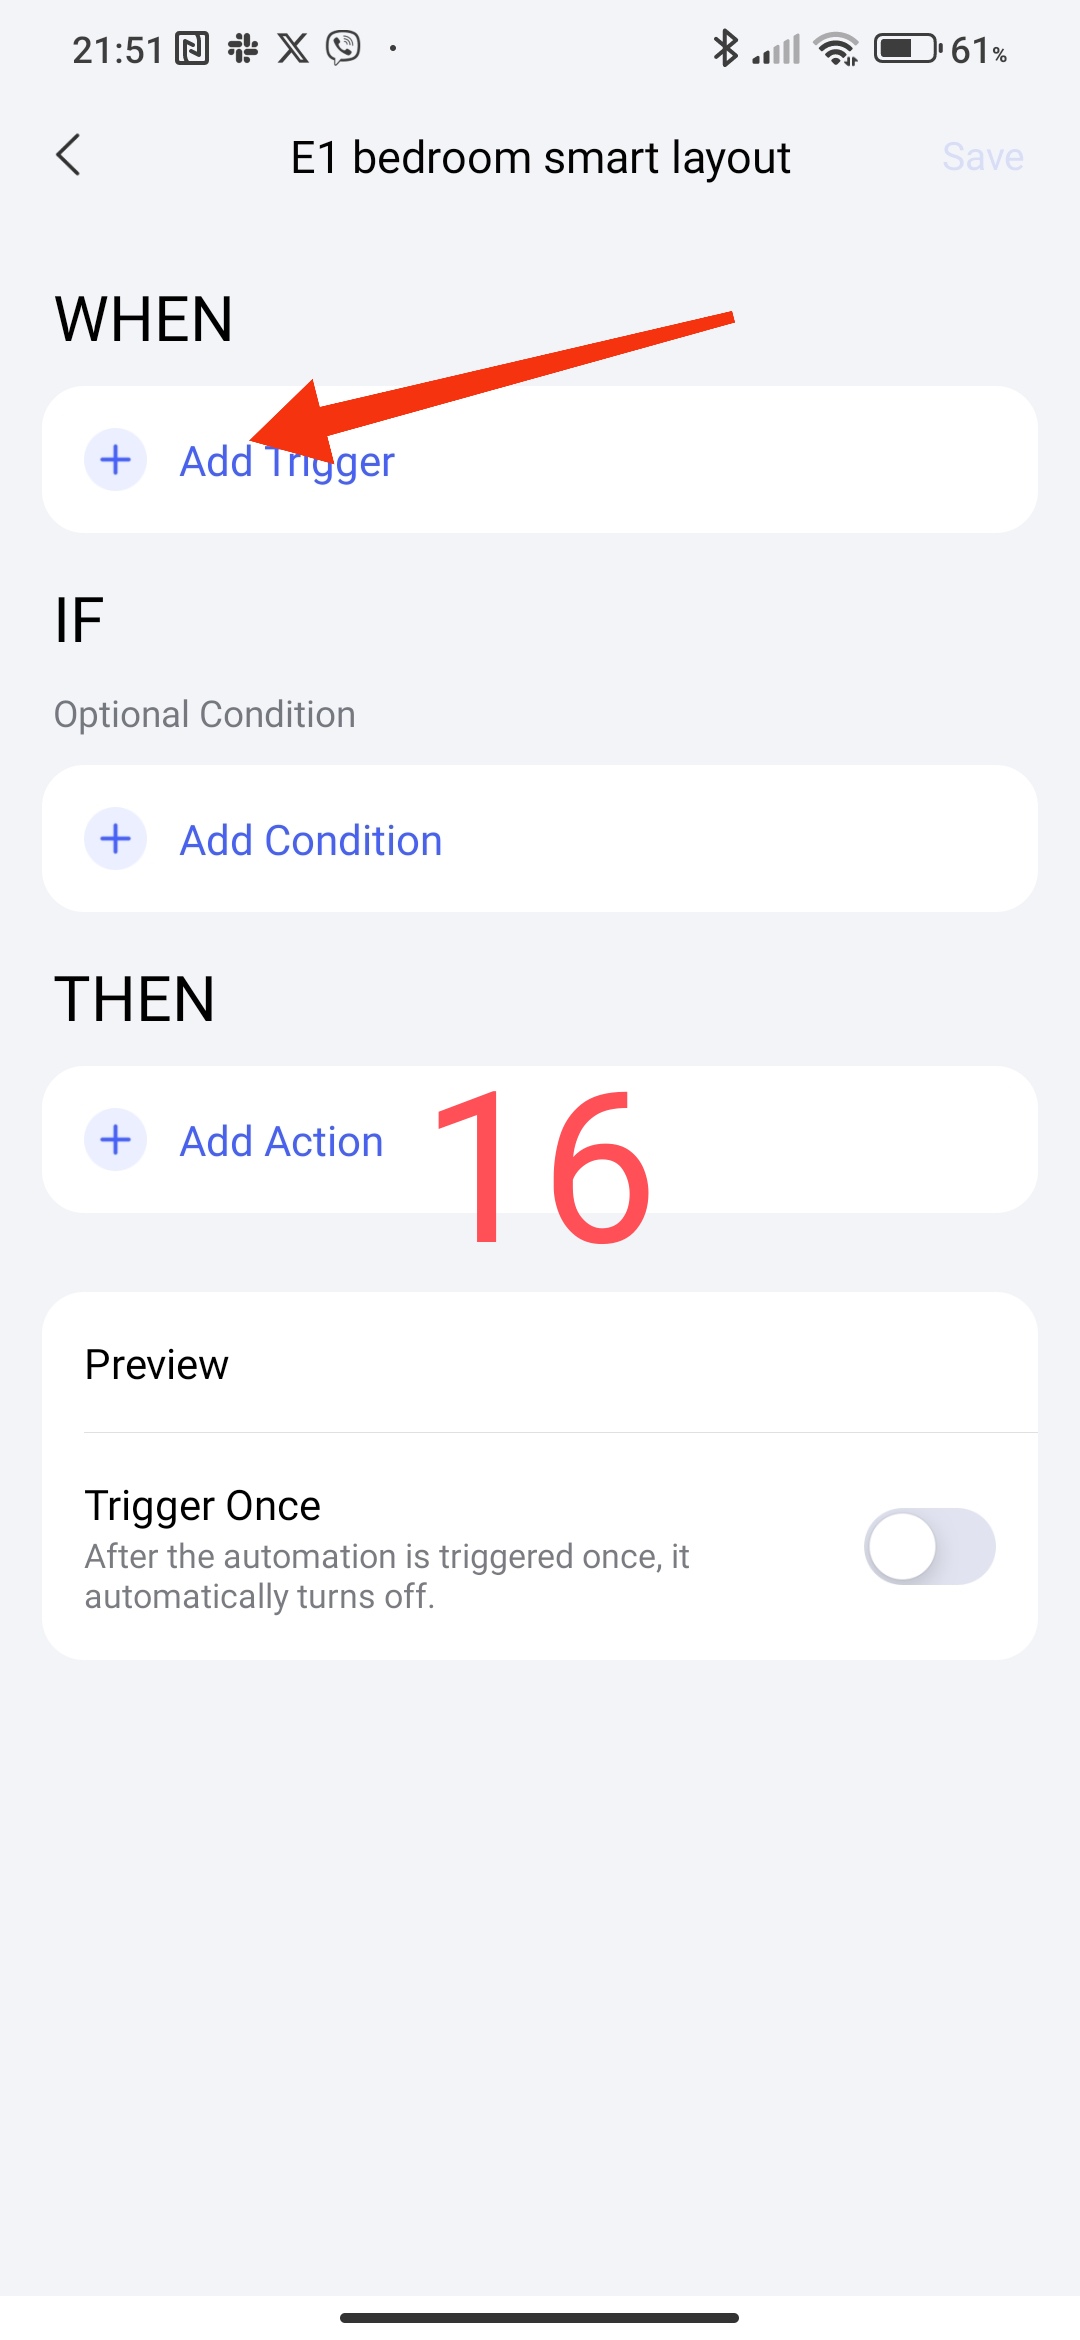
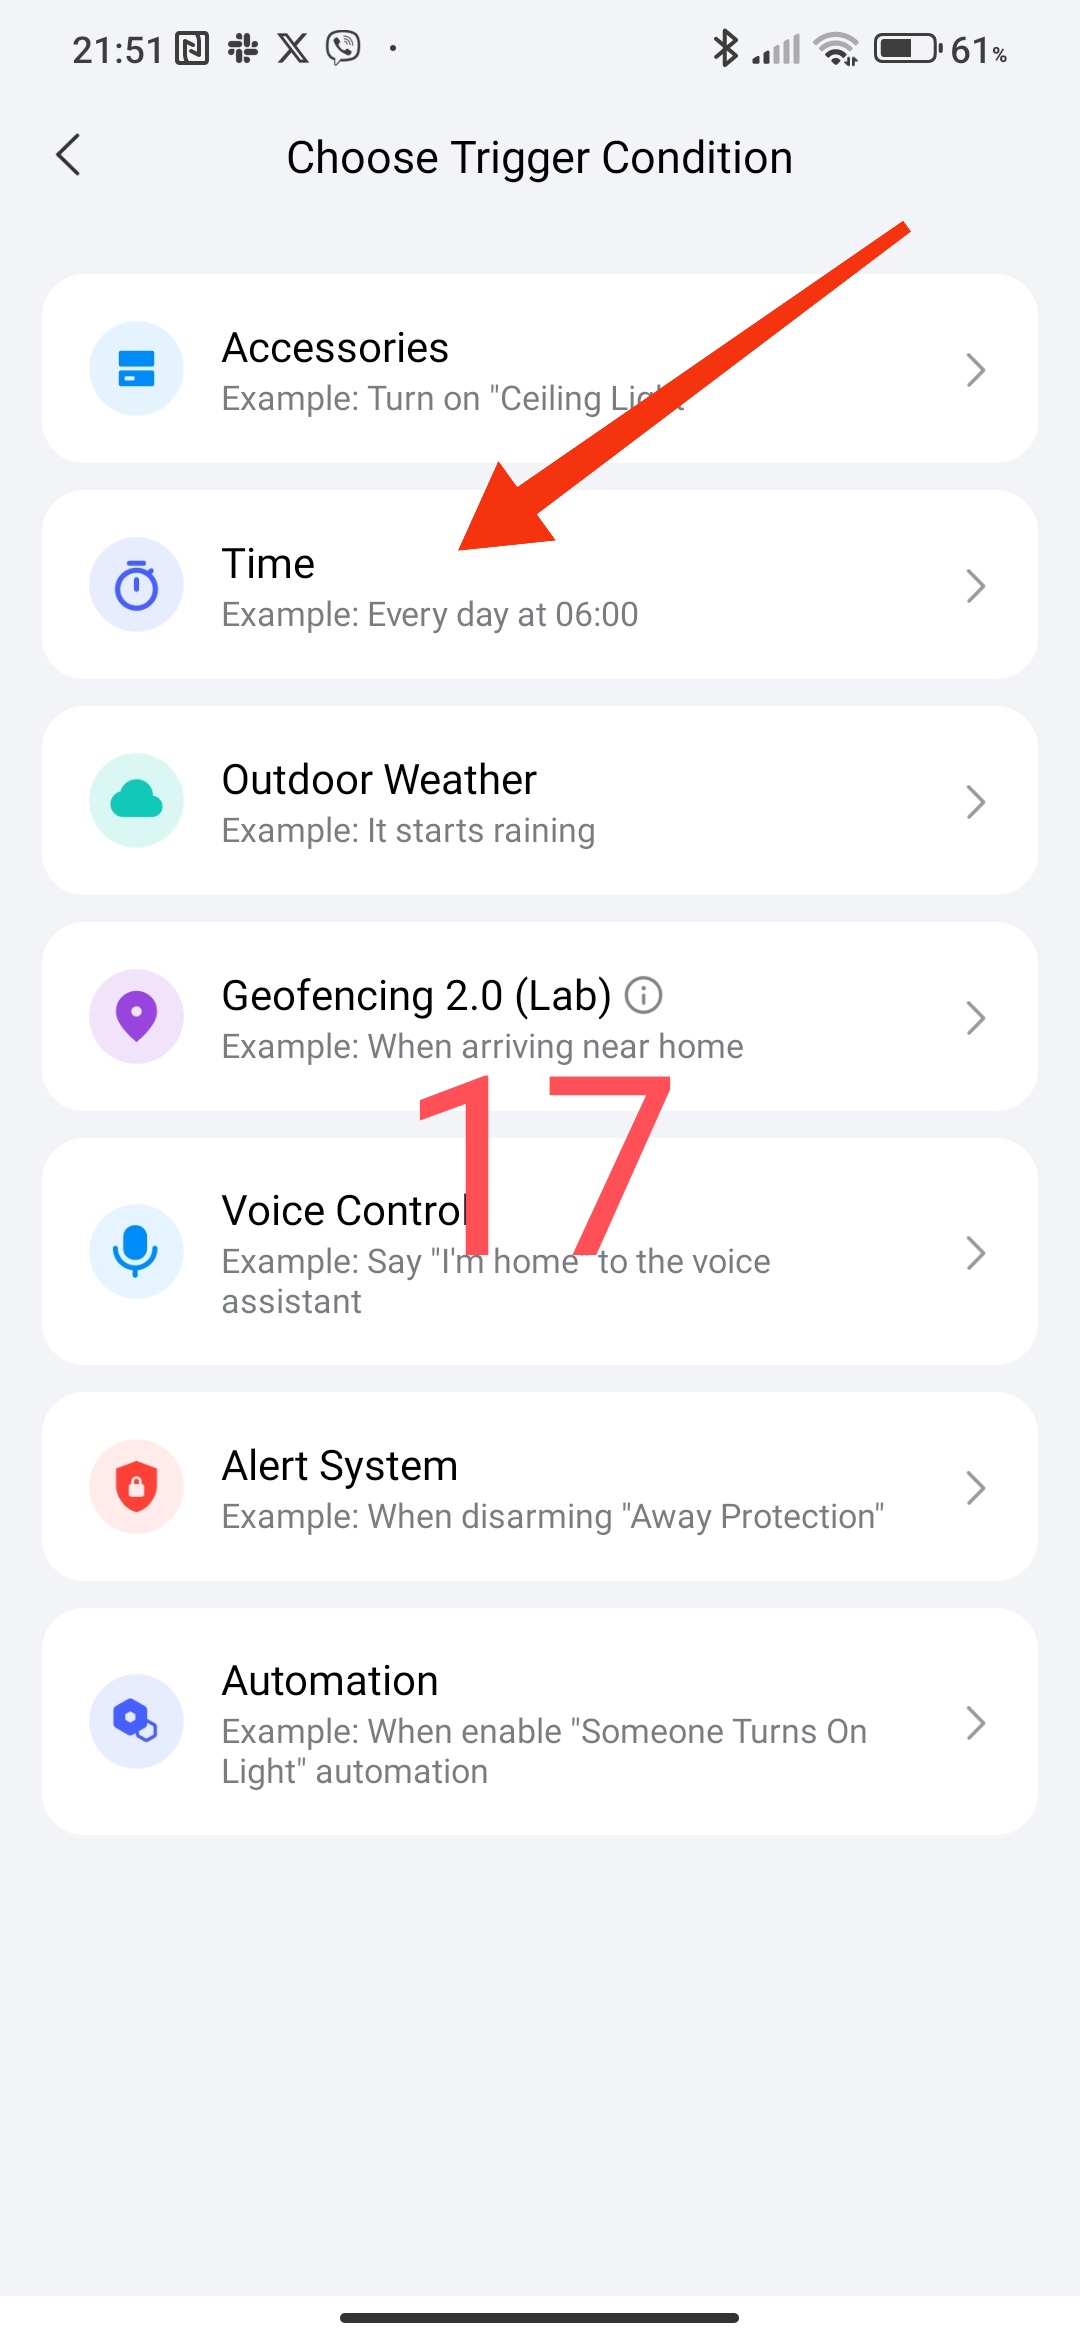
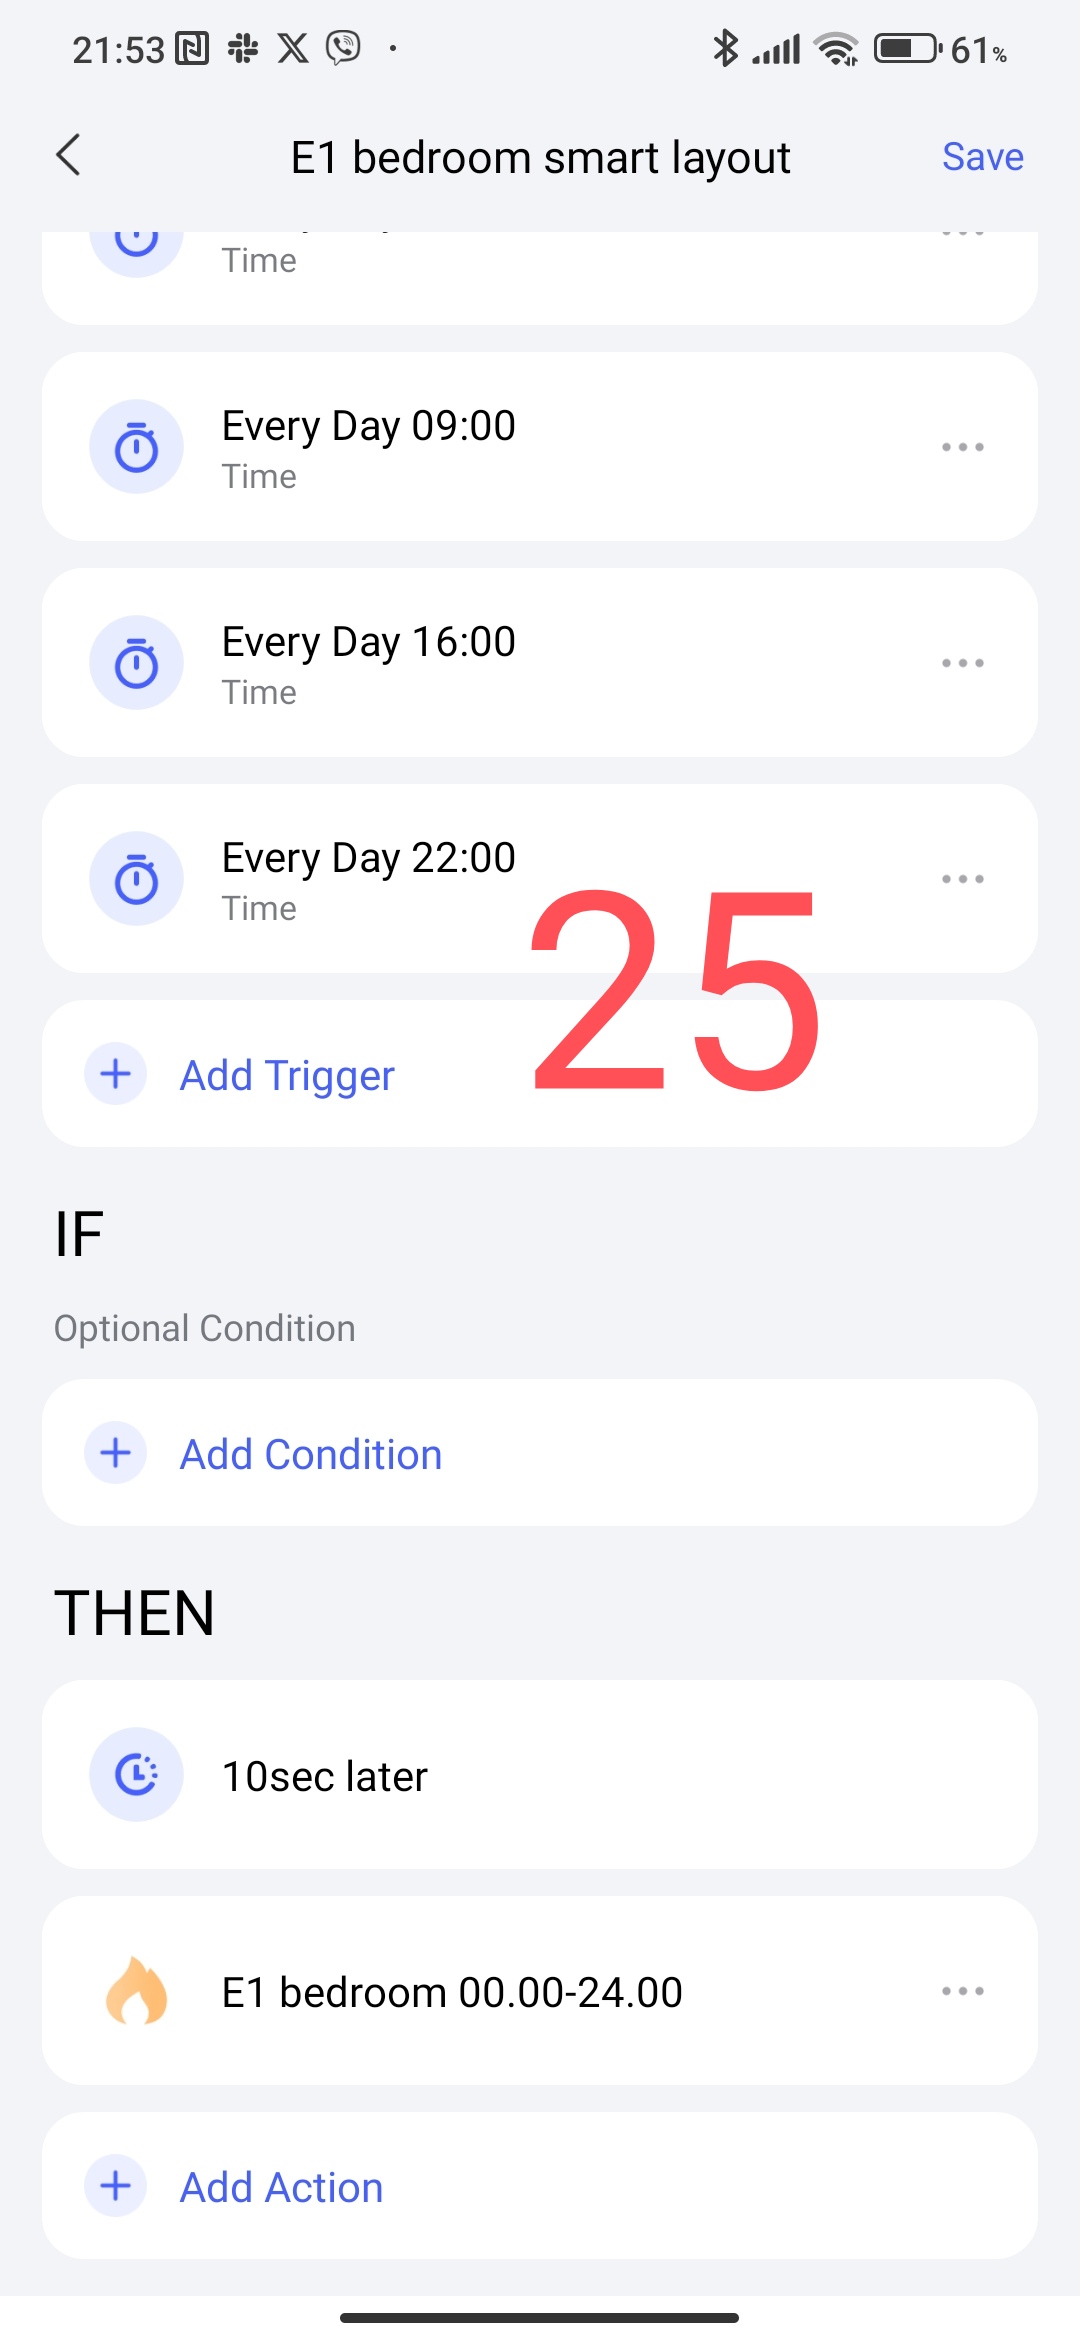
3.Creating a smart schedule based on automation 2.0.
Description of the automation operation. The essence of the work is to launch the scenario at the moment of entering a new temperature control period.
For us, this is the next time according to our schedule 06.00, 09.00, 16.00, 22.00.
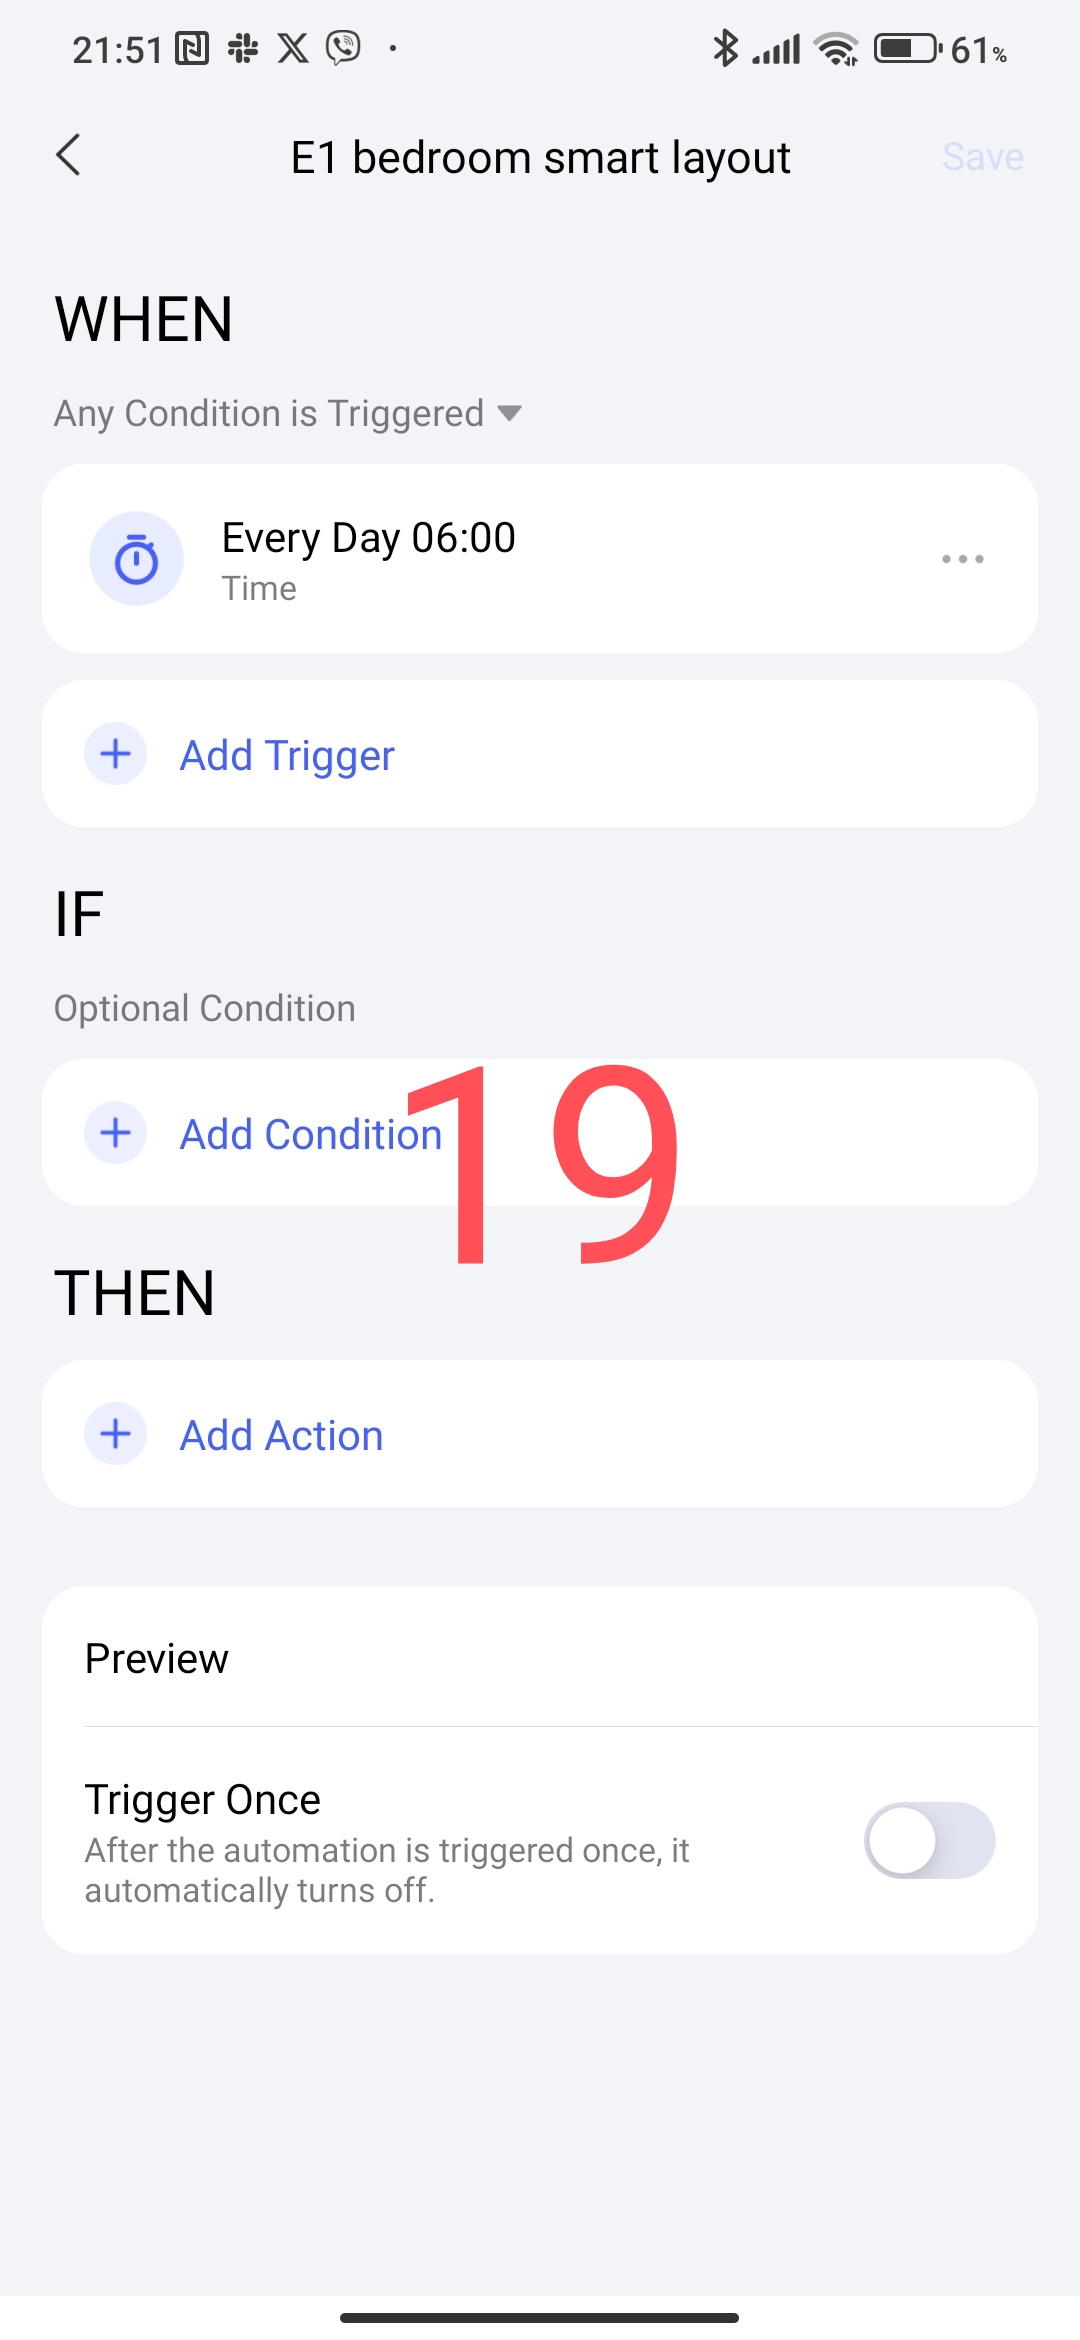
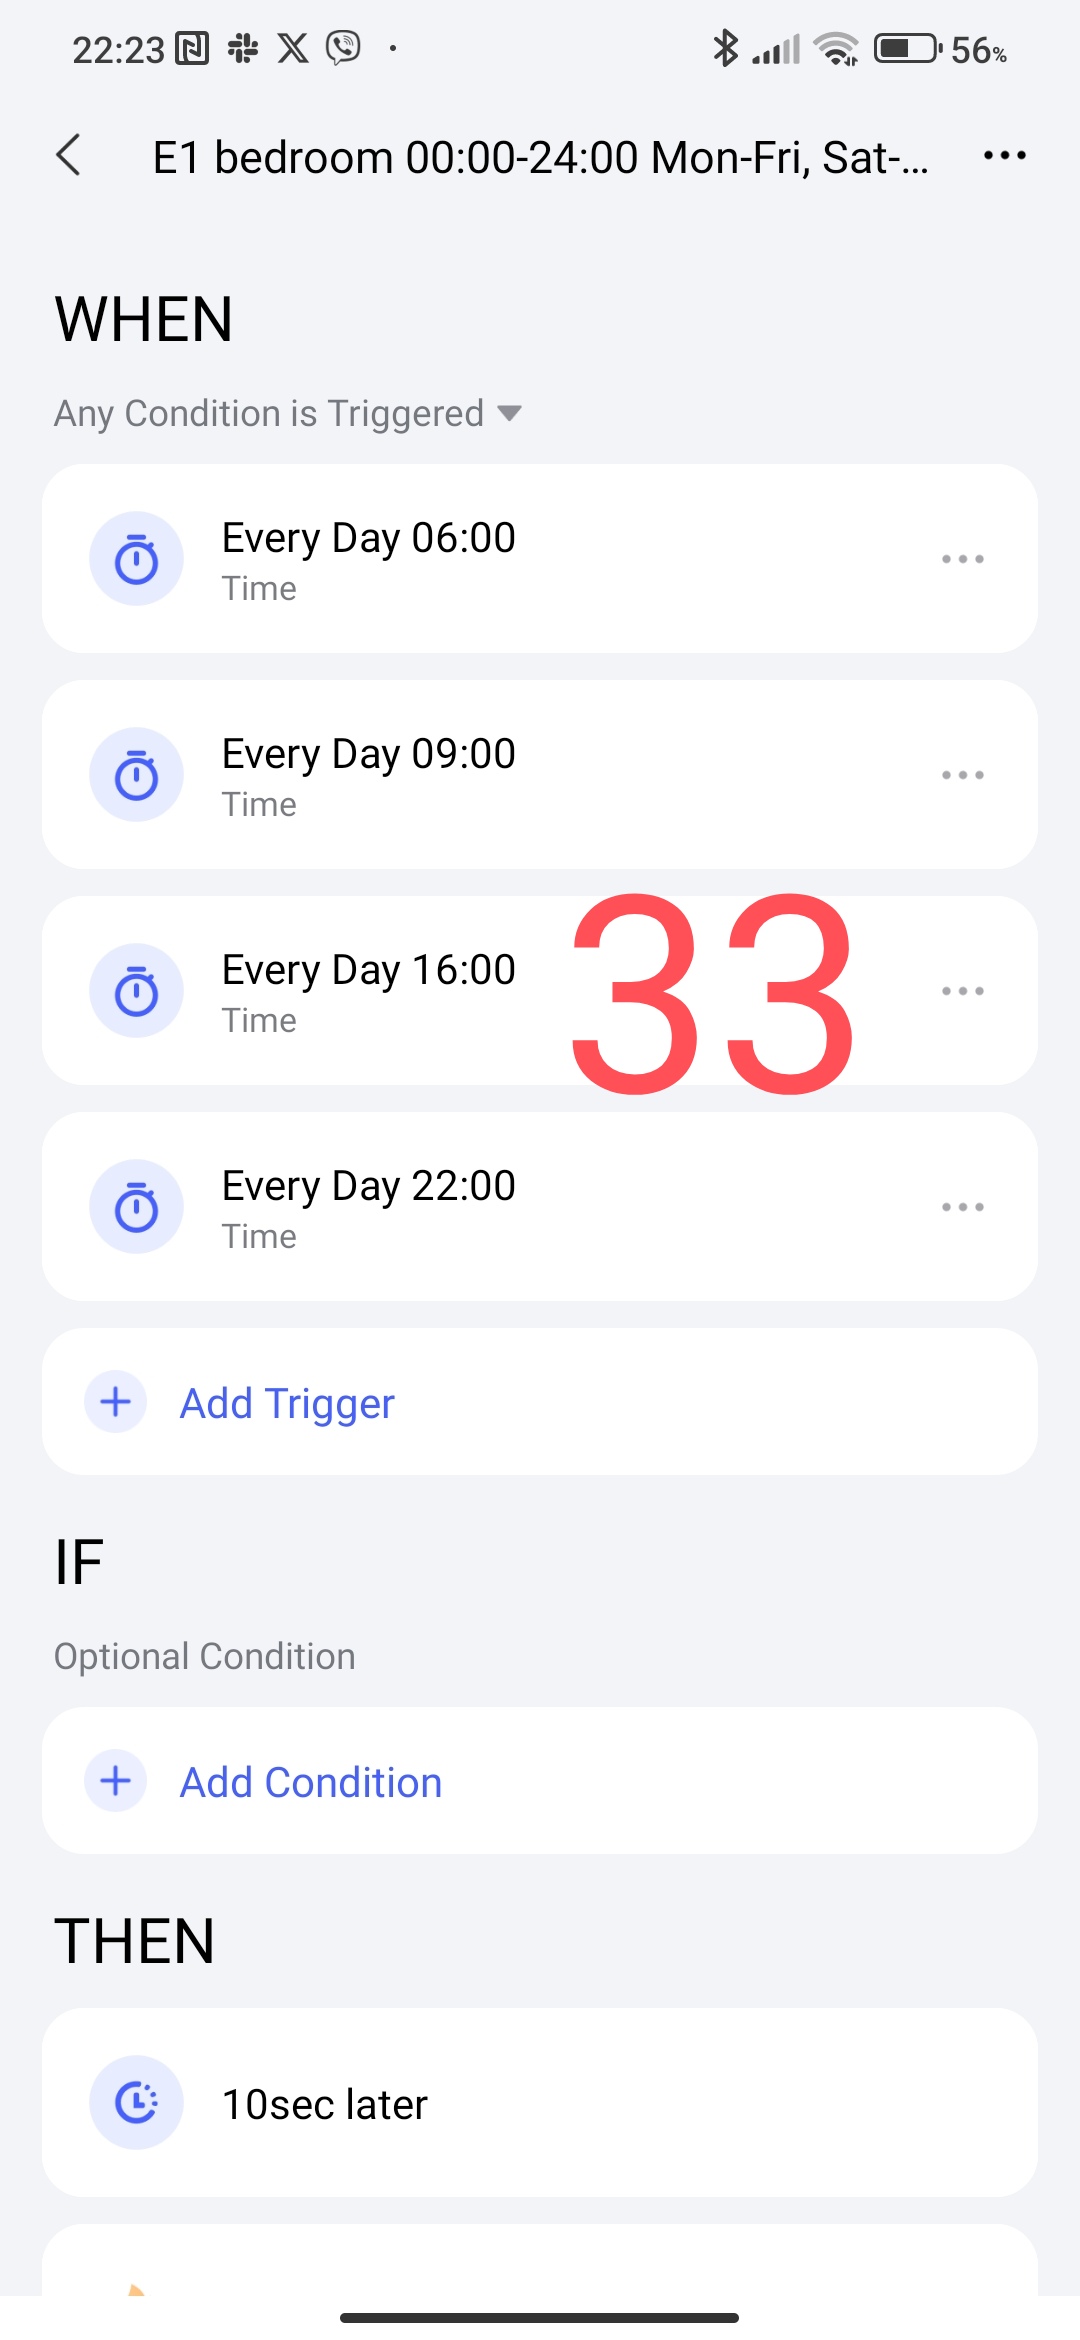
Select the “+” icon in the automations, in the section
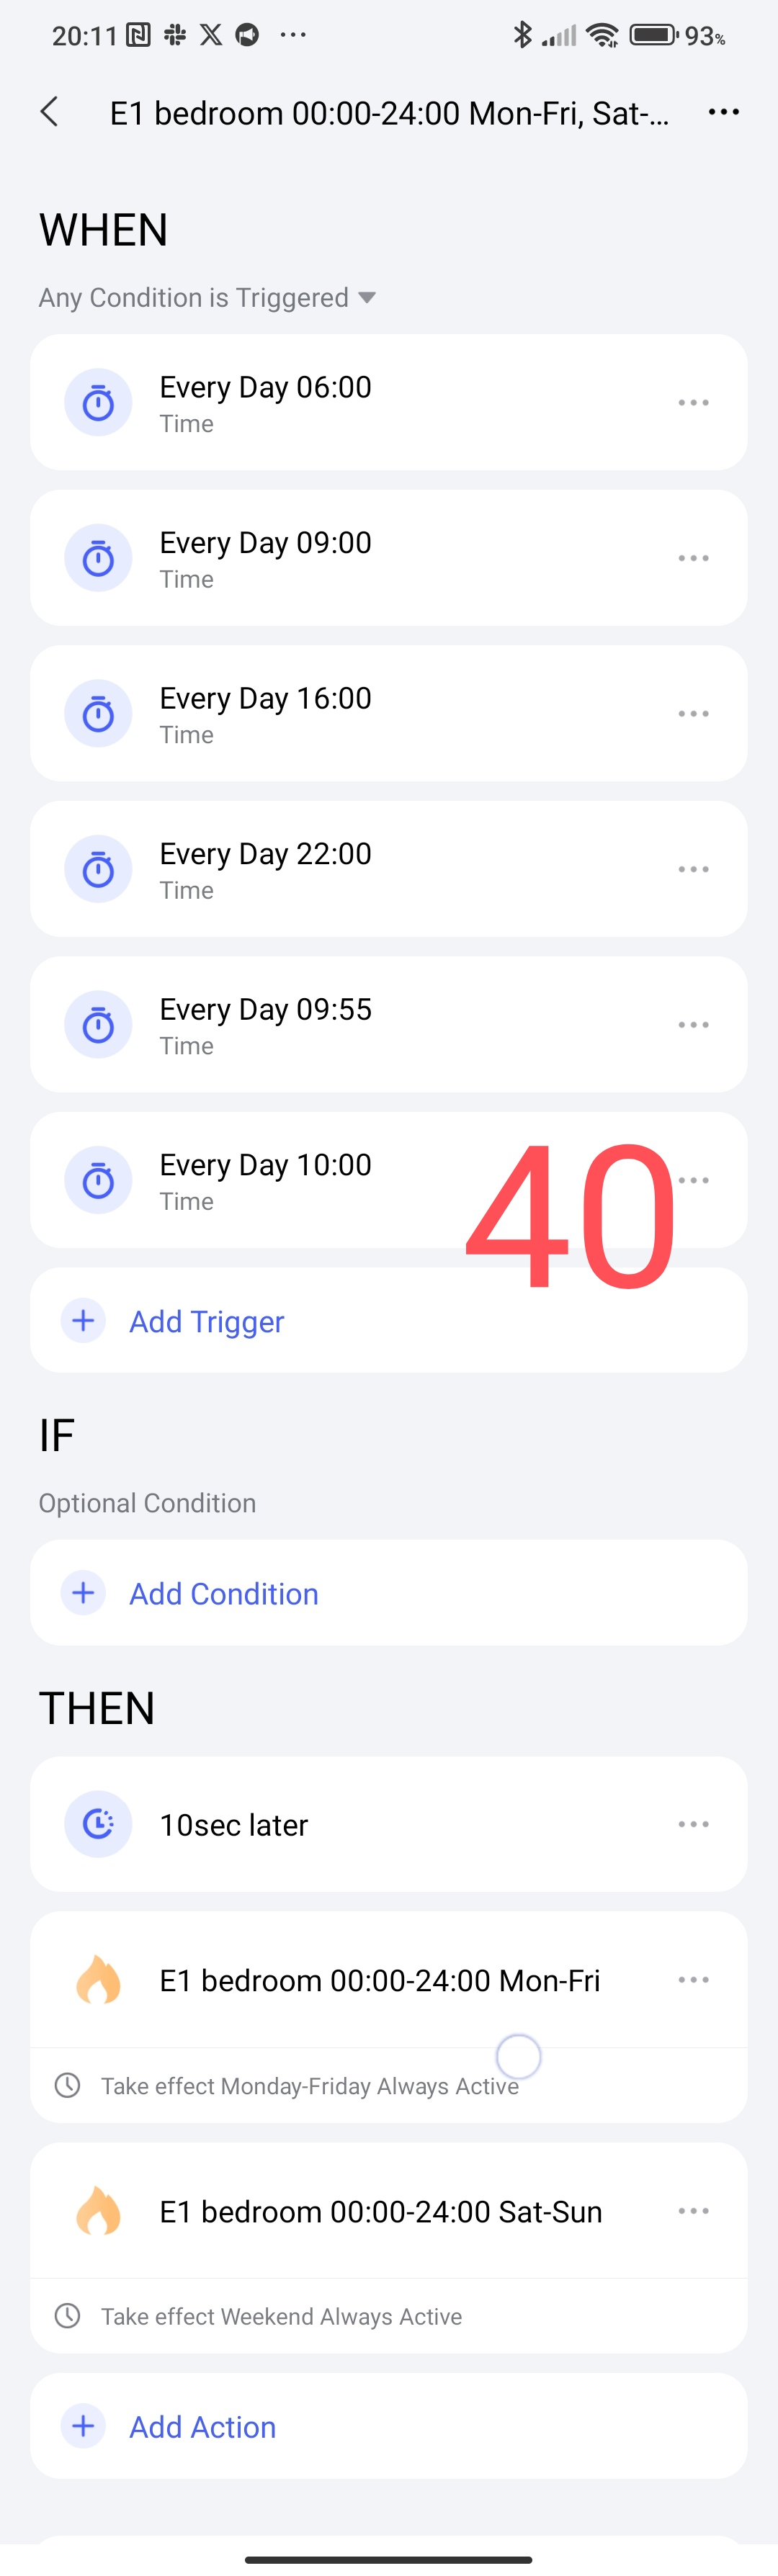
WHEN add
-06.00
-09.00
-16.00
-22.00
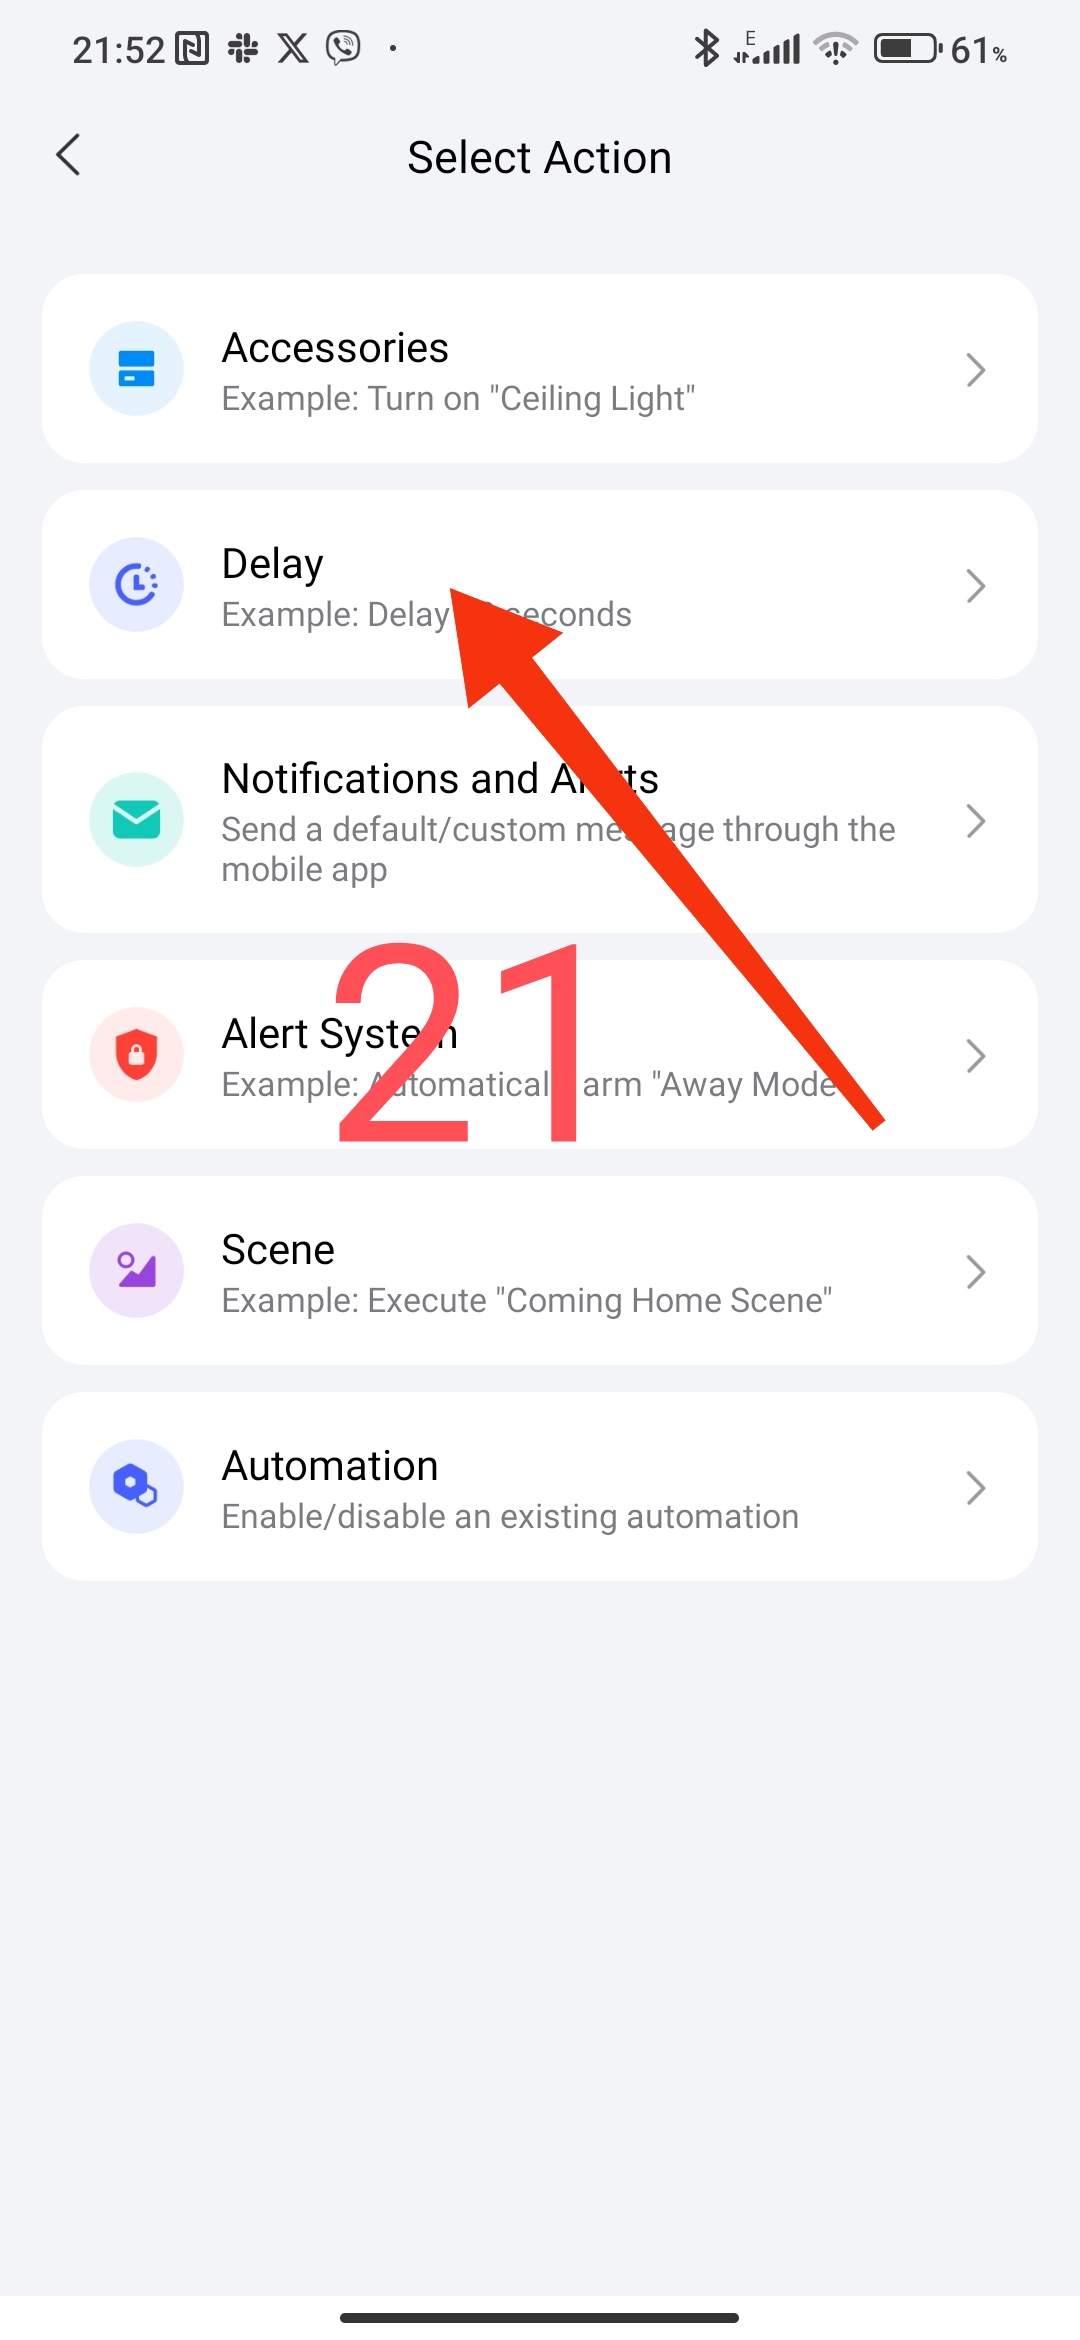
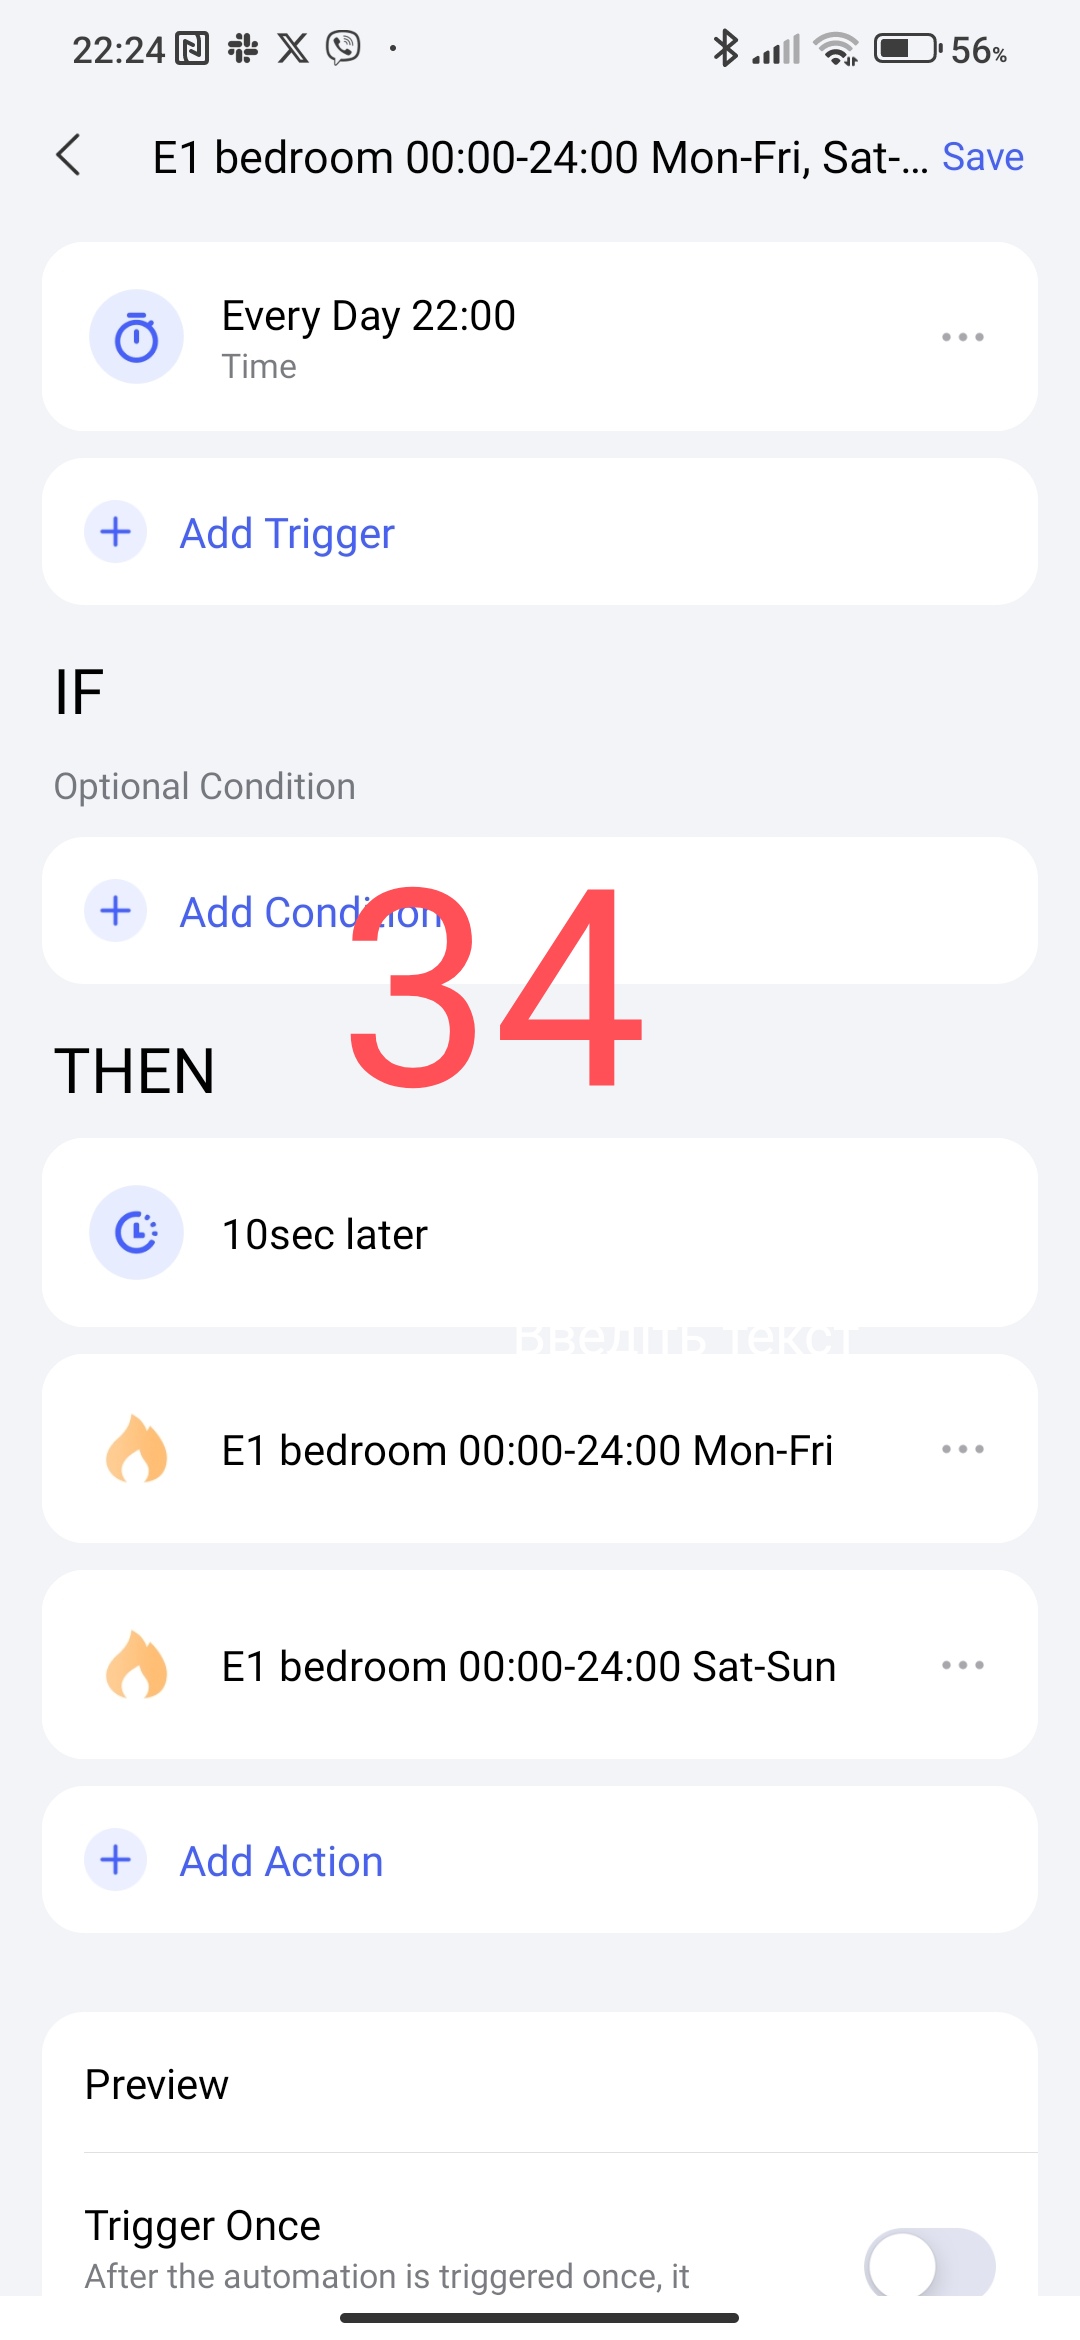
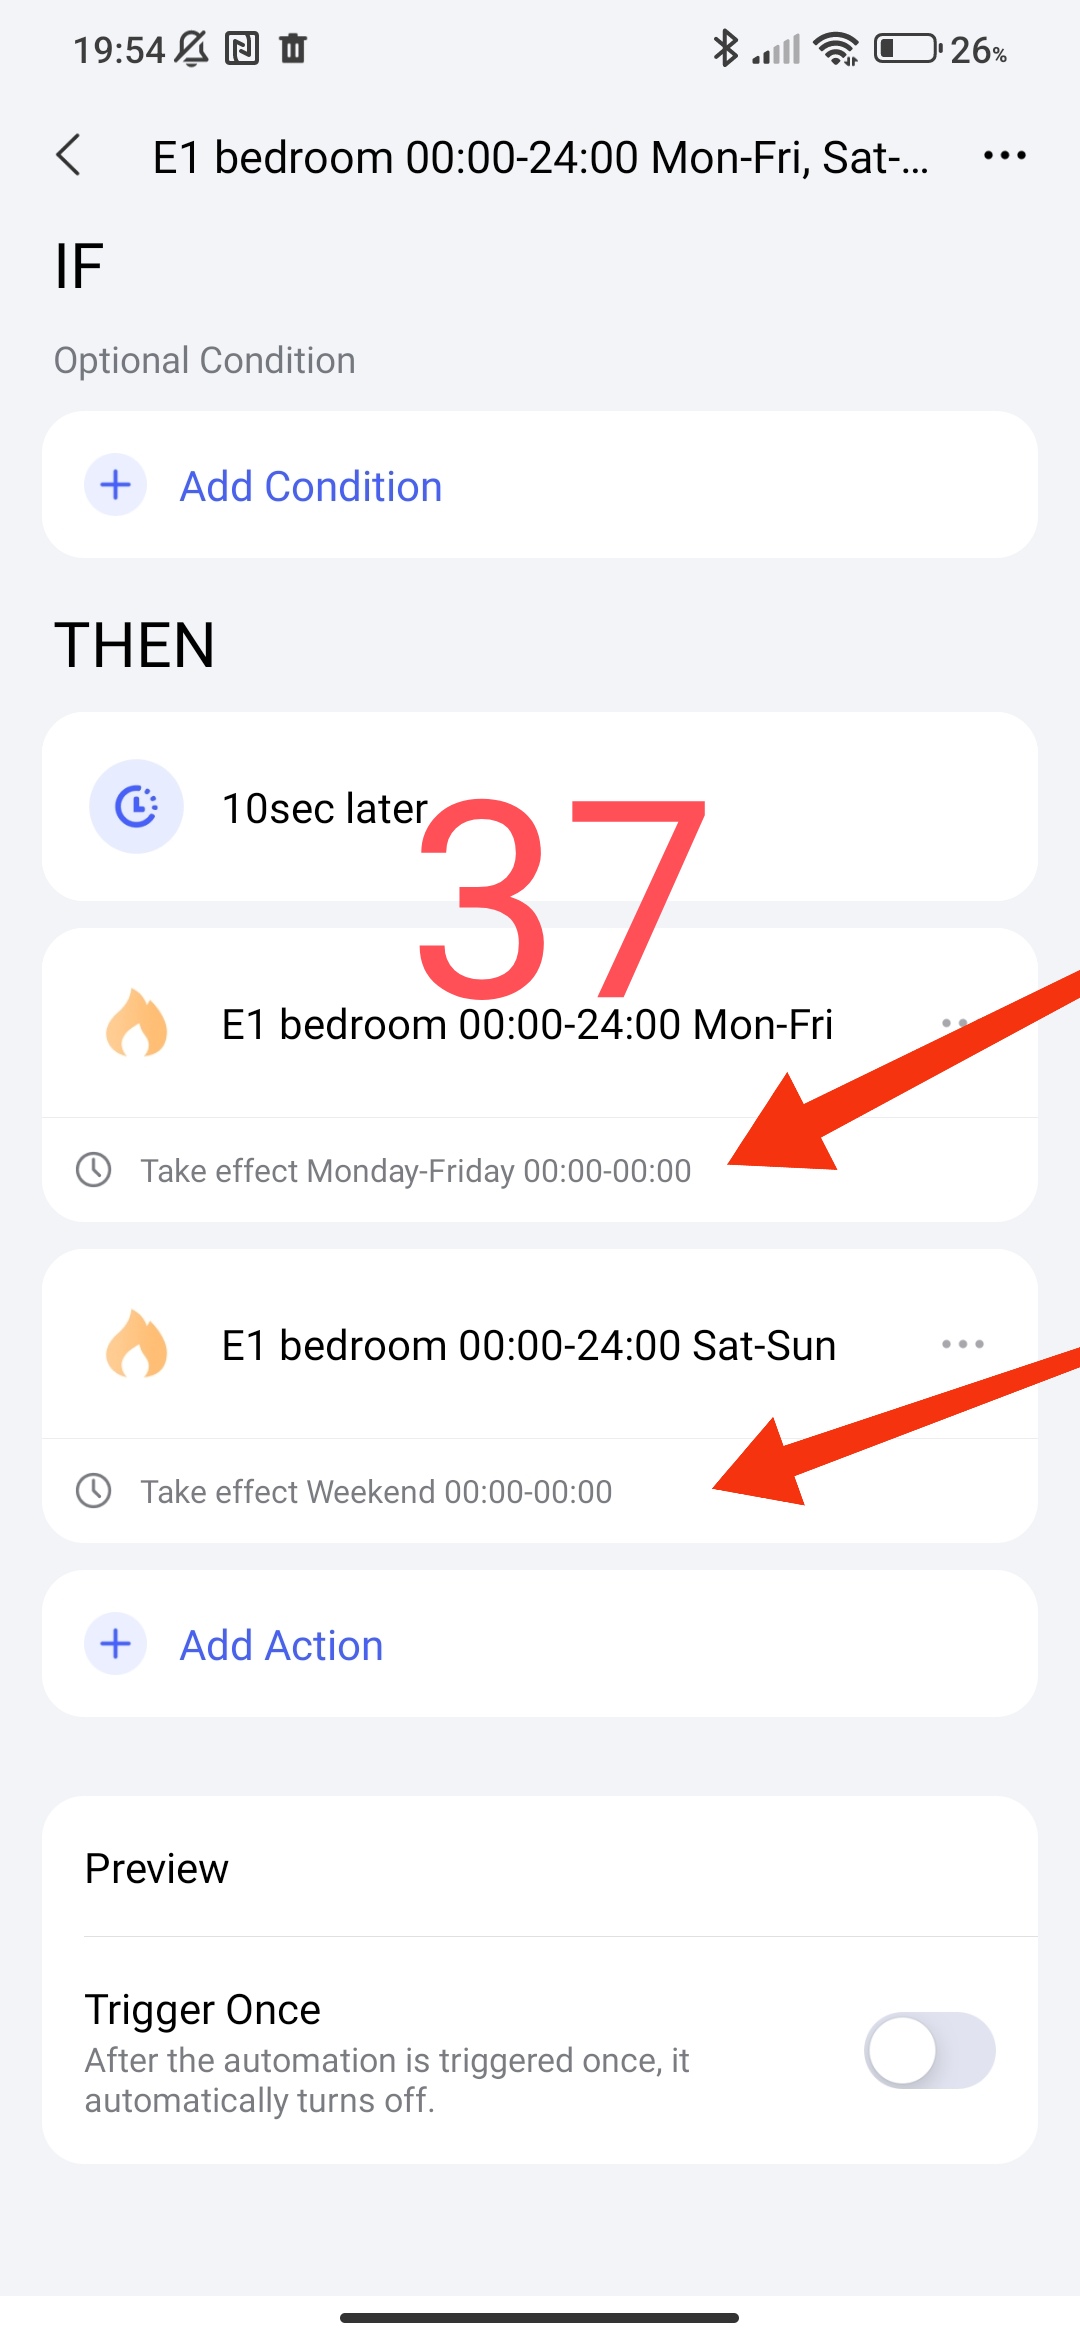
in the section THEN
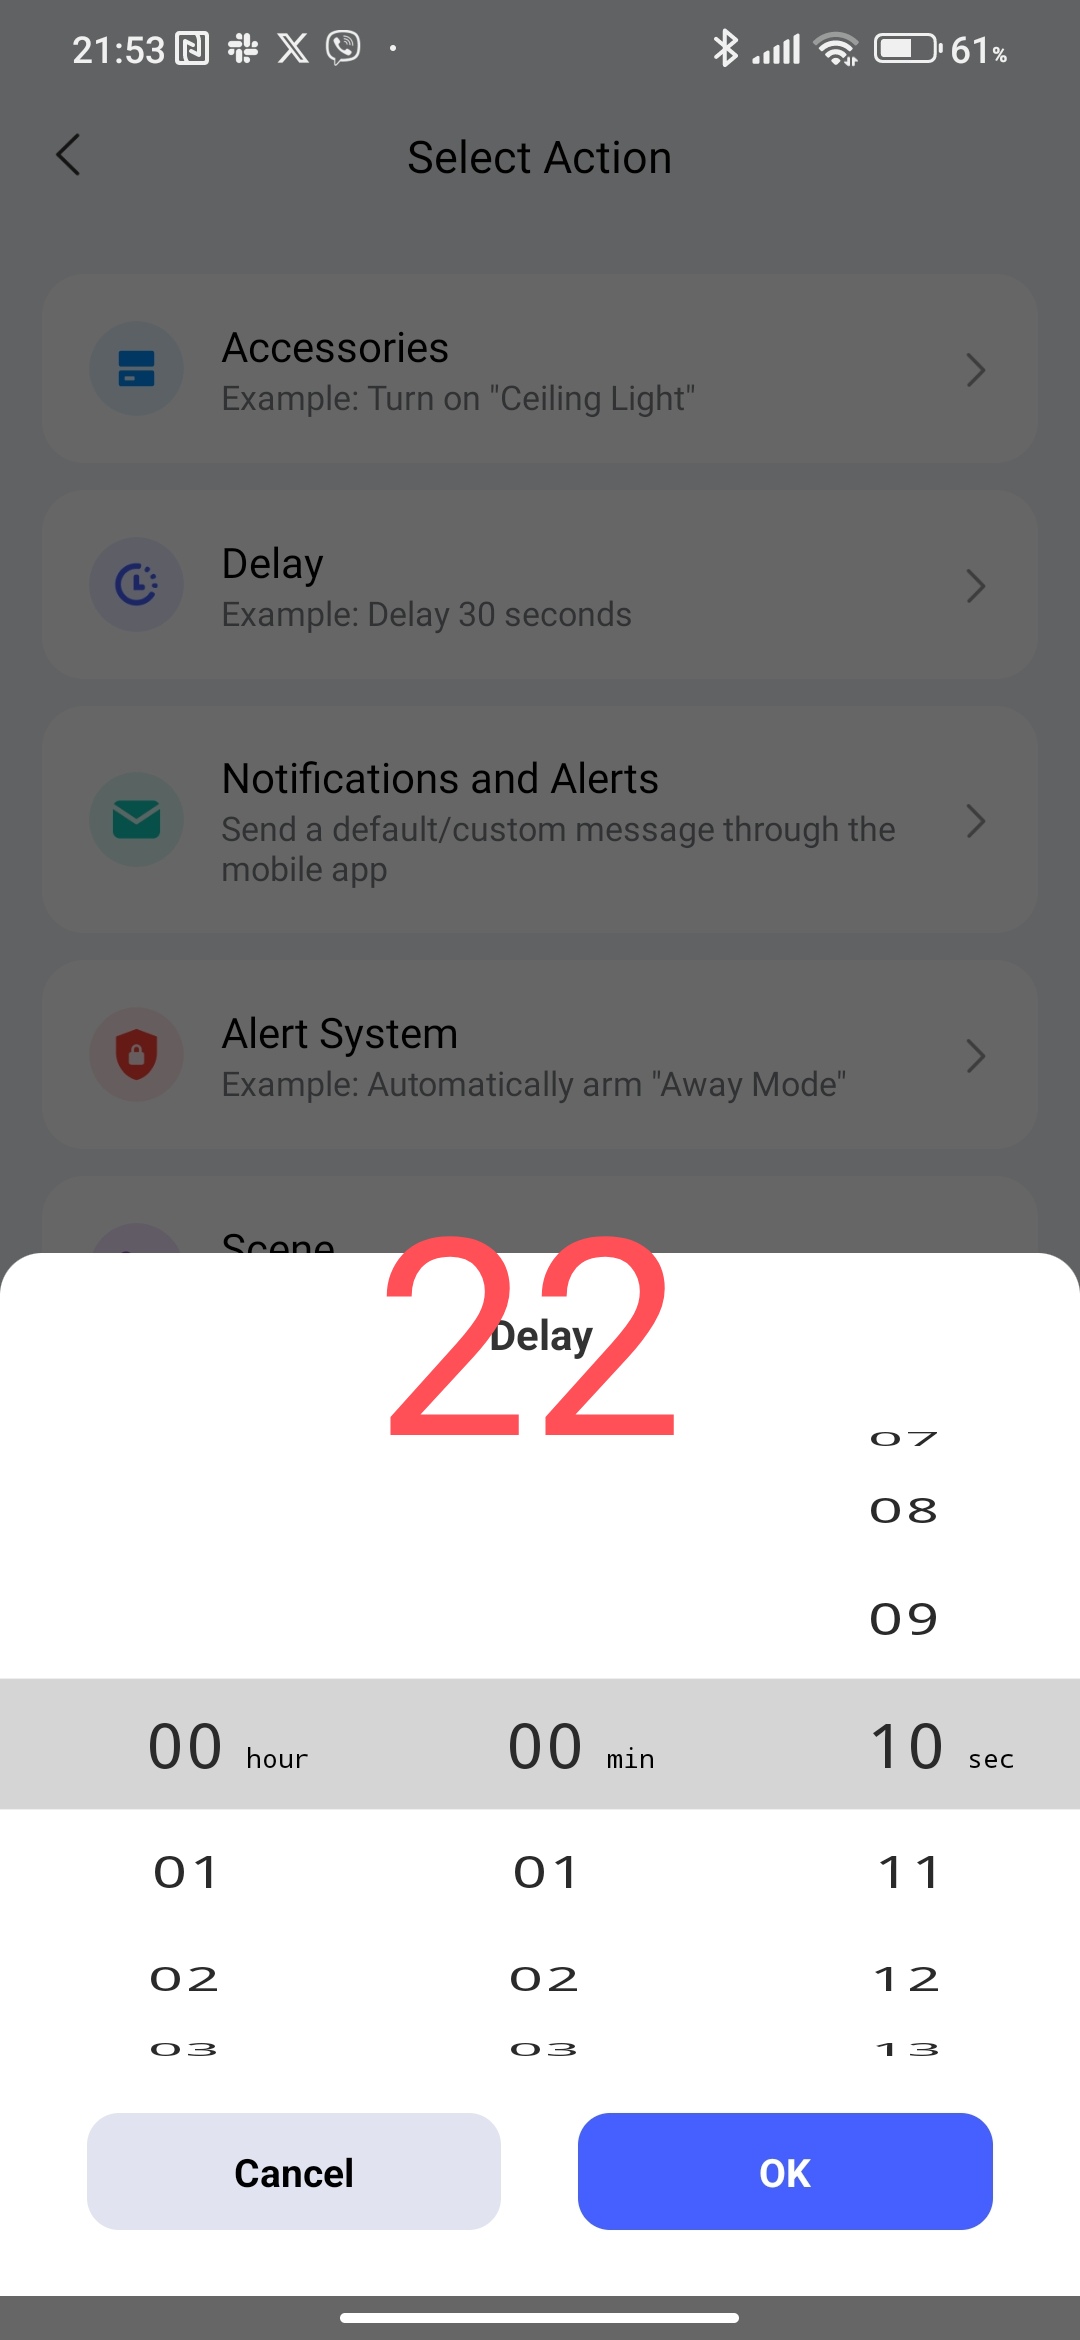
-add a delay of 10 seconds;
-add the scene “E1 bedroom 00.00-23.59”
Note that we add a 5-second delay so that the range for the temperature control time period starts working.
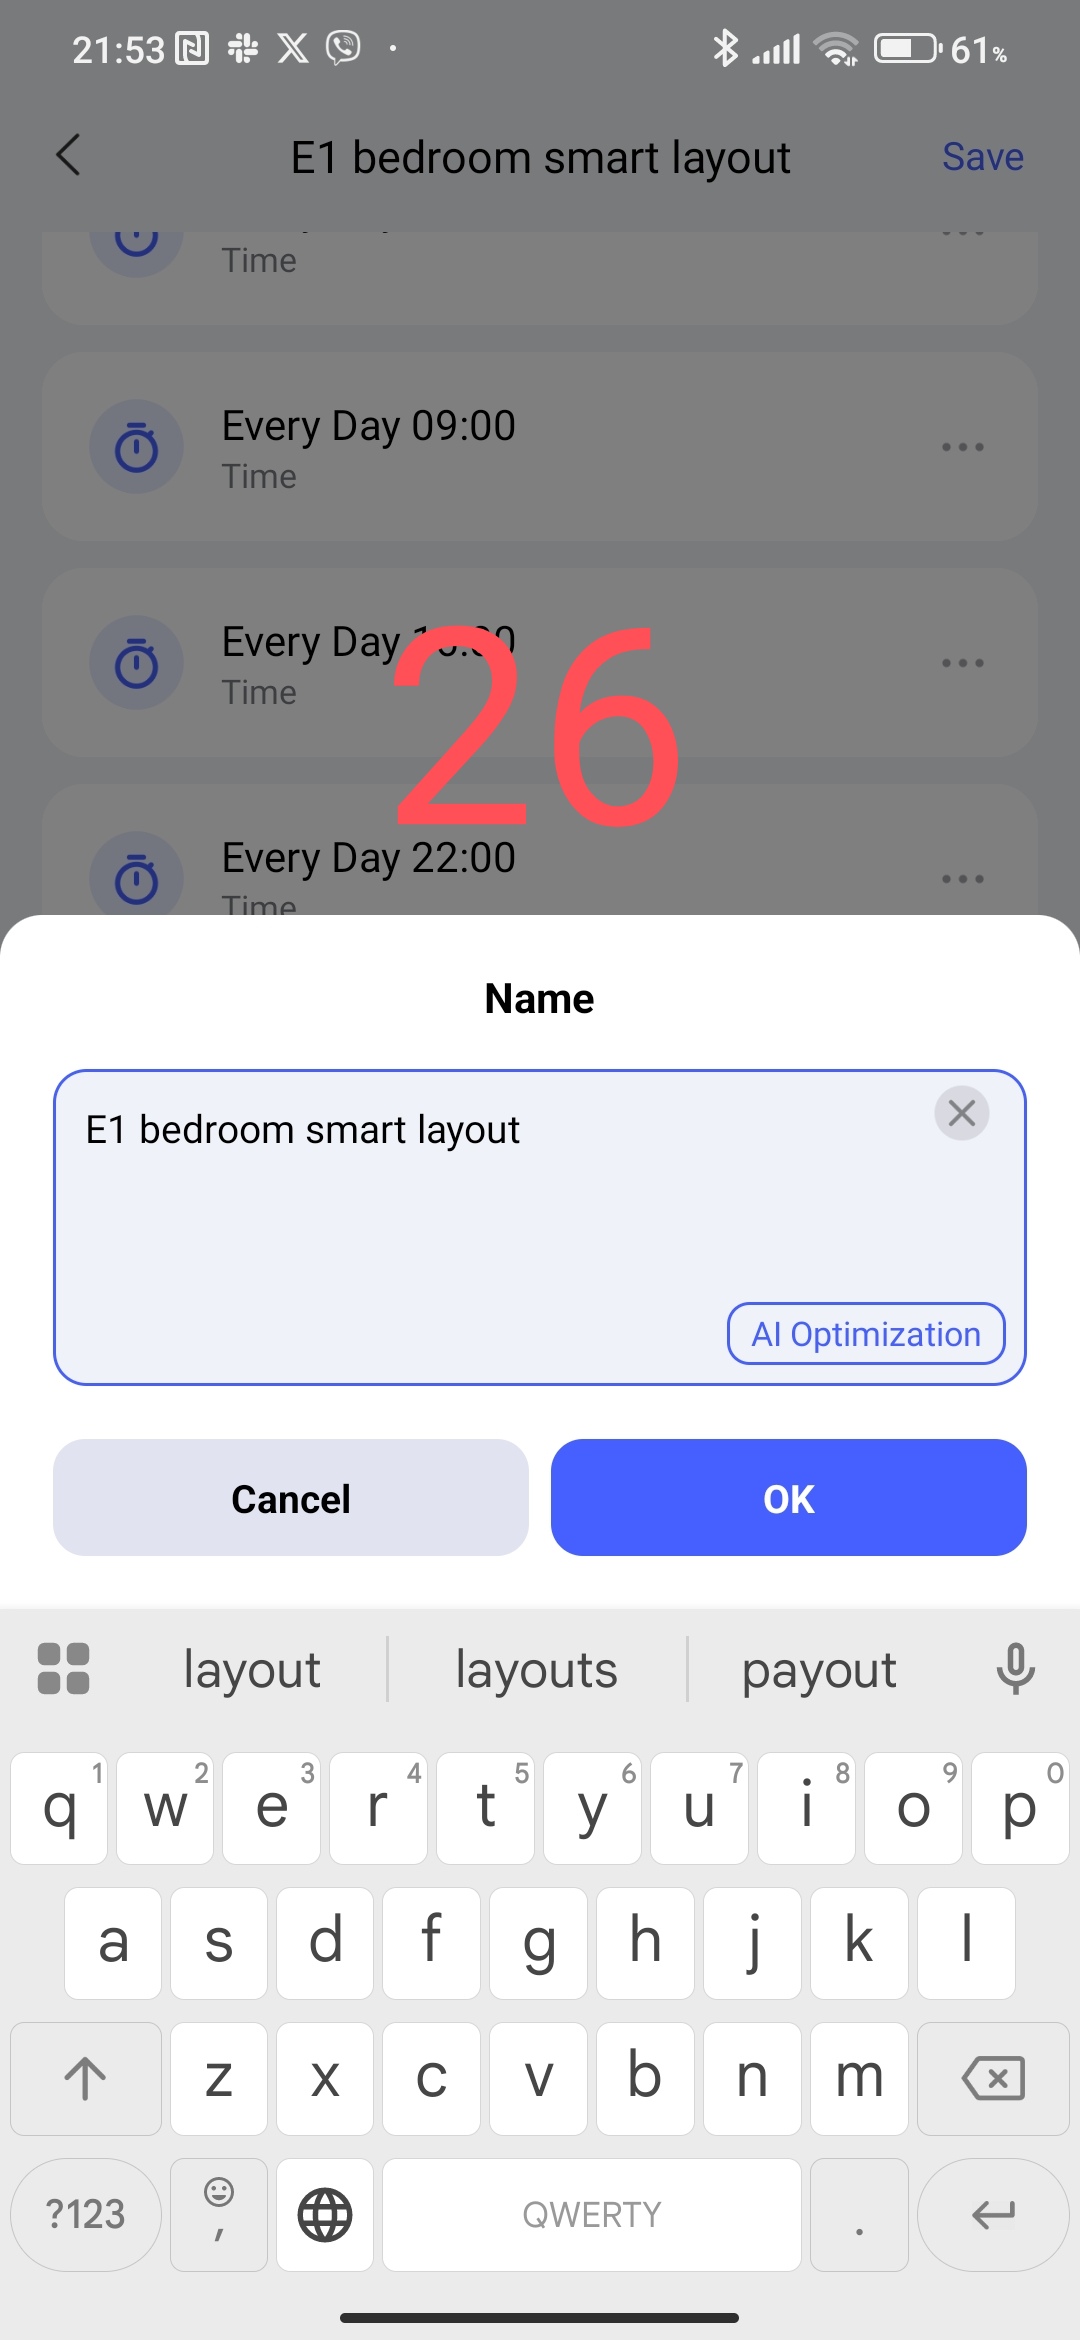
Finally, we give our standardized name “E1 bedroom smart schedule”.
Fig. 16÷27
4.Creating a smart schedule automation for the periods Monday-Friday, Saturday-Sunday.
Let’s consider an example of a smart schedule that will have changes according to the periods of the week (weekdays, weekends).
On weekends (Saturday, Sunday) I want the temperature in the house to be
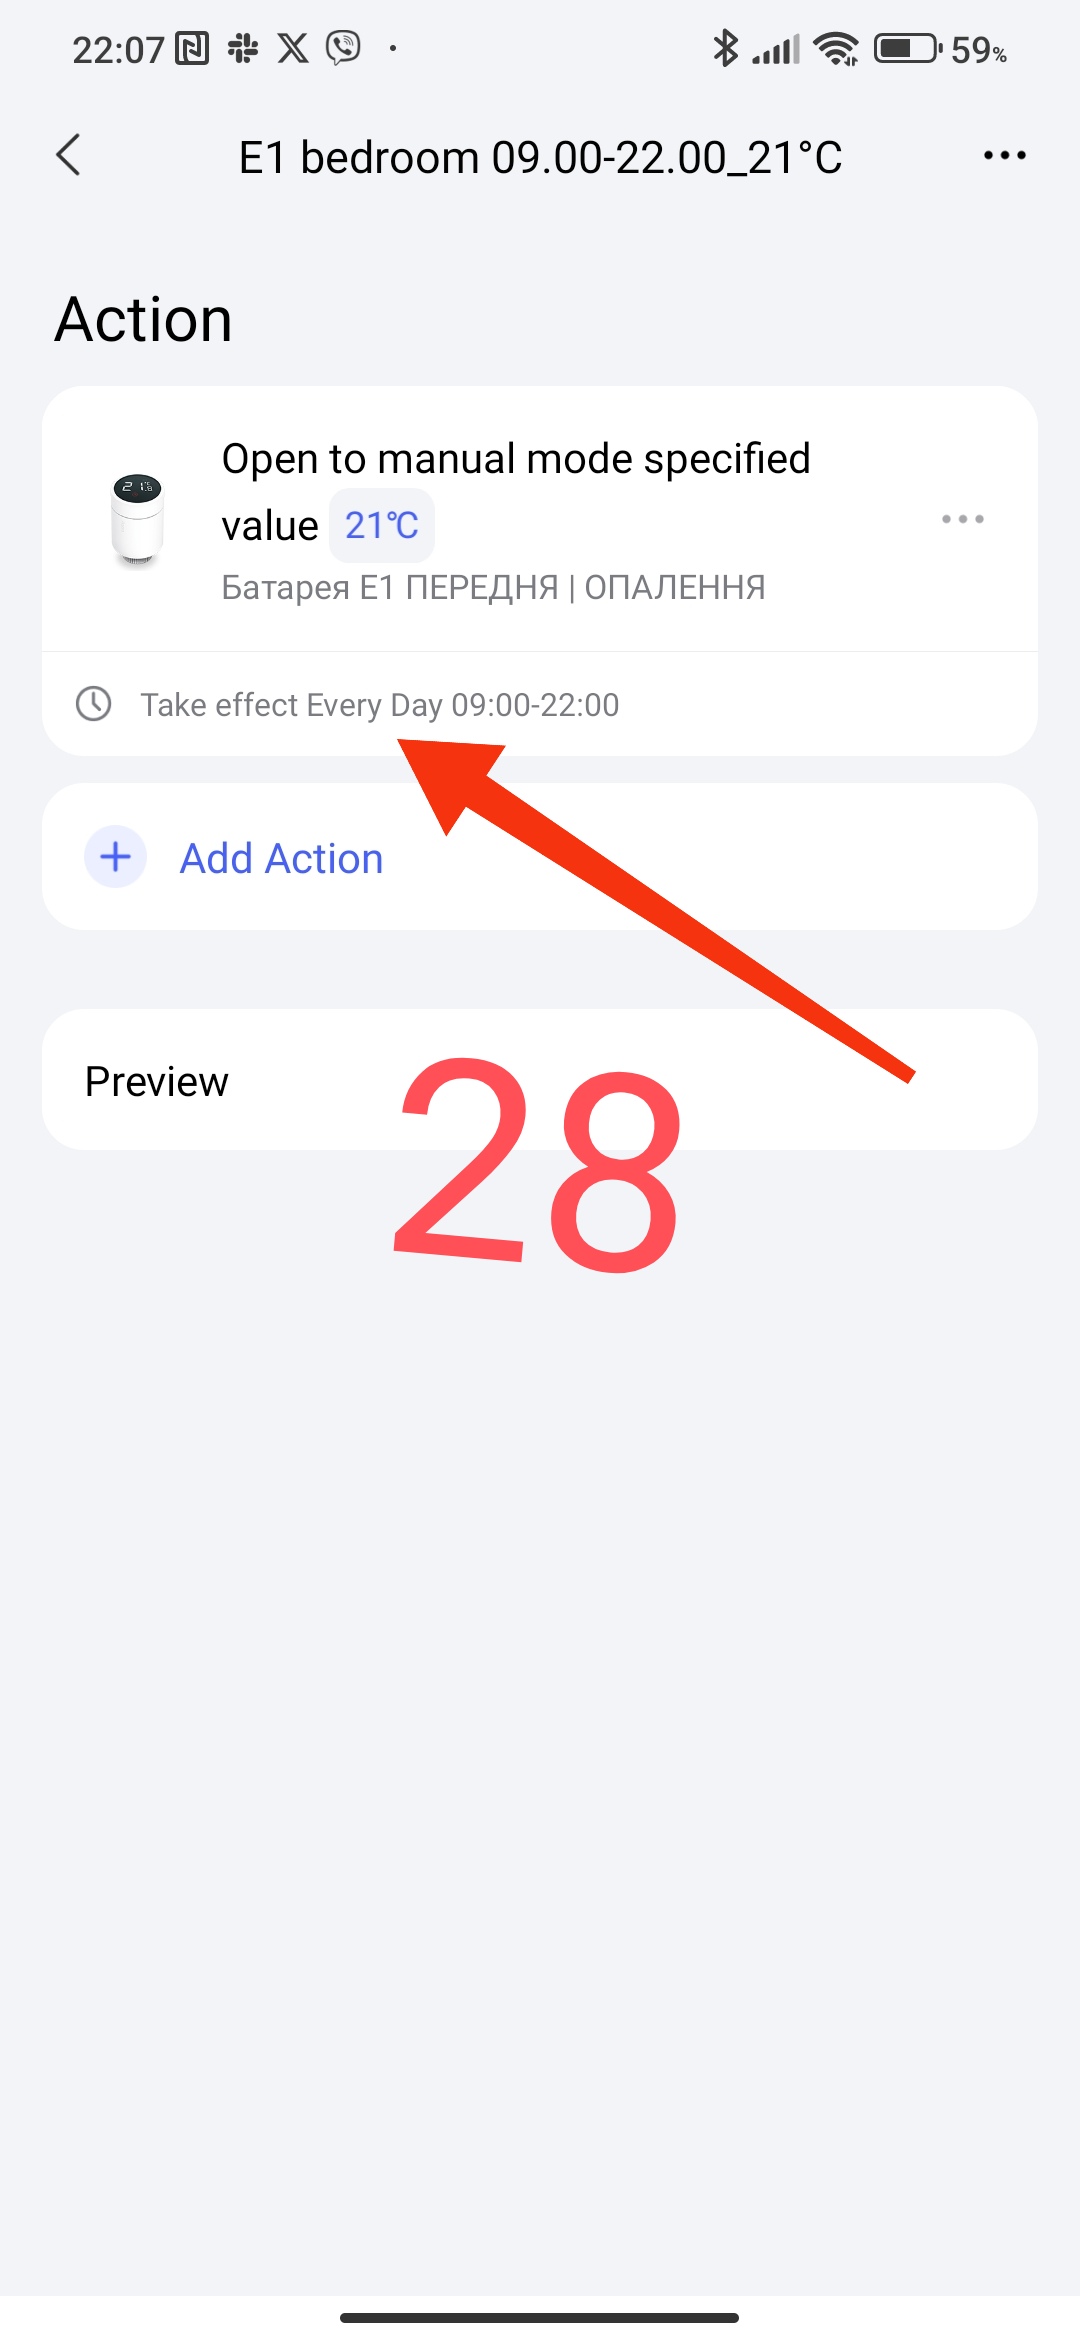
09.00 to 22.00_21°C
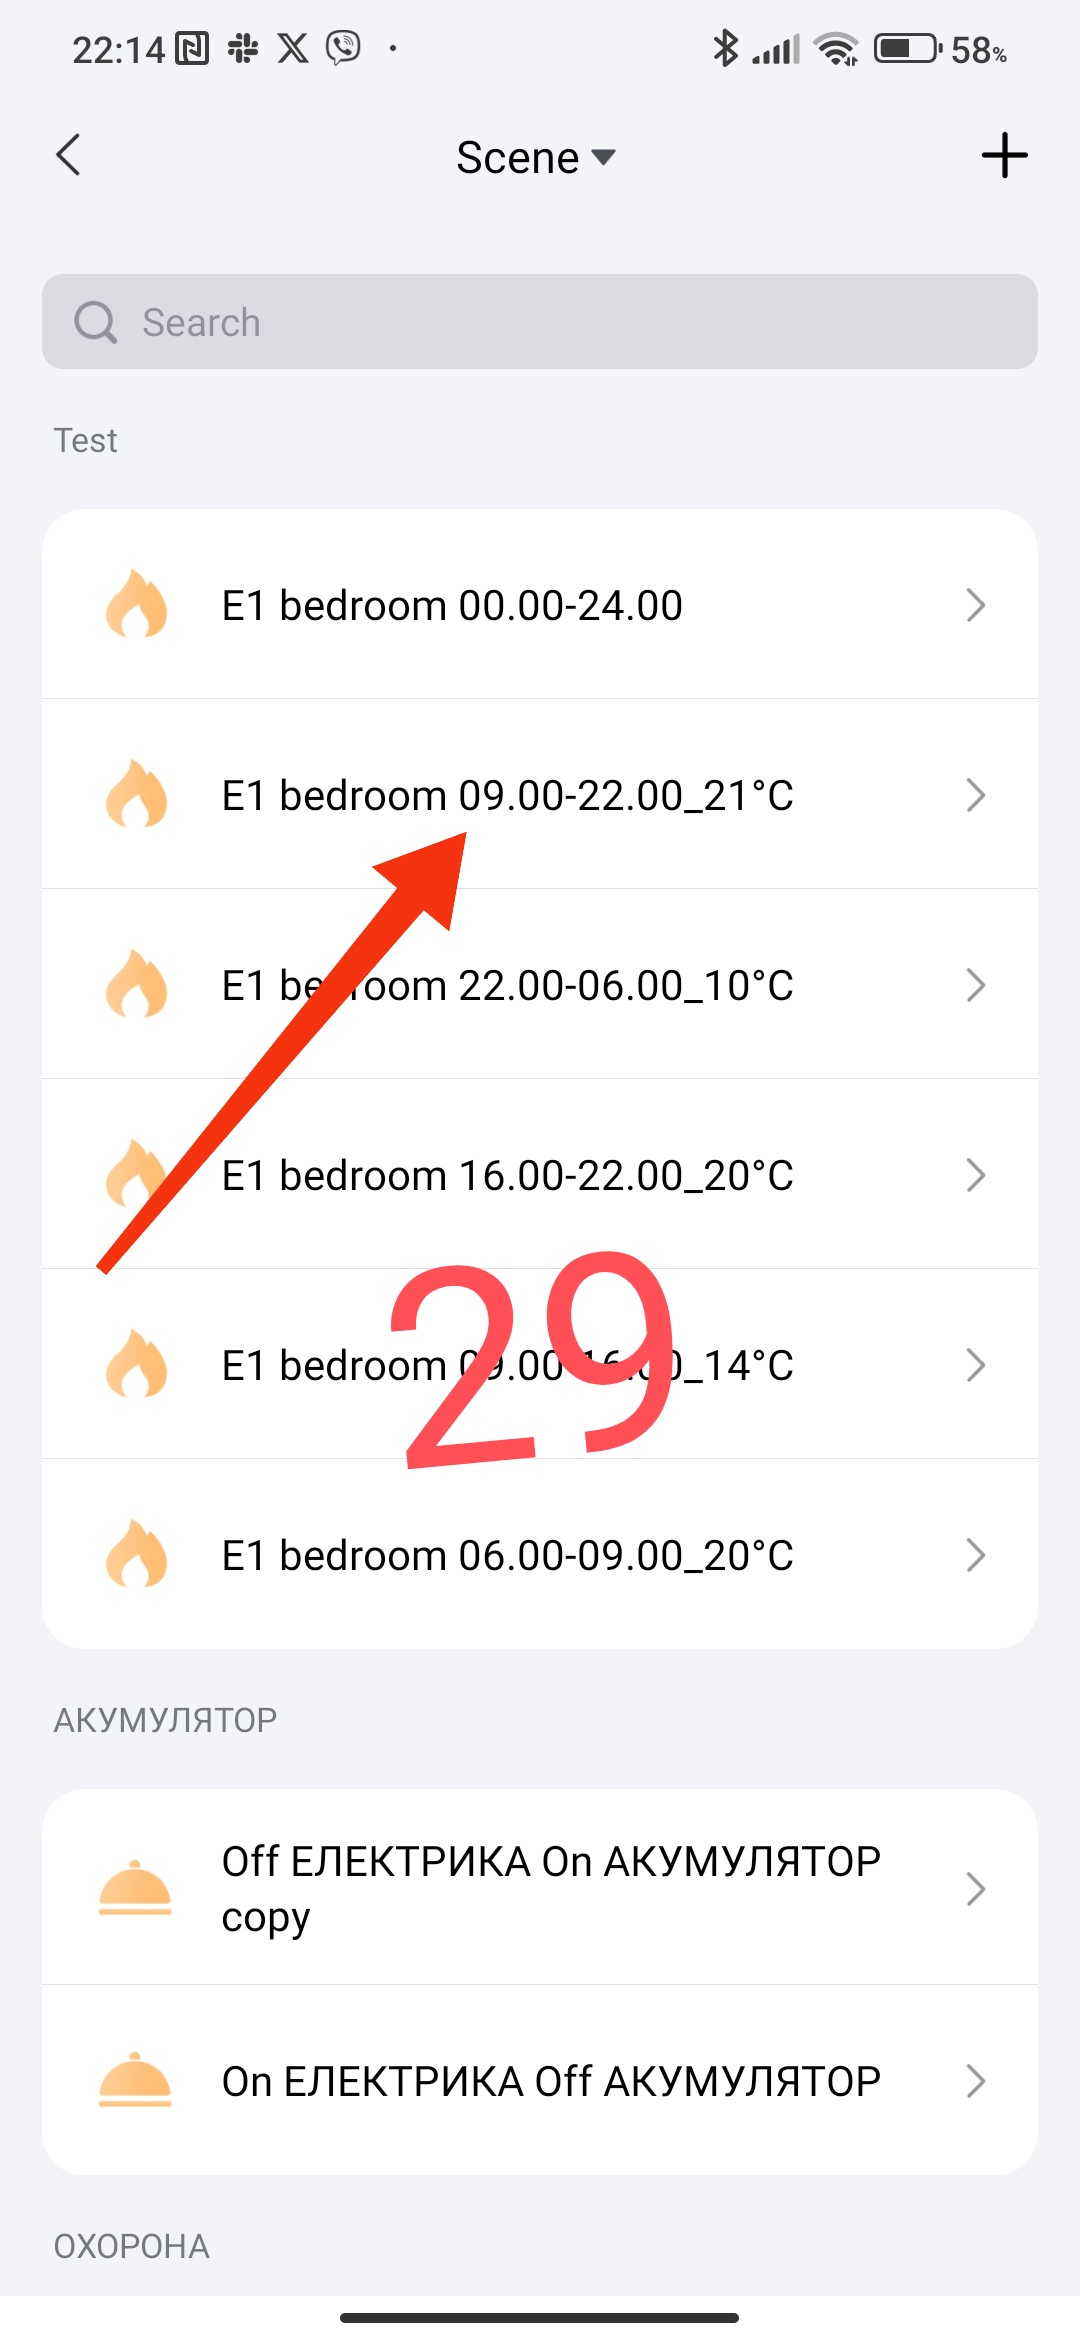
According to section 1, we will create another scene for the period of operation we need. Let’s call the scene “E1 bedroom 09.00-22.00_21°C”.
Fig. 28, 29
Now, according to section 2, we will create another scenario to start group control based on the periods
06.00 am to 09.00 am 20° C
09.00 am to 22.00 noon 21° C
22.00 noon to 06.00 am (next day) 10° C.
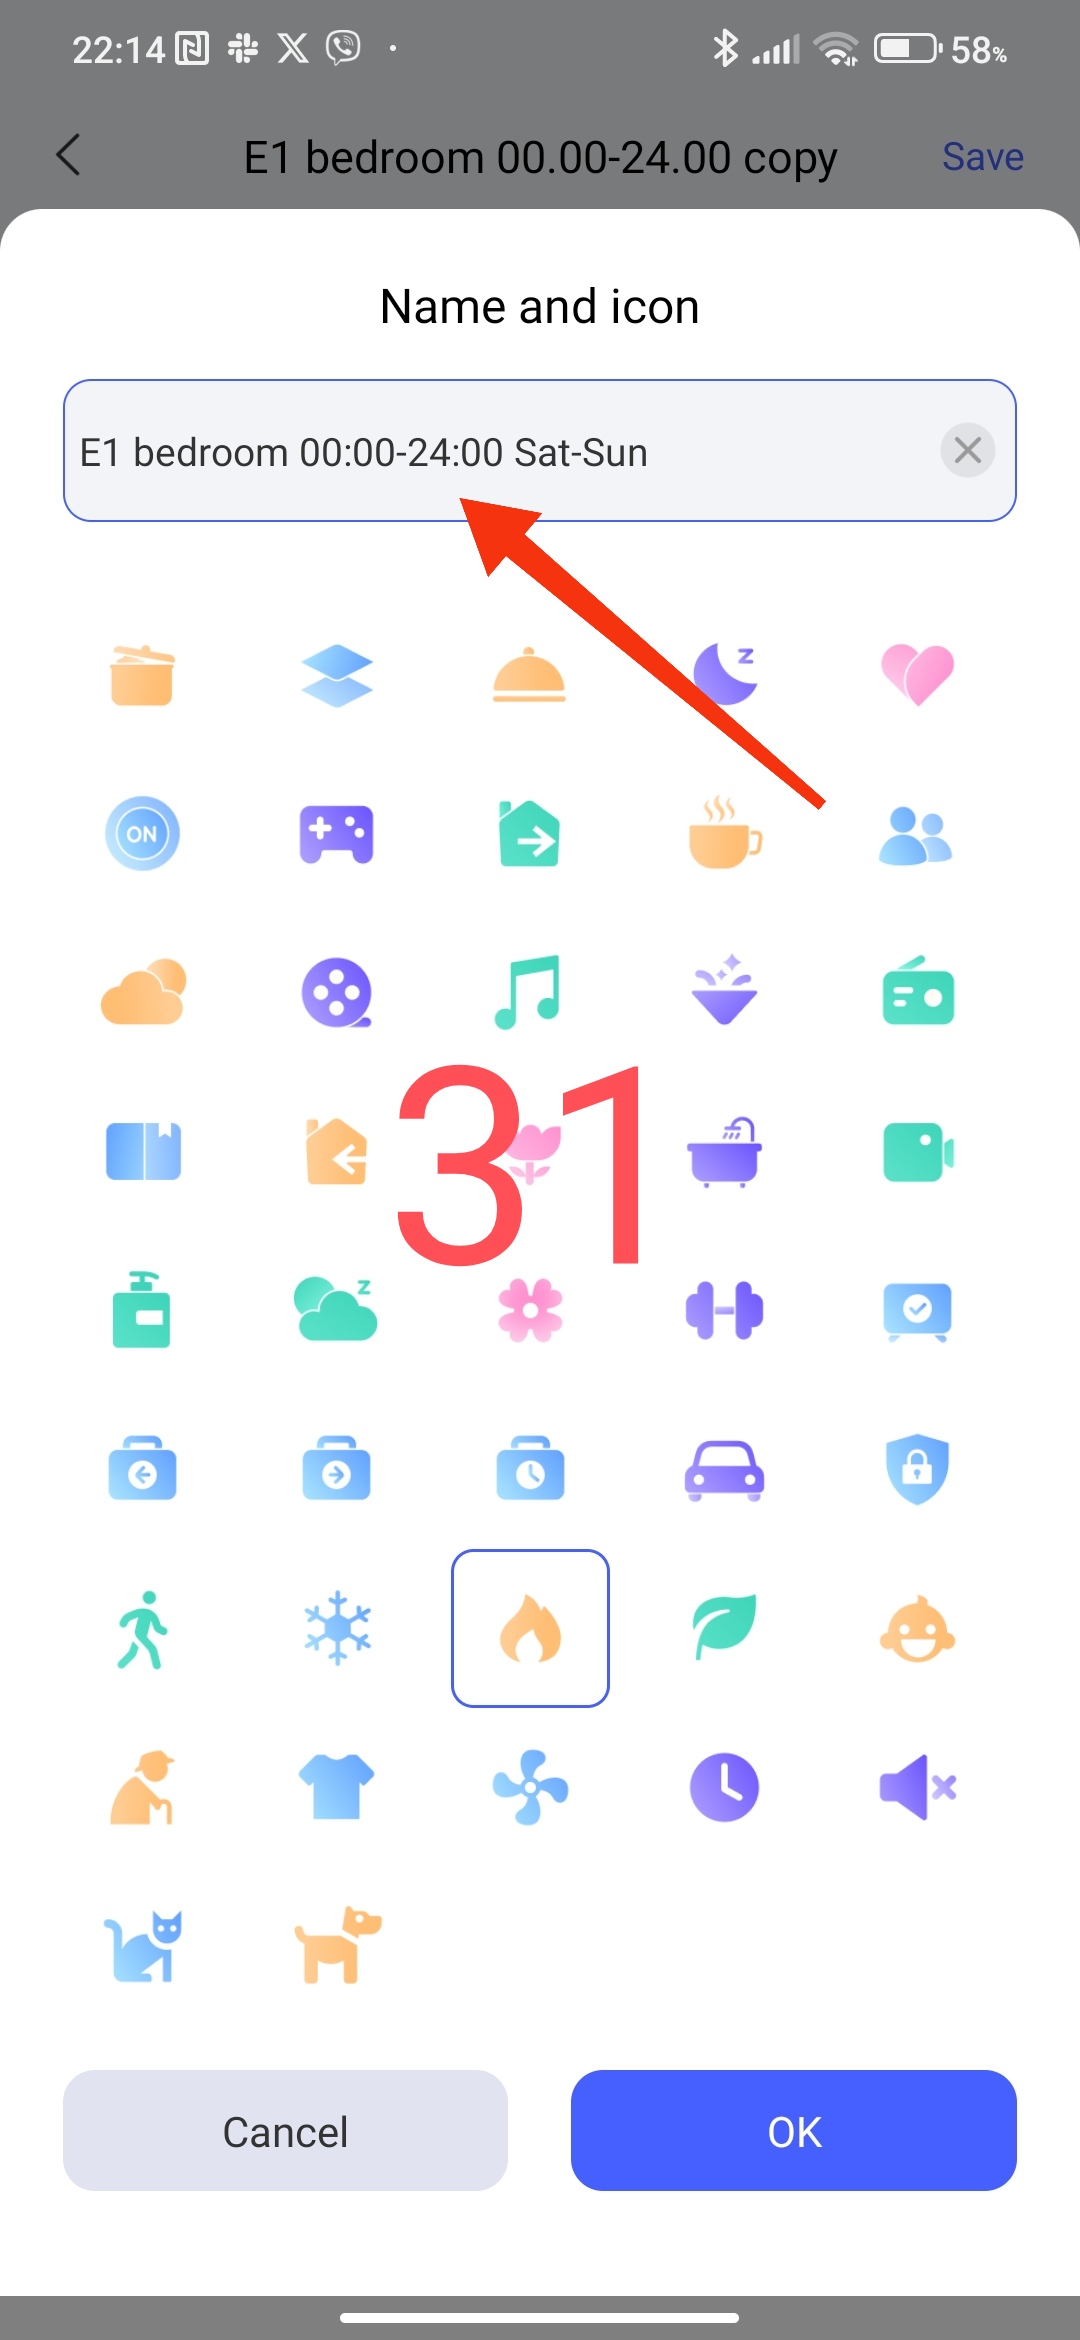
Let’s call this group start “E1 bedroom 00.00-23.59 Sat-Sun”.
Fig. 29, 30, 31, 32
According to section 3, we create automation according to a smart schedule Monday-Friday, Saturday-Sunday.
In the
WHEN section we add
-06.00
-09.00
-16.00
-22.00
to the THEN section
-5-second delay
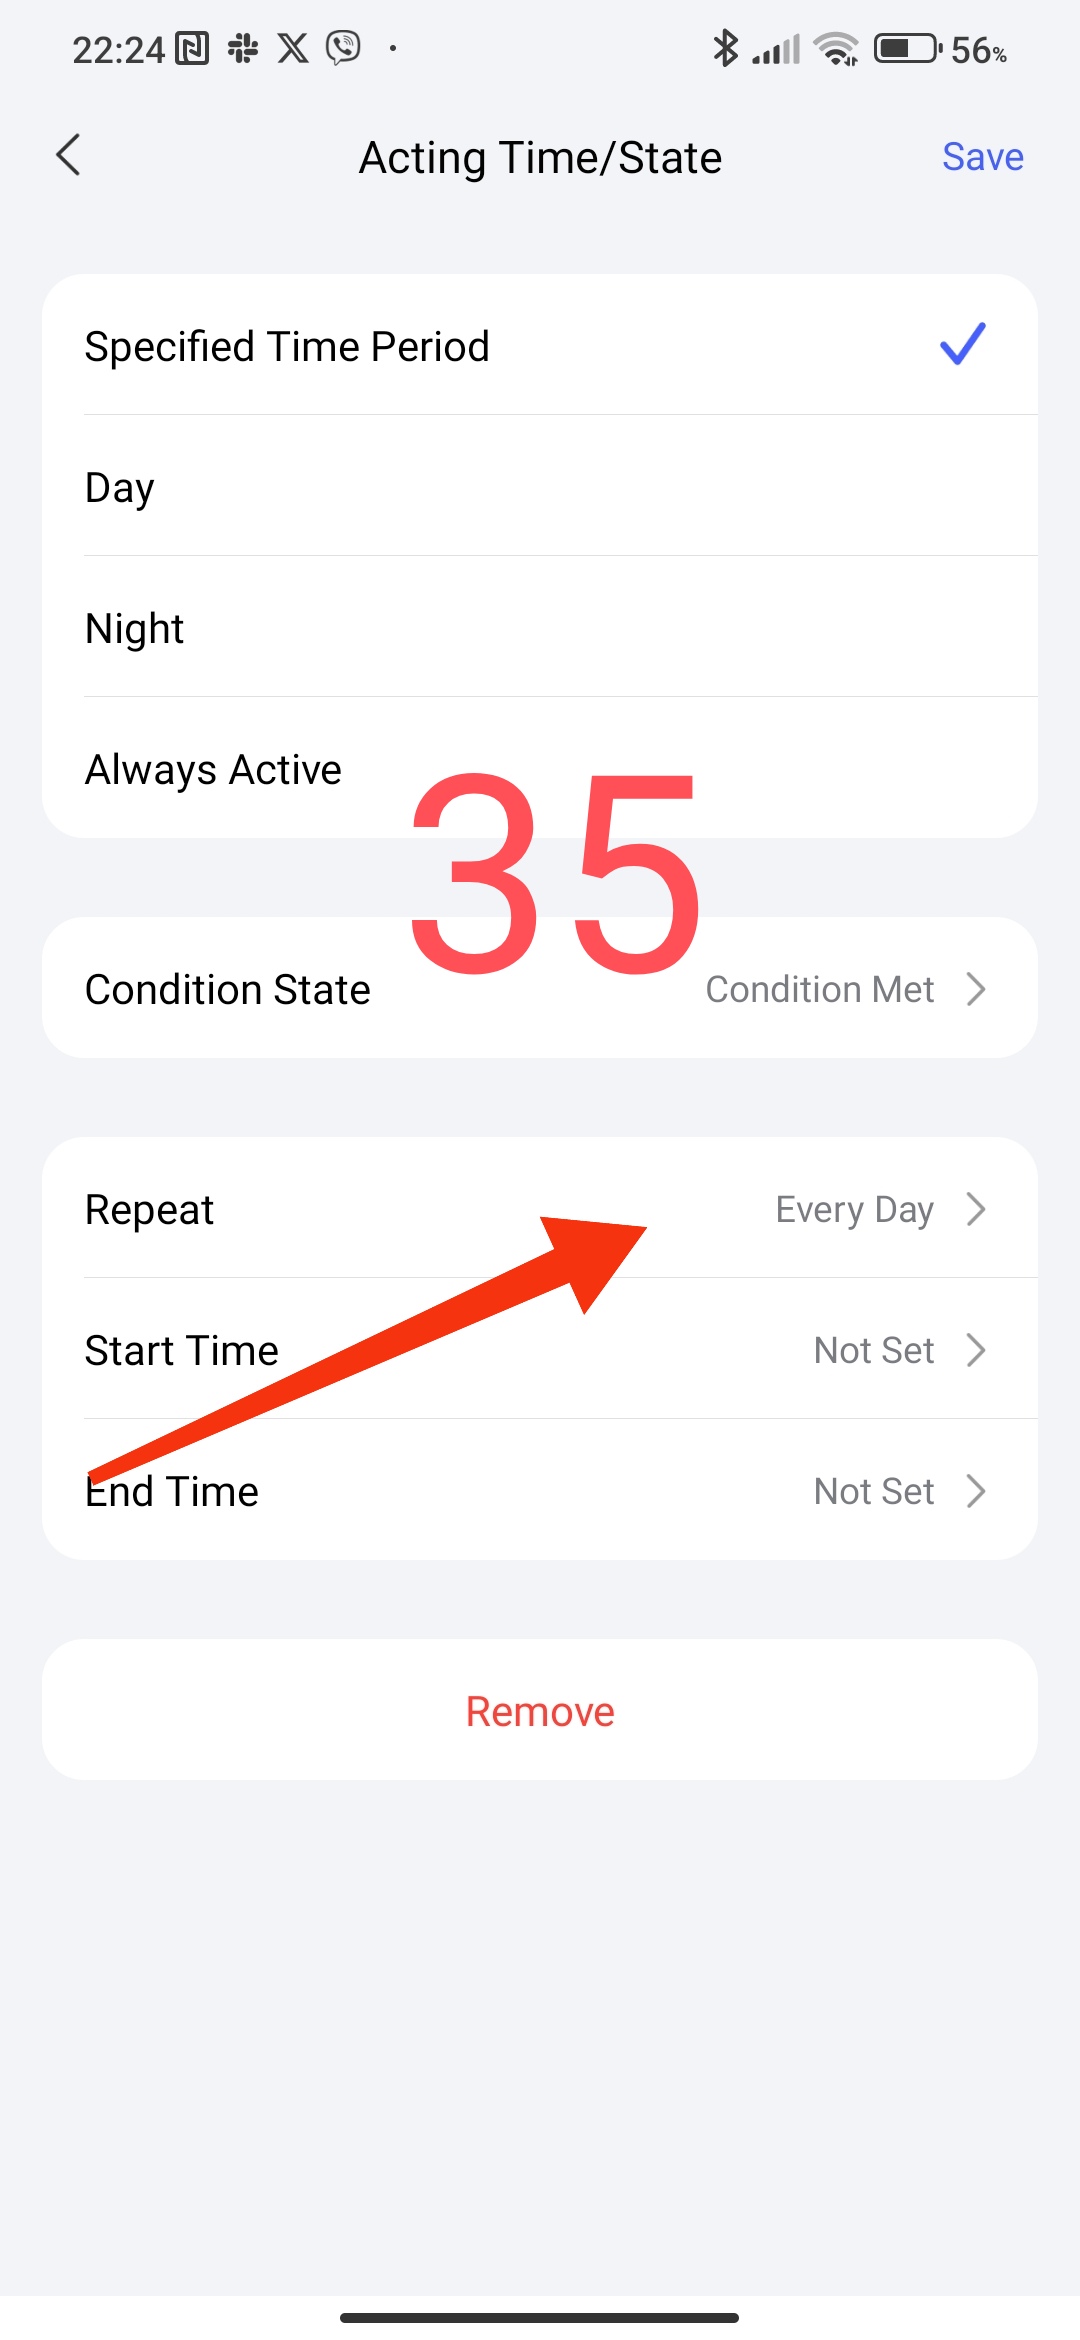
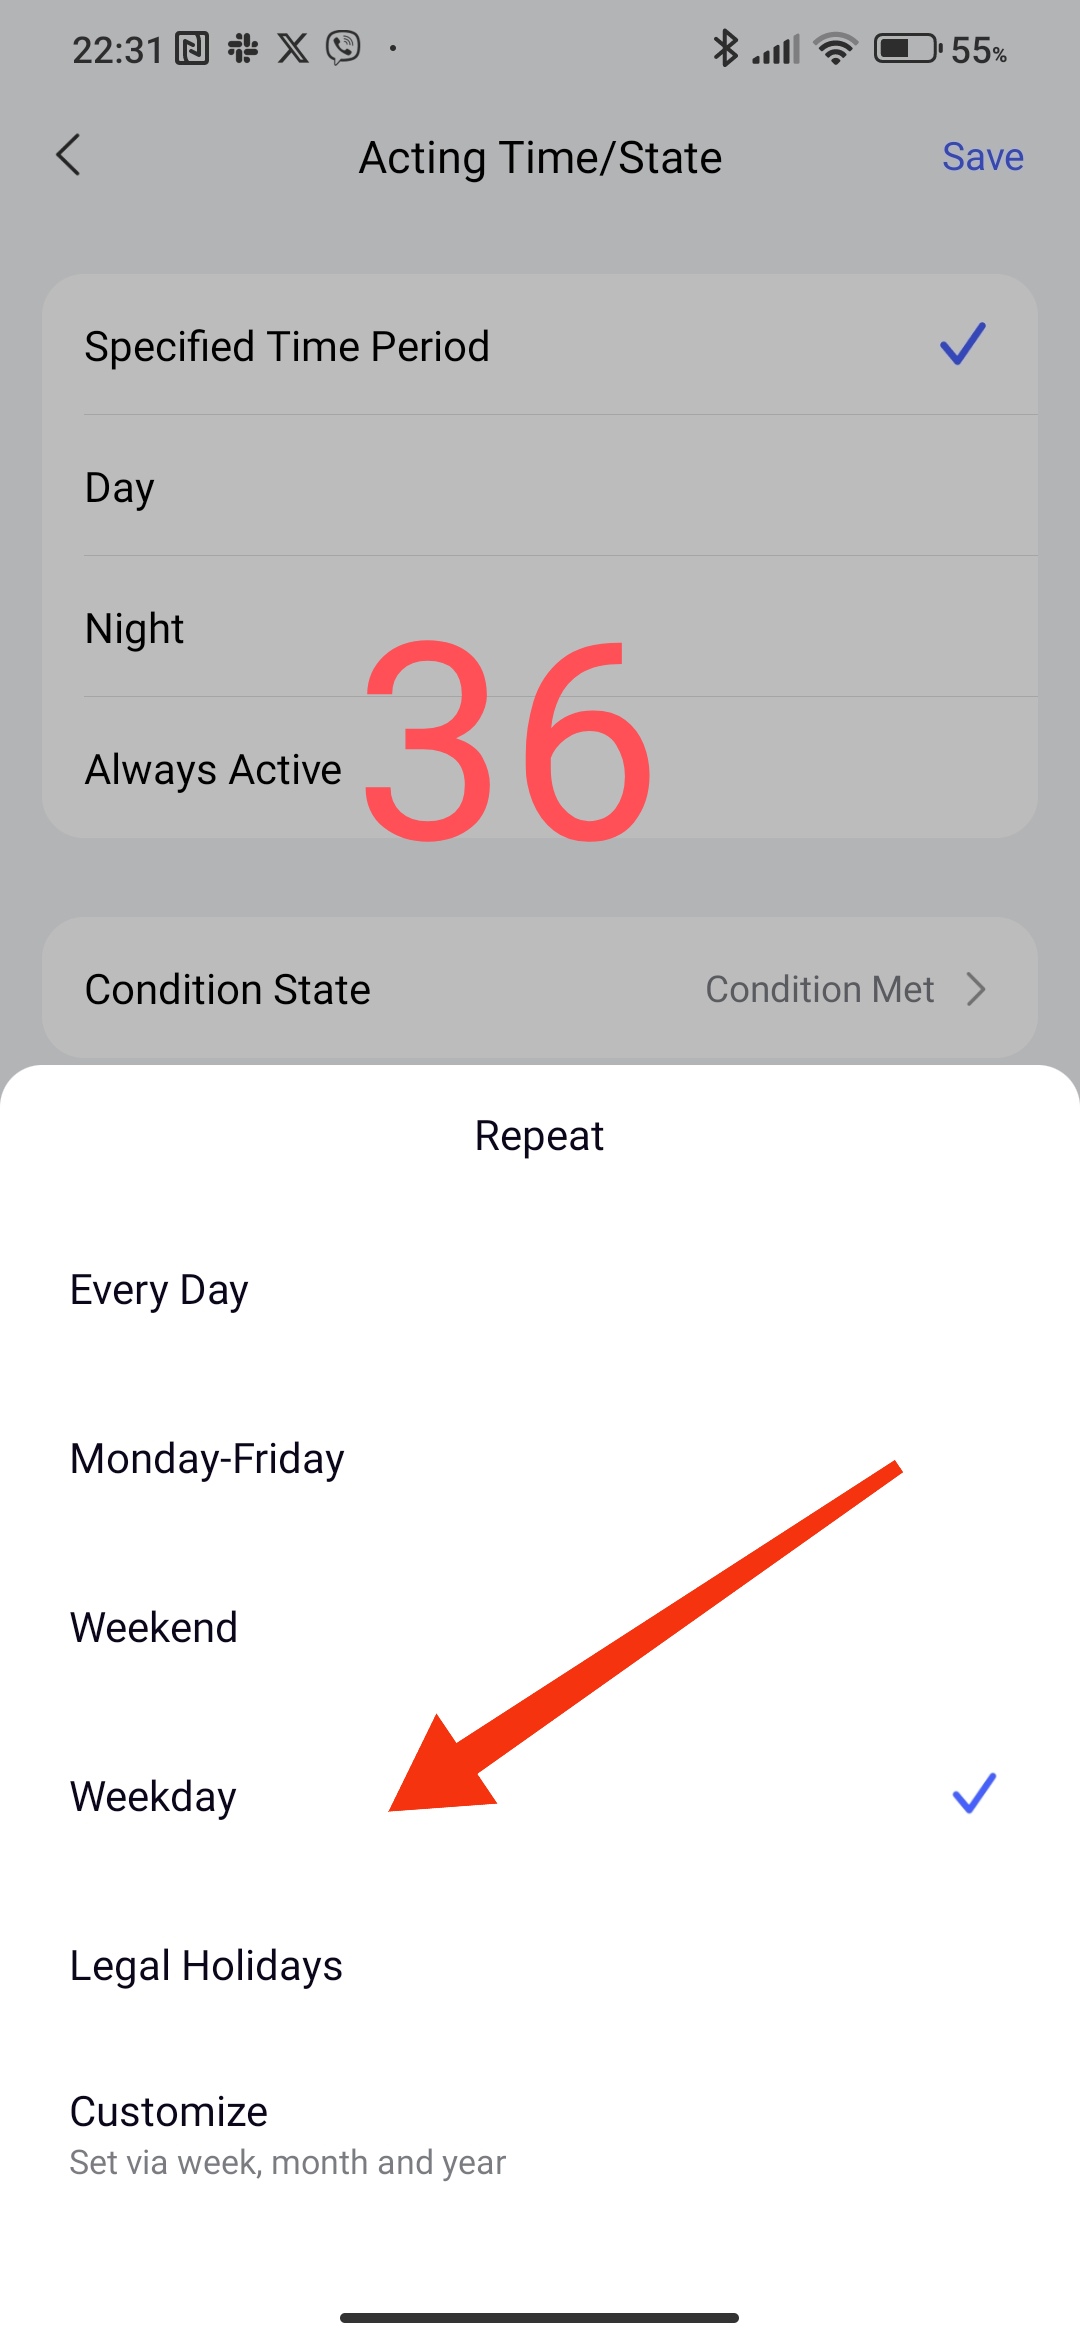
-group launch scene "Monday-Friday"select in “…” the period of operation Monday-Friday, time 00.00-24.00.
-scene “Saturday-Sunday” - in “…” the period Saturday - Sunday period 00.00-23-59.
Mal33,34,35,36,37,38,39

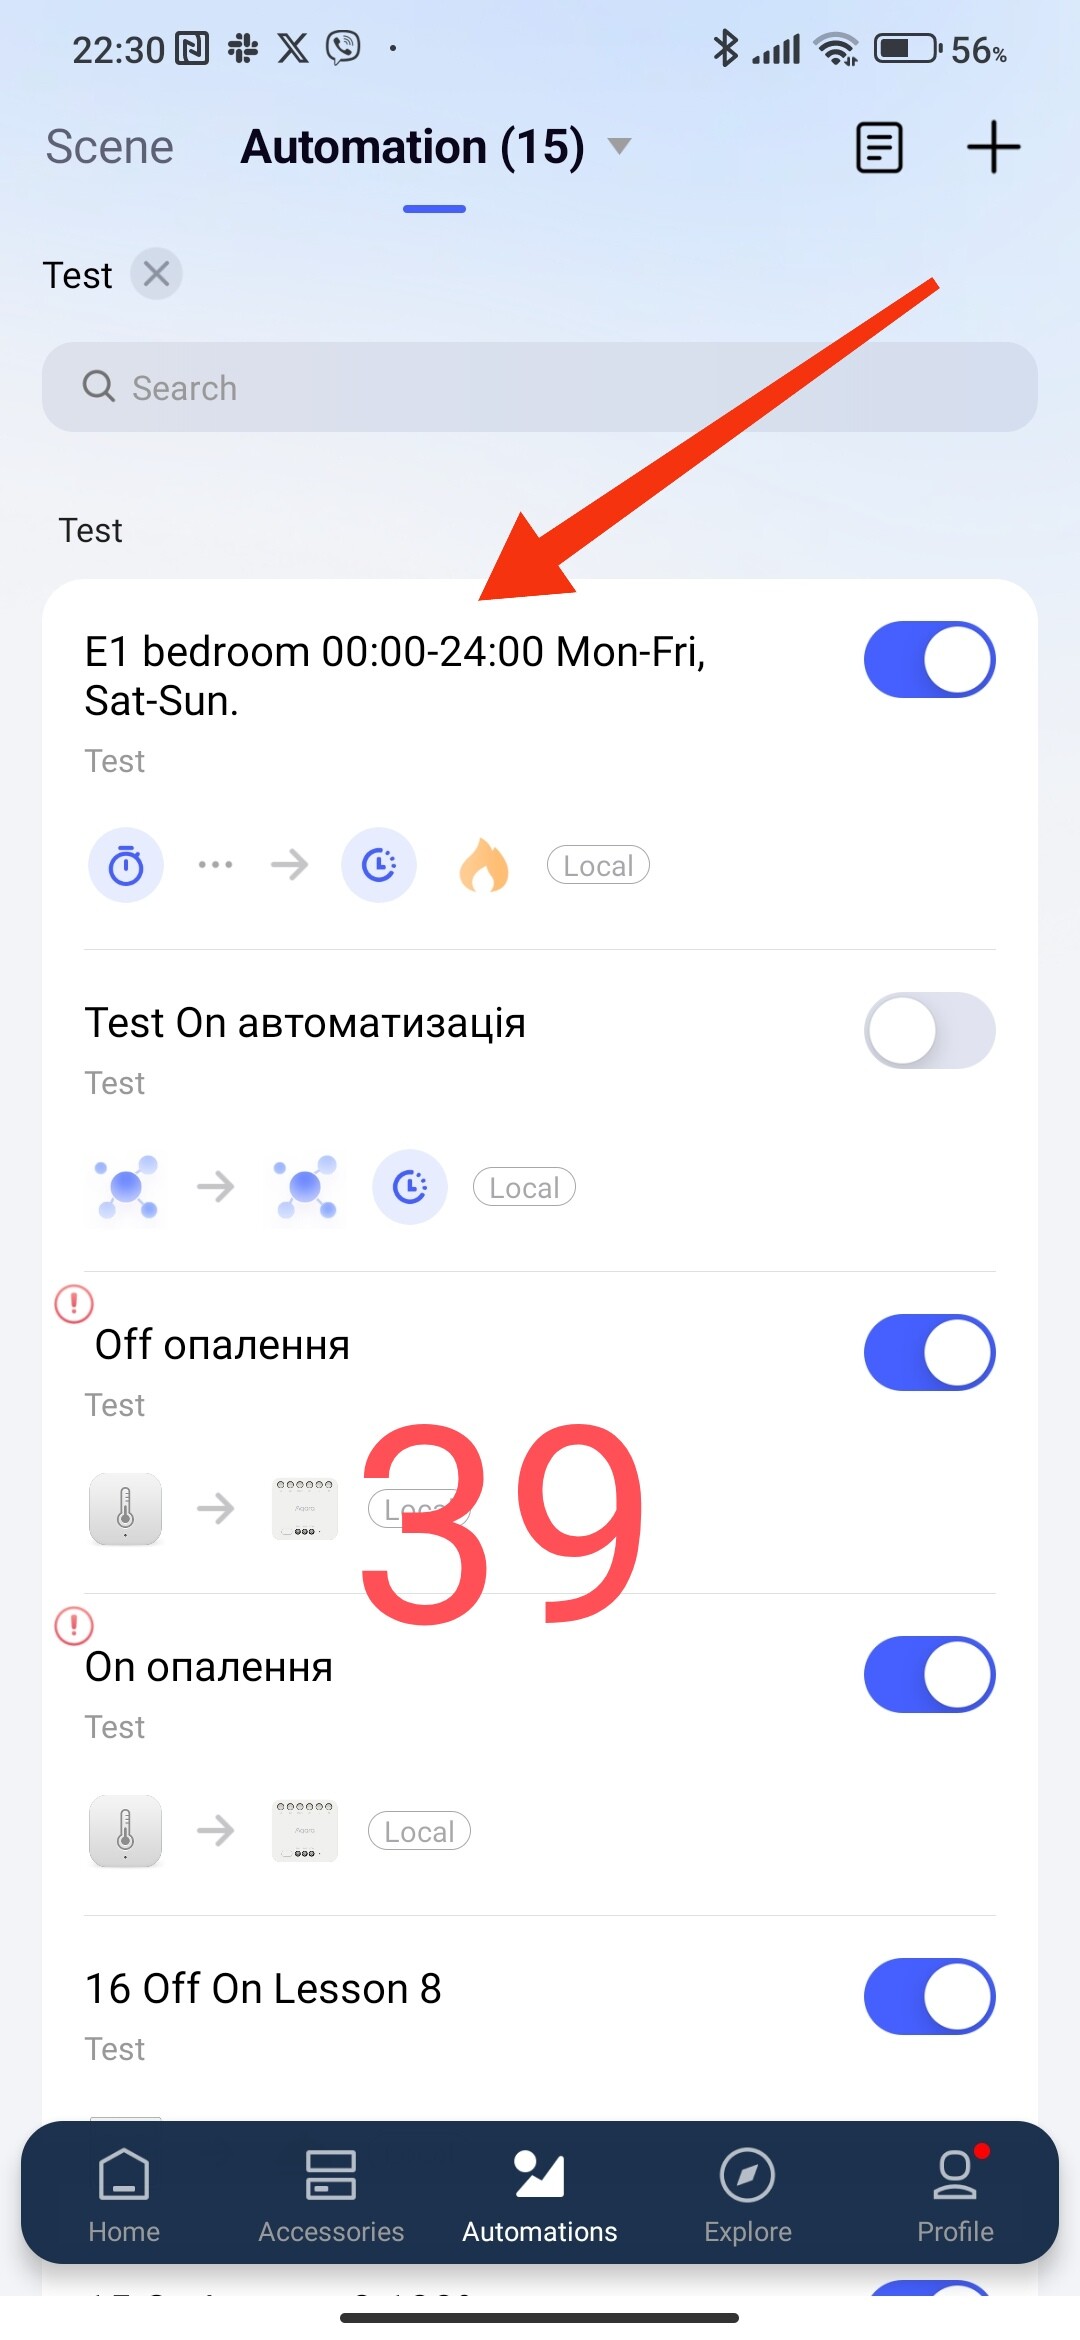
So, we have made a smart schedule according to the periods of the day of the week.
I also want to say, maybe I will surprise you, this algorithm works in professional thermostats. You can manually increase or decrease the control temperature at any time. The set operating period will be valid until the next control period (this is the start time according to the automation).
The next step I will devote myself to monitoring the temperature in the room to start the heating boiler in a private house.
This concludes the current mini-topic.
Thank you for reading and sharing the topic (you can also on other platforms with a link to our forum).
Lesson11 Automation 2.0, lesson 11, creating the simplest automation for heating devices